Give your friends $10 off their first order!
Refer a FRIEND








A project from our live show CREATE AND CRAFT TV - Join Toni for her brand new SBM launch - broadcast 22nd Jan 2024 · 01/22/2024 · watch it from 7:45
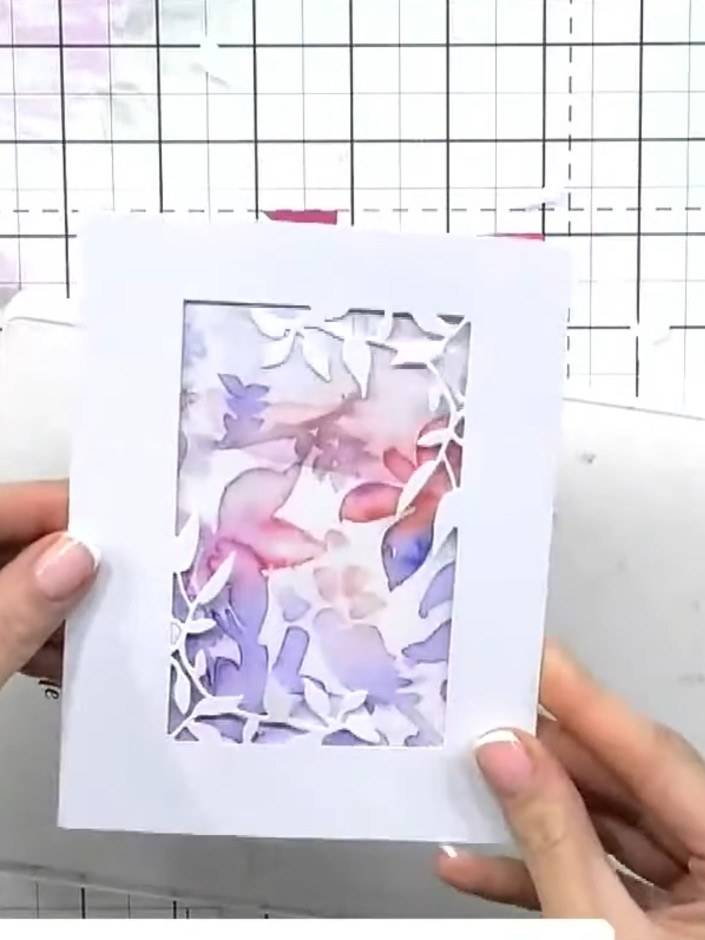
Create a stunning layered card featuring delicate foliage die-cuts framing a watercolour floral scene in soft purples and pinks. This elegant design uses the Garden Frame die to build dimensional layers around a central window, creating a beautiful three-dimensional effect. The white die-cut foliage provides a crisp contrast against the gentle watercolour background.
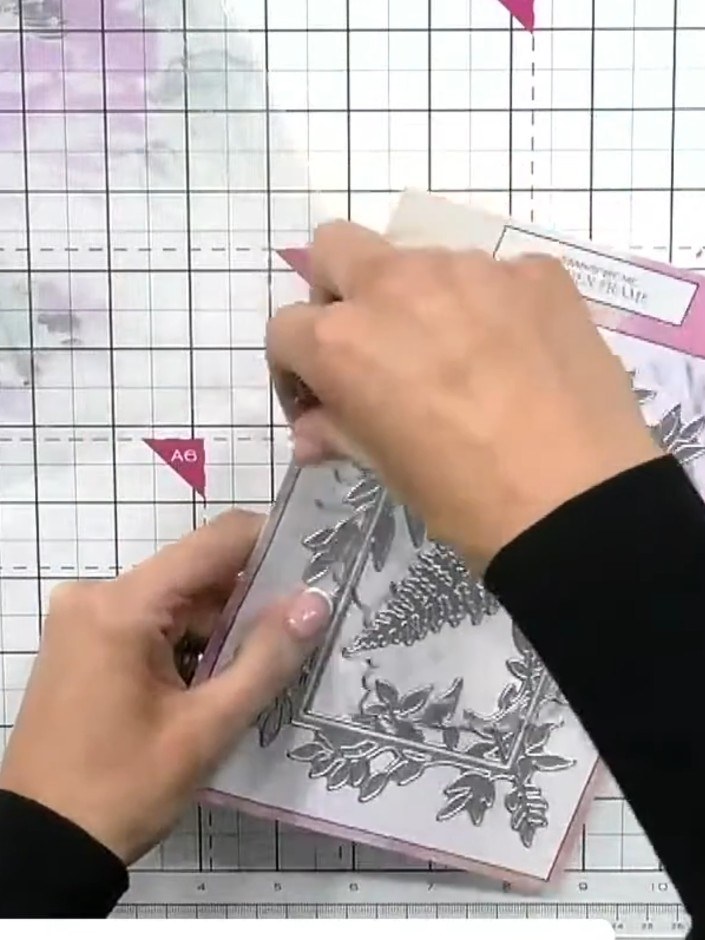
Remove the stamps from the packaging. Separate the exterior die from the foliage die and centre die, keeping the centre piece on the packet for storage.
▶ watch this step (8:00)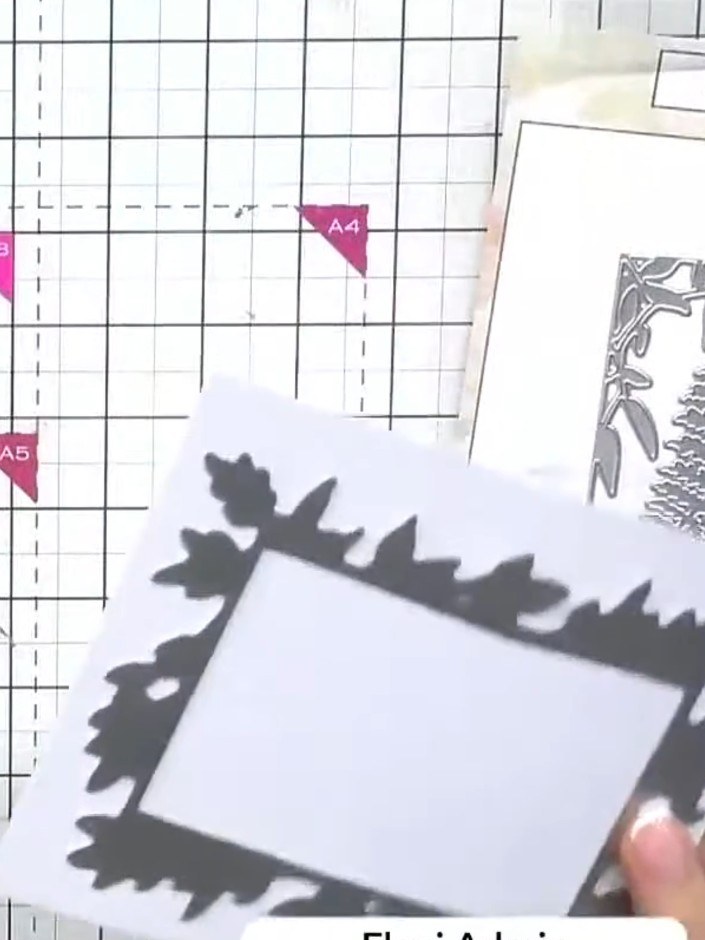
Run the foliage die from the Garden Frame die set through your die-cutting machine with a piece of card to cut out the foliage layer.
▶ watch this step (8:30)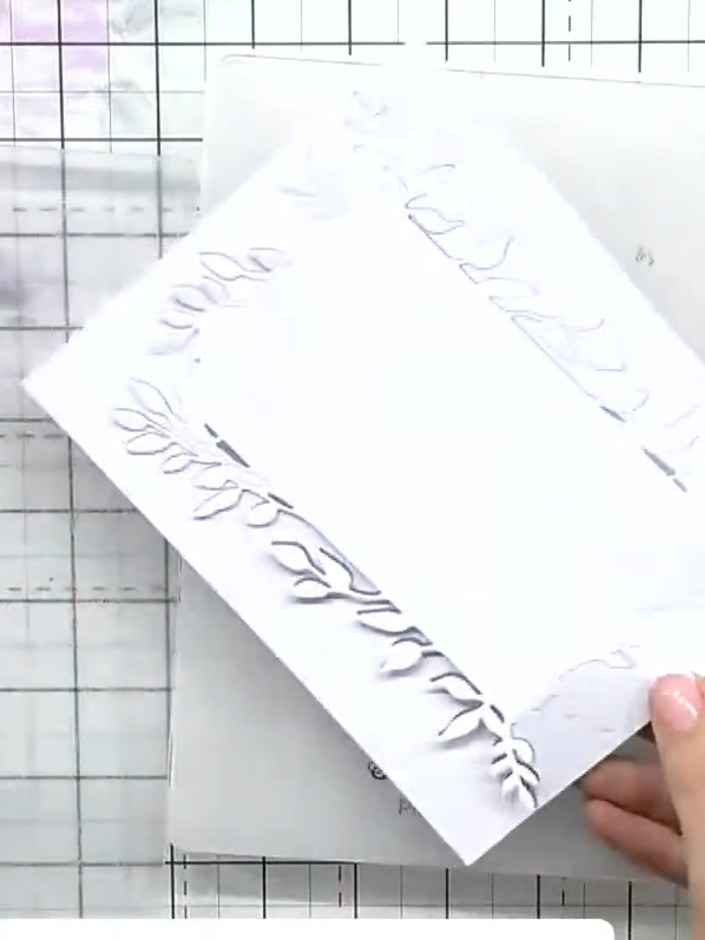
Pop out all the die-cut pieces from the Garden Frame die using a pokey tool or similar implement. Shake the die gently to release any remaining pieces.
▶ watch this step (9:30)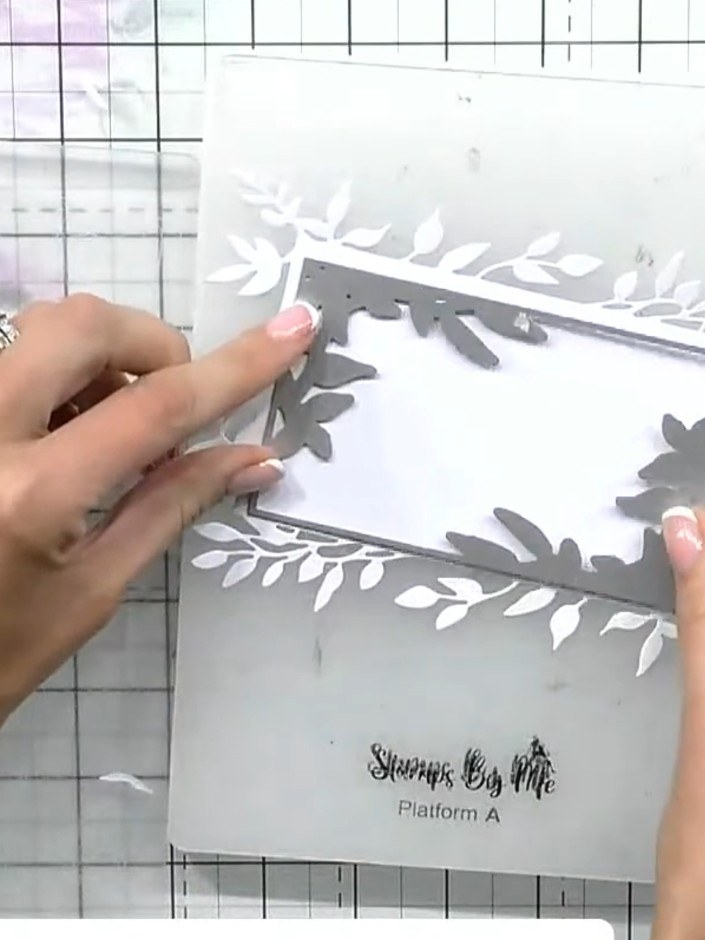
Position the interior garden frame die in the centre of your A5 rectangle card base. The die creates a decorative leafy border frame around the edges of the card.
▶ watch this step (10:15)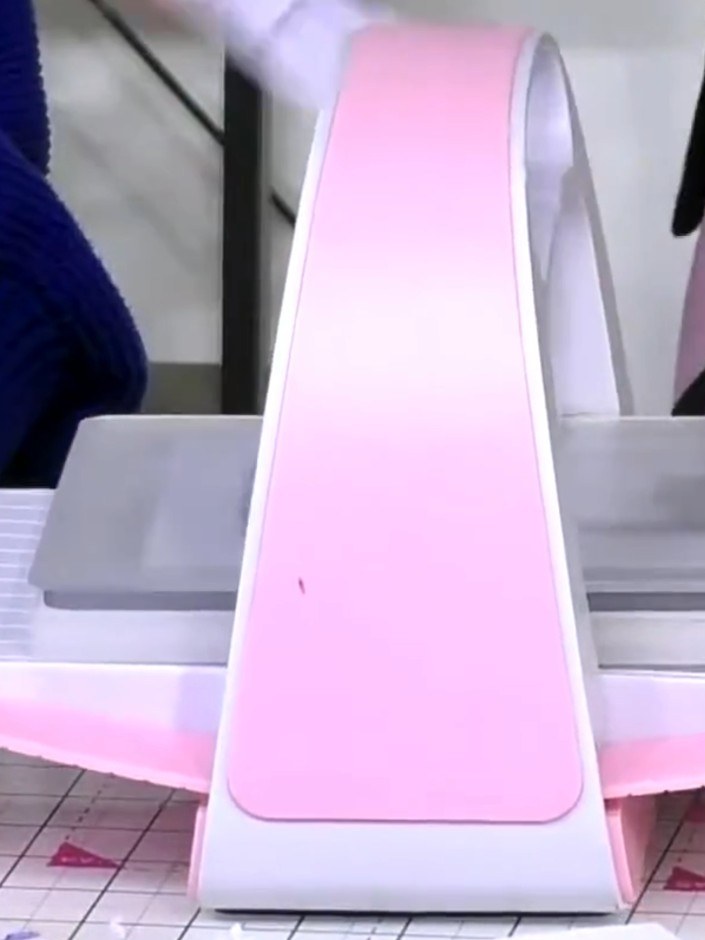
Run the card with the interior die positioned centrally through the die-cutting machine to create a window frame effect.
▶ watch this step (12:15)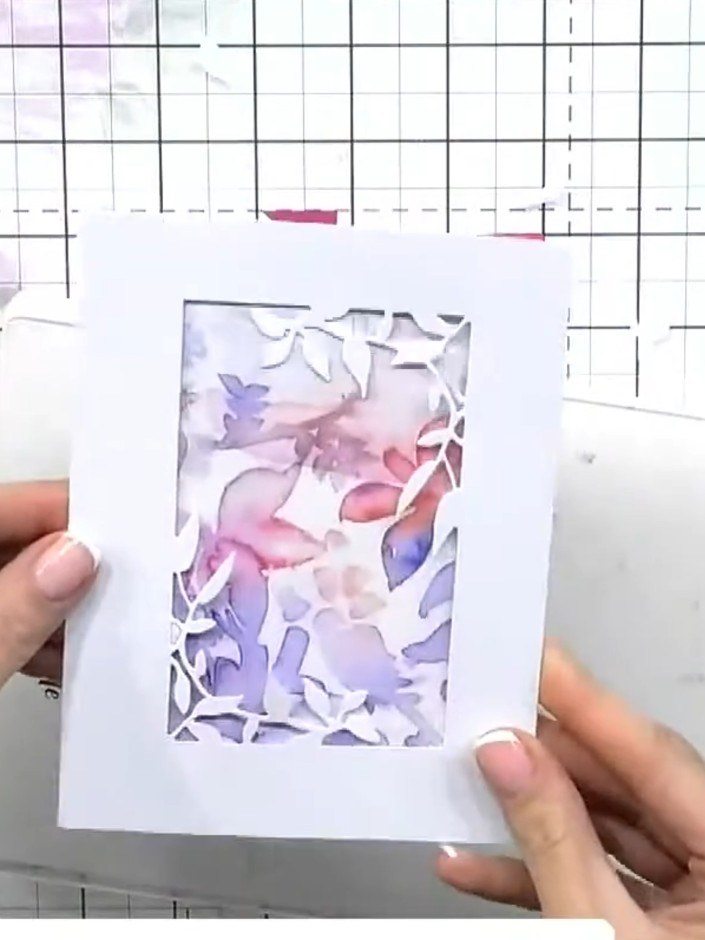
Apply glue to the back of the foliage die-cut pieces and layer them onto the card front, offsetting and building up the layers for dimension. Position the pieces to create an attractive arrangement around the aperture.
▶ watch this step (13:00)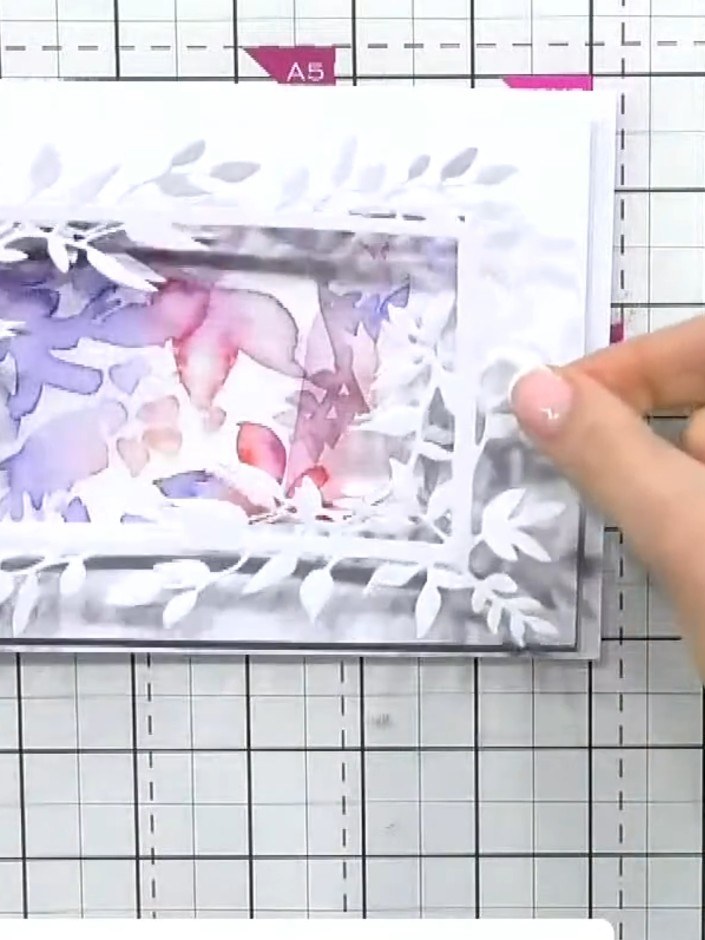
Add your stamped sentiment to the centre window of the card. Position it slightly offset or centred as desired, and secure in place.
▶ watch this step (17:00)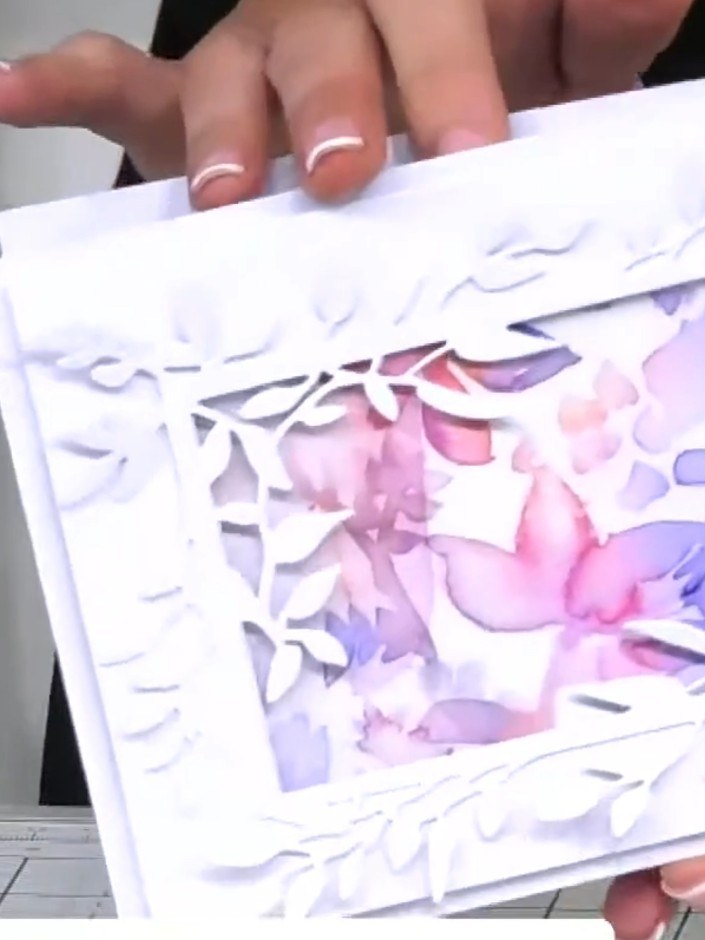
Add dimension to your card by attaching some foliage elements with foam pads to create 3D layering. Leave some elements unglued for added depth and movement.
▶ watch this step (18:00)Written up from the show itself. See every guide from our shows · free how-to guides · watch live on My Telly
