Give your friends $10 off their first order!
Refer a FRIEND








A project from our live show PRODUCT PREVIEW - HSN SHOW JAN 30TH - Join Toni for an early look at all the goodies coming to HSN this month - Broadcast 24TH JANUARY 2024 · 01/29/2024 · watch it from 7:00
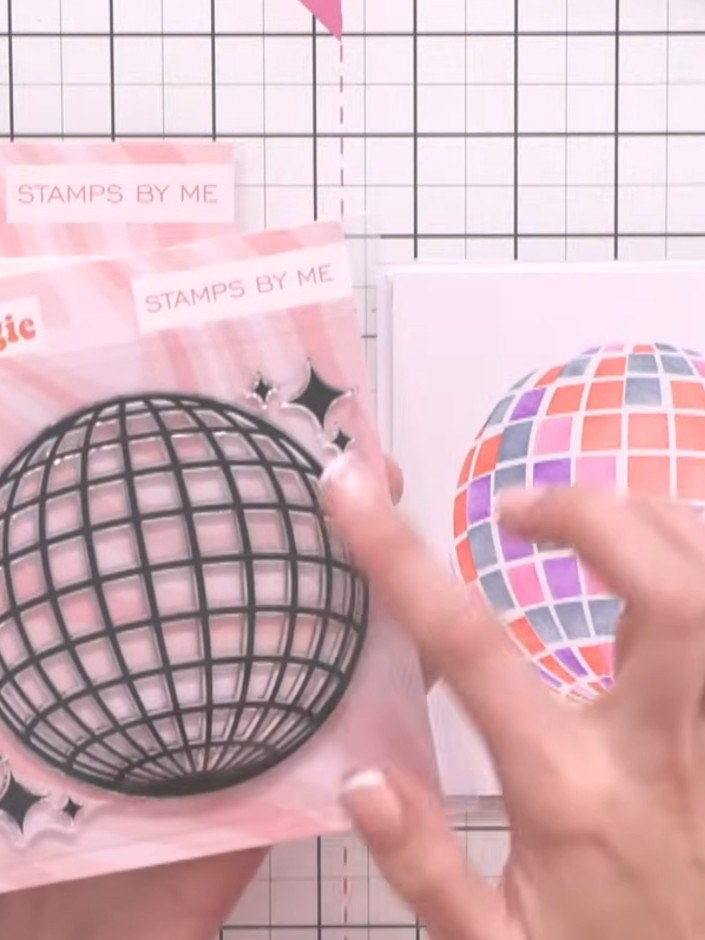
Create a vibrant disco-themed card featuring a retro sunburst background with layered stenciling. The design showcases a geometric grid floor and radiating yellow and pink rays, perfect for adding a fun, nostalgic 70s vibe to your cardmaking. This project uses layering stencils and coordinating stamp sets to build depth and visual interest.
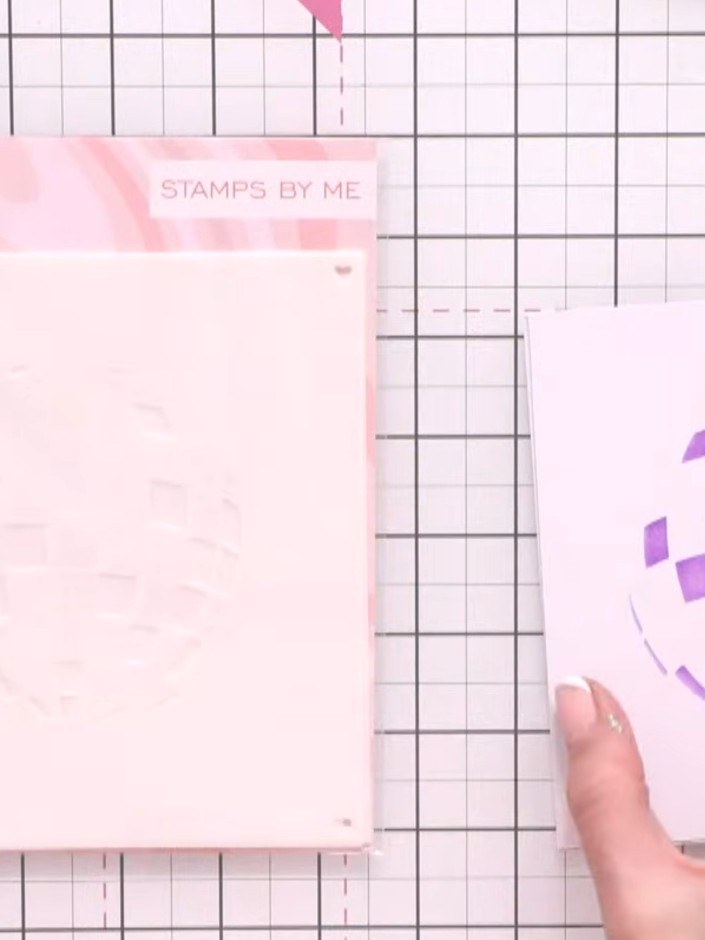
Position your first layering stencil on the card and ink the four corner hearts as positioning guides. These hearts will help you align the stencil correctly when you come to layer it up.
▶ watch this step (7:15)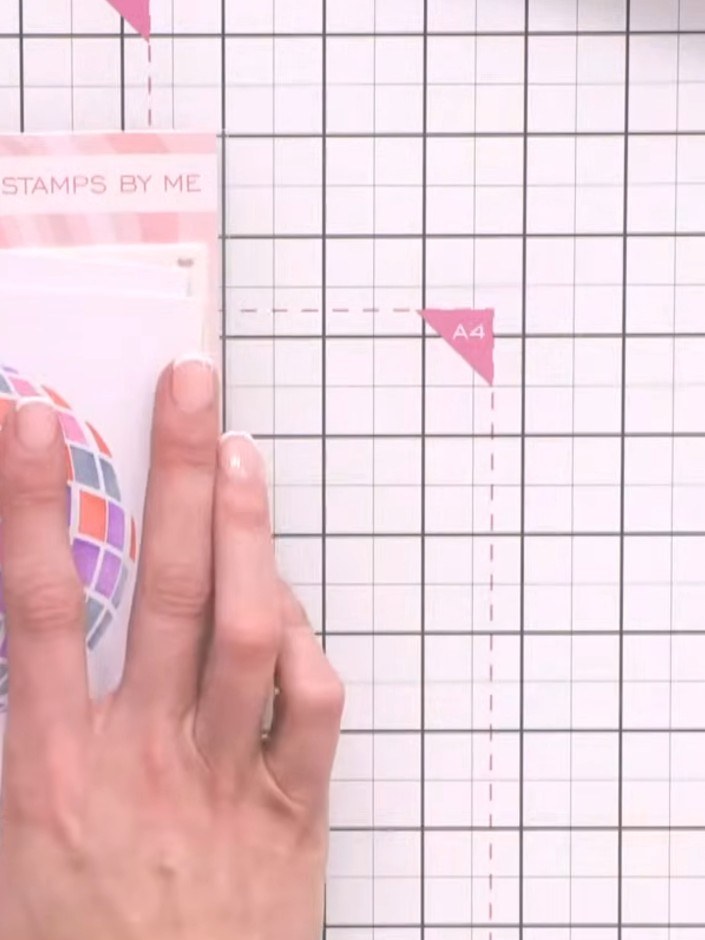
Line up the stencil using the heart registration guides. Apply your chosen ink colour through the first numbered stencil layer onto the card.
▶ watch this step (7:30)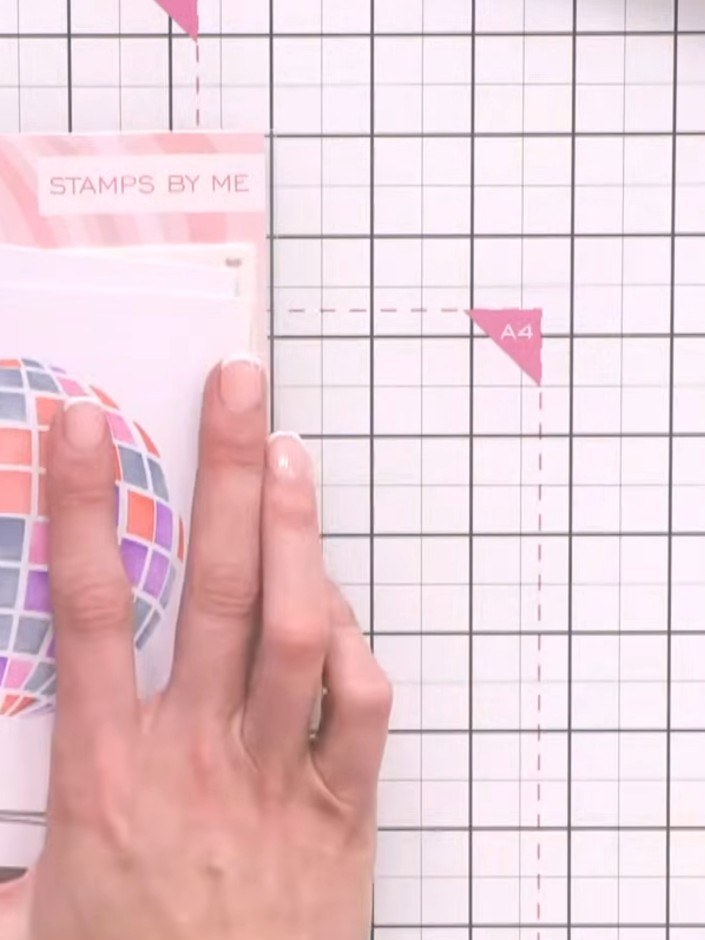
Continue layering the remaining stencils (two, three, and four) in sequence. Align each stencil using the heart registration guides at the corners before applying ink or colour.
▶ watch this step (7:30)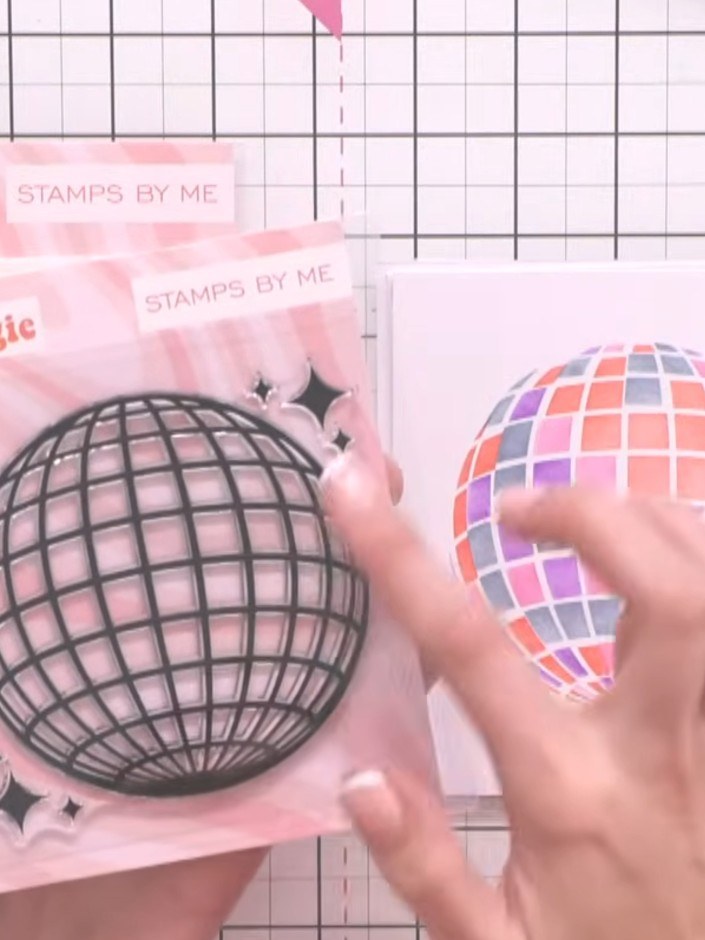
Stamp the coordinating disco ball stamp onto your card base using black or grey ink. The stamp cuts out the full disco ball design.
▶ watch this step (8:00)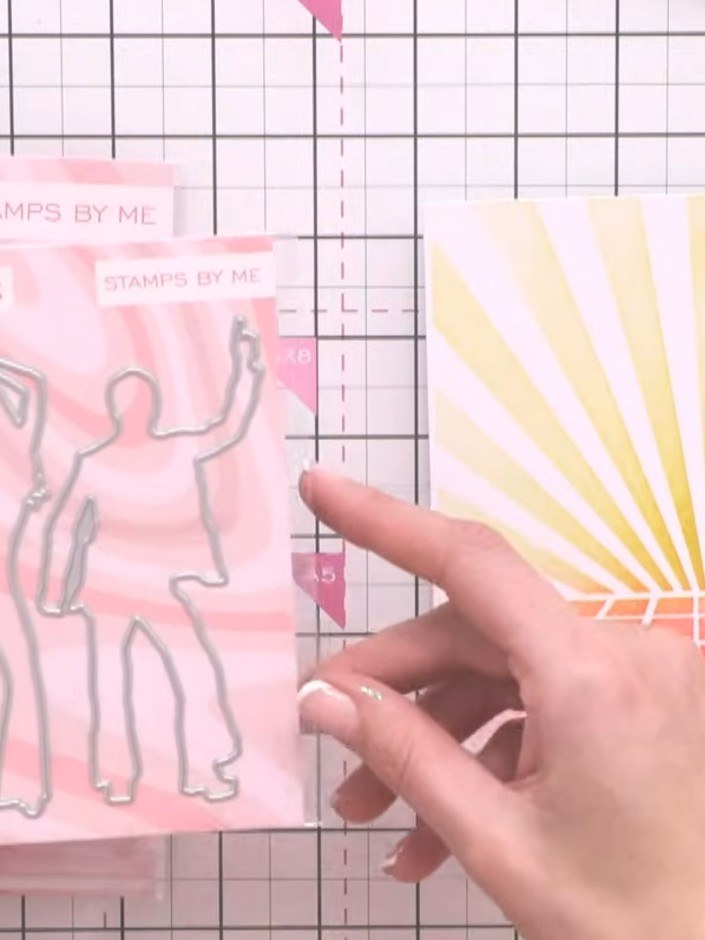
Die cut the dancing figures from the Happy Feet stamp and die set. Use glitter card or patterned paper for a decorative finish.
▶ watch this step (8:30)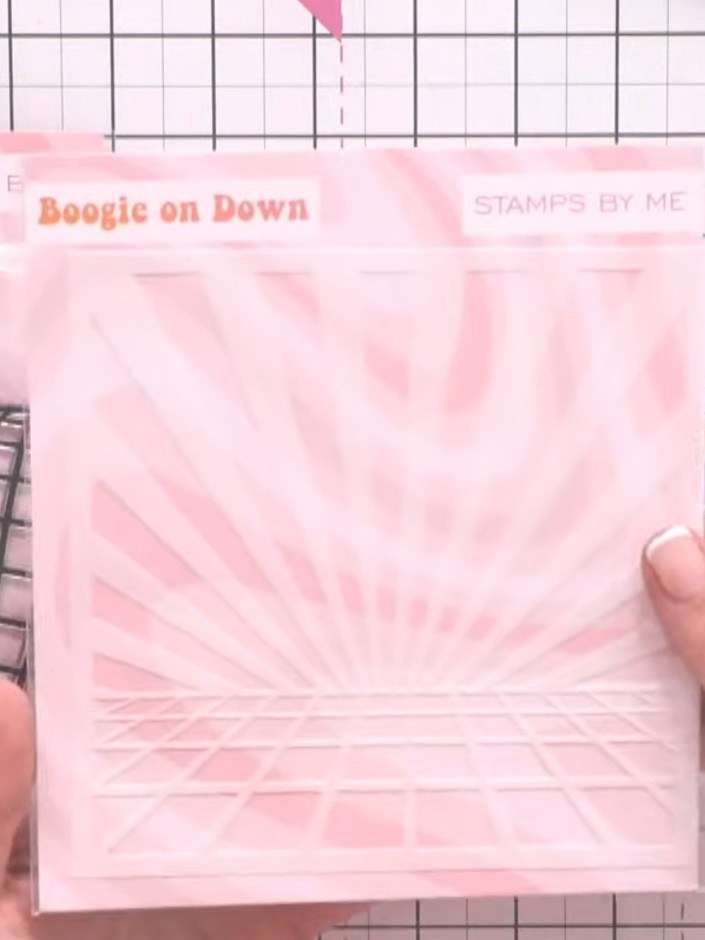
Position the disco ball and decorative elements on your card front, arranging them over the pink starburst background. Layer the pieces to create dimension and visual interest.
▶ watch this step (8:45)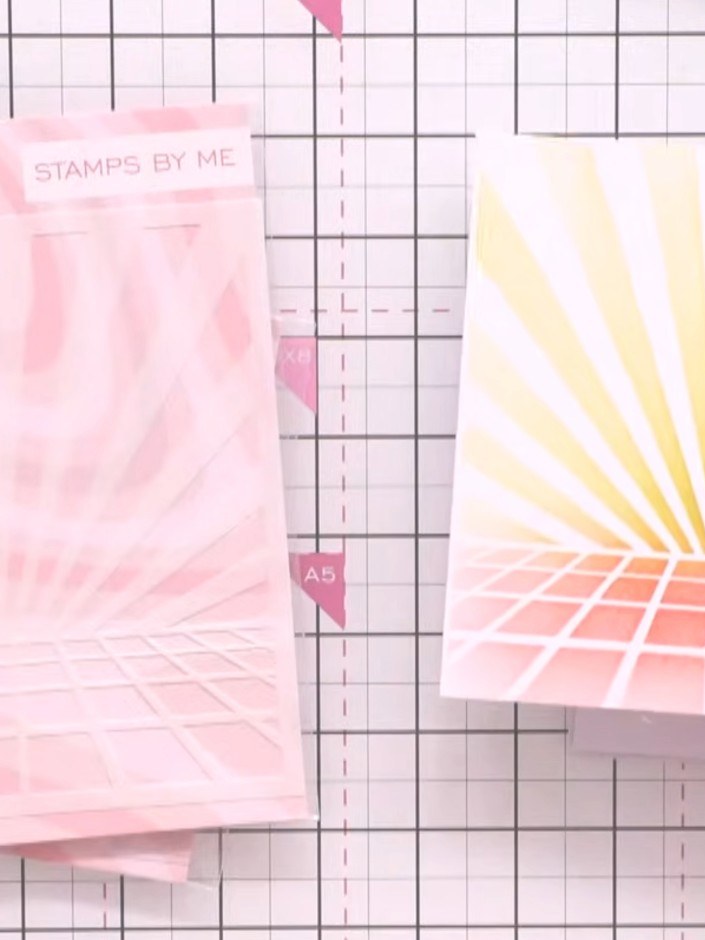
Position the disco floor background stencil over your card and blend red and yellow ink through it to create a lighting effect with the radiating sunburst pattern.
▶ watch this step (9:00)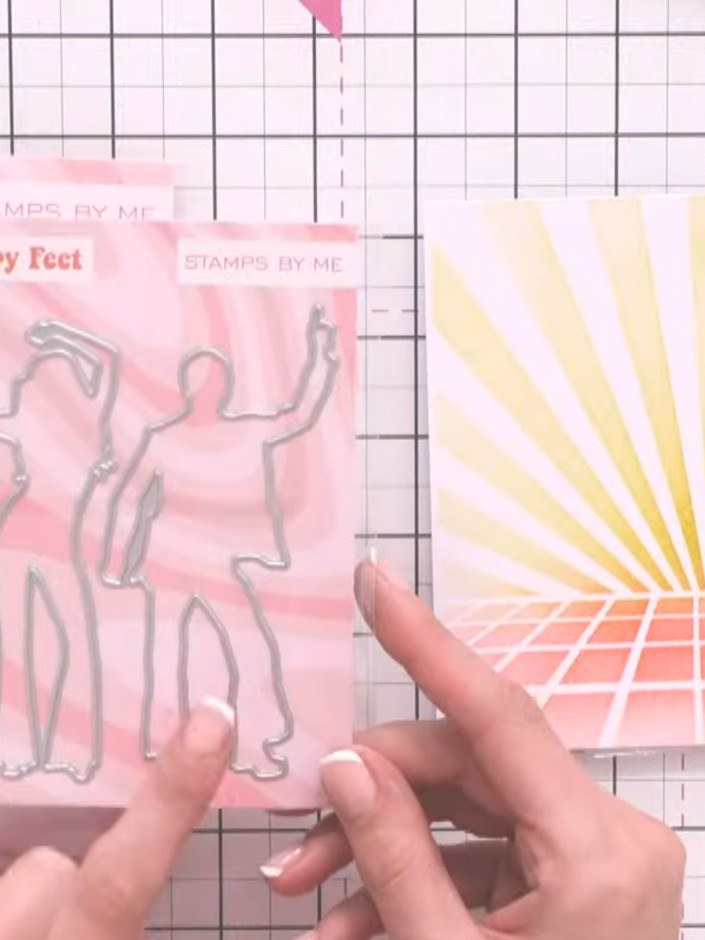
Choose your sentiment from the stamp set and stamp it onto your card. Position it in your desired location to complete the card.
▶ watch this step (9:15)Written up from the show itself. See every guide from our shows · free how-to guides · watch live on My Telly
