Give your friends $10 off their first order!
Refer a FRIEND








Prices change straight away. Every language is our own translation, not Google.
A project from our live show THE BRAND NEW LAUNCH - Join Toni in her UK Studios - Broadcast 23rd July 2026 · 07/23/2026 · watch it from 36:00
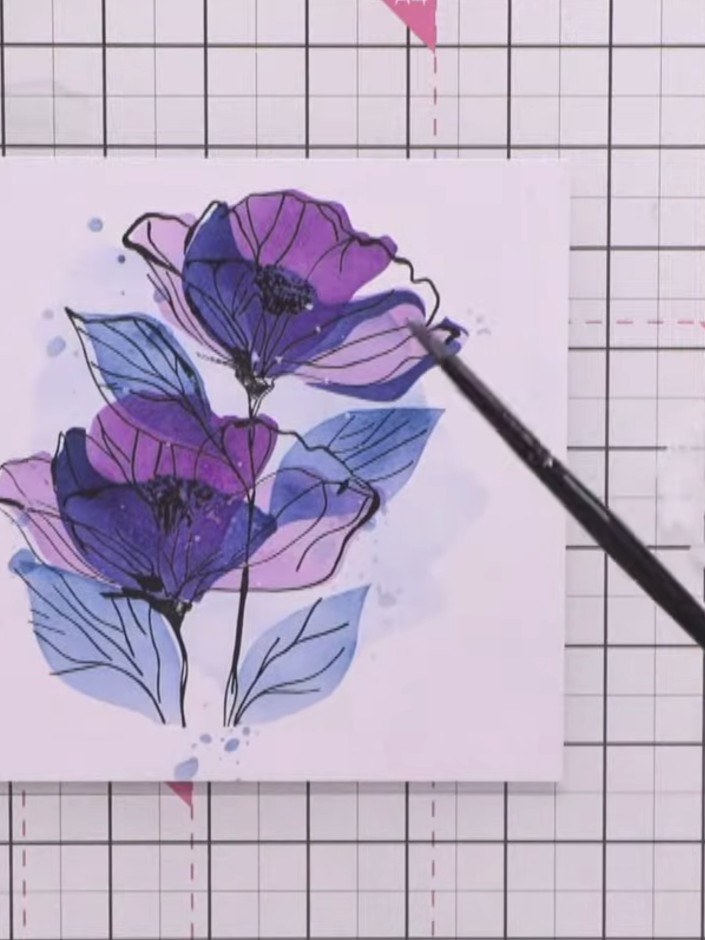
Create stunning layered poppy cards with a contemporary artistic style. Using numbered stencils and vibrant inks in purples, blues and pinks, you'll build up dimensional floral designs with added paint splats for texture. The result is two beautiful cards - one with a soft pastel aesthetic and another with dramatic contrast on black - perfect for birthdays or special occasions.
 Stamps By Me - Radiant Poppies - 300524JSEE IT
 Wow! Ultimate Embossing Ink Pad - 180726ASEE IT
 Stamps By Me - Premium Pigment Ink Pure White - Cotton - 121022MSEE IT
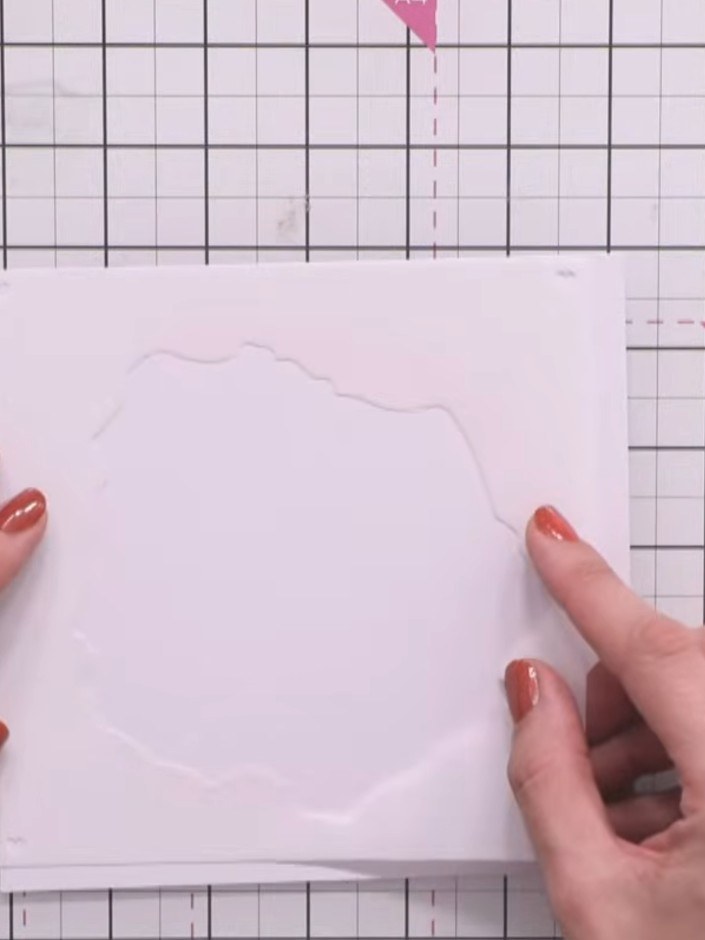
Take your first piece of white card and position stencil number one in the top corner, lining it up with the edge of the card.
▶ watch this step (38:30)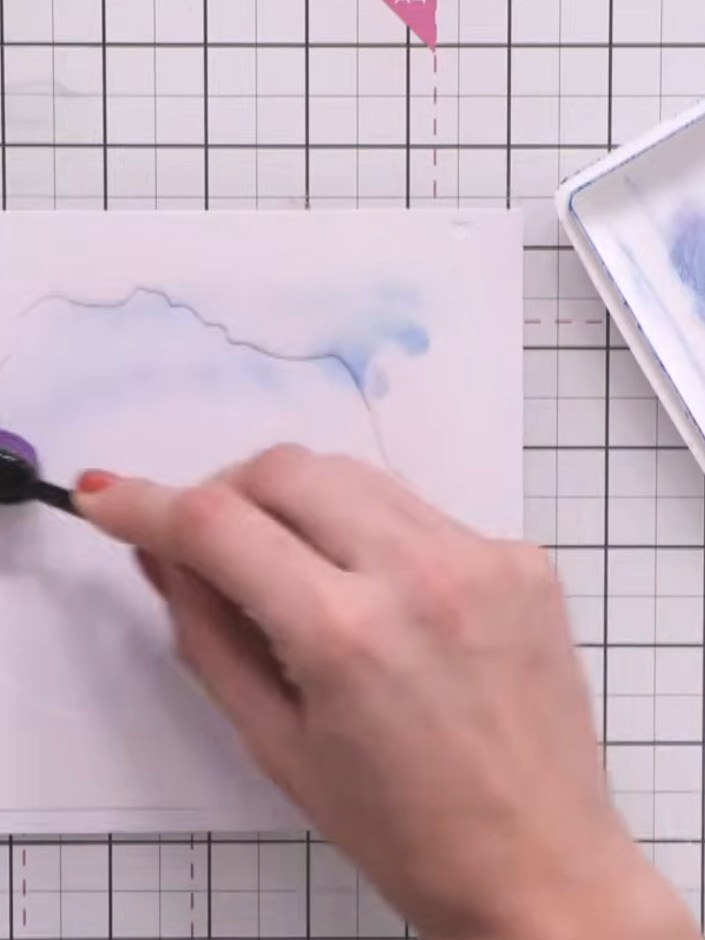
Using a blending brush, apply light blue ink loosely through the first layer of the Radiant Poppies stencil. Work with a light touch, allowing the coverage to be patchy as subsequent layers will build up the design.
▶ watch this step (39:00)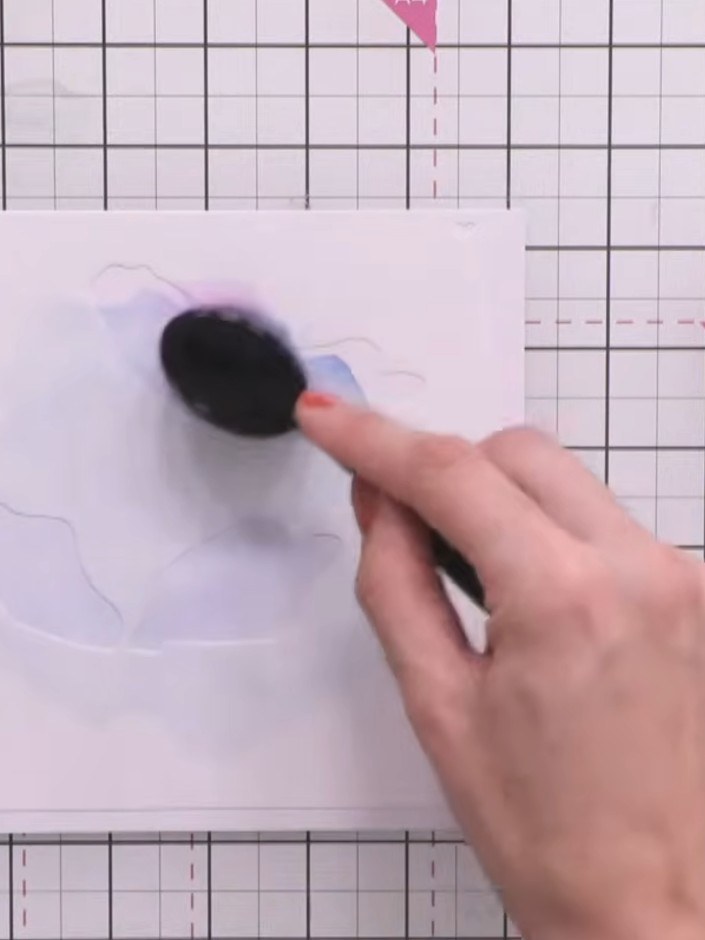
Position stencil number two, lining it up with the edge, top and side of the card. Apply purple ink through the stencil using a blending tool to build definition between the layers.
▶ watch this step (39:30)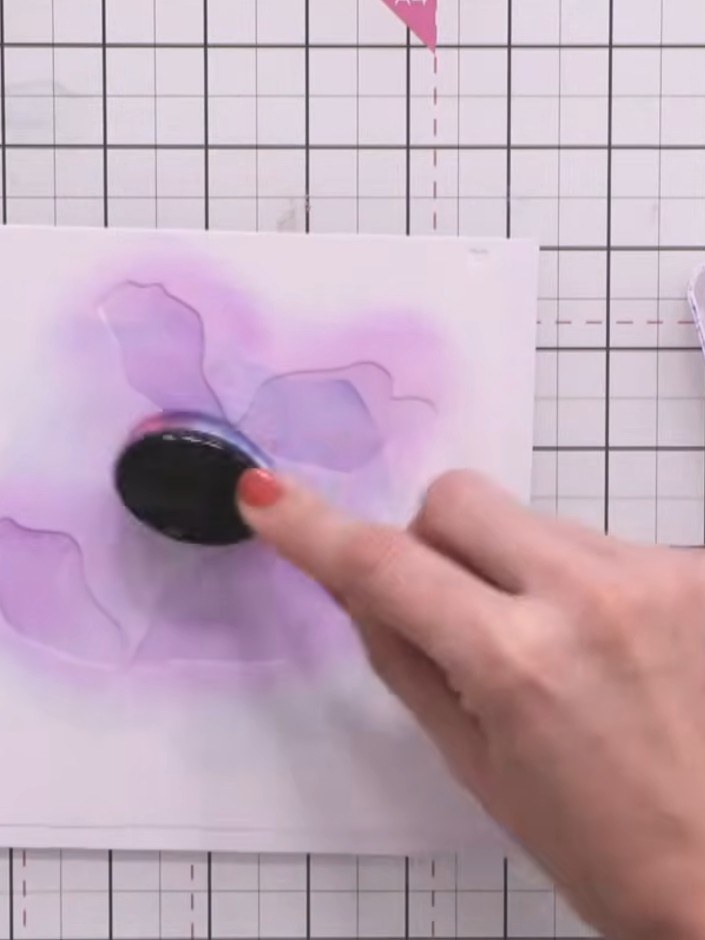
Continue applying stencils three, four and five in sequence using purple ink. Change the shade of purple with each layer and press slightly harder to build up depth and dimension in the poppy design.
▶ watch this step (40:00)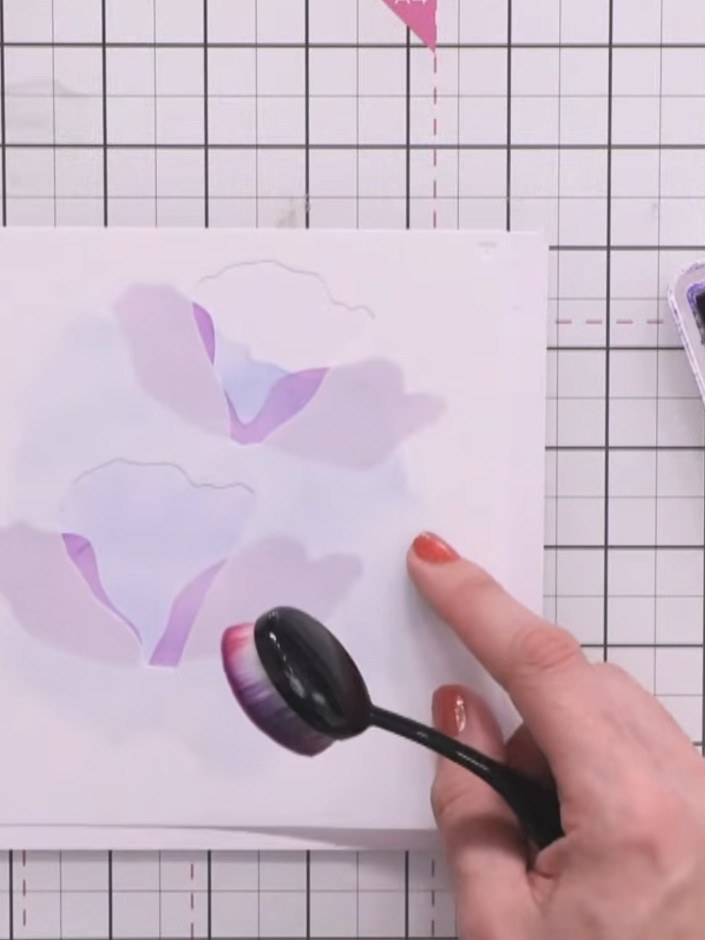
Position the splat stencil randomly across the card. Use the ink pad to apply purple ink through the stencil openings to create artistic splatter effects on your card.
▶ watch this step (40:30)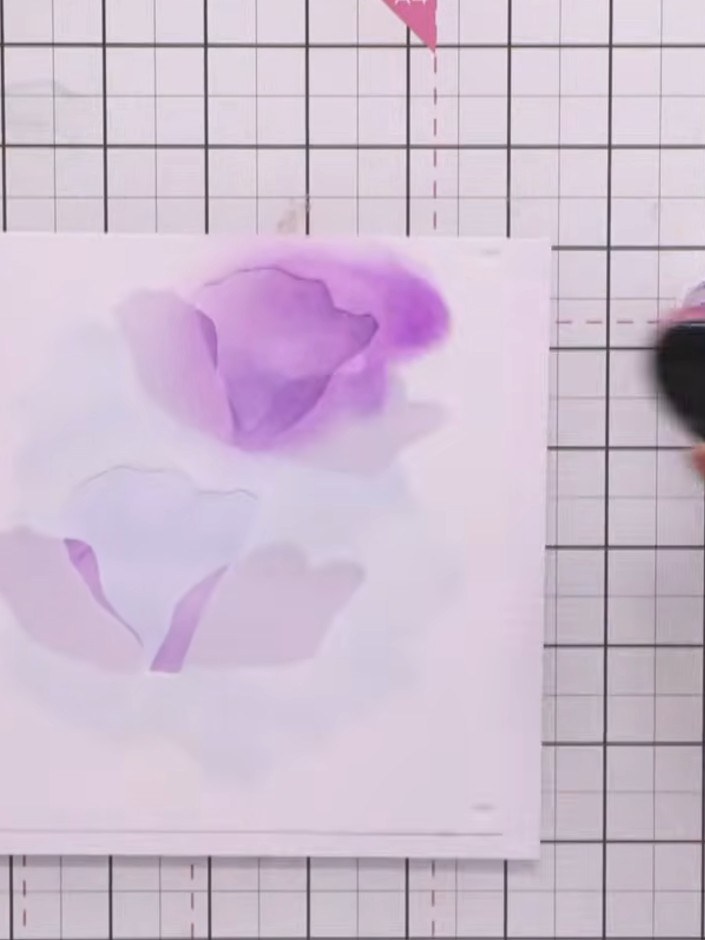
Move the splat stencil to different positions on your card and add more purple ink splats as desired to create additional texture and interest across the design.
▶ watch this step (41:00)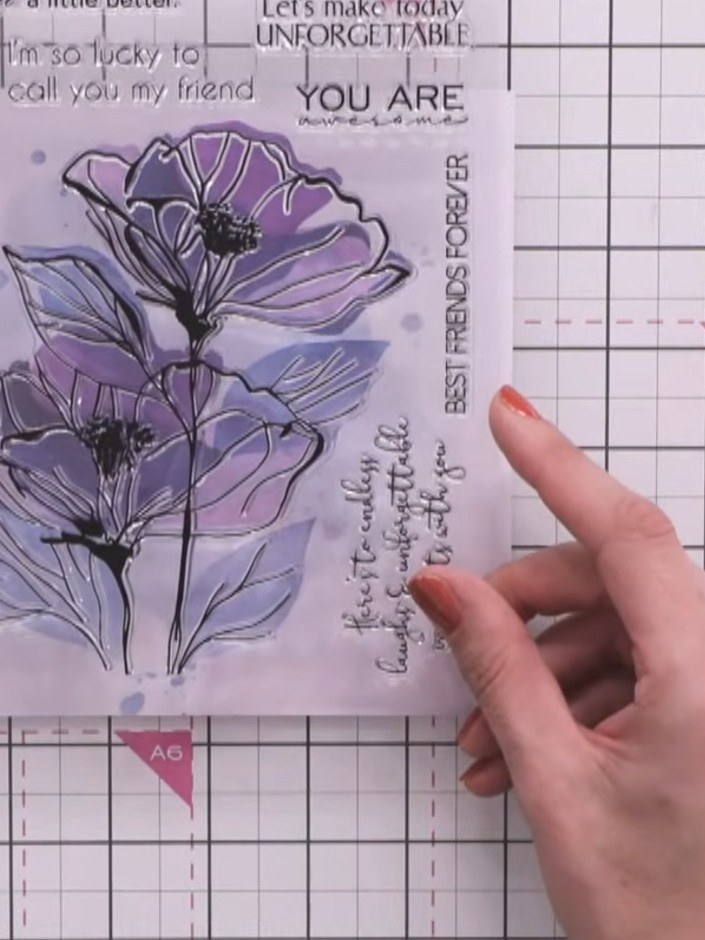
Stamp the large poppy stamp in black ink onto the layered background, positioning it over the stencilled layers to complement the purple and blue watercolour design.
▶ watch this step (44:45)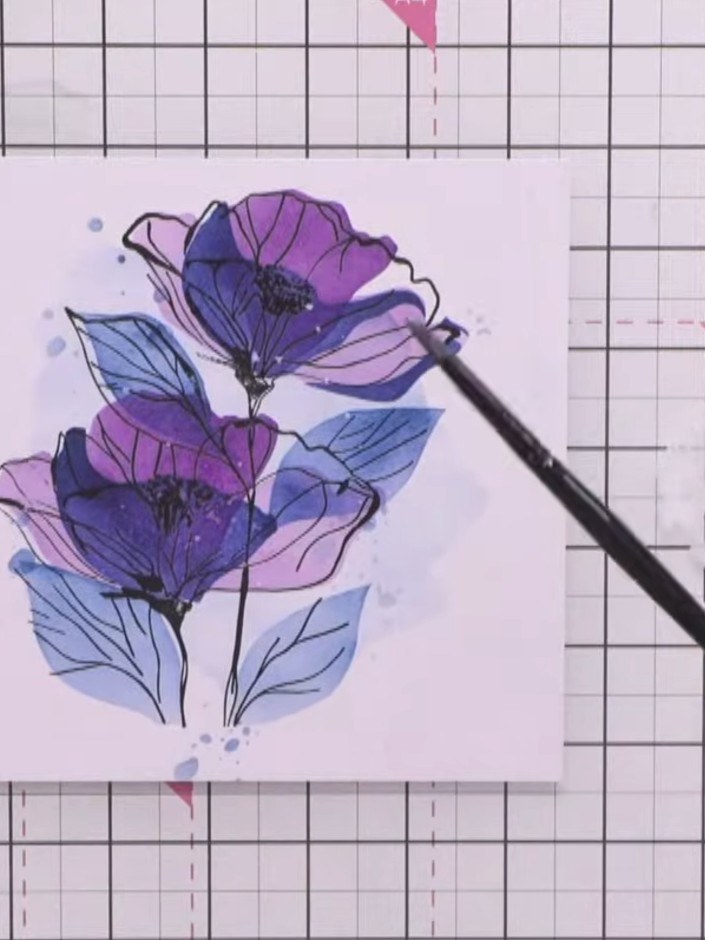
Optional: Add white splats to the card for extra artistic detail. Spray white ink onto a paintbrush and flick it over the card to create splatter marks.
▶ watch this step (49:30)Written up from the show itself. See every guide from our shows · free how-to guides · watch live on My Telly


