Give your friends $10 off their first order!
Refer a FRIEND








A project from our live show MY PODCAST - Catch my latest updates broadcast 29th April 2024 · 04/29/2024 · watch it from 39:00
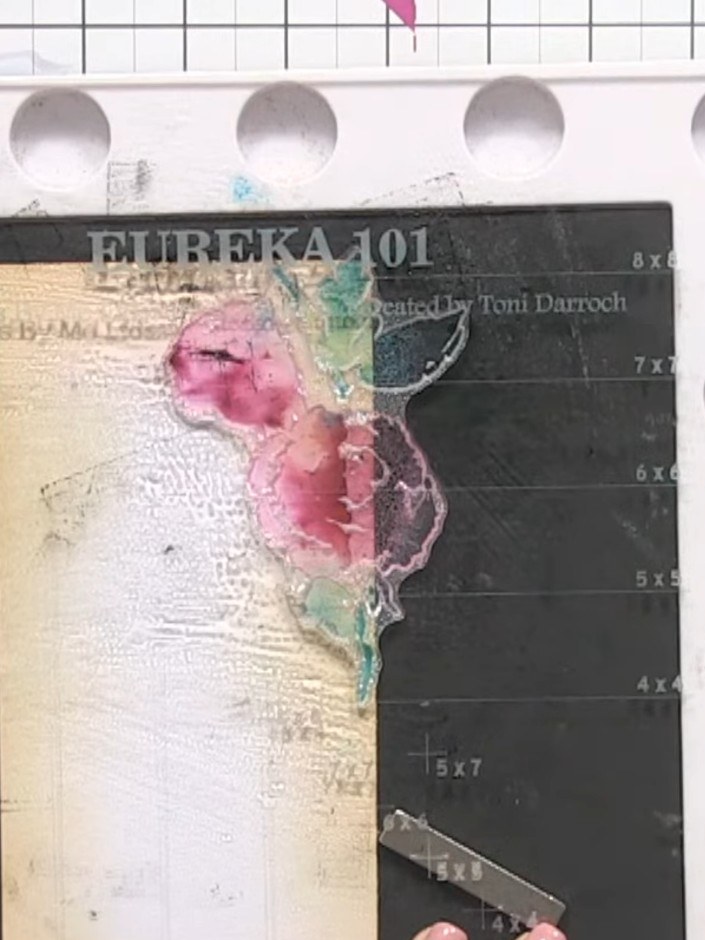
Create an elegant slimline card featuring vintage-style watercolour florals in soft pinks and teals. This project uses a two-part lamination stamp system to build up layers of colour and detail, producing a beautiful hand-painted effect. The technique involves layering coloured inks, spraying with water, and stamping outline details to achieve a professional watercolour finish.
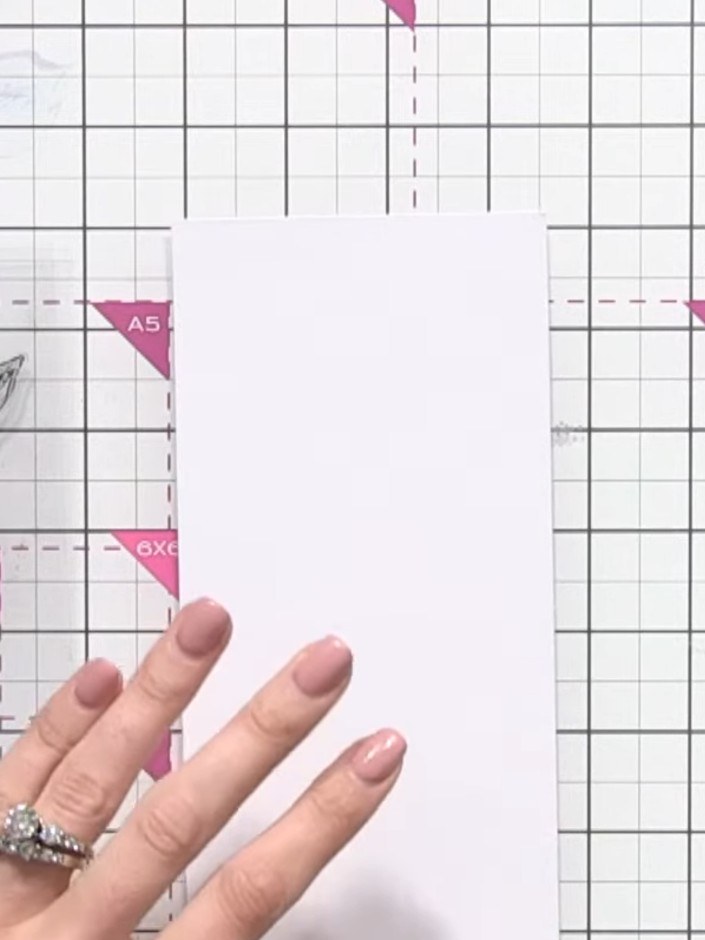
Take a piece of white card stock cut to slimline size and place it on your craft mat.
▶ watch this step (39:15)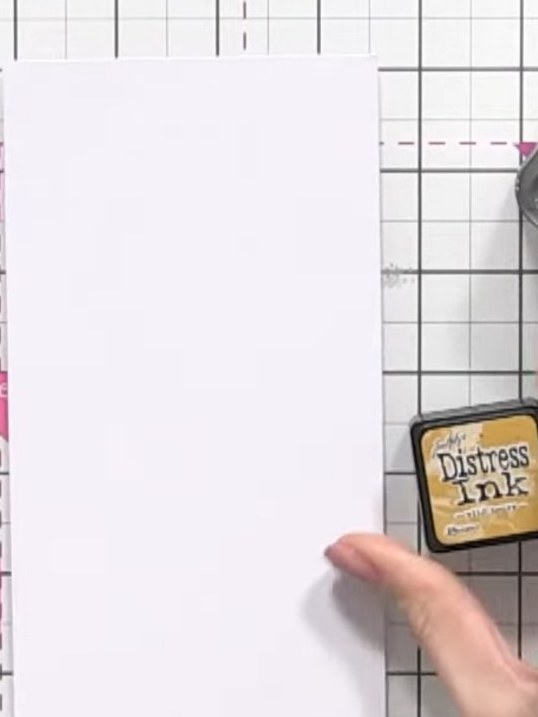
Using a large blending brush, apply a yellow-orange Distress Ink around the edges of the white card panel to create a vintage border effect.
▶ watch this step (40:00)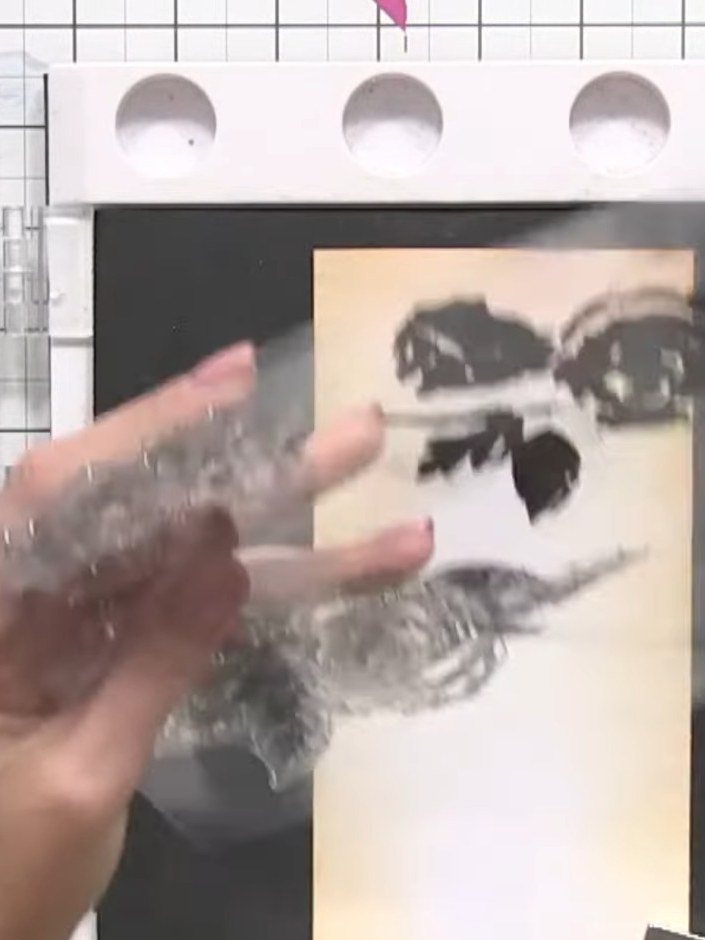
Ink up the solid portion of the stamp with pink ink, covering all the flower areas completely. Ensure even coverage across the entire floral design.
▶ watch this step (43:00)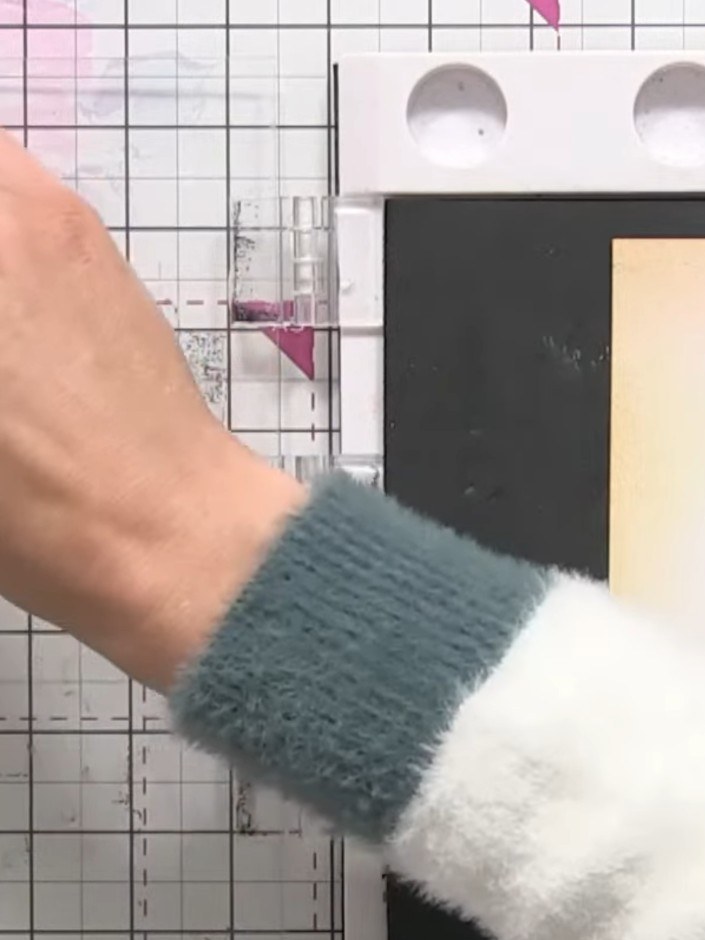
Take your ink pad and apply purple ink to some areas of the stamp. Add green or teal ink to the leaf sections of the stamp.
▶ watch this step (43:30)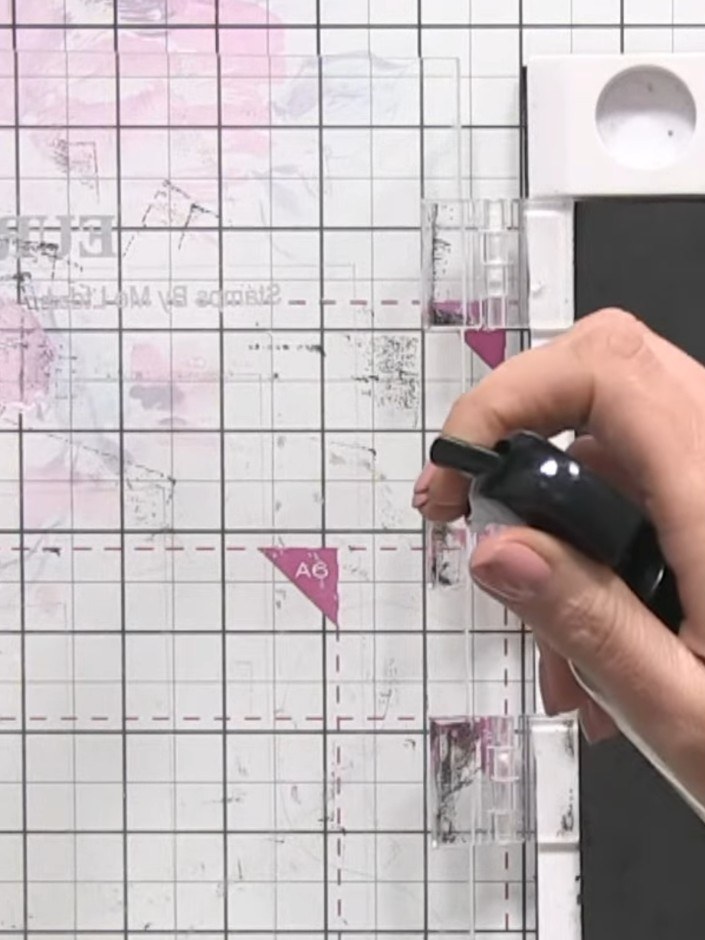
Spray the inked stamp with water using a spray bottle. Apply two to four sprays depending on how fluid you want the watercolour effect to be.
▶ watch this step (44:15)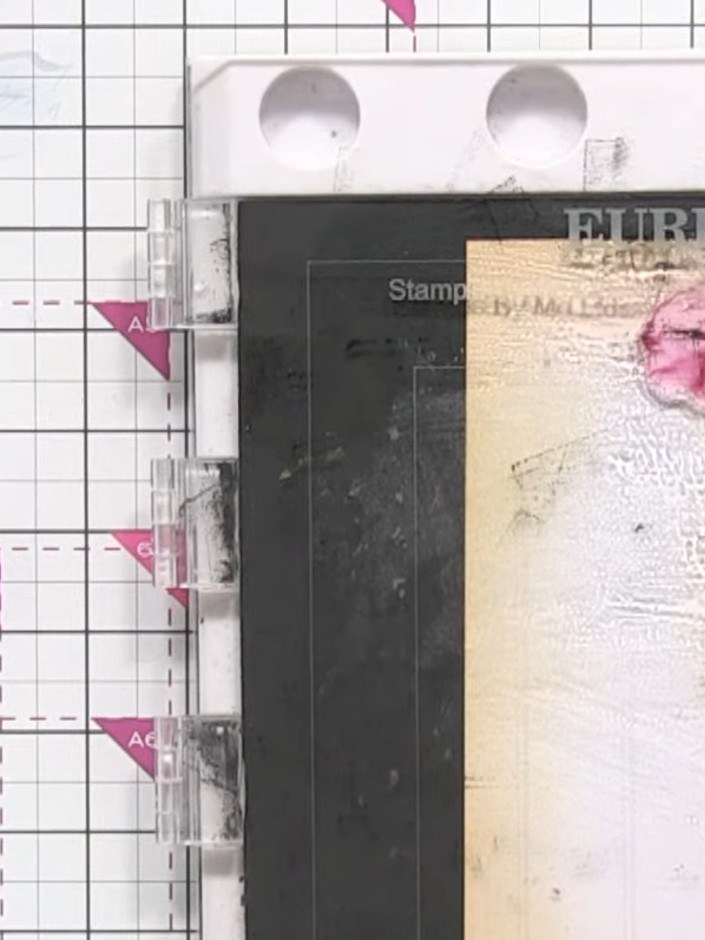
Press the stamp firmly onto the card and hold it in place, allowing the water and pink ink to transfer onto the surface. You can see the watercolour effect beginning to spread on the mat.
▶ watch this step (44:30)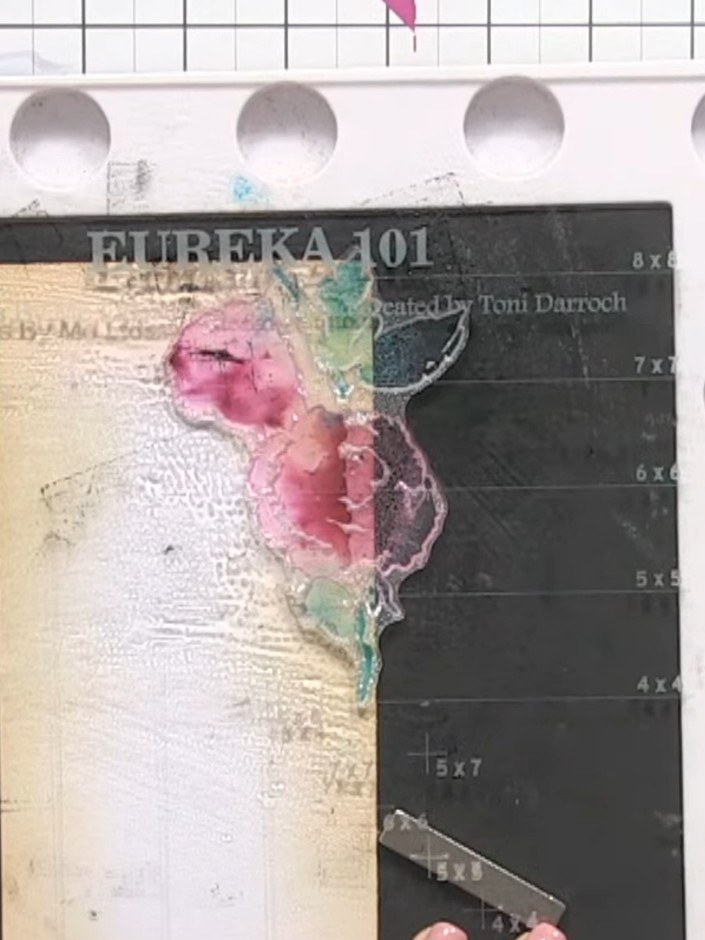
Lift the stamp away from the card and allow it to dry slightly. Repeat the stamping process with the pink and teal flowers in different areas of the card to build up your floral design.
▶ watch this step (44:45)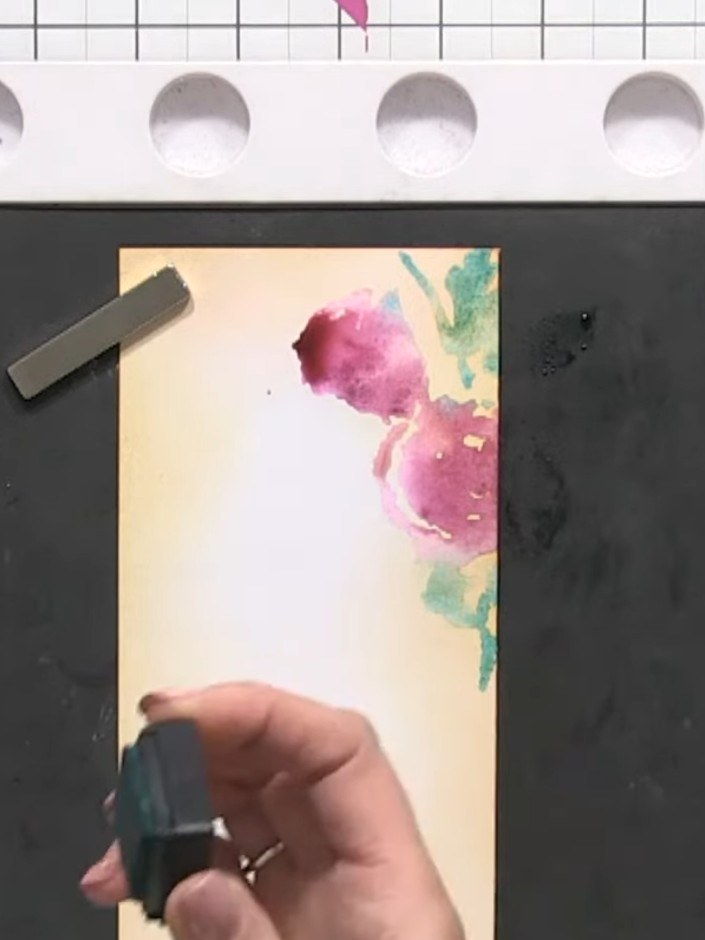
Spray the stamp three times with water for a softer, more blended effect. This creates a different look compared to using fewer sprays, which would give crisper, more defined details.
▶ watch this step (46:00)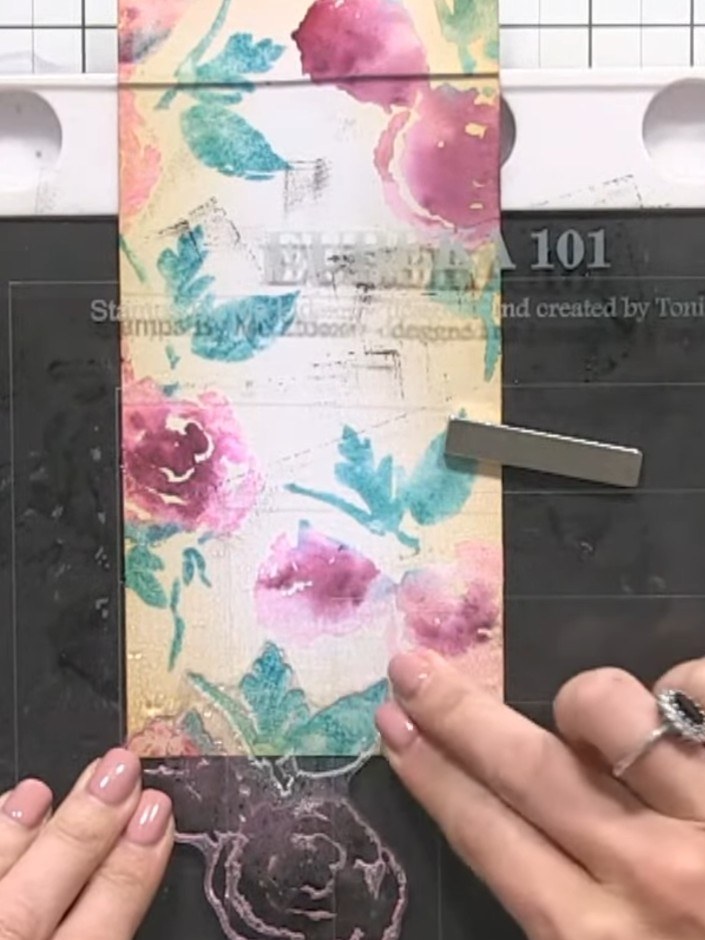
Clean the stamp thoroughly to remove the coloured ink. Once clean and dry, ink up the detail portion of the stamp with black ink, ensuring even coverage.
▶ watch this step (50:00)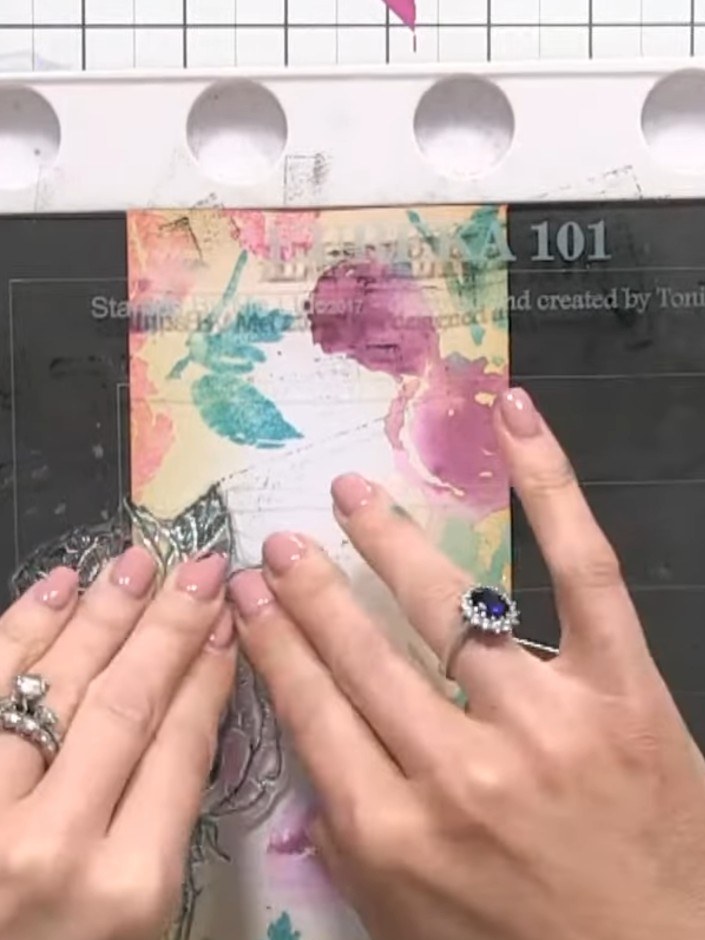
Stamp the black detail layer over the dried watercoloured panel, carefully aligning it with the coloured flowers and leaves to add definition and shading.
▶ watch this step (53:00)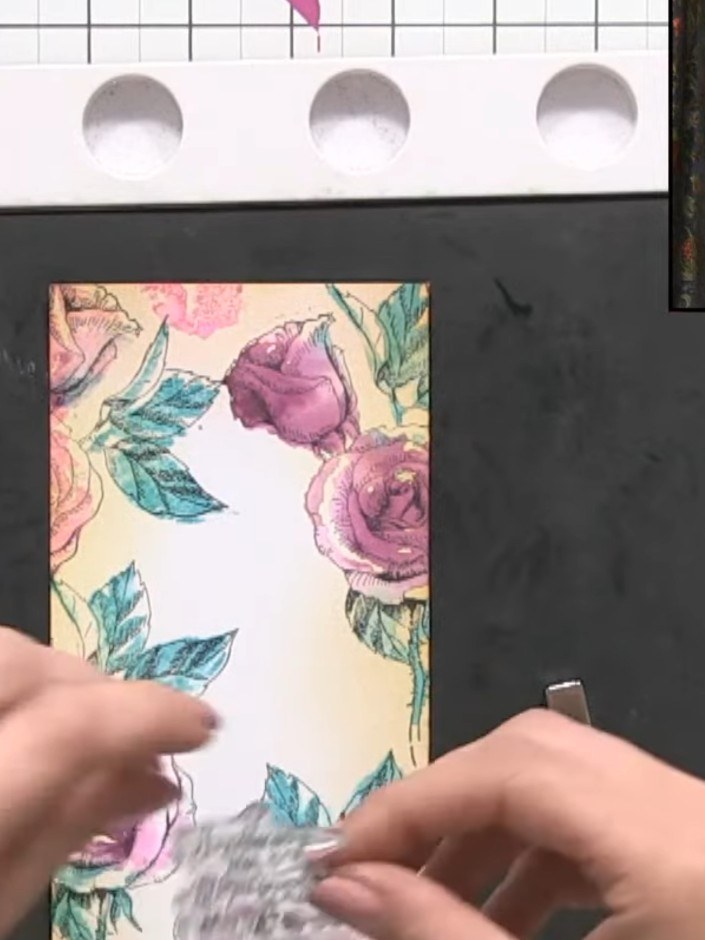
Stamp a sentiment from the set in black ink in the centre of the white space on the card panel.
▶ watch this step (56:00)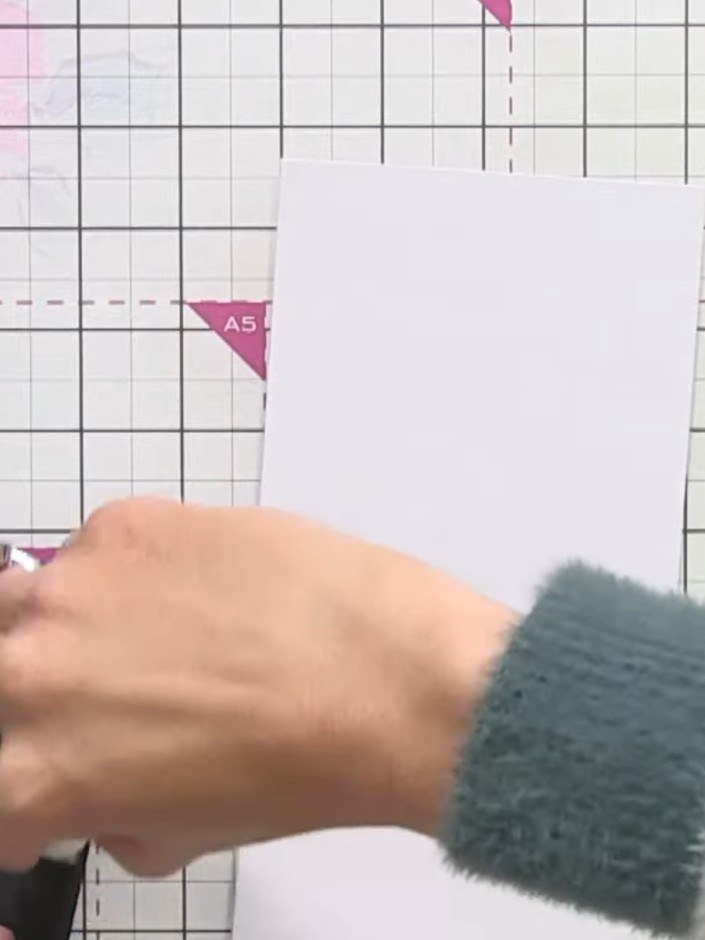
Using black ink and an applicator, swipe around the edges of the white card base to create a border frame effect.
▶ watch this step (57:30)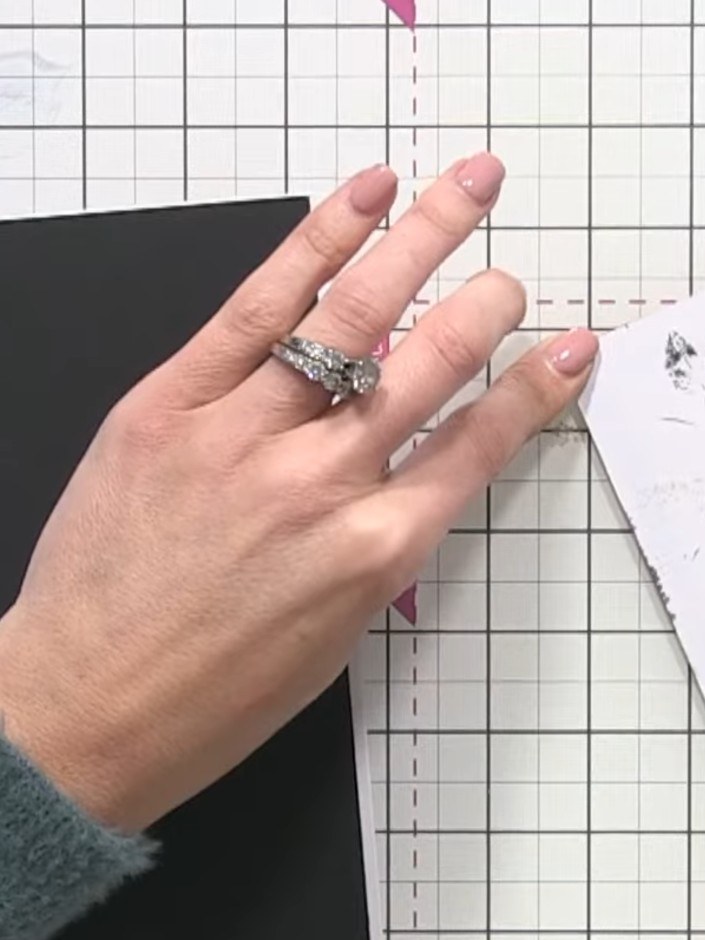
Mount the finished white floral panel onto black card stock, positioning it to leave a narrow border visible on the left and right sides to create a polished slimline card.
▶ watch this step (58:00)Written up from the show itself. See every guide from our shows · free how-to guides · watch live on My Telly