Give your friends $10 off their first order!
Refer a FRIEND








A project from our live show Create and Craft TV - IMALA LAUNCH SHOW 2 - Join Carley Duff - Broadcast 30th April 24 · 04/30/2024 · watch it from 28:45
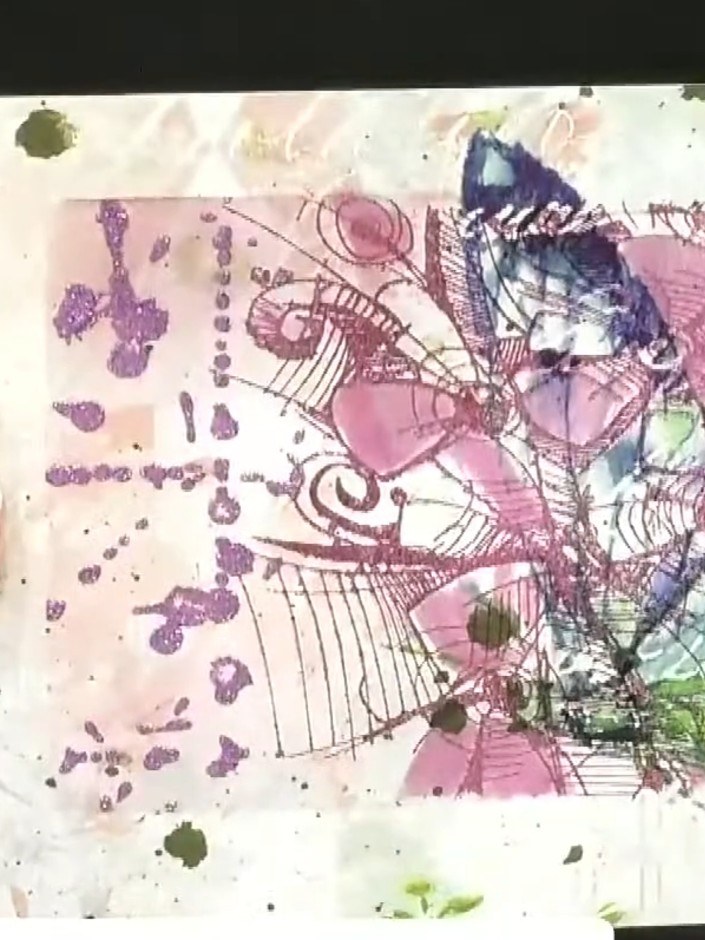
Create a beautifully textured card featuring soft watercolour washes in pink and green tones with dimensional glitter paste details. This project combines stencilling techniques with watercolour blending to achieve a delicate, artistic background with shimmering accents. The layered approach builds depth through texture and colour for an elegant handmade card.
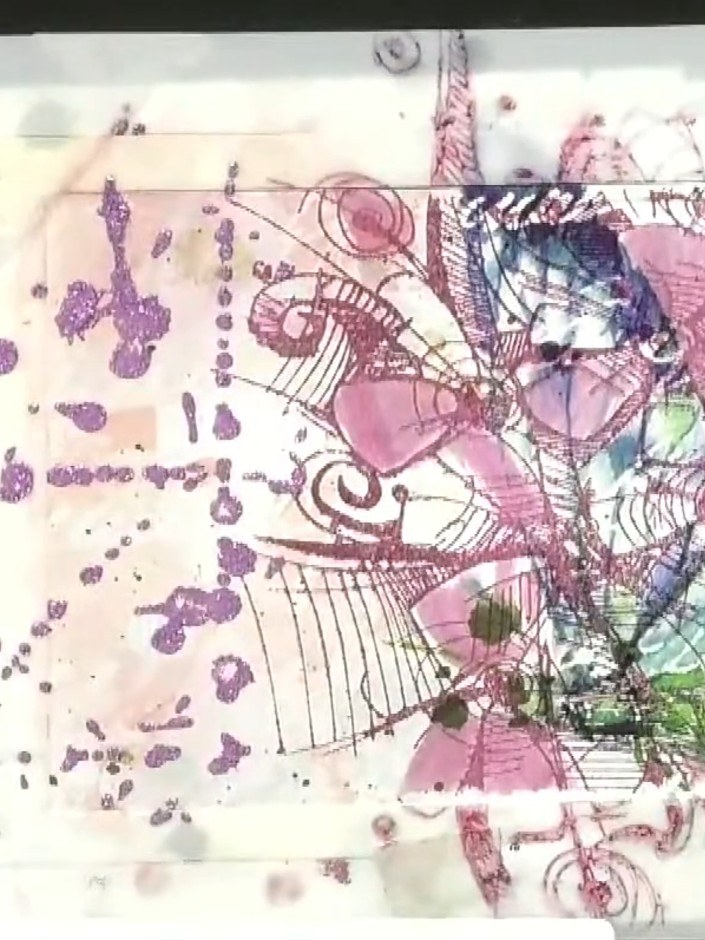
Position your chosen stencil on the card base. Secure it in place with low-tack tape or hold it firmly to prevent movement whilst working.
▶ watch this step (28:45)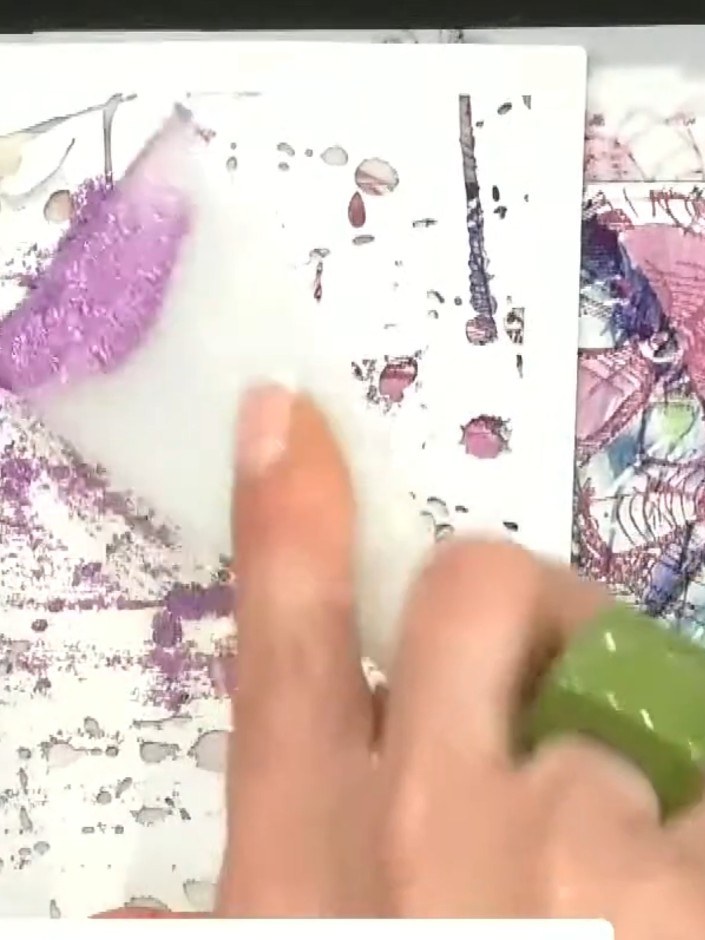
Use a spatula to apply glitter paste through the stencil opening onto your card. Control the amount of paste you use, applying it in a thin, even layer. The paste will add lovely sparkle and soft texture to your design.
▶ watch this step (29:00)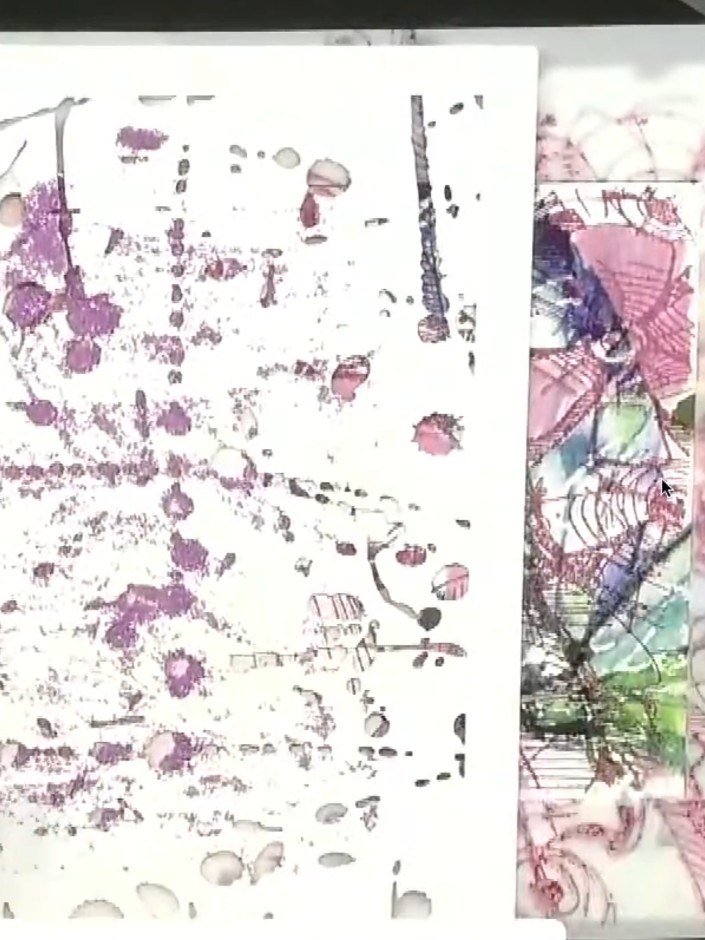
Carefully lift the stencil away from the card to reveal the textured paste design underneath. The purple and pink glitter paste pattern will remain on the white card surface.
▶ watch this step (29:15)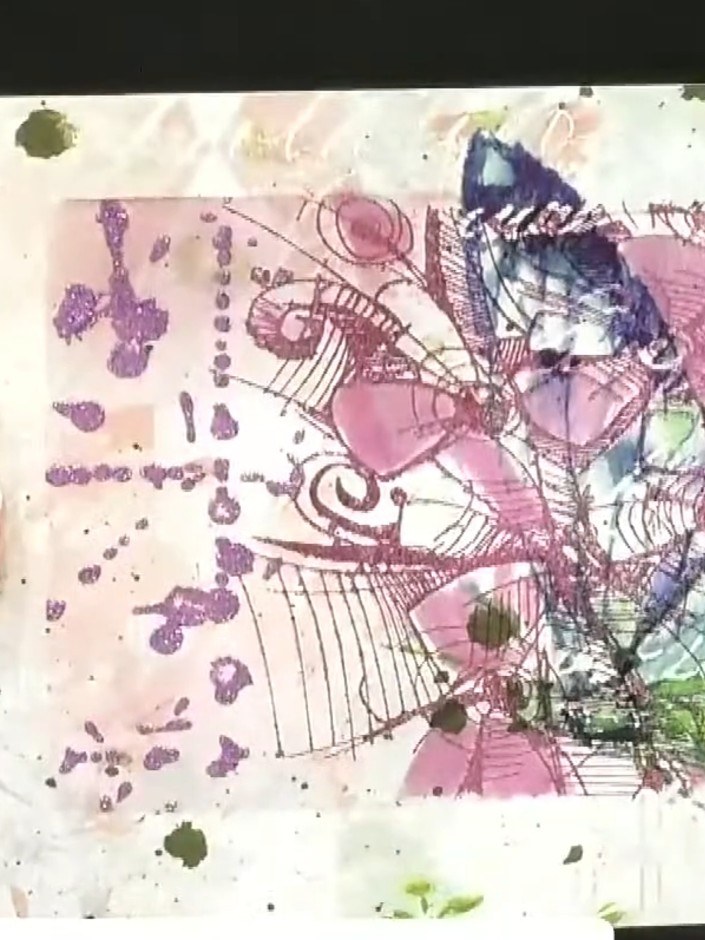
Add a splash of water to your glass mat and use a brush to paint with the dye ink, creating a watercolour wash effect. Apply the wash to your stamped design, blending the colours together.
▶ watch this step (29:30)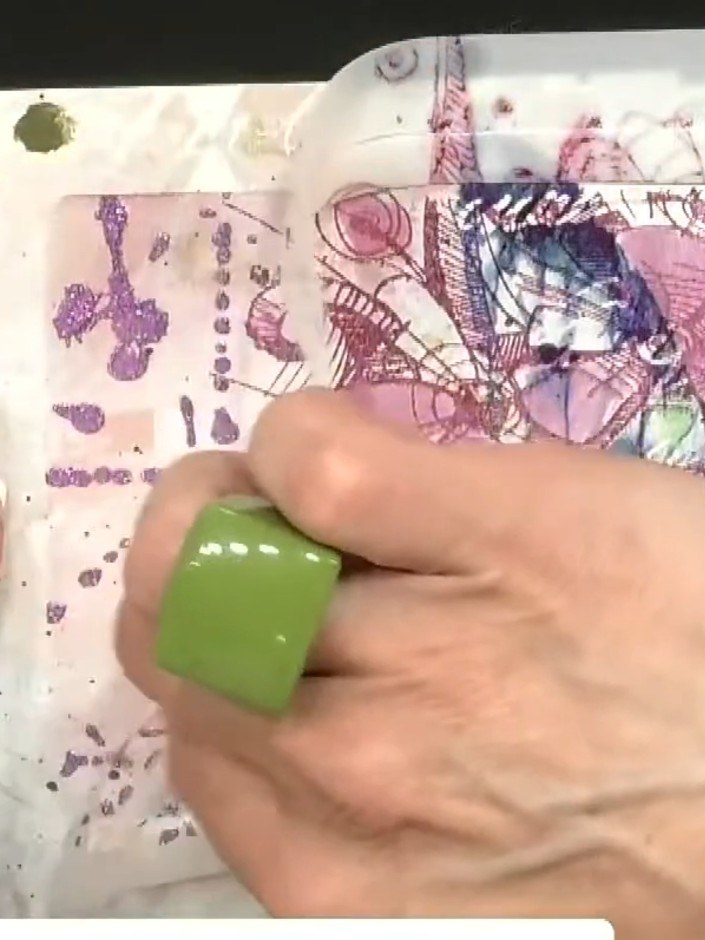
Use a blending tool or sponge to gently blend the watercolour washes together on the background. Work the colours into each other to create a soft, blended effect that complements the textured paste design.
▶ watch this step (29:45)Written up from the show itself. See every guide from our shows · free how-to guides · watch live on My Telly