Give your friends $10 off their first order!
Refer a FRIEND








A project from our live show Create Together Club - Chapter 4 - Broadcast 7TH May 24 · 05/07/2024 · watch it from 29:15
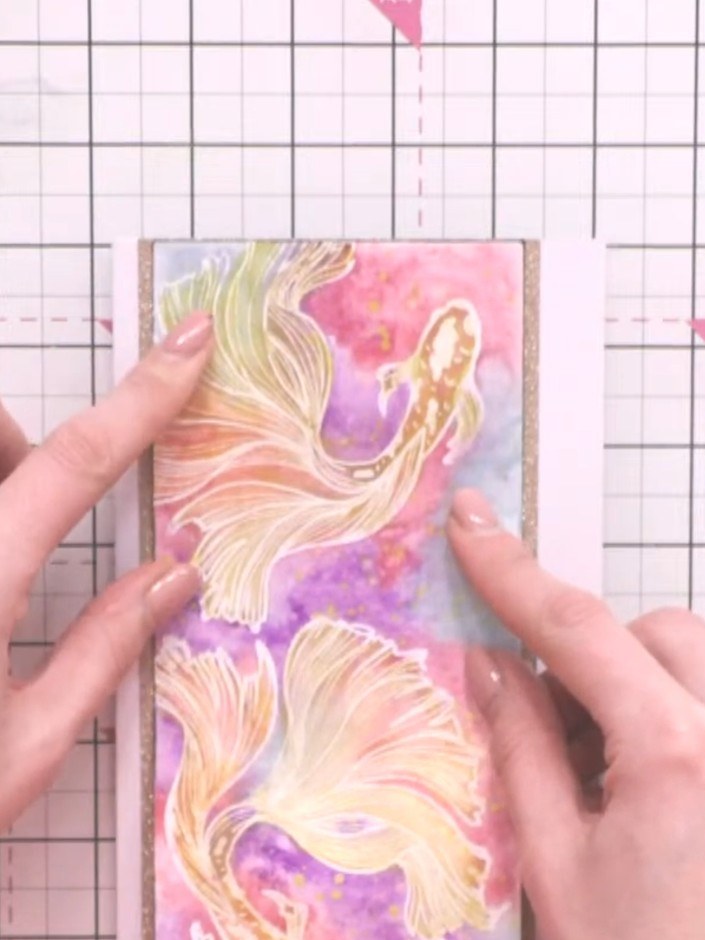
Design a sophisticated slimline card with a dreamy watercolour background in soft pinks, purples and yellows, adorned with flowing feather motifs. Add an offset 'LOVE' sentiment in black to create an elegant drop shadow effect, and complete the look with sparkly gem embellishments for a touch of luxury.
 Stamps By Me Confetti Ink - Chocolat - 180822CSEE IT
 Stamps By Me Confetti Ink - Blush - 180822BSEE IT
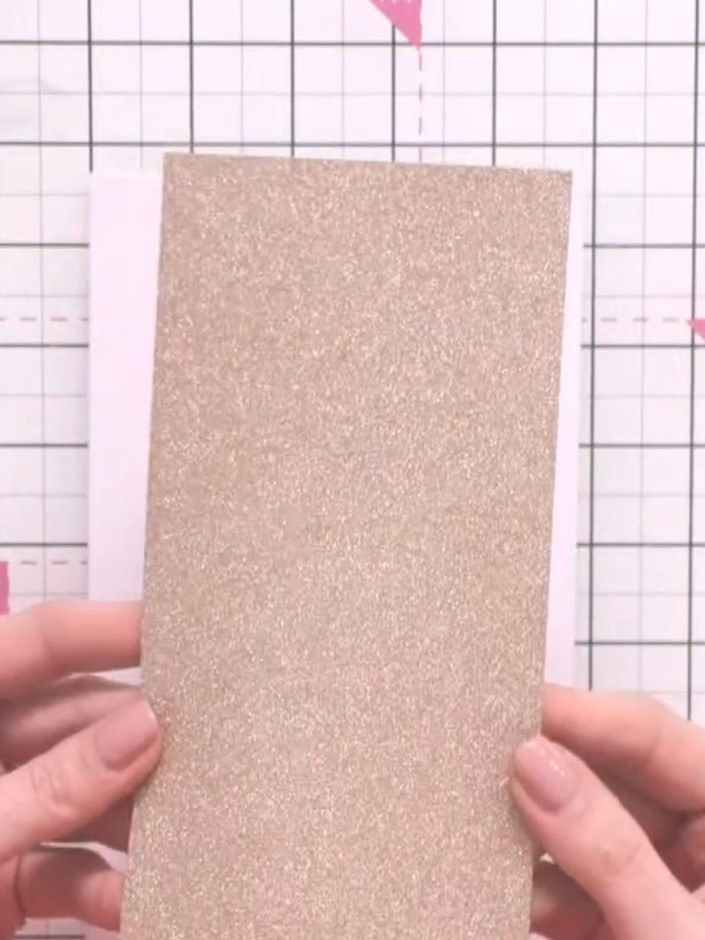
Take a slimline card blank (approximately A6 size) and trim it down slightly to create a slimline format. Use a trimmer or craft knife to remove a small amount from both the back and front panels.
▶ watch this step (29:15)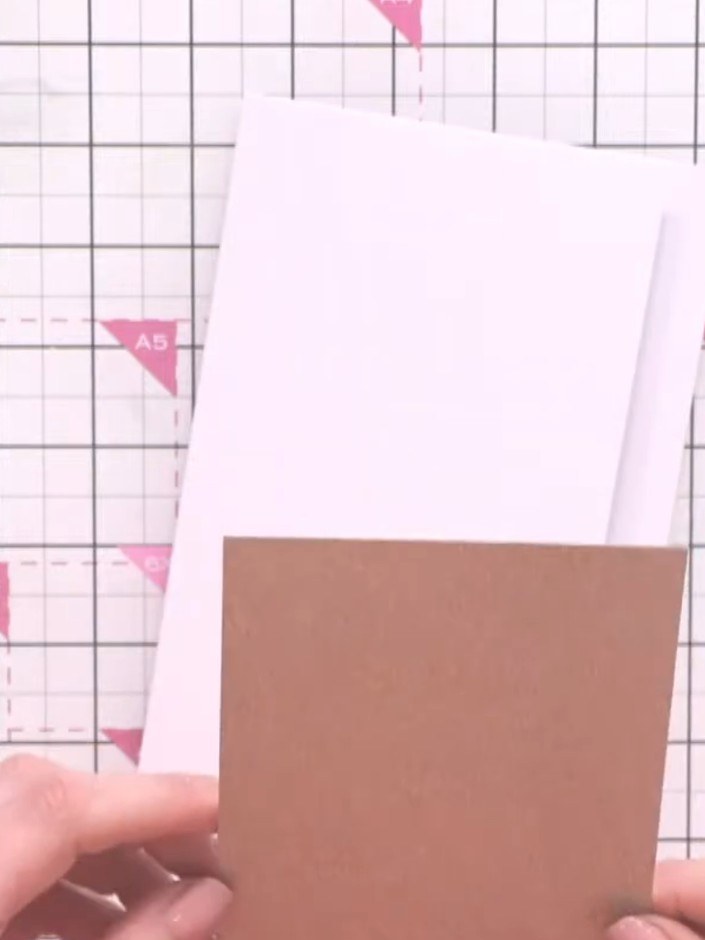
Mount the gold-brown cardstock panel to the left edge of the white card base, leaving the right side exposed to create a recessed design element.
▶ watch this step (29:30)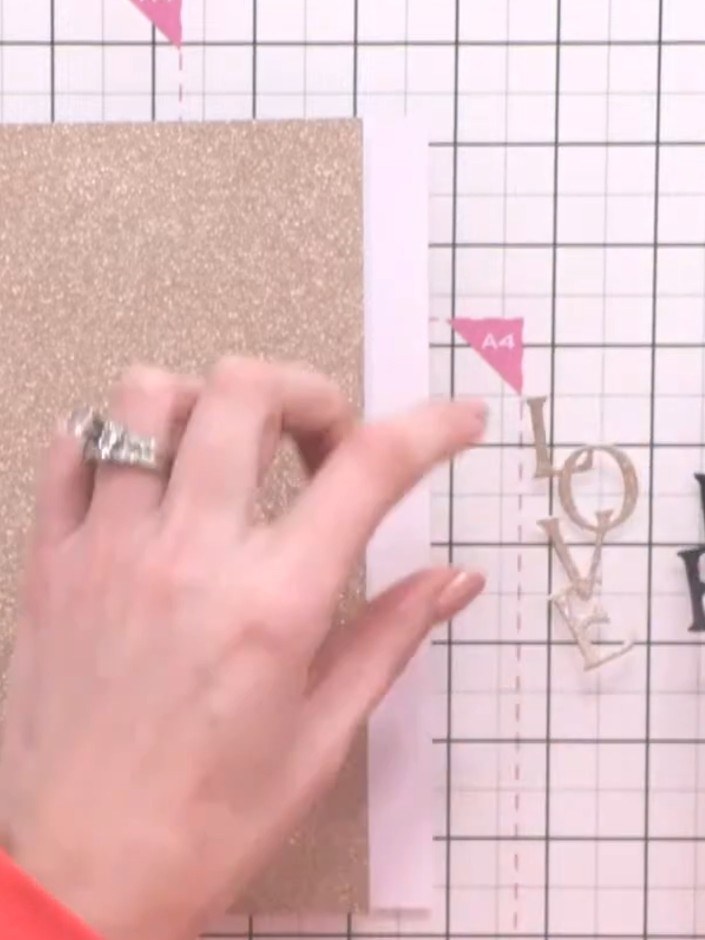
Cut the word 'love' from both black and gold cardstock to create a layered sentiment with a drop shadow effect.
▶ watch this step (30:15)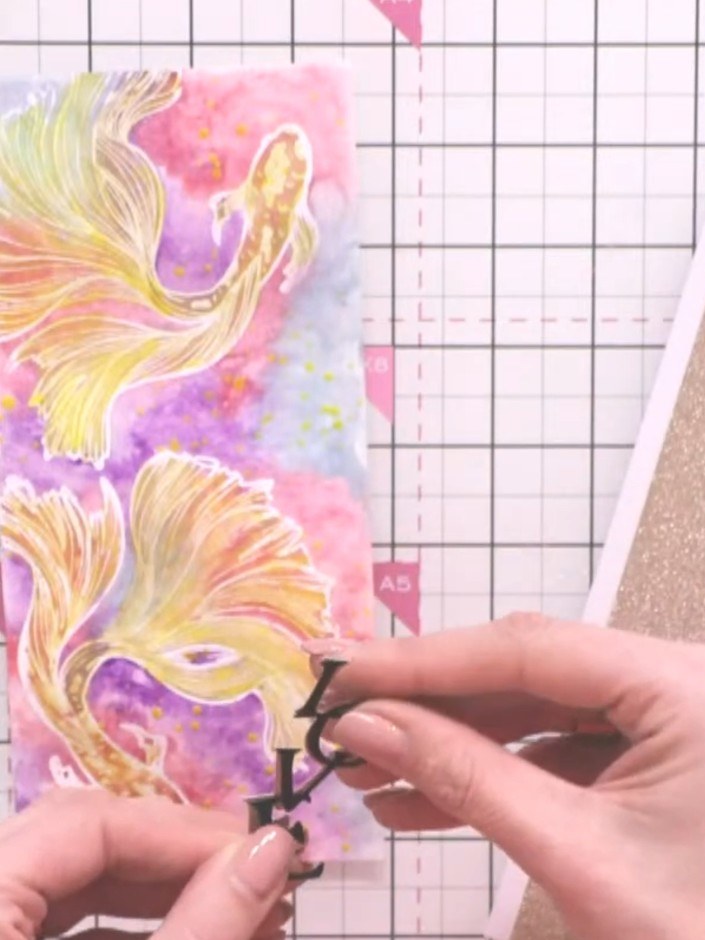
Layer the black 'love' sentiment at the front of the card and offset the gold 'love' slightly to the left or right to create a drop shadow effect.
▶ watch this step (30:45)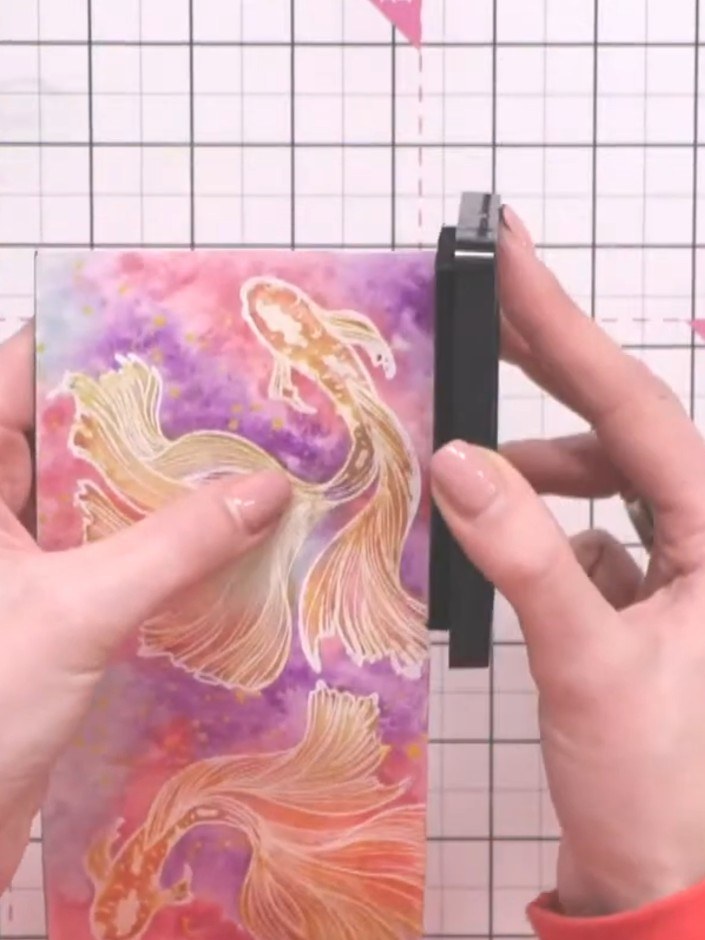
Edge the card with a black ink pad by tilting it slightly and dragging it down the sides to frame the design.
▶ watch this step (33:00)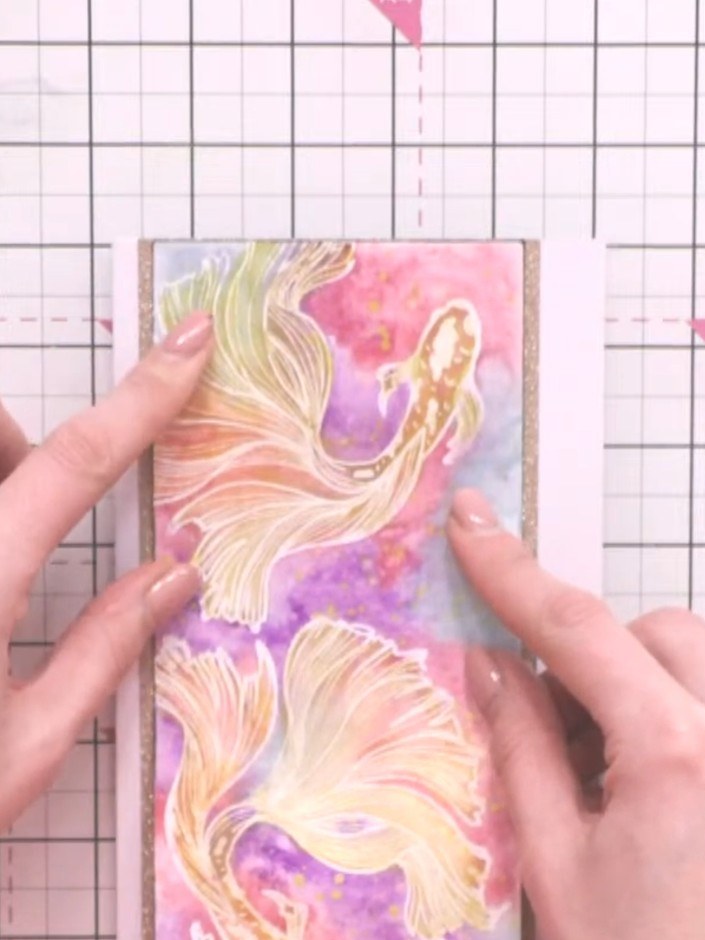
Adhere the decorative fish panel with the pink and purple watercolour design onto the gold glitter card base using glue. Position it centrally on the card front.
▶ watch this step (34:00)Written up from the show itself. See every guide from our shows · free how-to guides · watch live on My Telly