Give your friends $10 off their first order!
Refer a FRIEND








A project from our live show HSN SHOW MAY 14TH - Join Toni for an early look at all the goodies coming to HSN this month - Broadcast 9TH MAY 2024 · 05/09/2024 · watch it from 1:07:00
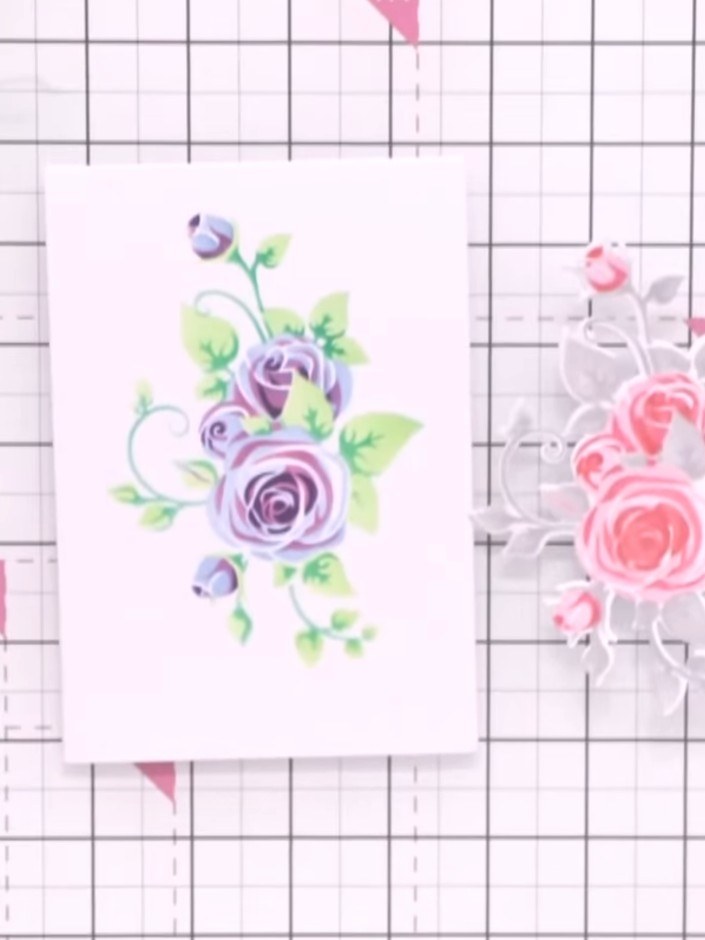
Create a beautiful dimensional floral design featuring layered roses in soft purple and pink tones with delicate green leaves. Using a five-layer stencil system with coordinating inks, you'll build up realistic depth and shading to achieve a watercolour-style painted effect. This elegant technique produces stunning results perfect for cards and papercrafts.
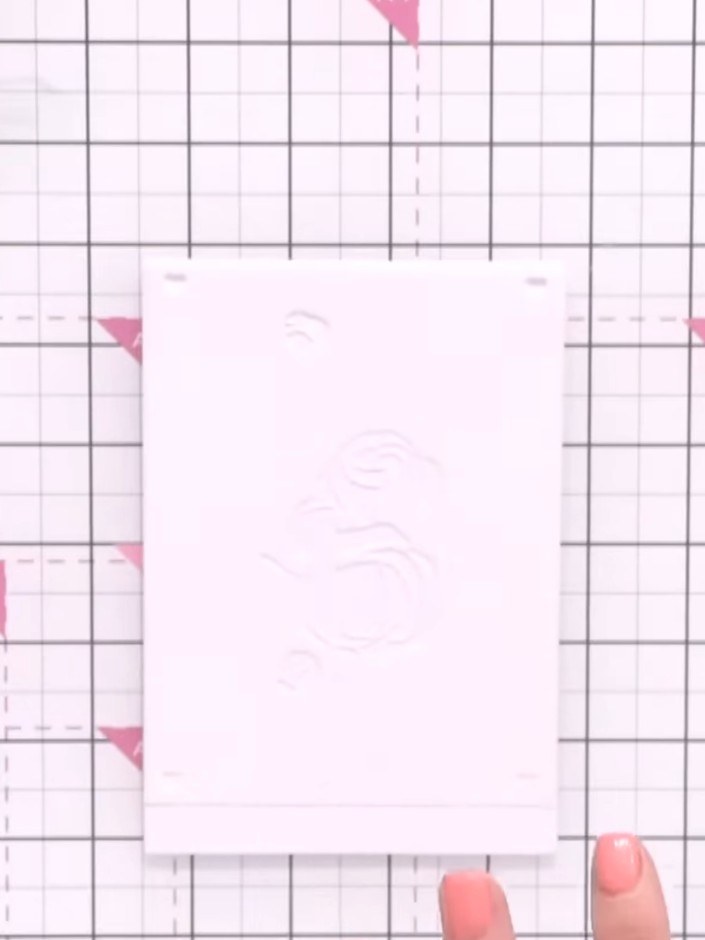
Prepare three pieces of white card stock to create multiple roses at once. Have your ink pads ready - one black and one light blue.
▶ watch this step (1:07:45)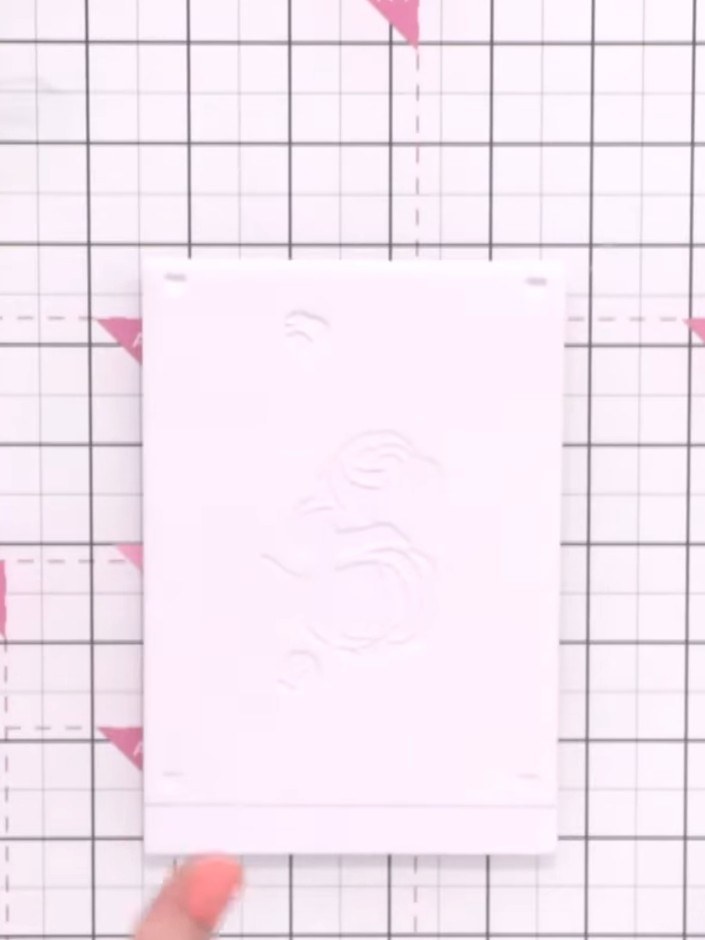
Take stencil number one and position it at the top of your card blank. Use the etched numbers on the stencil as your guide to ensure correct alignment.
▶ watch this step (1:08:00)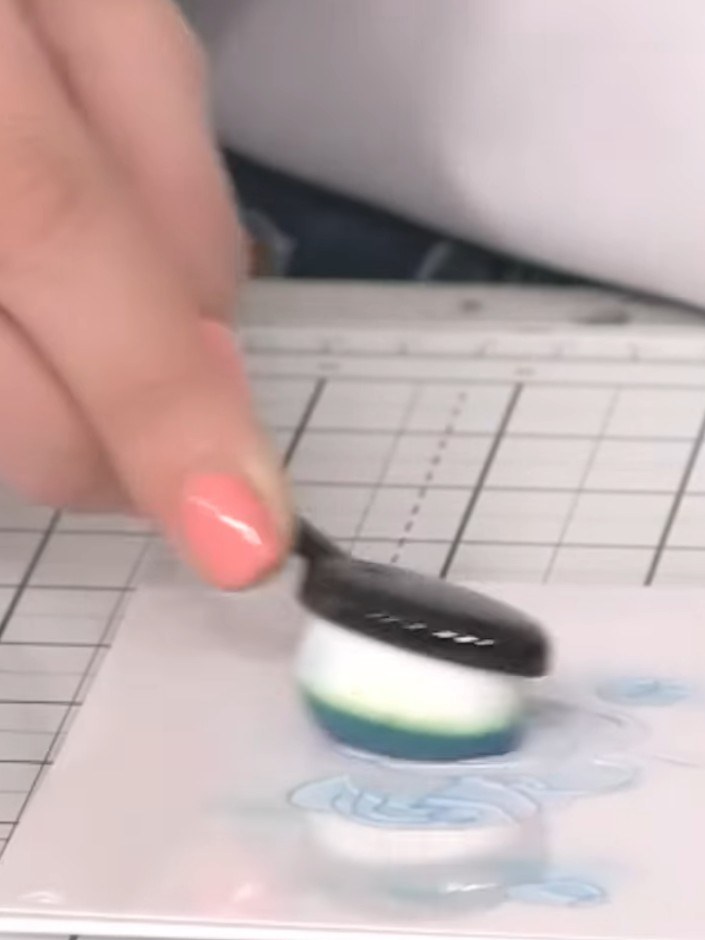
Apply teal ink through the stencil using a blending brush with light pressure. Remove the stencil carefully to reveal the blended design.
▶ watch this step (1:08:15)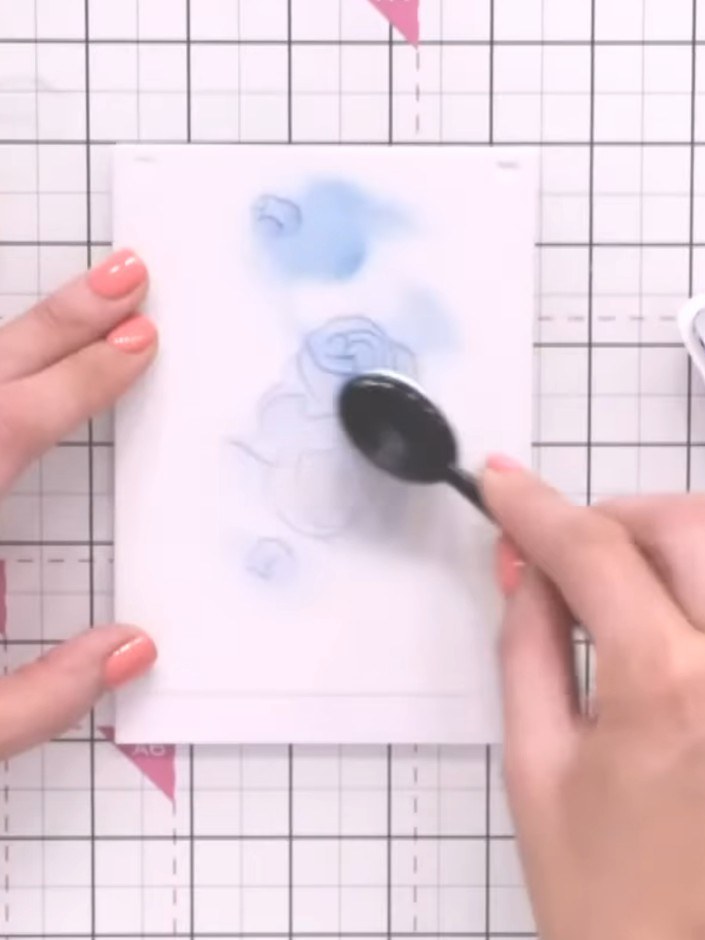
Position stencil number two over your first layer. Apply pink or purple ink using a blending tool to build the next layer of the rose with light, gentle strokes.
▶ watch this step (1:08:30)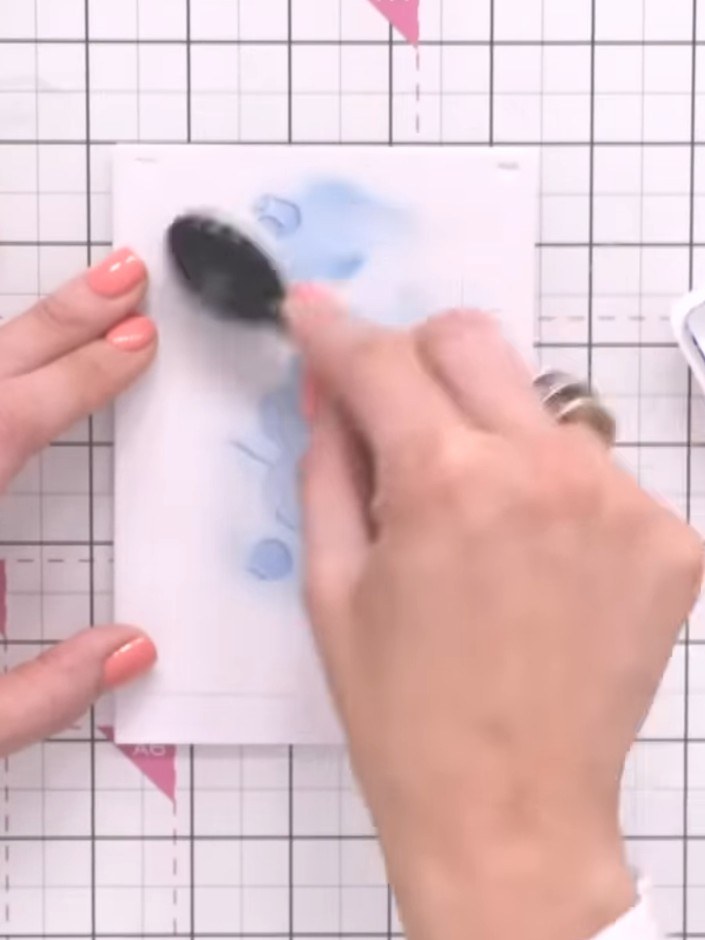
Position stencil number three over your flower design. Apply a deeper purple ink through the stencil using a blending brush to add dimension and depth to the petals.
▶ watch this step (1:08:45)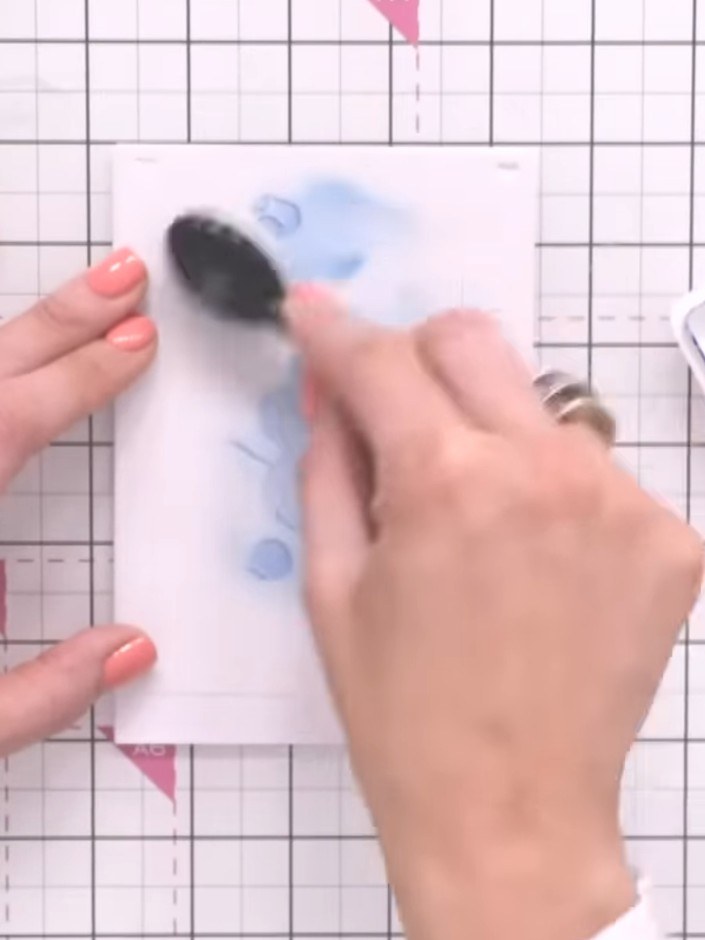
Apply stencil number four with green ink to create the leaves and foliage around the rose. Use a blending tool to apply the ink through the stencil onto your card.
▶ watch this step (1:09:00)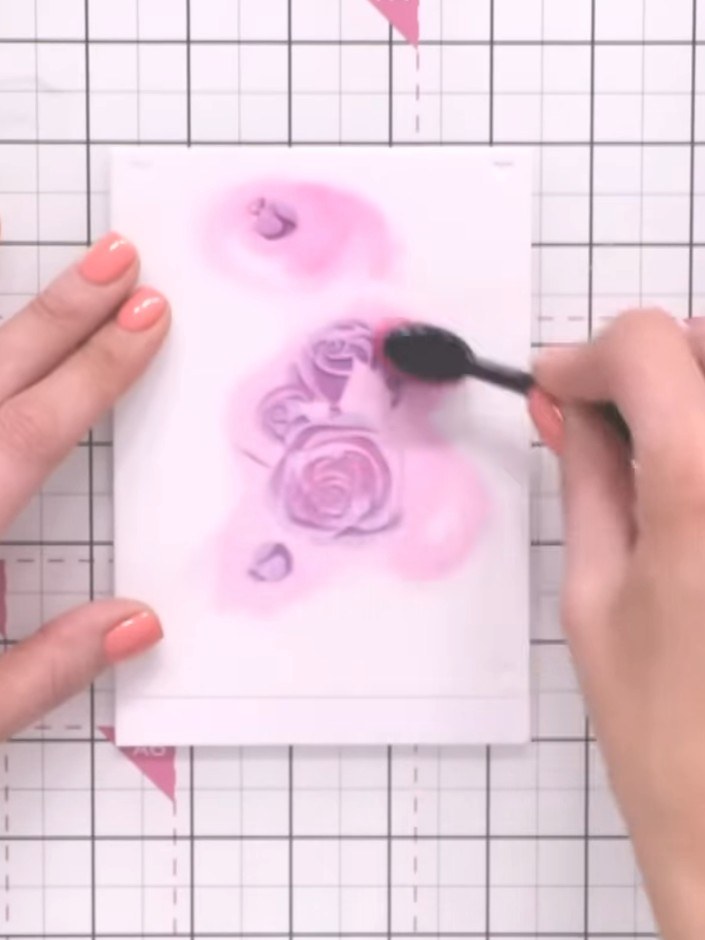
Apply stencil number five (the detail layer) to your stamped rose design. Using black or dark ink with a blending brush, add fine lines and definition through the stencil to complete the layered rose effect.
▶ watch this step (1:09:15)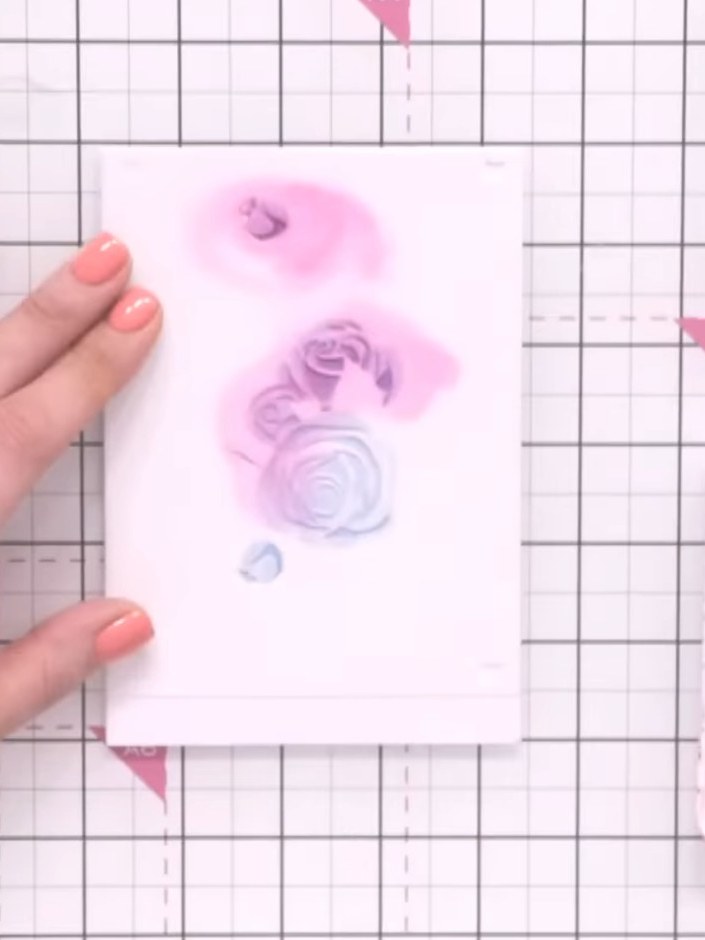
Once all stencil layers are complete and dry, use the coordinating die to cut out your finished rose design from the card.
▶ watch this step (1:09:30)Written up from the show itself. See every guide from our shows · free how-to guides · watch live on My Telly
