Give your friends $10 off their first order!
Refer a FRIEND








A project from our live show Create Together Club - Chapter 4 - Broadcast 20TH May 24 · 05/20/2024 · watch it from 5:30
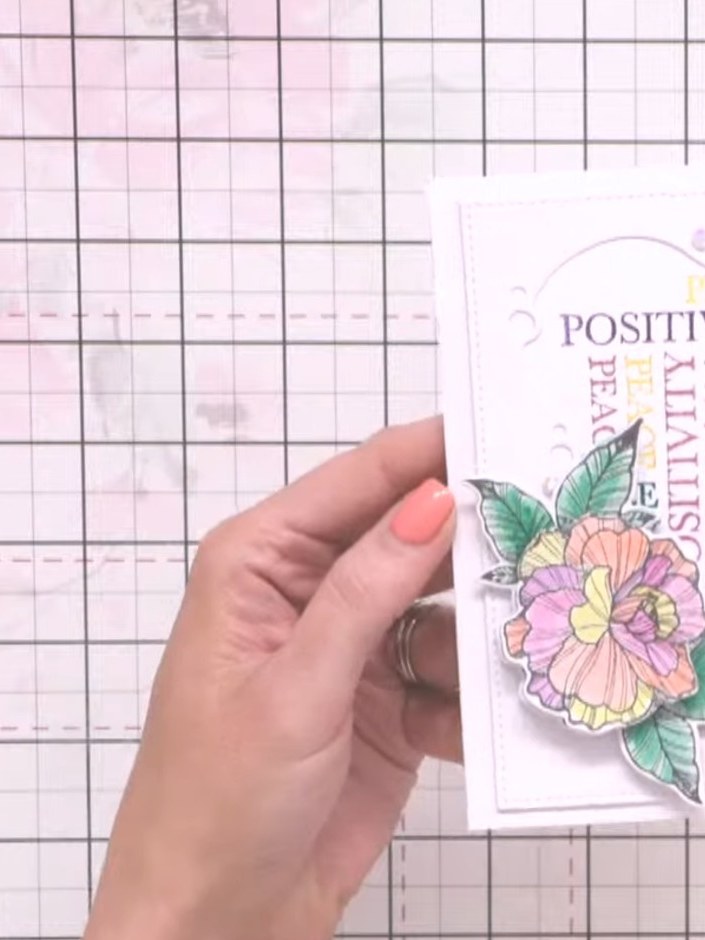
Create a striking card featuring a die-cut frame window that showcases a background of stamped words in vibrant colours and varied fonts. A hand-painted multicoloured rose with sparkle embellishments sits elegantly in the corner, celebrating themes of positivity and peace with beautiful watercolour techniques and dimensional detailing.
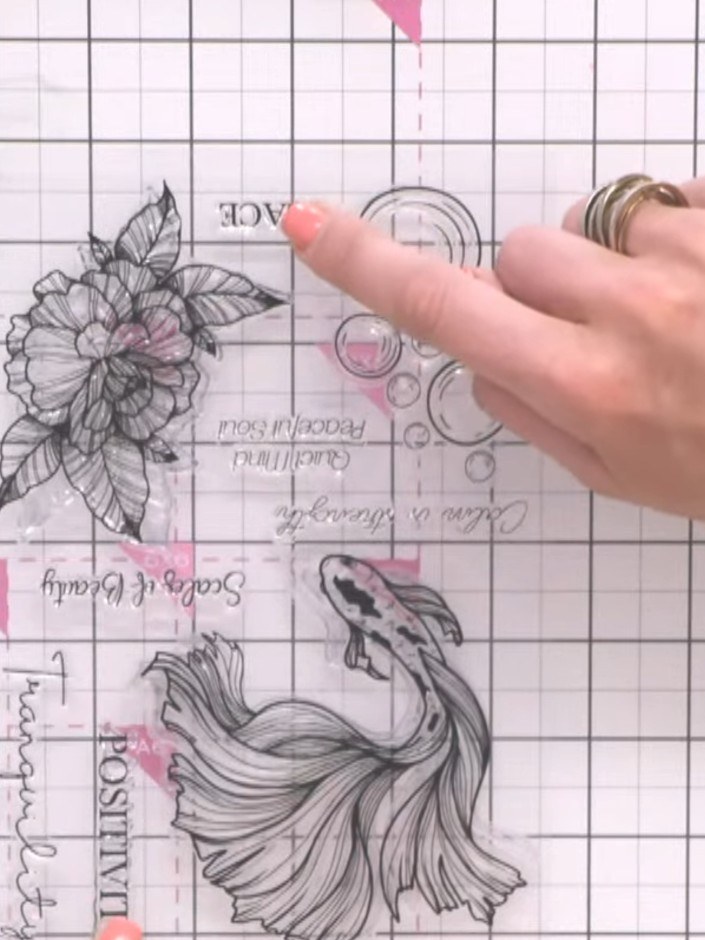
Die-cut the decorative frame from card stock using your die-cutting machine. The frame features floral and text elements that will form the background of your card.
▶ watch this step (6:00)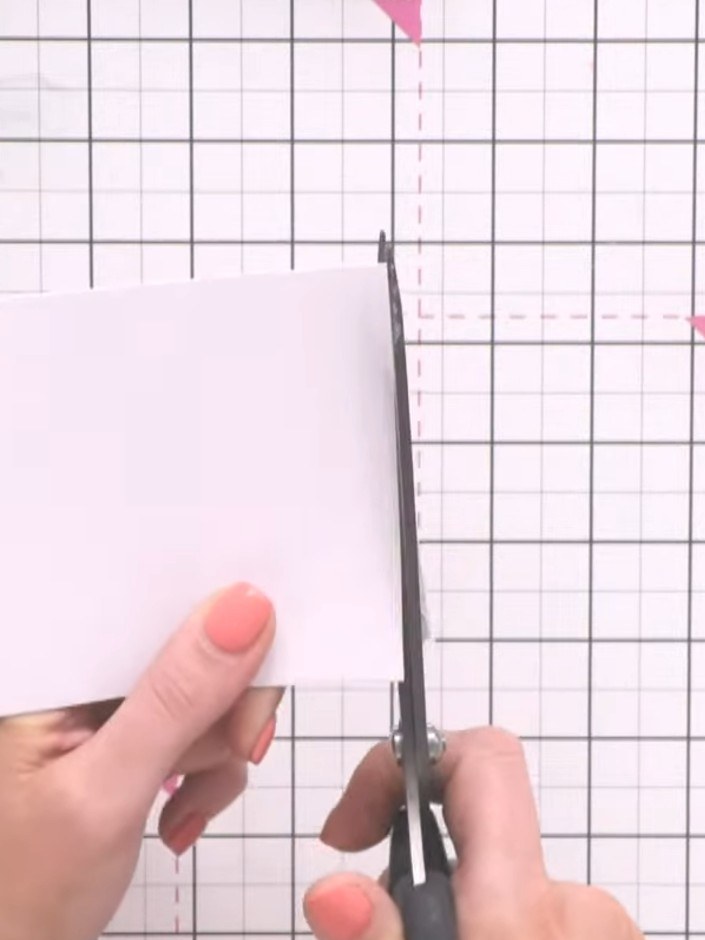
Trim the pale pink card stock to fit underneath the frame aperture, ensuring it sits neatly behind the opening.
▶ watch this step (8:45)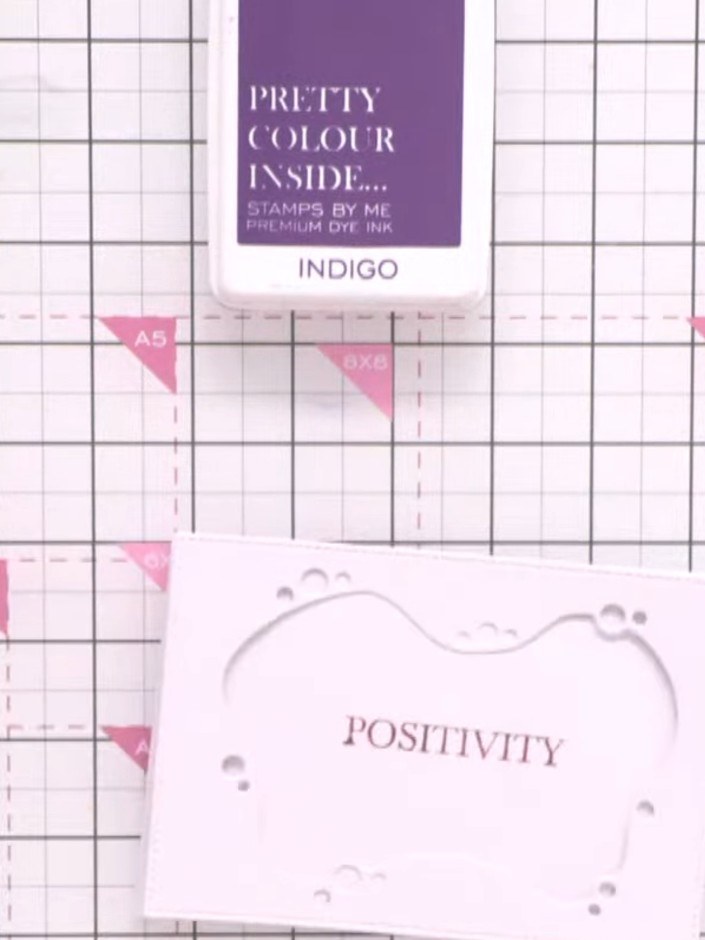
Select the word stamp 'positivity' and ink it up with pink ink using the Bittersweet ink pad.
▶ watch this step (9:15)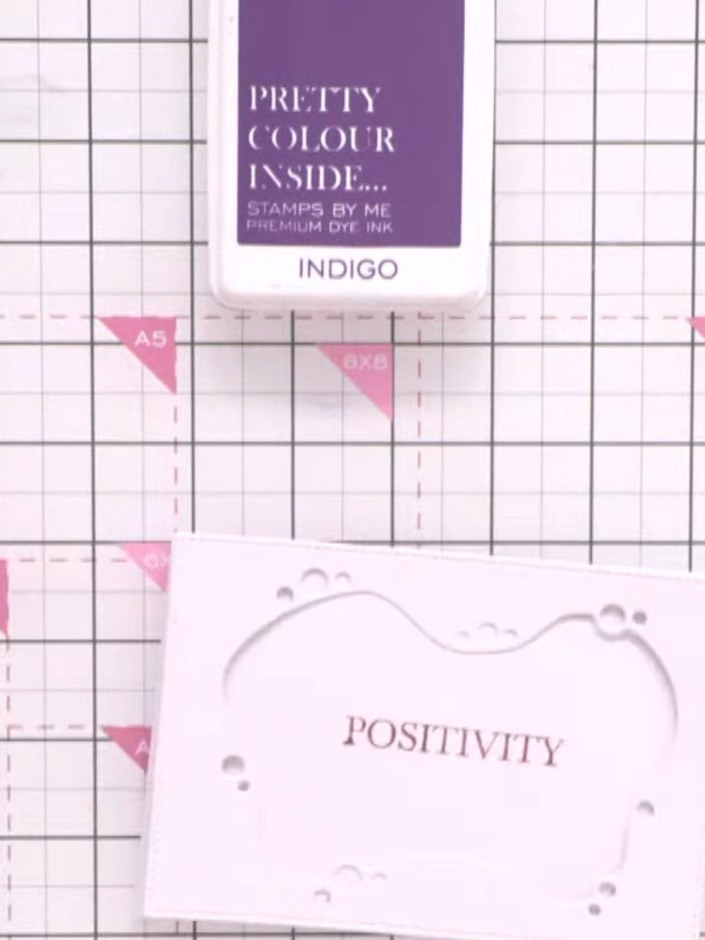
Stamp the word 'POSITIVITY' onto your background card using the Bittersweet ink pad, positioning it to one side of the embossed frame.
▶ watch this step (10:00)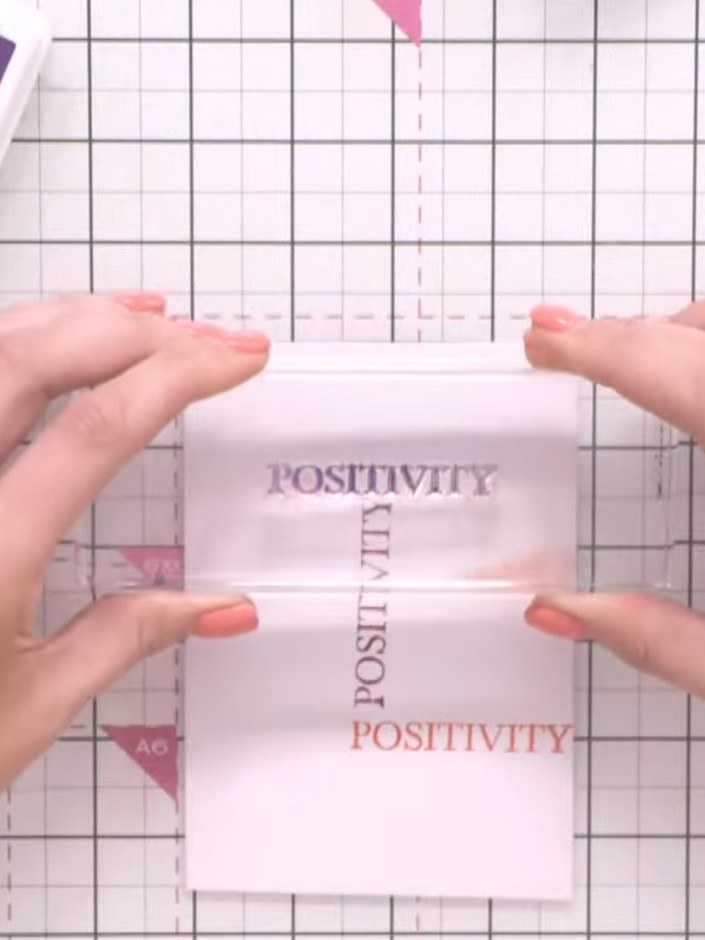
Re-ink the word stamp with Indigo ink and stamp it again on the vellum in a different position, overlapping the previous stamped words slightly to create a layered background effect.
▶ watch this step (10:30)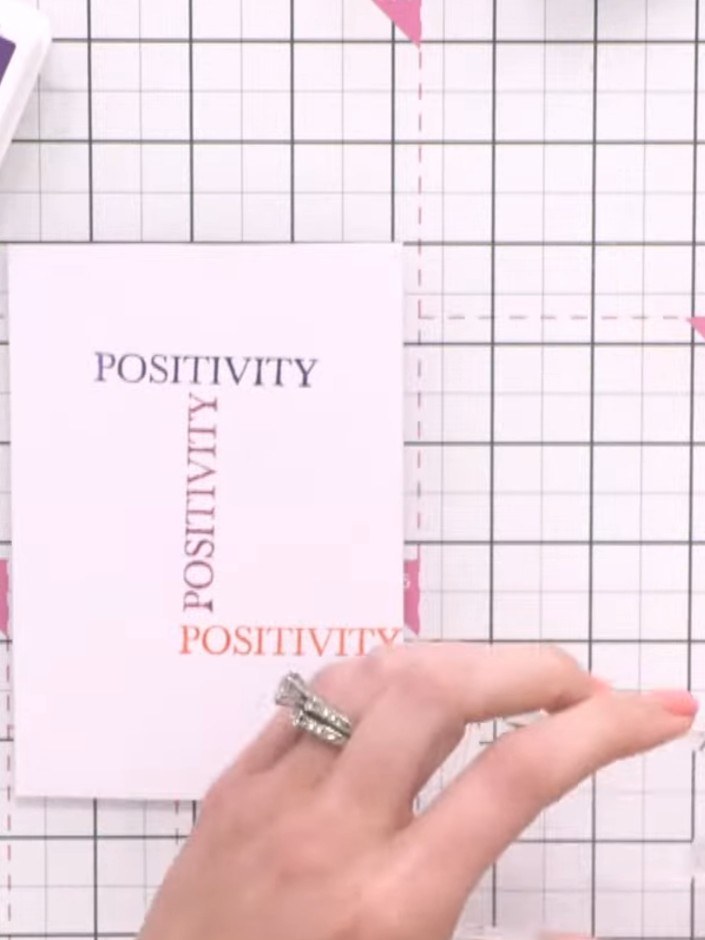
Stamp the word 'positivity' a third time onto the card panel using another colour ink to continue building up the word background pattern.
▶ watch this step (11:00)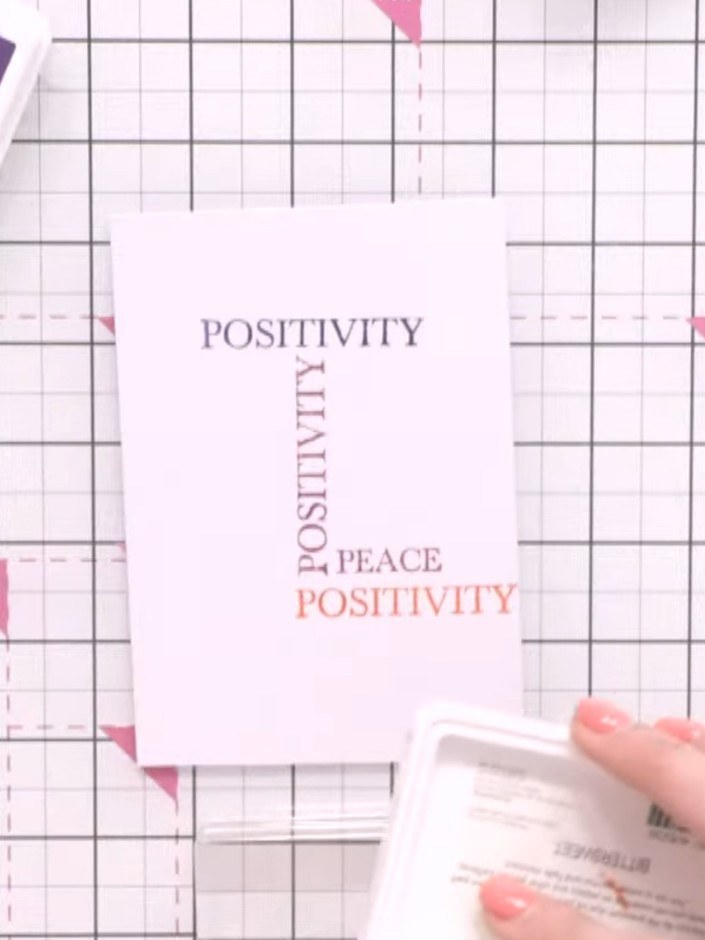
Select the 'peace' word stamp and ink it with Bittersweet ink pad in a contrasting coral colour.
▶ watch this step (11:30)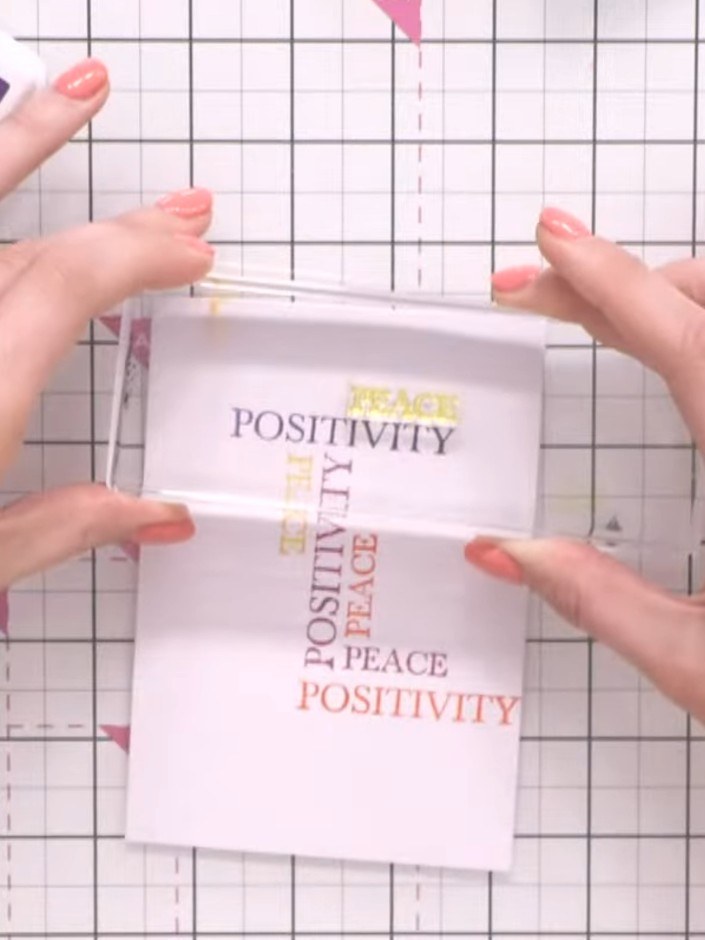
Stamp the word 'peace' multiple times across the white card background in different colours from your ink pads. Fill the space within the frame aperture, varying the placement and colours to create an interesting word background.
▶ watch this step (12:00)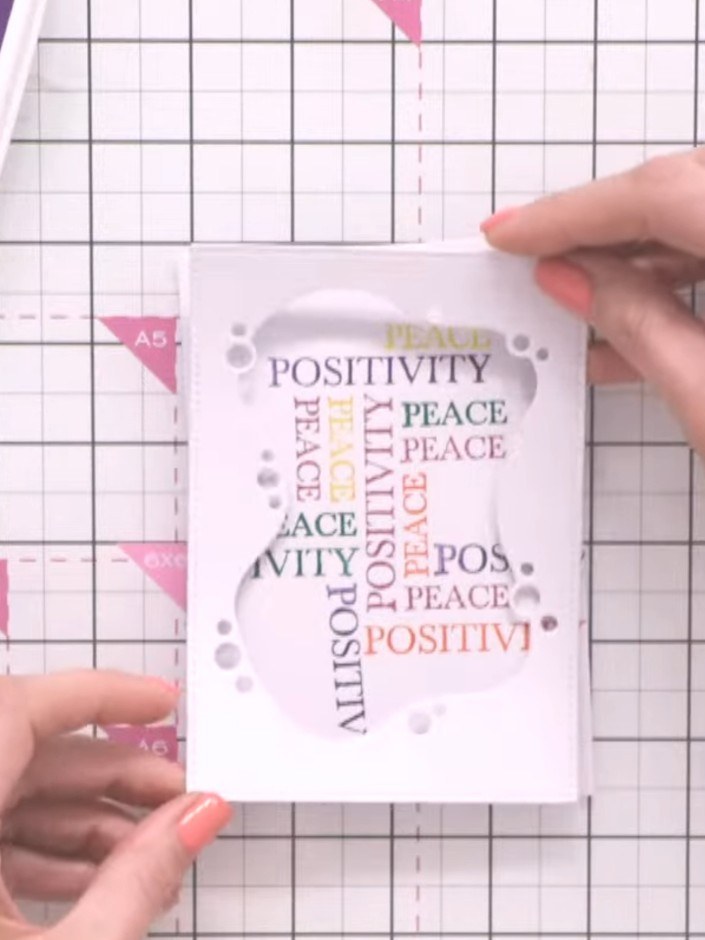
Position the stamped word background card behind your die-cut frame, ensuring it's straight and centred. Secure in place with tape on the reverse.
▶ watch this step (14:45)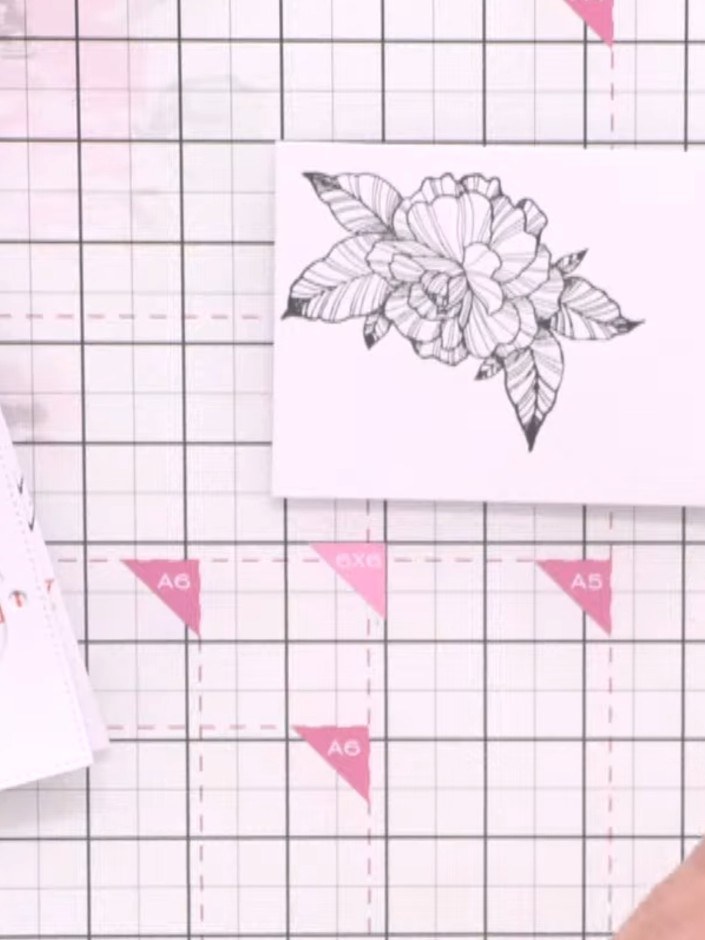
Stamp the floral image twice onto white card stock using black ink.
▶ watch this step (17:30)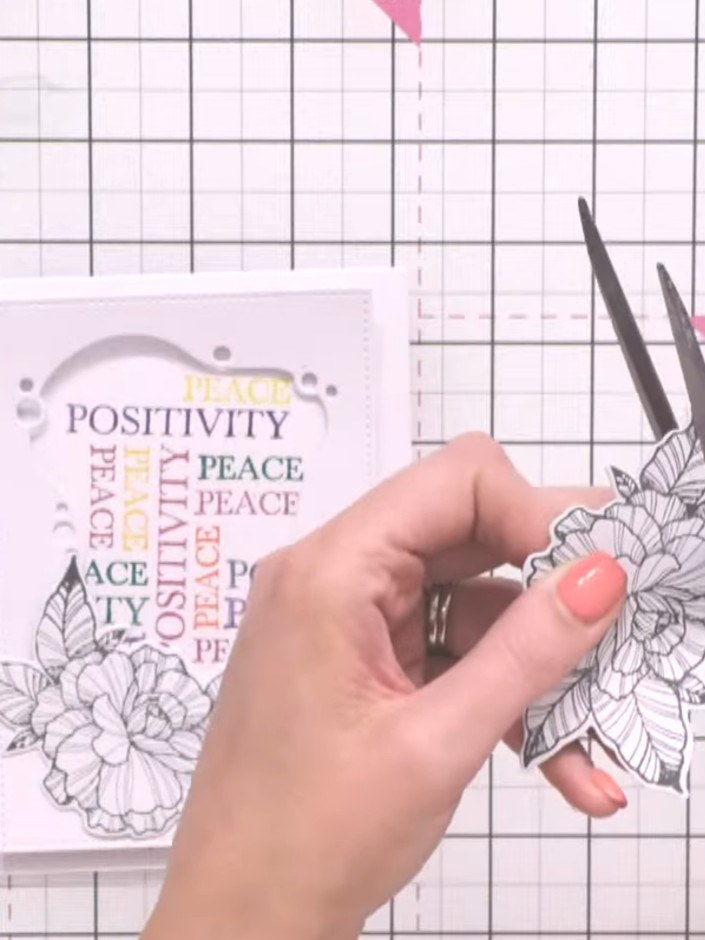
Using scissors, carefully cut away the leaves from one of the stamped flower images, leaving just the flower head. This will create a simpler floral element for your design.
▶ watch this step (25:15)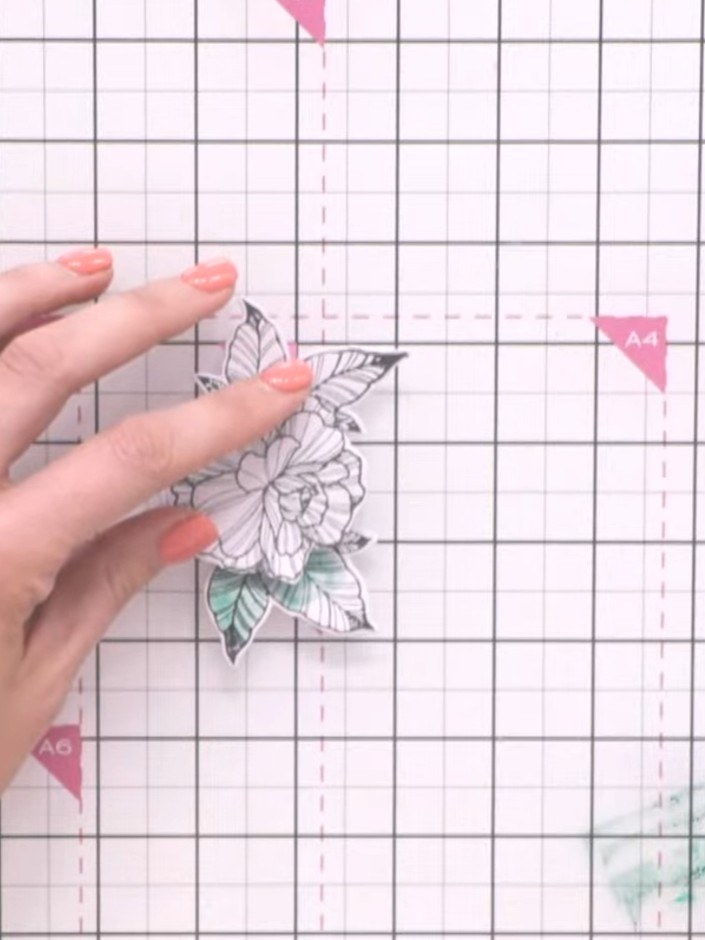
Paint the leaves of the remaining flower green using watercolour or diluted ink. Add darker green shading from the centre outward for depth.
▶ watch this step (26:45)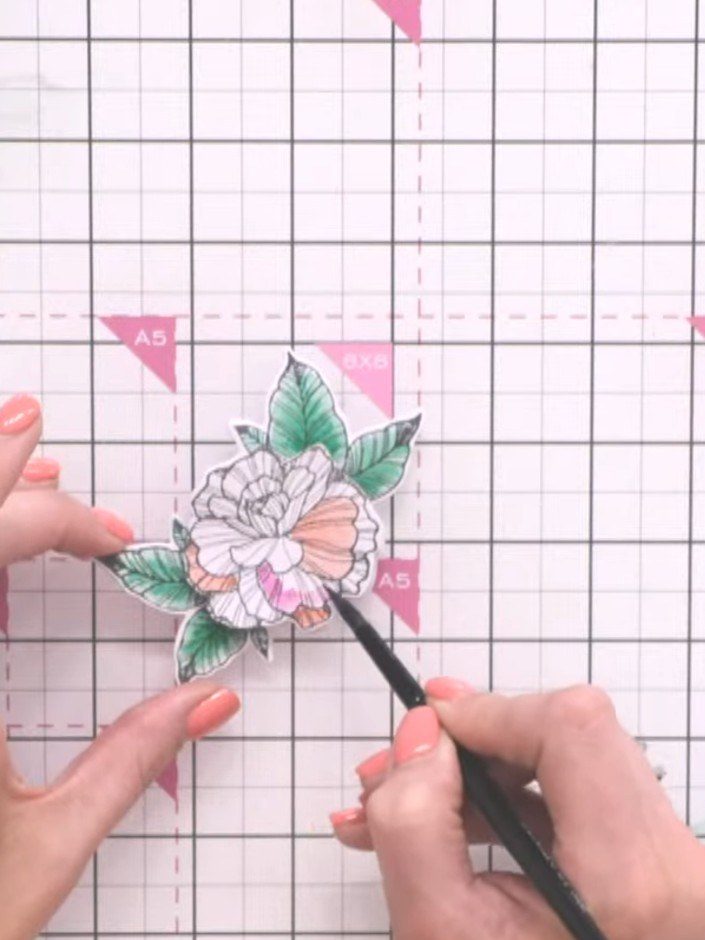
Colour each petal of the flower with different colours—use orange, pink, and yellow to create a multicoloured rose effect. Apply the colour with a fine brush or blending tool to fill in the petals.
▶ watch this step (28:30)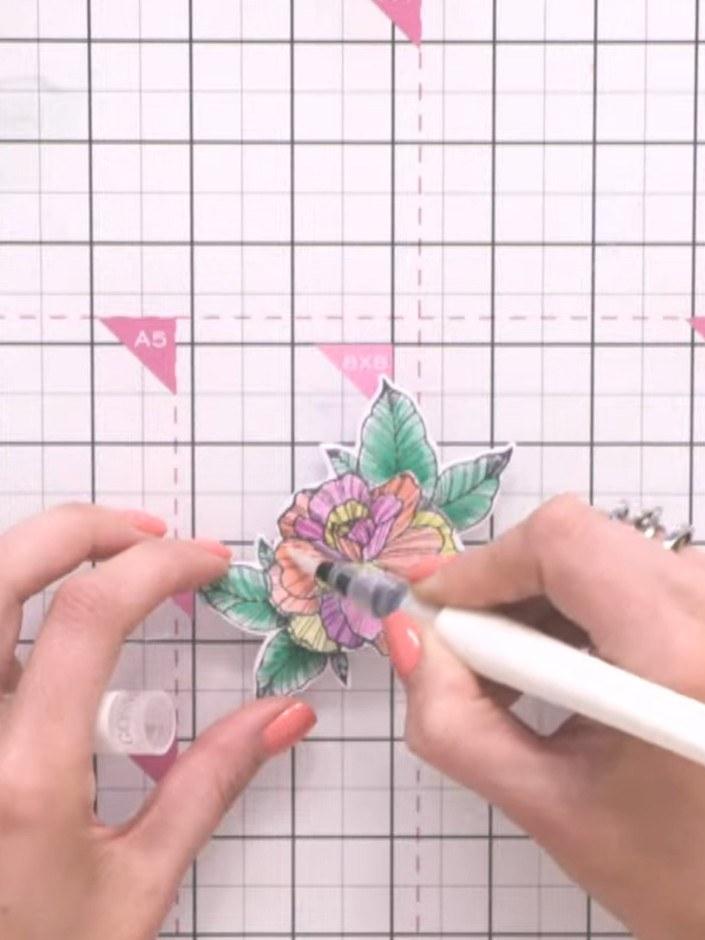
Add sparkle details to the flower using a white sparkle pen or gel pen. Apply the sparkle to the petals and leaves to create highlights and dimension.
▶ watch this step (31:45)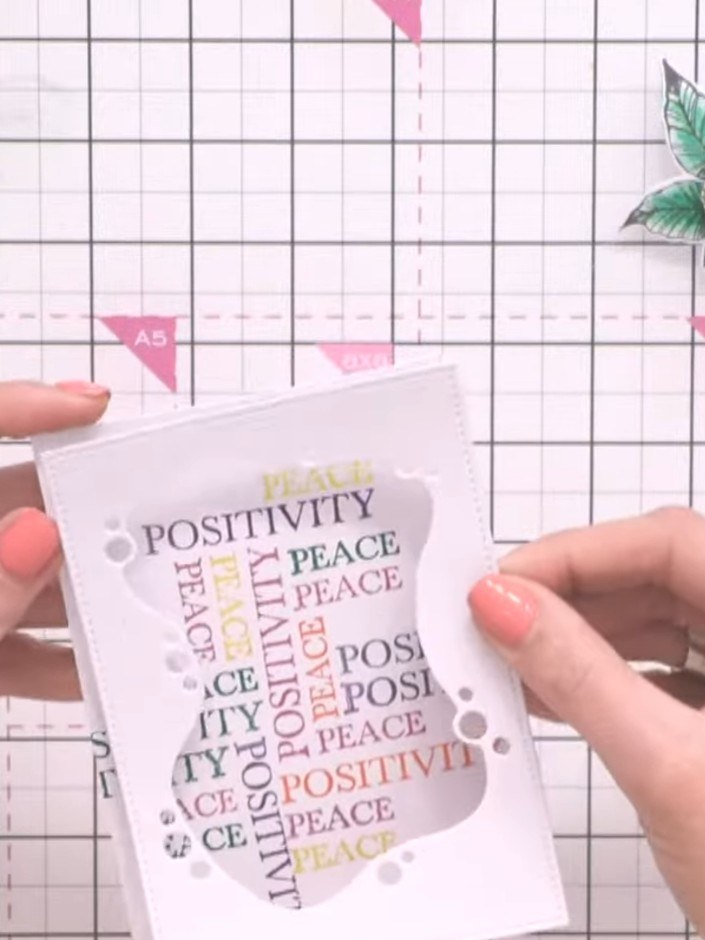
Adhere the painted flower topper onto the word background panel using glue or foam tape. Take time to position it carefully for a neat finish.
▶ watch this step (32:30)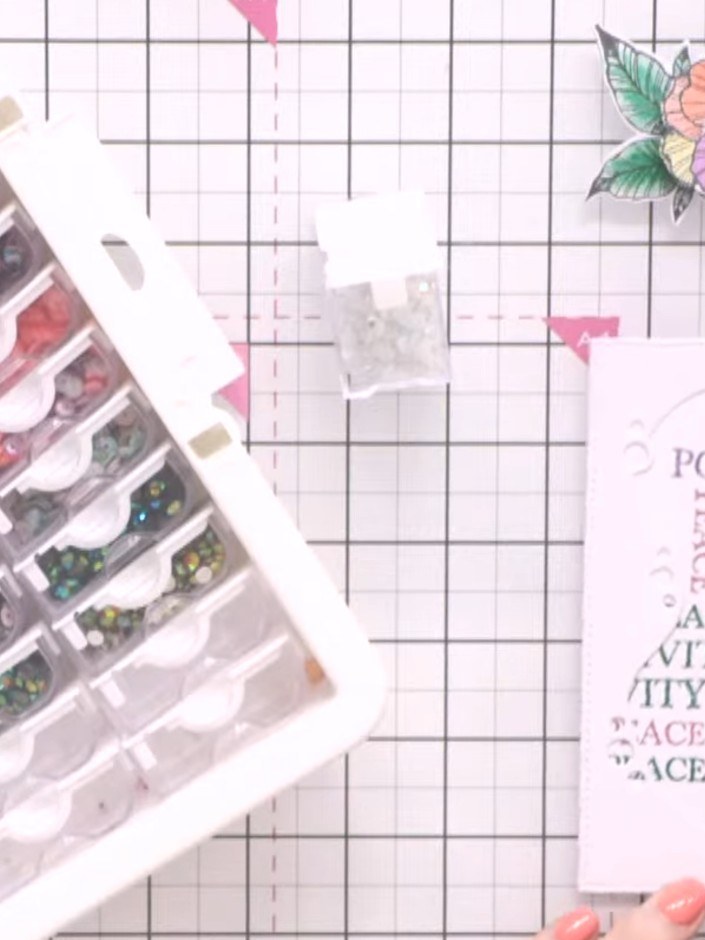
Add small sparkly embellishments from your collection around the flower and in the bubble areas for a delicate finishing touch.
▶ watch this step (34:00)Written up from the show itself. See every guide from our shows · free how-to guides · watch live on My Telly