Give your friends $10 off their first order!
Refer a FRIEND








A project from our live show Create and Craft TV - IMALA LAUNCH SHOW - Join Carley Duff - Broadcast 27th May 24 · 05/27/2024 · watch it from 46:00
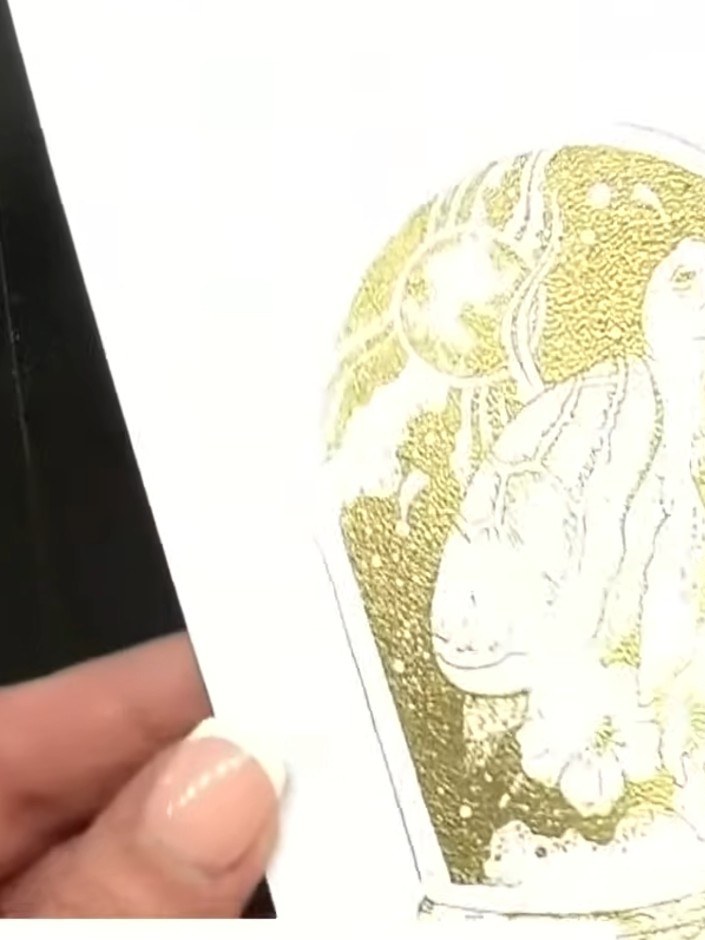
Create an elegant card featuring a vintage-inspired Message in a Bottle design with delicate florals and a turtle detail. The project combines gold embossing with soft watercoloured backgrounds in pink, blue and green tones to create a sophisticated, dimensional layered card. This guide showcases embossing techniques and watercolour layering for a beautiful handmade greeting card.
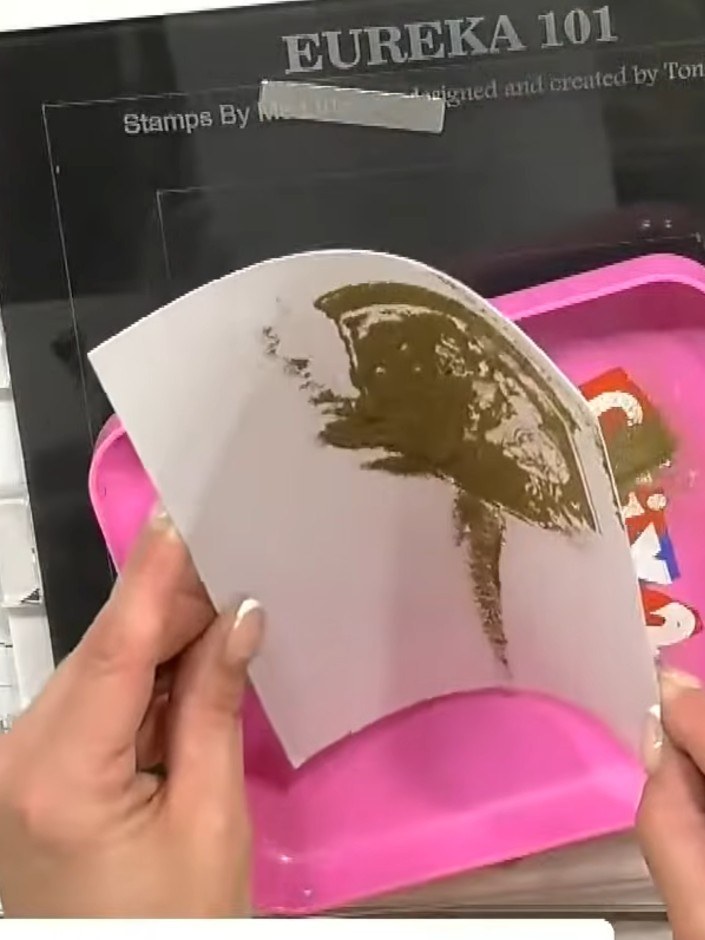
Apply green dye ink to an acrylic block, covering the surface evenly to create your background colour.
▶ watch this step (46:00)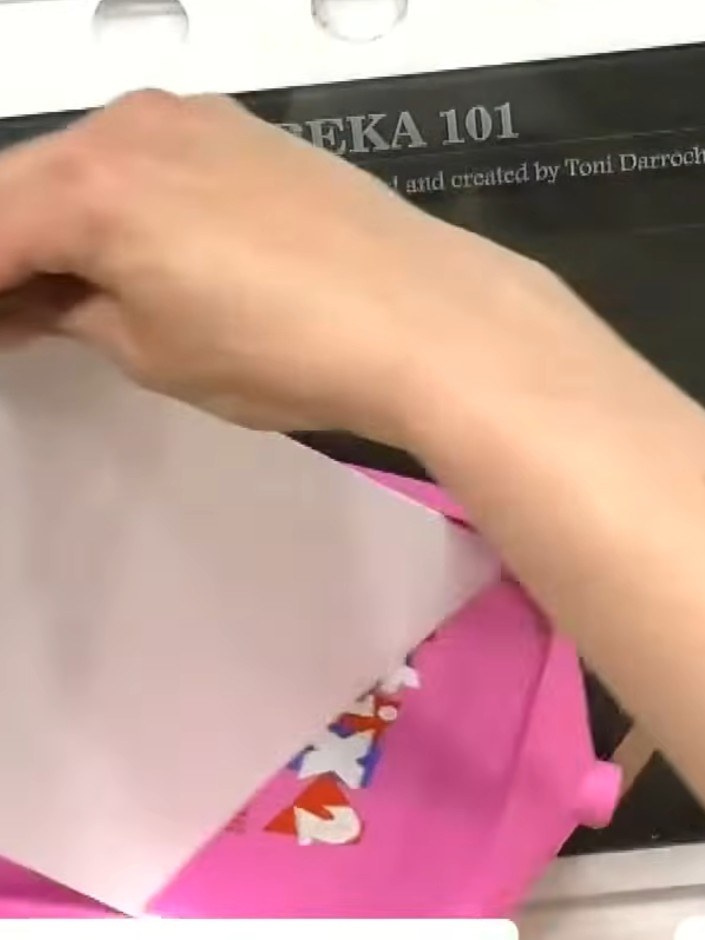
Spray water over the inked block to create a watercolour effect. The water will blend and soften the pink ink on the white cardstock.
▶ watch this step (46:15)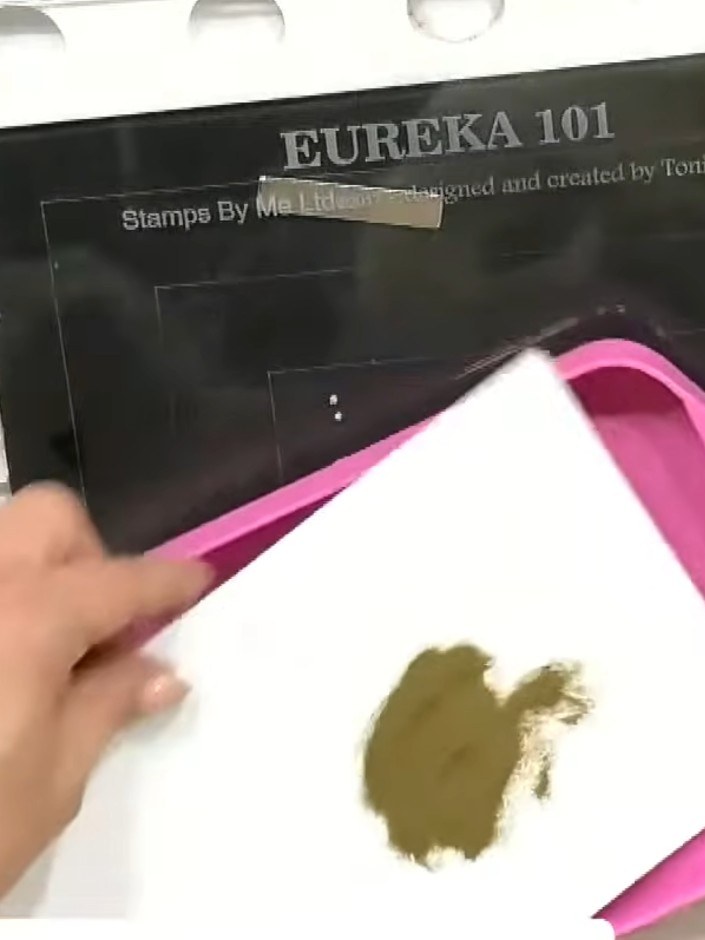
Press white card stock onto the wet inked block to transfer the green watercoloured background. Ensure even pressure across the entire surface for complete coverage.
▶ watch this step (46:30)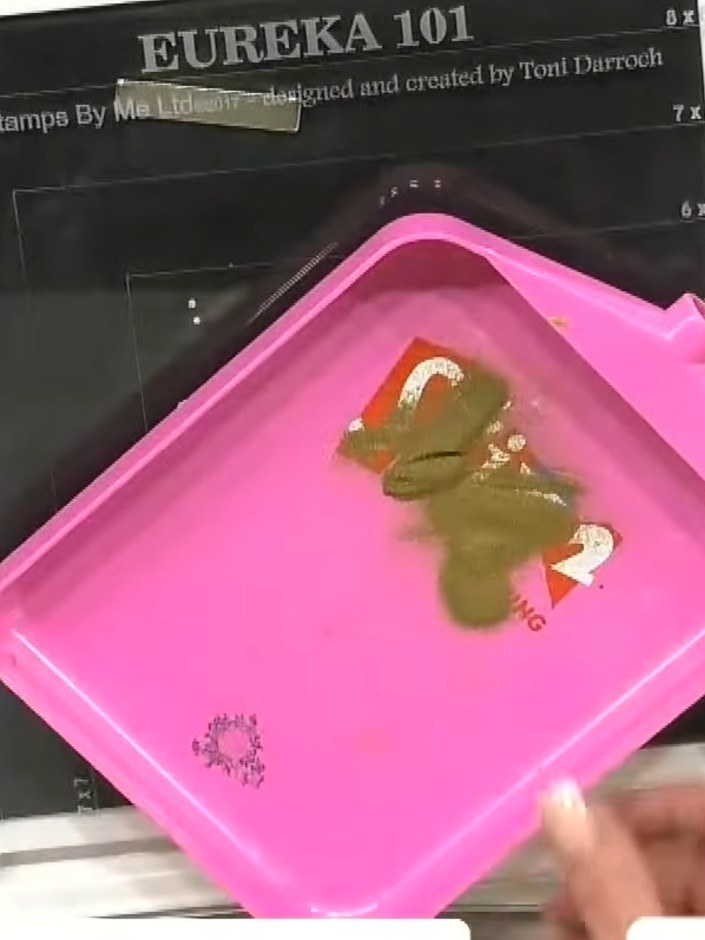
Allow the stamped and embossed background to dry completely before proceeding to the next step.
▶ watch this step (46:45)
Stamp the Message in a Bottle turtle image onto white card stock using clear embossing ink.
▶ watch this step (47:00)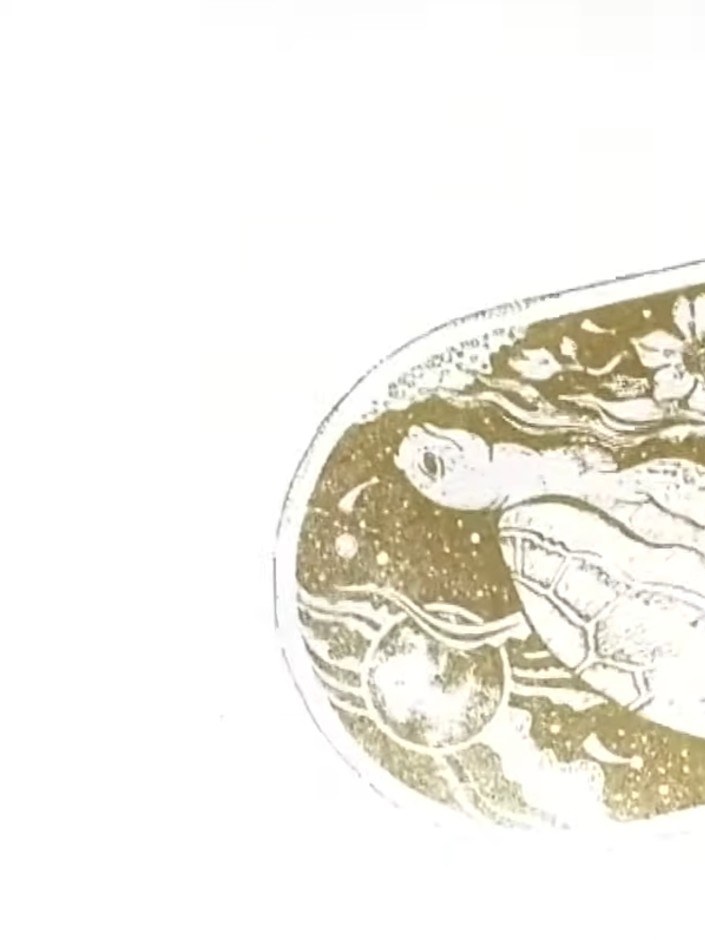
Sprinkle gold embossing powder over the wet embossing ink, ensuring the stamped image is fully covered.
▶ watch this step (47:15)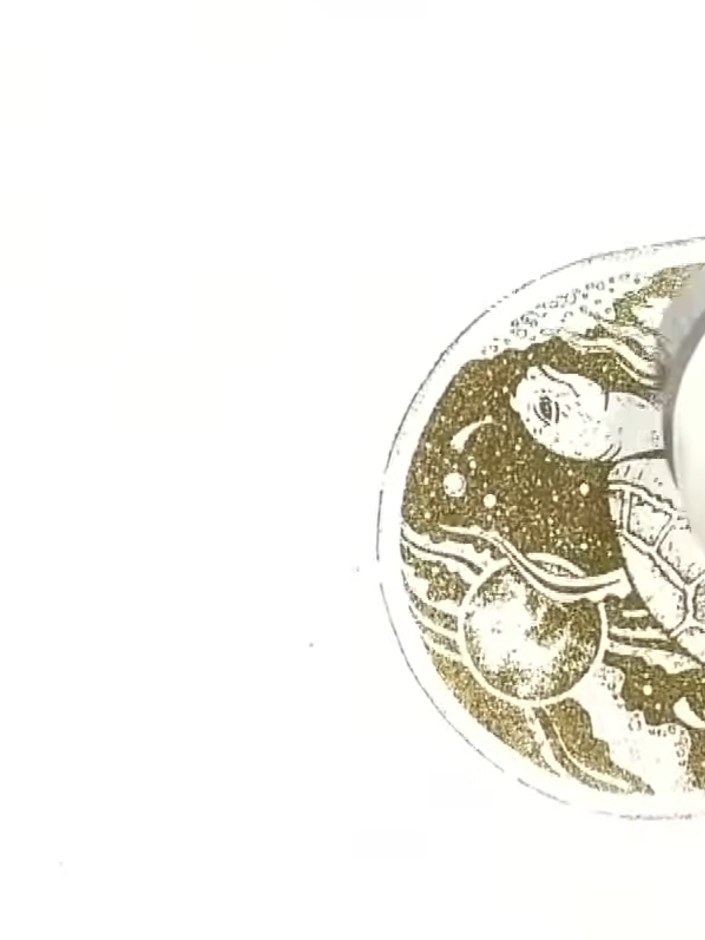
Heat the embossing powder with a heat gun, moving it over the stamped image until the powder melts and becomes shiny and raised.
▶ watch this step (47:30)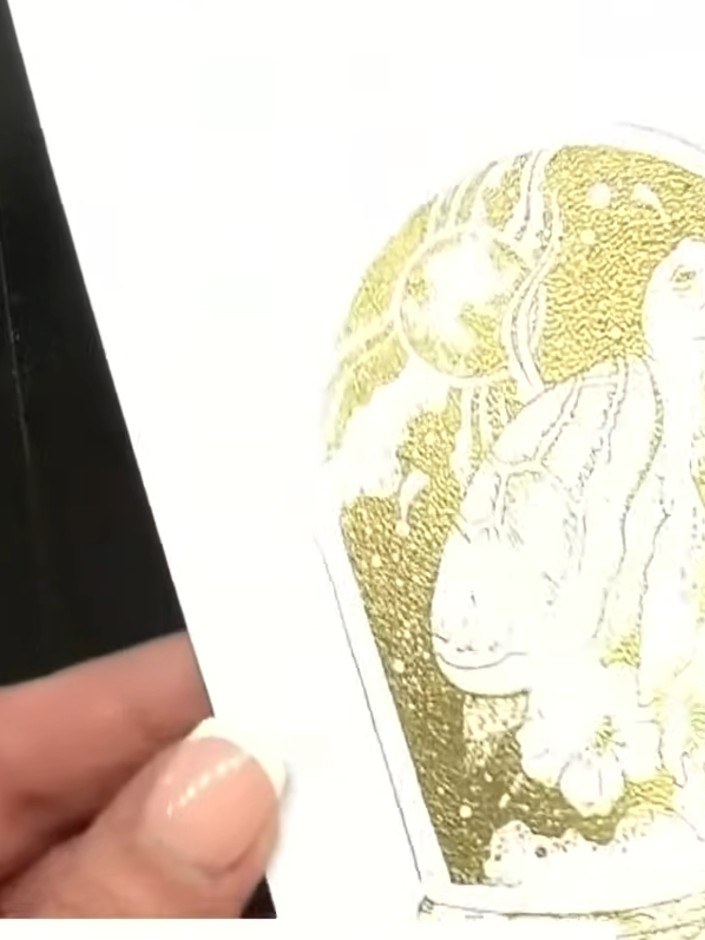
Colour the embossed image with alcohol markers or watercolours, working carefully within the embossed lines to add depth and detail to the design.
▶ watch this step (47:45)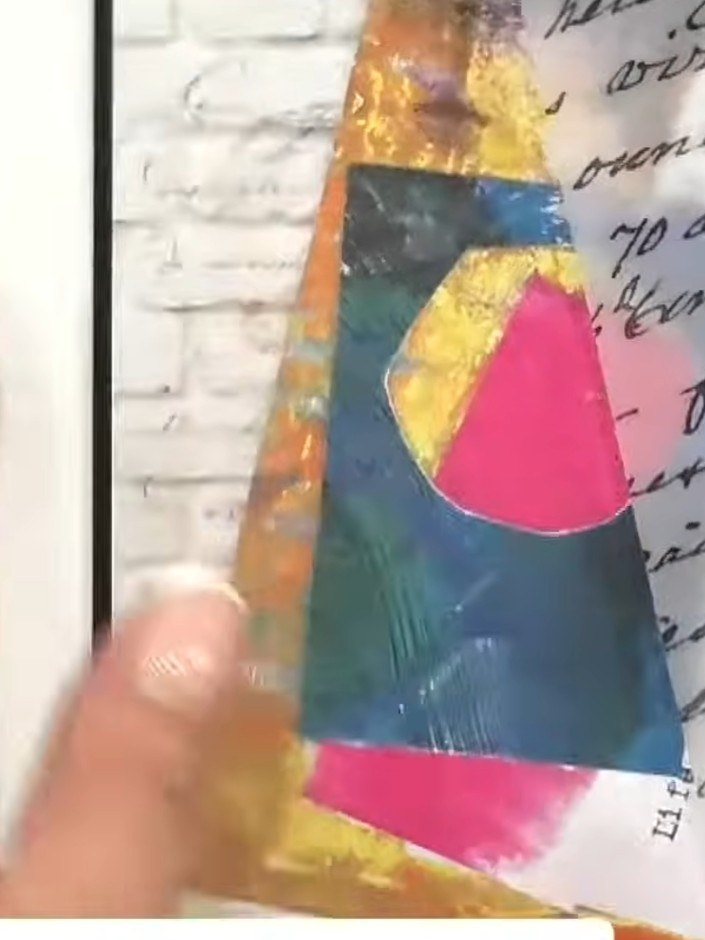
Add additional decorative paper layers in complementary colours. Smoosh them onto the background using ink to adhere and blend the layers together.
▶ watch this step (48:15)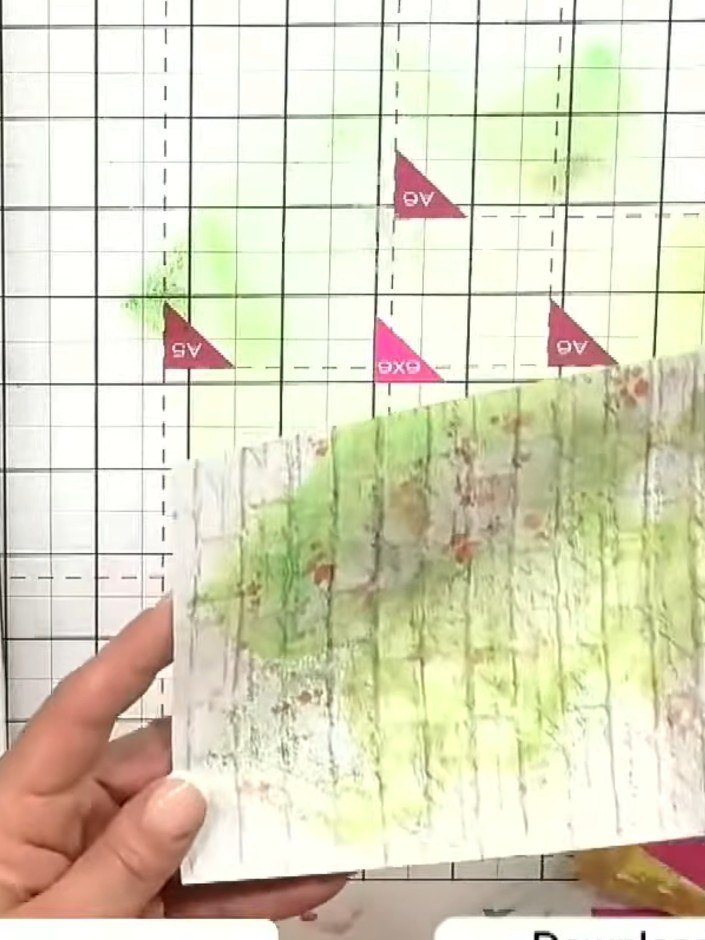
Using a fan brush, add lustre gold confetti ink accents across the background layers of your card.
▶ watch this step (48:45)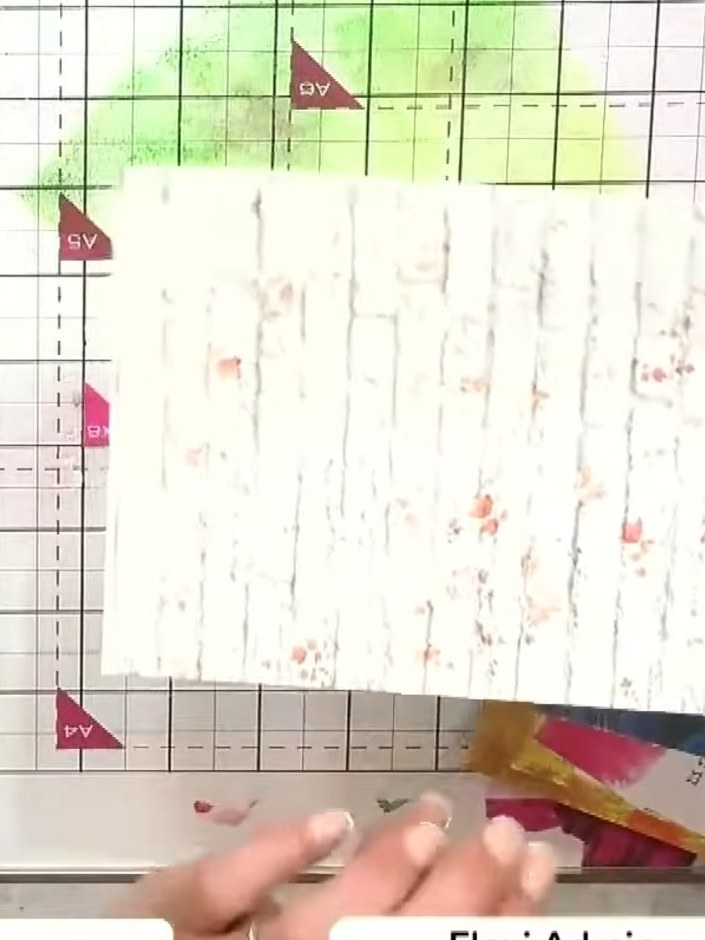
Mount the embossed and coloured turtle image onto the layered background using tape runner or glue. Position it centrally on the card front to complete your design.
▶ watch this step (49:15)Written up from the show itself. See every guide from our shows · free how-to guides · watch live on My Telly
