QUICK LINKS

info@howtocraftnetwork.com
We just got smarter - shop and watch with the SBM appGET THE APPWatch us live on your smart TVSEE HOWDiscover our dedicated IPTV channel - go to my-telly.comWATCHCollect loyalty points on every orderFIND OUT MORE
Welcome to the How to Craft Network
 
SBM SHOP
FOLLOW US
GIVE YOUR FRIENDS $10 OFF REFER A FRIEND › DISCOVER MY-TELLY.COM › WE JUST GOT SMARTER GET THE APP › AWARD WINNING CHANNEL ON YOUR TV › JOIN THE CLUB FOR SAVINGS ›
 

Reflection Trees Landscape Card with Stamping Variations

A project from our live show CREATE AND CRAFT TV - Join Toni for her brand new SBM launch - broadcast 9TH June 24 · 06/09/2024 · watch it from 37:45
Reflection Trees Landscape Card with Stamping Variations - the finished project
The finished project

Create three stunning landscape cards featuring reflection trees, each capturing a different time of day. Using a single stamp design, you'll produce morning, noon and night scenes through varied stamping techniques and colour intensities. The finished cards showcase silhouetted trees with their reflections, creating atmospheric effects in aqua, purple and grey tones.
You will need

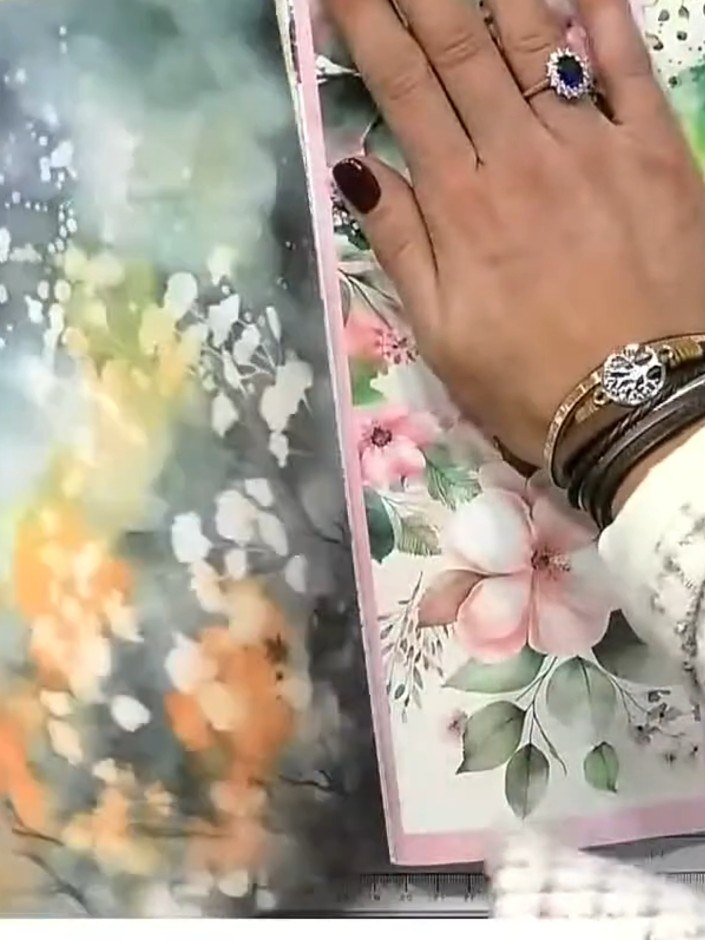
Inspirational Bookazine Kit - Magazine - 110324AInspirational Bookazine Kit - Magazine - 110324ASEE IT

DOWNLOAD THIS GUIDE (PDF)

Step by step

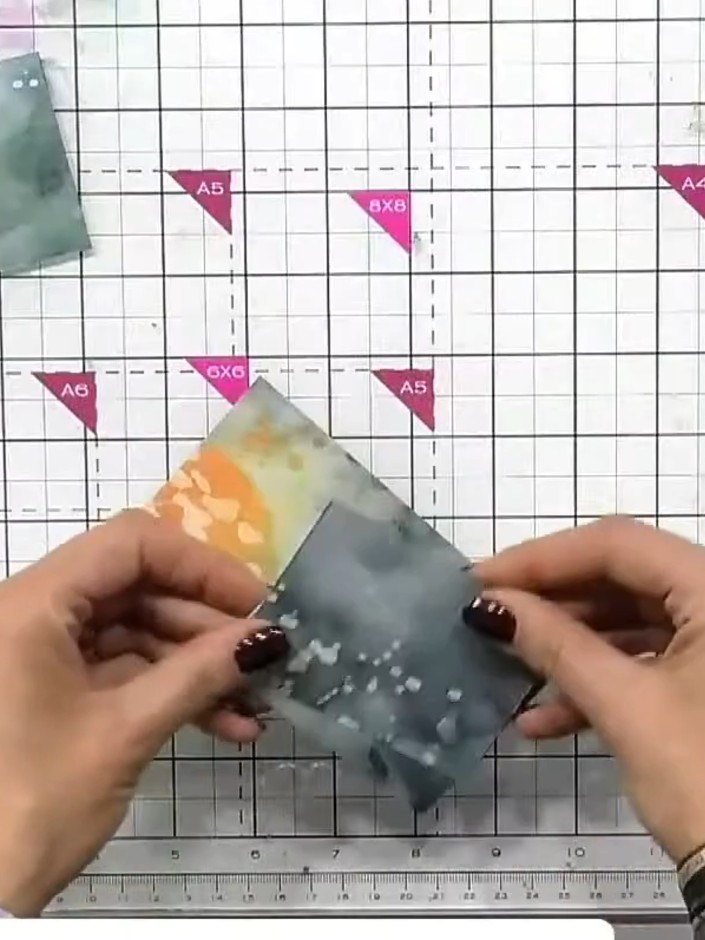
  1. Step 1: Select three pre-printed card panels from your magazine, each featuring a different background colour or patte

    Select three pre-printed card panels from your magazine, each featuring a different background colour or pattern. These will form the base for your landscape cards.

    ▶ watch this step (37:45)
  2. Step 2: Ink your reflection tree stamp fully with black ink and stamp it onto the first panel, positioning the reflect

    Ink your reflection tree stamp fully with black ink and stamp it onto the first panel, positioning the reflection down the centre.

    ▶ watch this step (38:00)
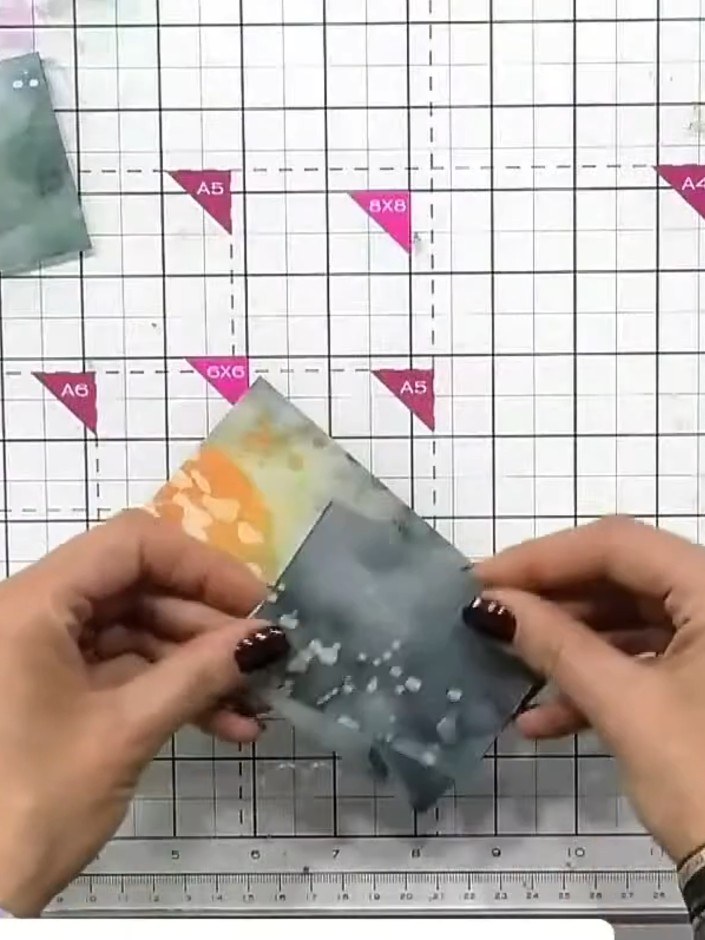
  3. Step 3: Apply ink only to the top portion of the tree stamp. Stamp this onto the bottom section of the same panel to c

    Apply ink only to the top portion of the tree stamp. Stamp this onto the bottom section of the same panel to create a lighter reflection effect below the main trees.

    ▶ watch this step (38:30)
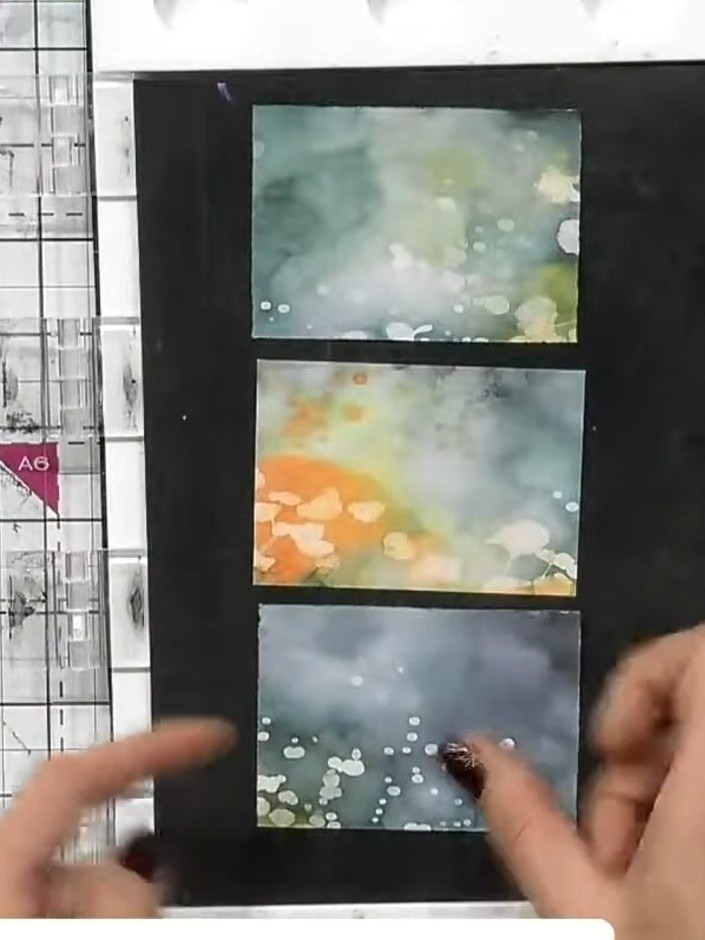
  4. Step 4: Position the stamp higher on your second panel and stamp only the top portion to create a different tree forma

    Position the stamp higher on your second panel and stamp only the top portion to create a different tree formation.

    ▶ watch this step (39:00)
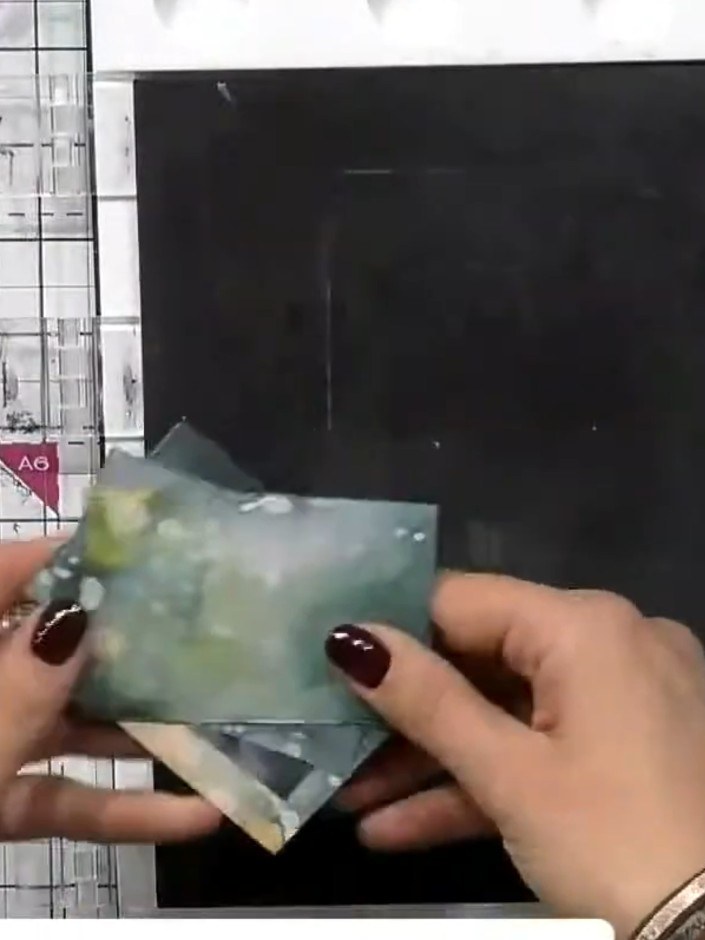
  5. Step 5: Apply ink to the second panel to create the reflection effect. Work the ink to create a darker tone at the top

    Apply ink to the second panel to create the reflection effect. Work the ink to create a darker tone at the top, gradually lightening towards the bottom for a natural reflection appearance.

    ▶ watch this step (39:30)
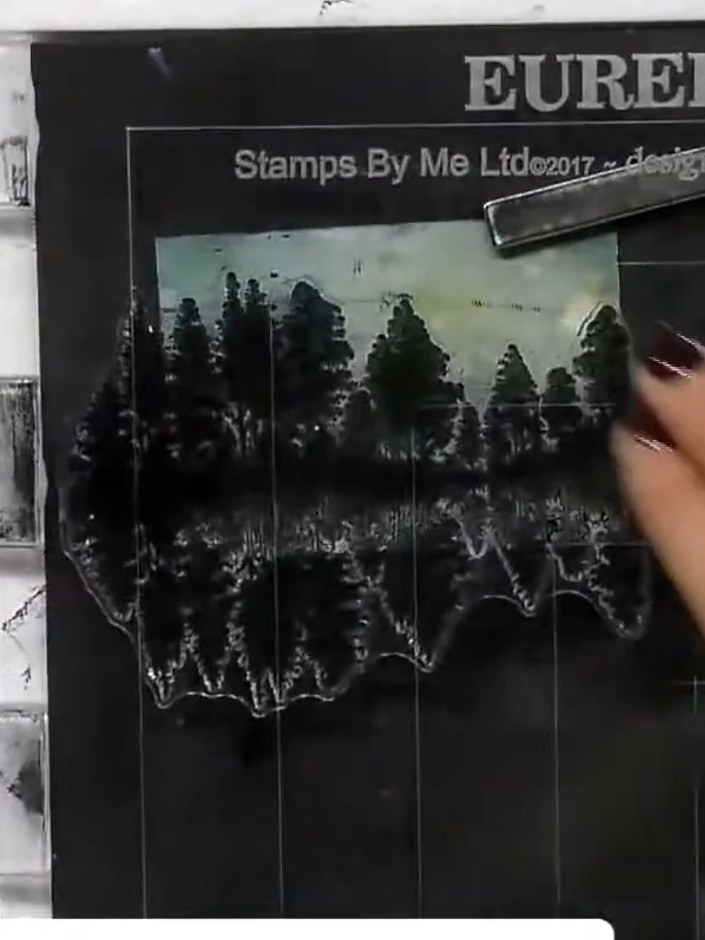
  6. On your third panel, stamp only the bottom portion of the tree stamp, omitting the reflection section to create a different composition. Position the stamp carefully to capture just the lower trees and foliage. ▶ watch 40:00
  7. Step 7: Apply darker ink to the top portion of the tree stamp to create contrast in the sky area. Stamp the trees onto

    Apply darker ink to the top portion of the tree stamp to create contrast in the sky area. Stamp the trees onto the card to complete the third variation of the reflection landscape.

    ▶ watch this step (40:30)
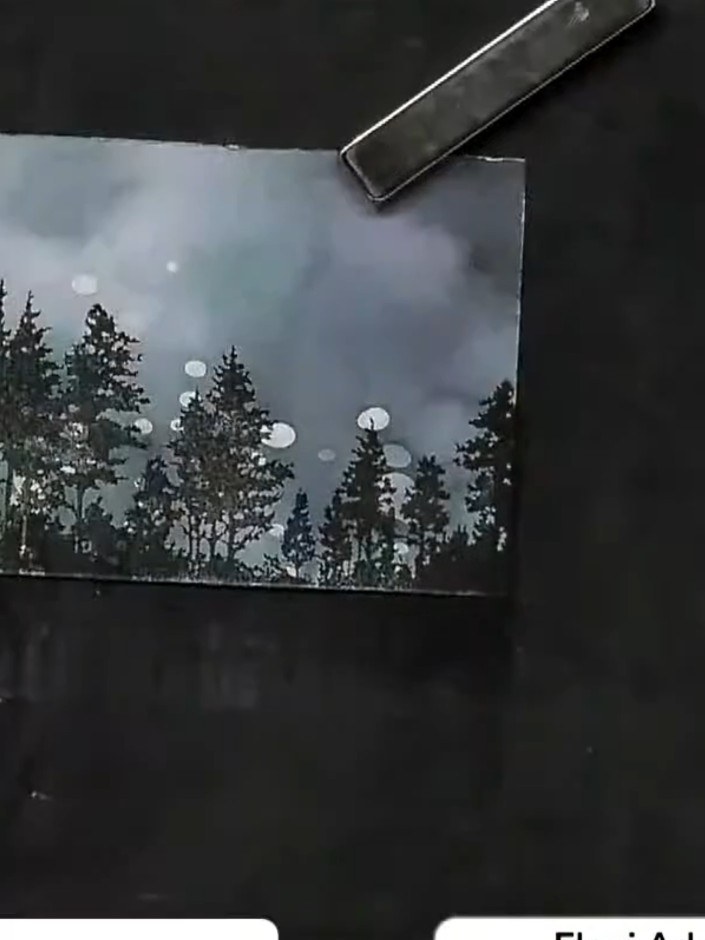
  8. Using a white gel pen, add highlights to the trees on your finished panels to create the effect of sunlight or moonlight coming through the foliage. ▶ watch 41:00
  9. Step 9: Mount your three stamped panels onto black card stock in sequence, arranging them to tell a story from morning

    Mount your three stamped panels onto black card stock in sequence, arranging them to tell a story from morning through to night. Position the panels side by side to create a triptych effect showing the progression of the day.

    ▶ watch this step (41:30)
  10. Add a sentiment from your stamp set to complete your card. Position it in a suitable location on the front of your card and stamp it clearly. ▶ watch 42:00

Tips from the show

More from this show

Written up from the show itself. See every guide from our shows · free how-to guides · watch live on My Telly







