Give your friends $10 off their first order!
Refer a FRIEND








A project from our live show MY PODCAST - Catch my latest updates broadcast 10th June 2024 · 06/10/2024 · watch it from 25:30
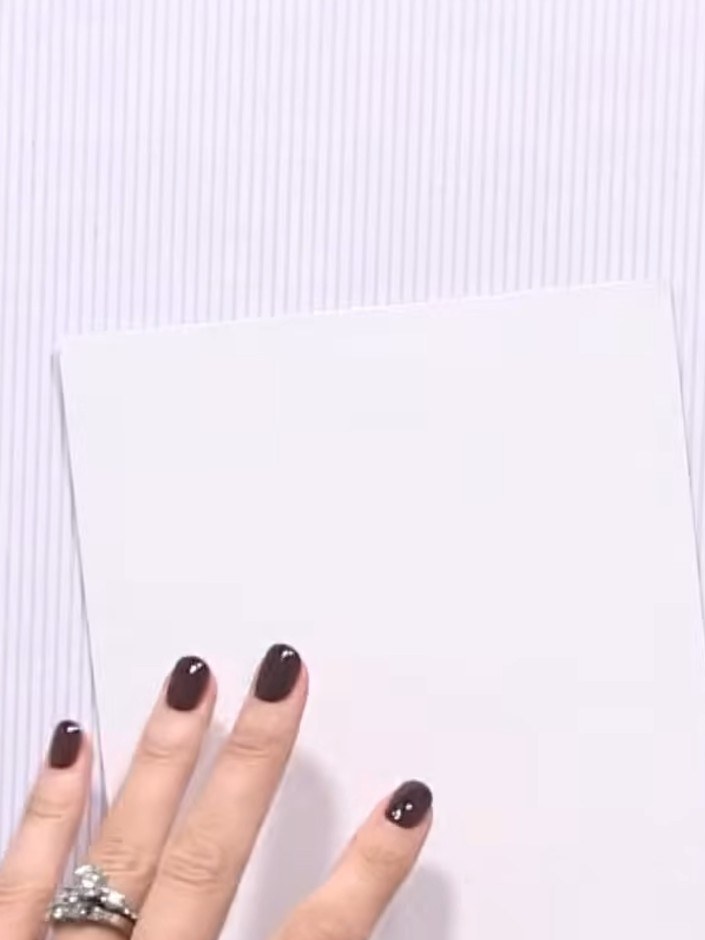
Create an elegant shaped Z-fold card featuring two different sized panels that create a dimensional display when opened. This sophisticated design uses white card blanks with delicate floral patterned paper, perfect for showcasing your favourite decorative elements. The project uses scoring and folding techniques to achieve the distinctive Z-fold structure with a proud front panel.
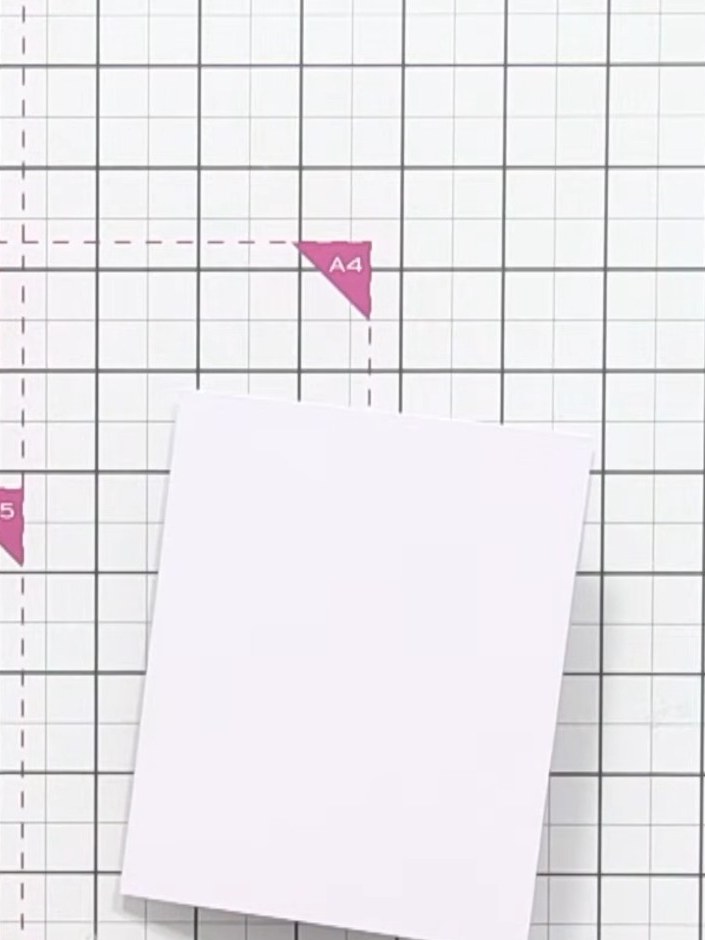
Take a larger card blank and position it on your scoreboard. Place the card centrally on the grid to prepare for scoring.
▶ watch this step (26:00)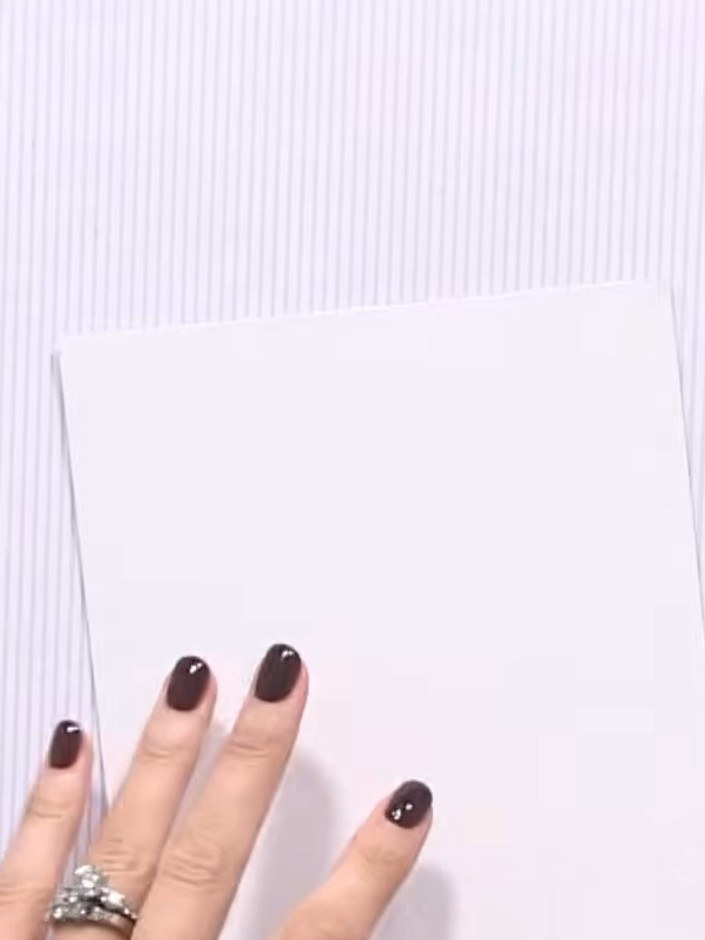
Score the white card at the halfway point (approximately 3 inches) on one side using your scoring tool and ruler.
▶ watch this step (26:15)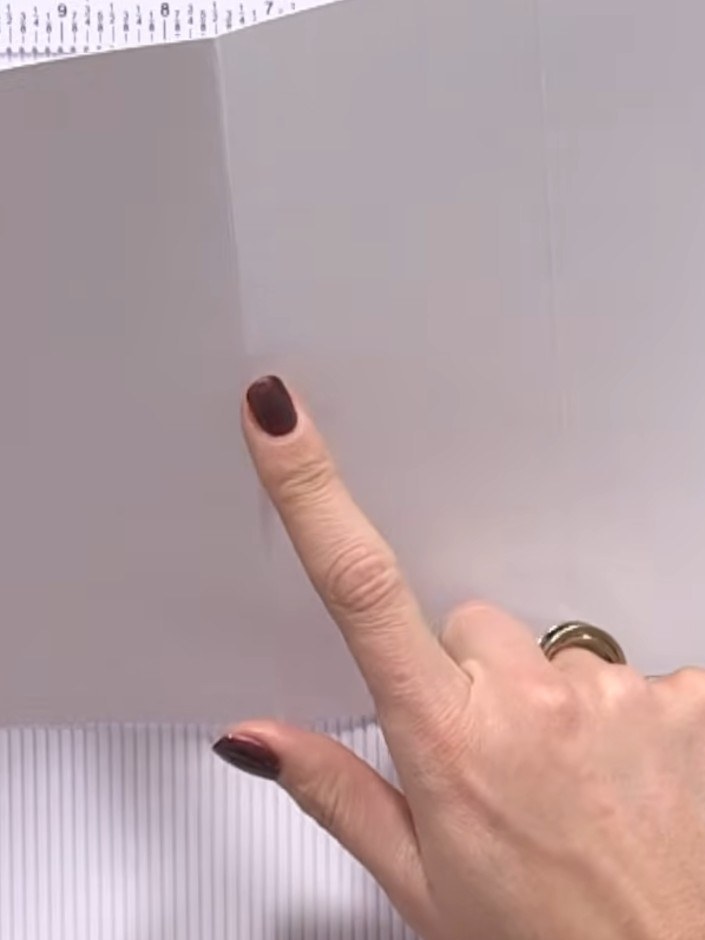
Turn the card over to the reverse side. Using your scoreboard, score at the same measurements on this side as you did on the front.
▶ watch this step (26:30)
Fold the grey card along the score lines to create a Z-fold formation, bringing the panels together to form a W-shape when viewed from the side.
▶ watch this step (26:45)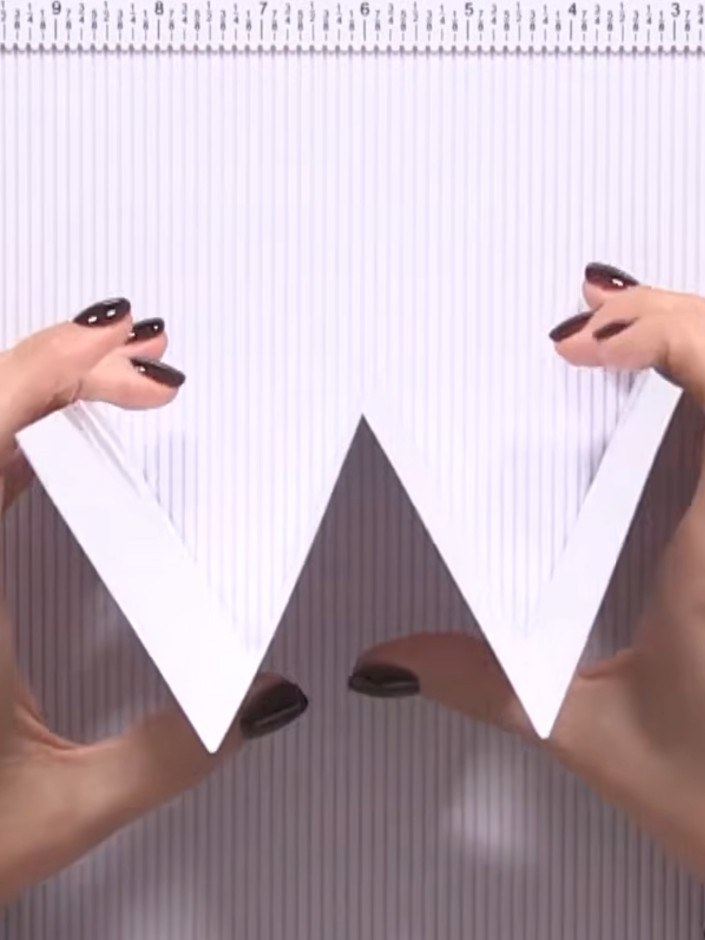
Take the smaller white card blank and fold it back on itself. Position it over the dark grey triangular panel to create a layered effect inside your z-fold card.
▶ watch this step (27:00)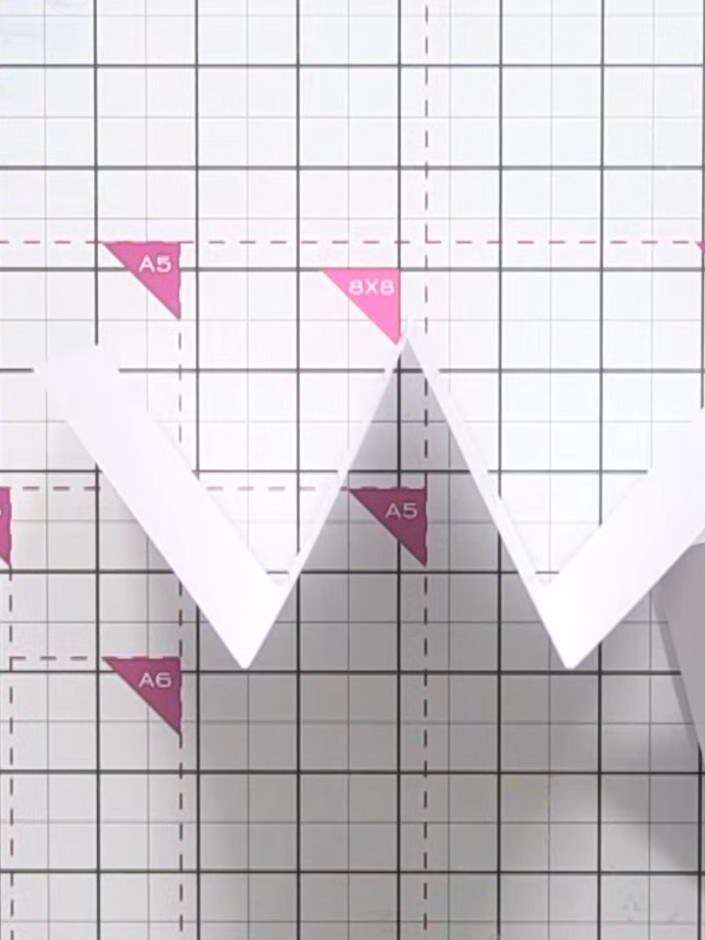
Decorate the front panel with card stock pieces, leaving white borders down the sides for visual balance. Position the decorative elements on the Z-fold to create an attractive design.
▶ watch this step (27:15)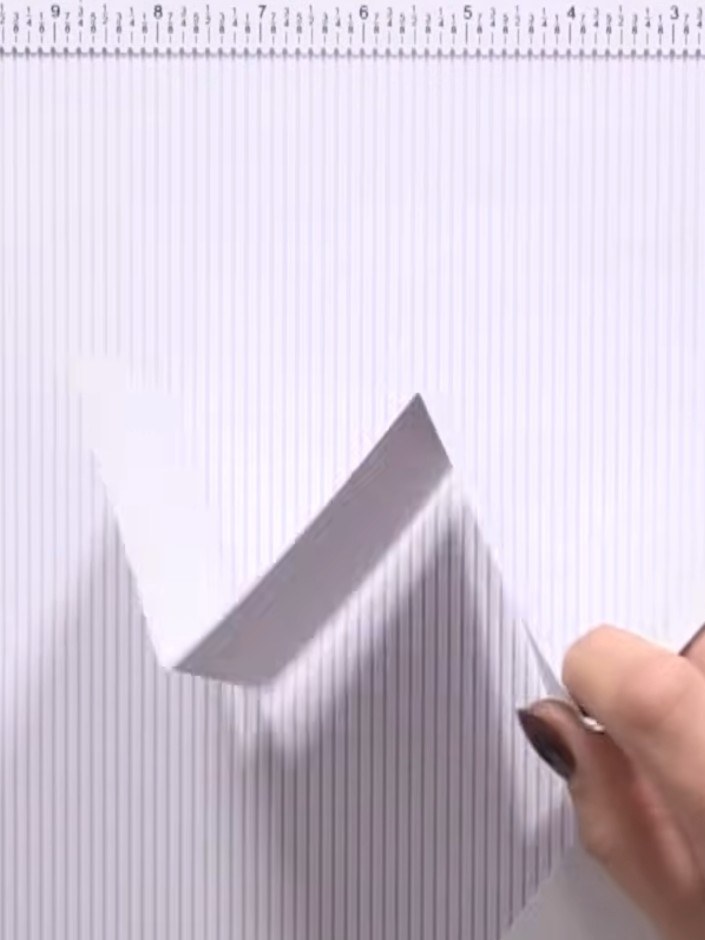
Add decorative elements to the front panel. Position and attach stamped images or die-cut embellishments as desired to create your design.
▶ watch this step (27:45)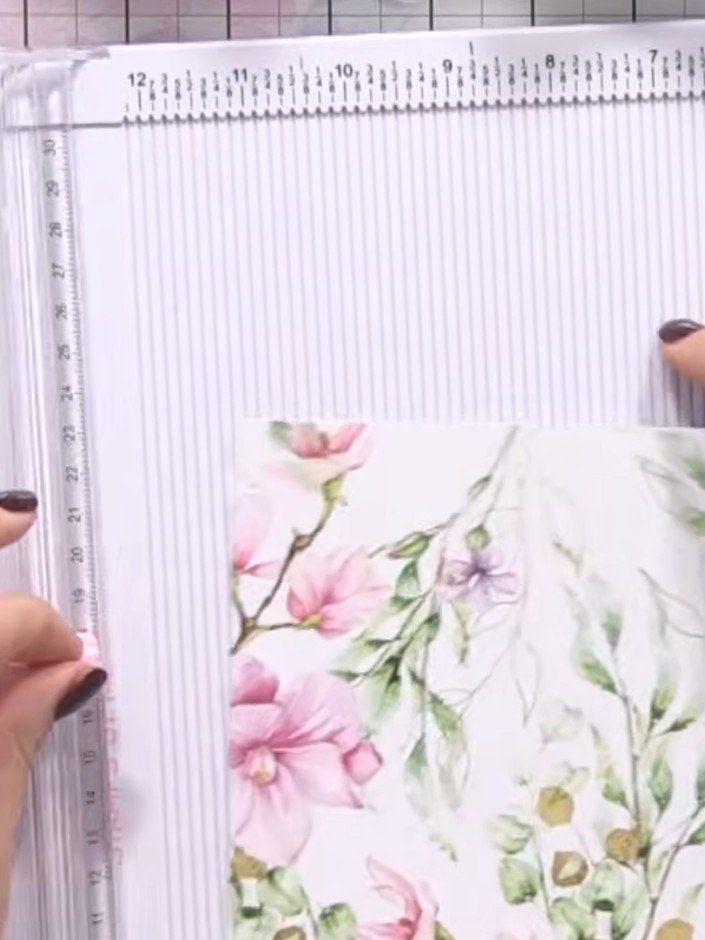
Position a coordinating decorative panel on the back of the card. Use adhesive to secure it in place, ensuring it's centred and aligned properly.
▶ watch this step (28:30)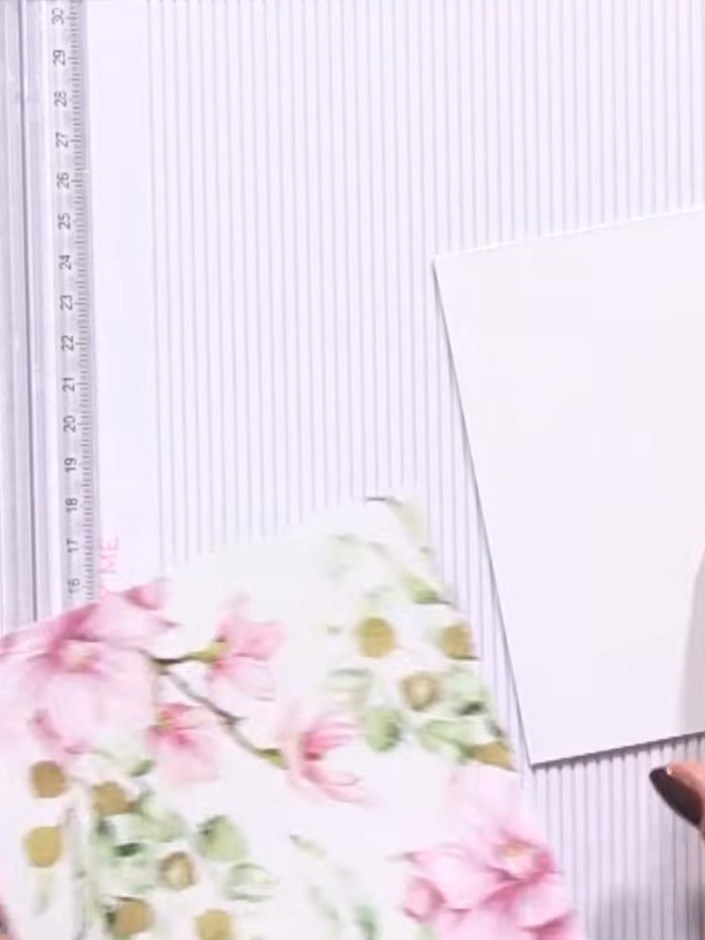
Trim away any excess card stock from the bottom edges of the card to neaten and align the panels.
▶ watch this step (29:00)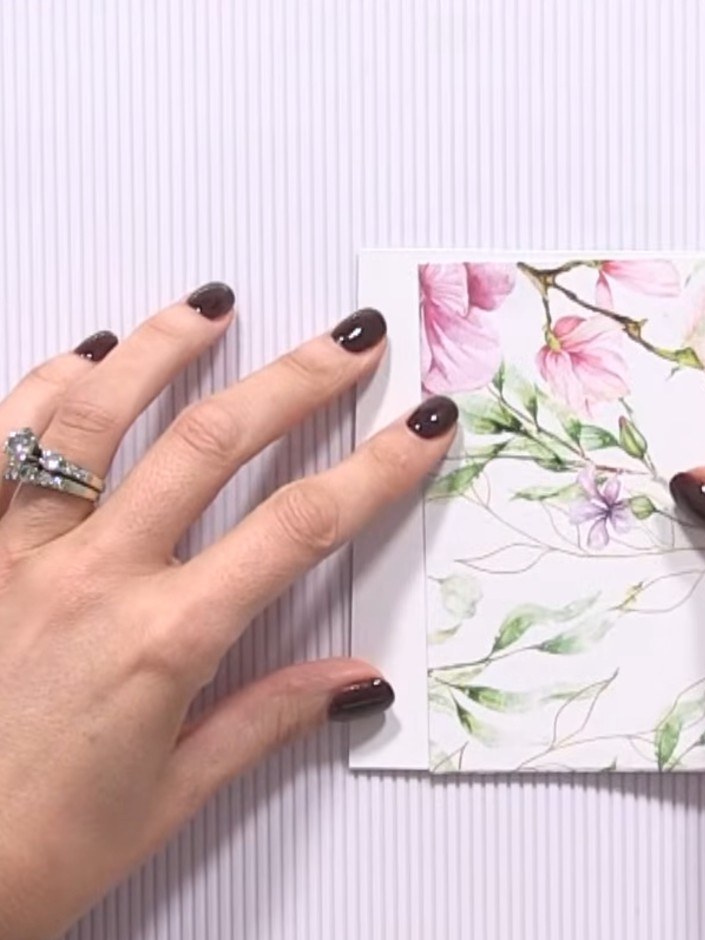
Test that the card closes properly by gently folding it shut. Check that all panels align correctly and that the card sits flat when closed before finalising any adhesive applications.
▶ watch this step (29:30)Written up from the show itself. See every guide from our shows · free how-to guides · watch live on My Telly