Give your friends $10 off their first order!
Refer a FRIEND








A project from our live show MY PODCAST - Catch my latest updates broadcast 1st July 2024 · 07/01/2024 · watch it from 50:30
Create an elegant framed card featuring a charming raccoon image surrounded by an embossed snowflake border. This project uses patterned paper with the Snowflake Frame embossing folder to create a beautiful dimensional frame effect in soft greens and blues. The embossed frame acts as a sophisticated border, giving your handmade card a professional, shop-bought appearance.
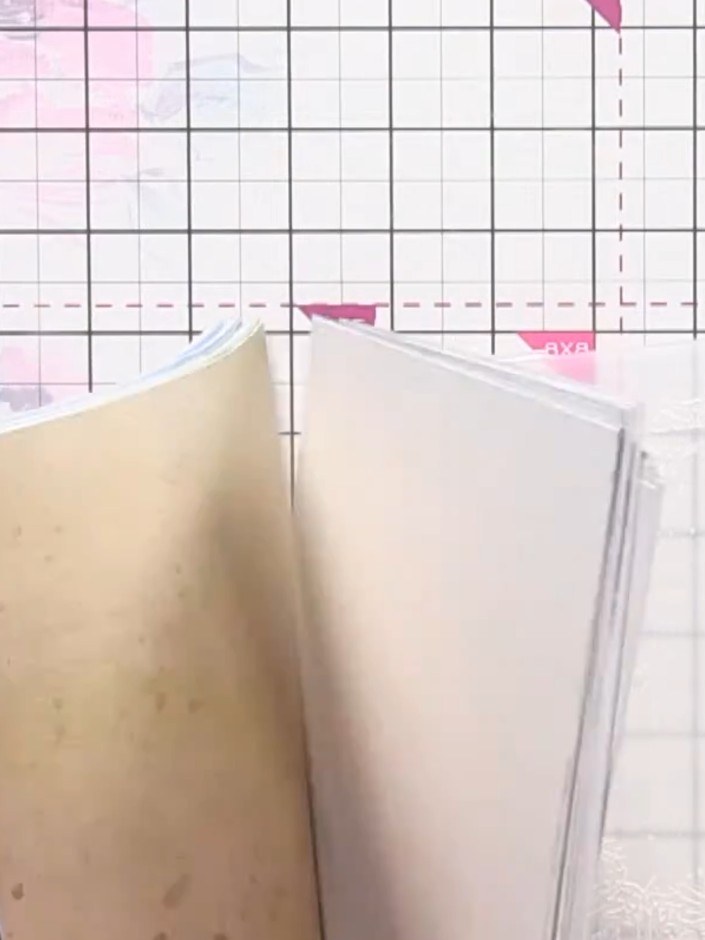
Select a patterned paper with an animal or focal image in the centre. Choose papers with interesting designs that will show through the snowflake frame.
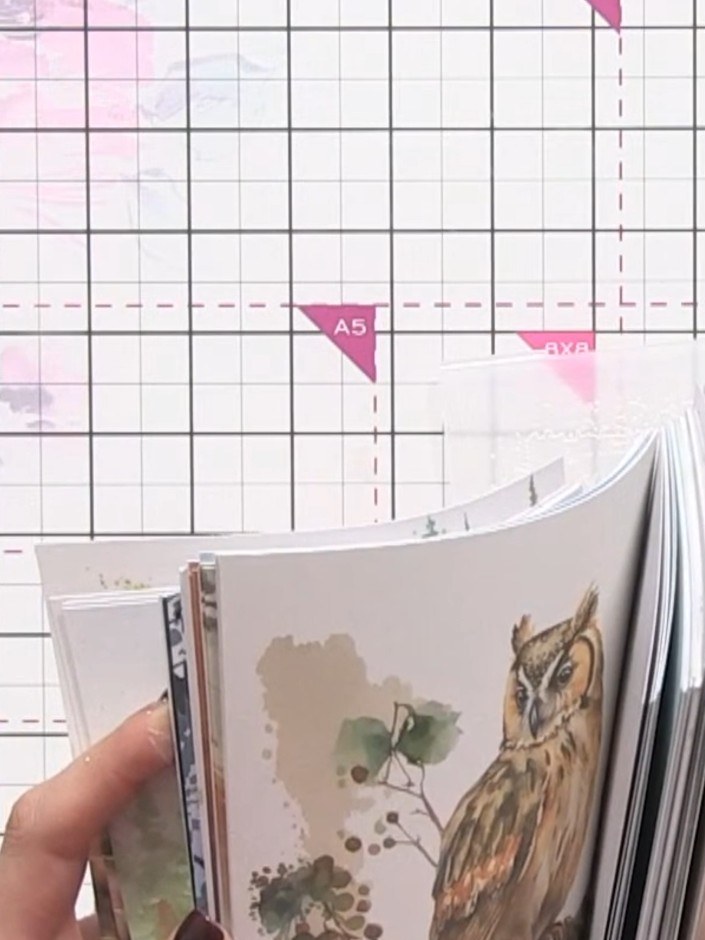
▶ watch this step (50:30)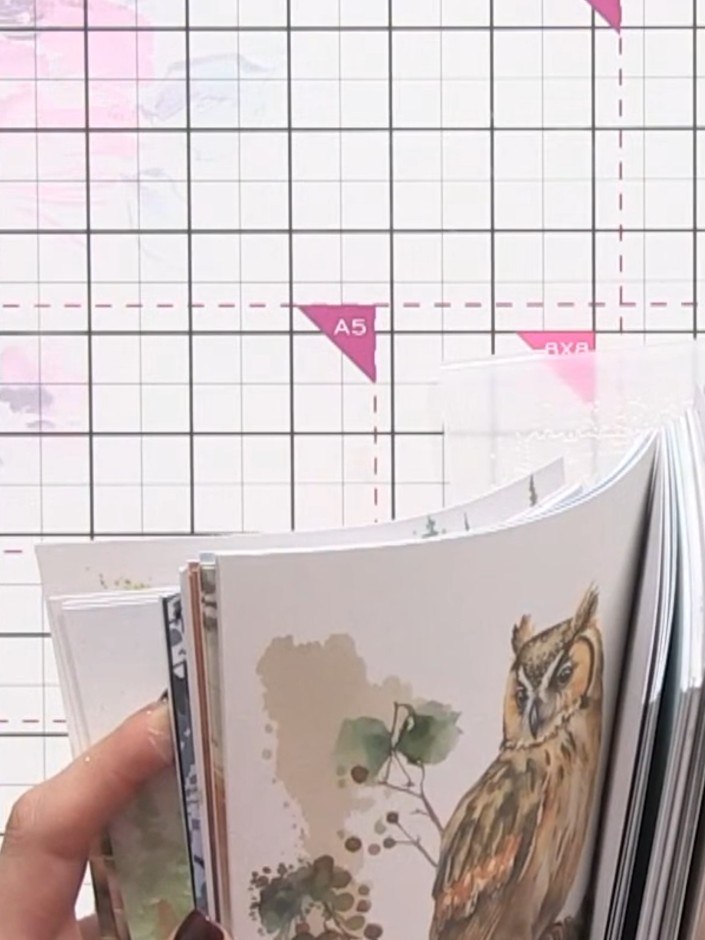
Fan through the patterned paper pad to select a design with a focal image. Choose a page where the main image will sit centrally when placed in the embossing folder's aperture.
▶ watch this step (51:00)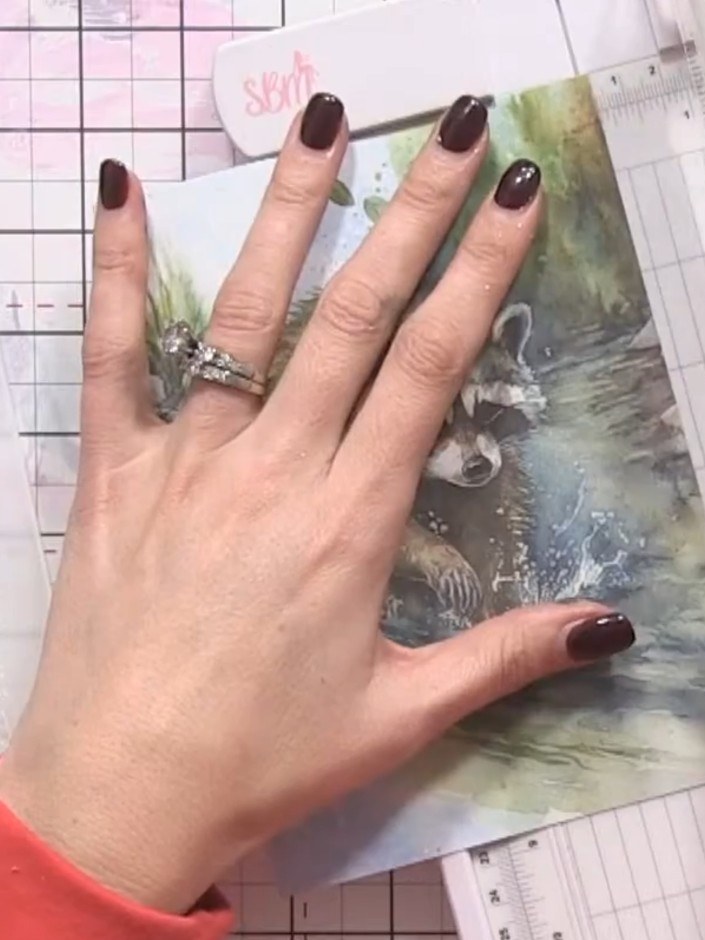
Place the patterned paper featuring the raccoon design into the Snowflake Frame embossing folder. Run it through your die-cutting machine without any ink to create the embossed pattern.
▶ watch this step (51:30)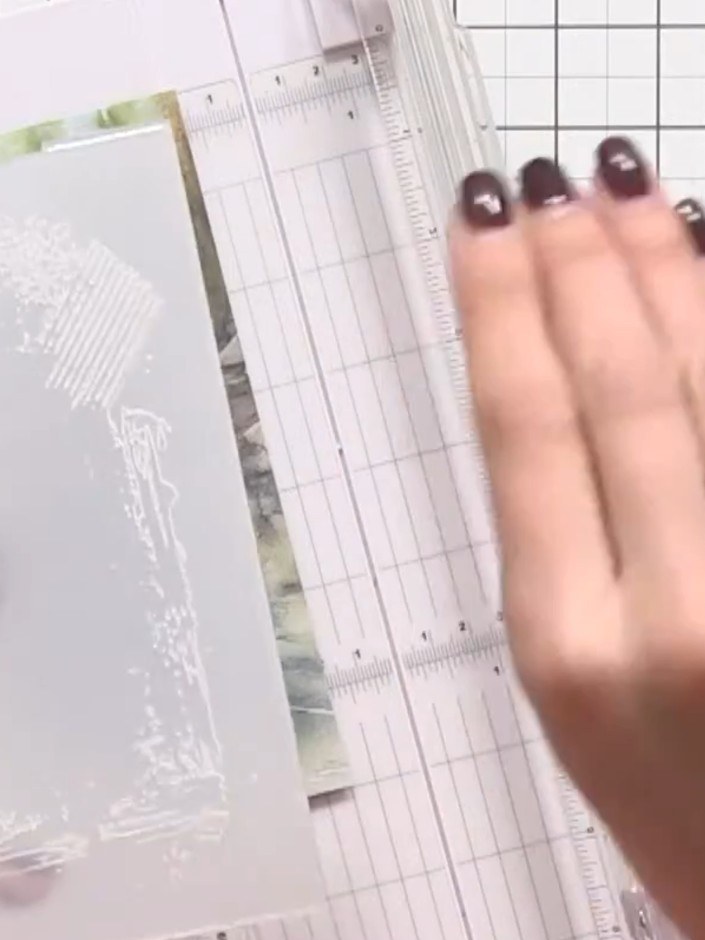
Pounce a white ink pad over the entire embossed frame to bring out the snowflake and texture details.
▶ watch this step (52:00)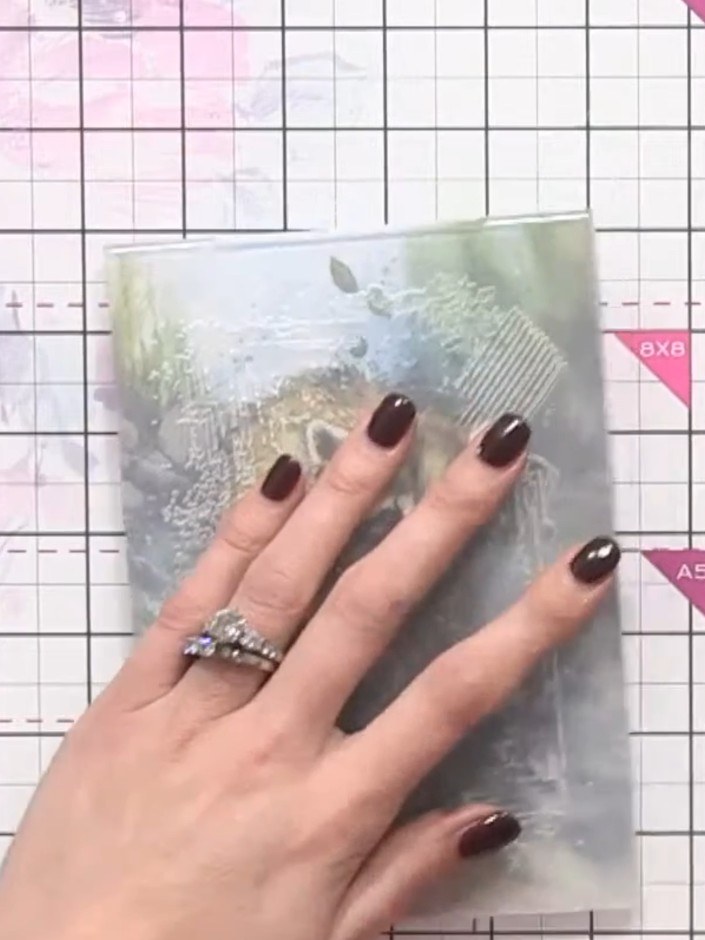
Mount the embossed beaver image onto black card stock to create contrast and frame the design. Position the embossed piece centrally on the black card.
▶ watch this step (53:00)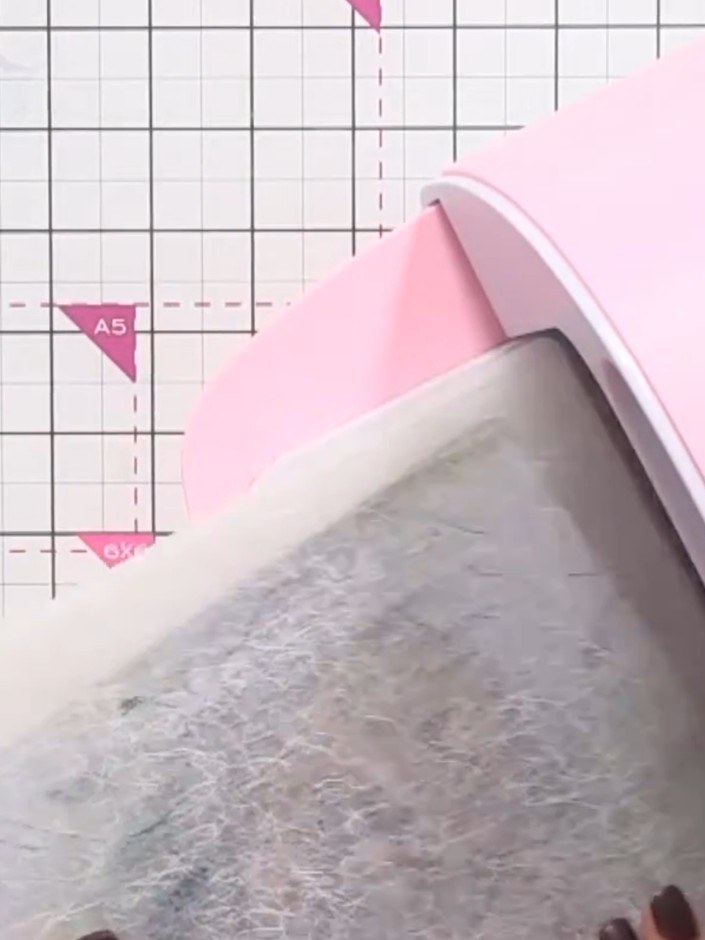
Use a dark ink to blend around the outer edges of the embossed panel. This will draw the eye towards the centre focal image and add depth to your design.
▶ watch this step (53:30)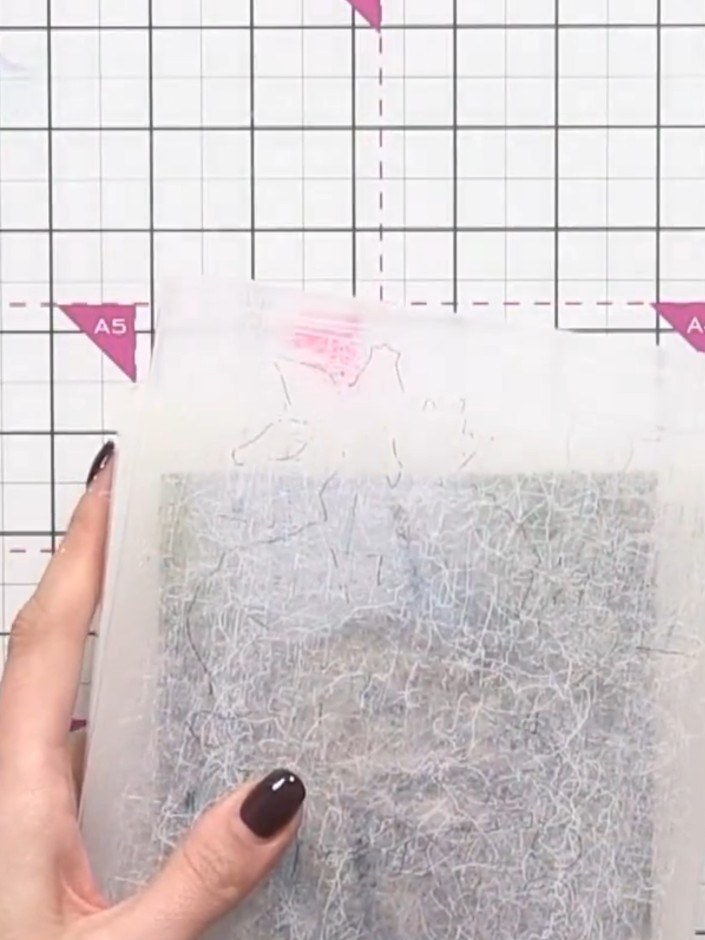
Using dark ink, carefully edge the entire card to remove any white showing through from the embossing process.
▶ watch this step (54:00)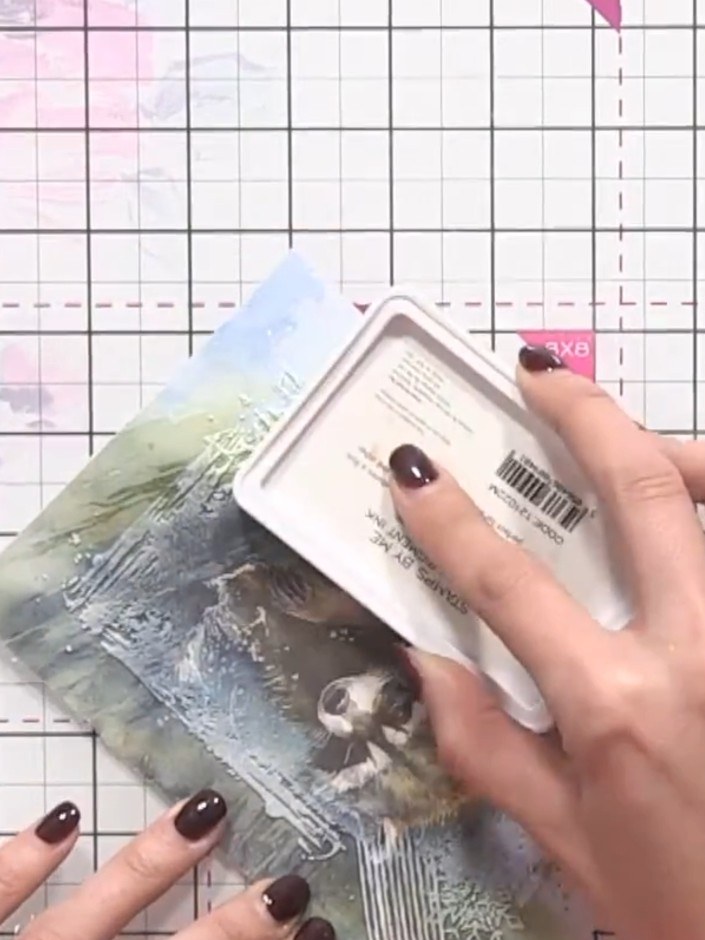
Add your chosen sentiment to complete the card. Position it centrally on the front panel and secure in place.
▶ watch this step (54:30)Written up from the show itself. See every guide from our shows · free how-to guides · watch live on My Telly