Give your friends $10 off their first order!
Refer a FRIEND








A project from our live show SBM LATEST PRODUCTS AND INSPRIRATION - Join Toni in the studio broadcast 27th July 24 · 07/27/2024 · watch it from 20:00
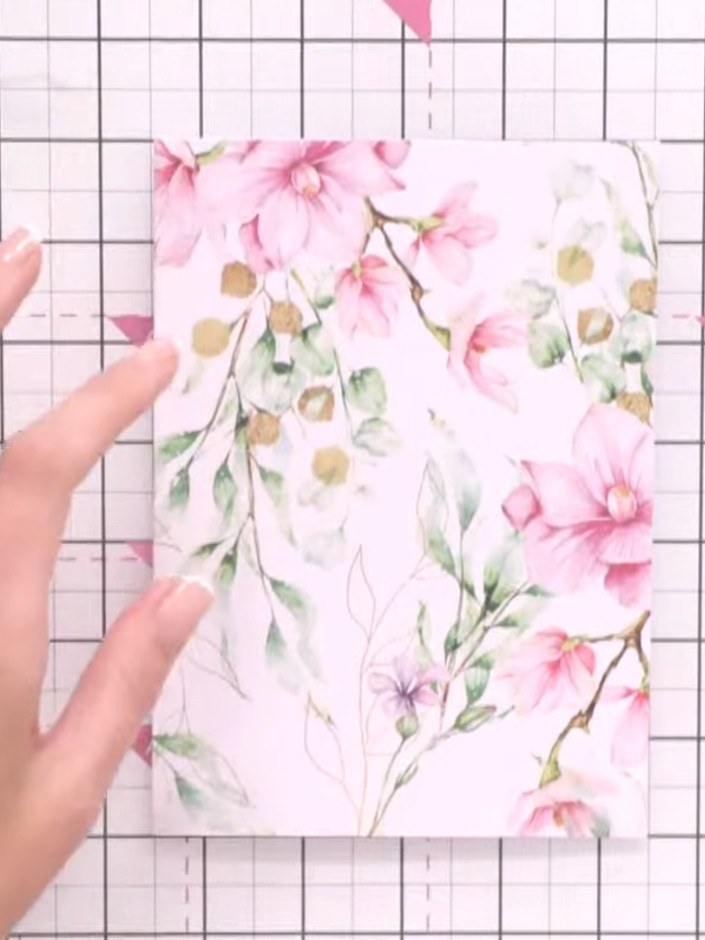
Create an elegant card using the Magnolia Create a Card Kit with its soft pink and floral designs. This simple project involves stamping a sentiment, layering a pre-made topper, and adding delicate embellishments to achieve a beautiful, polished finish. Perfect for those who want a stunning result with minimal effort.
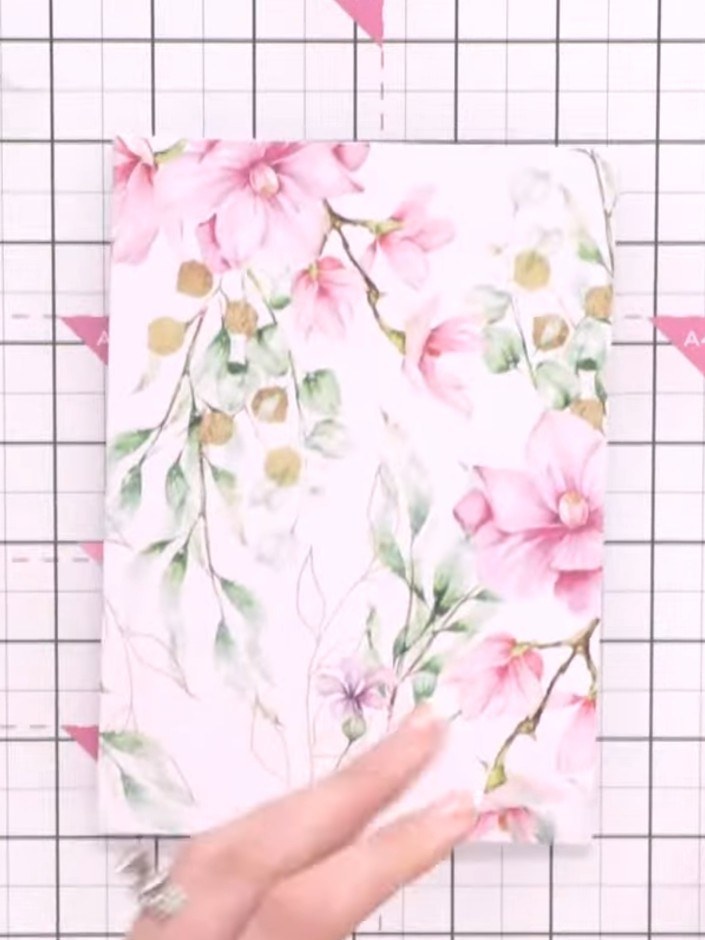
Select a card blank from the Magnolia Create a Card Kit. The blank features a beautiful floral design with pink flowers and green foliage on a white background.
▶ watch this step (20:00)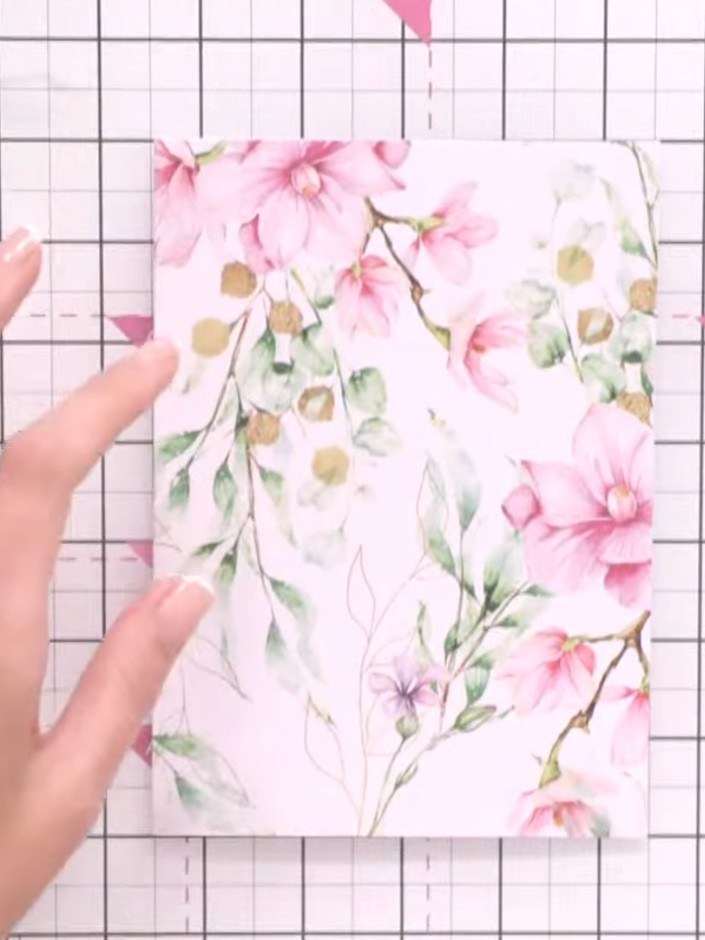
Select a decorative topper from the remaining pieces in your Magnolia kit. Choose one featuring the pink floral design that complements your card.
▶ watch this step (20:15)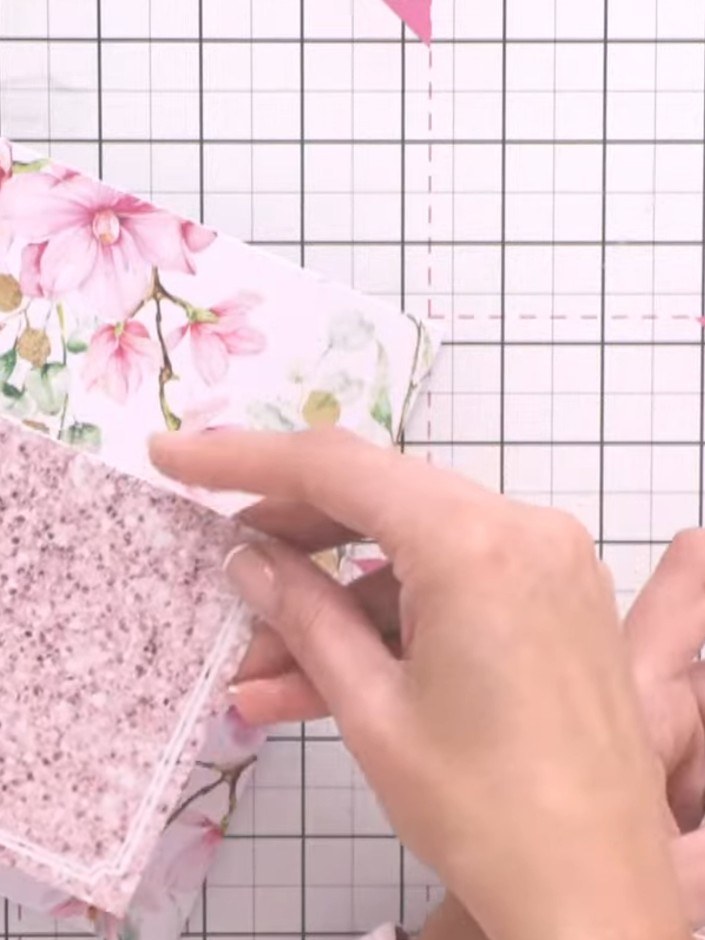
Adhere the floral topper to the front of the card blank using foam pads for dimension.
▶ watch this step (20:30)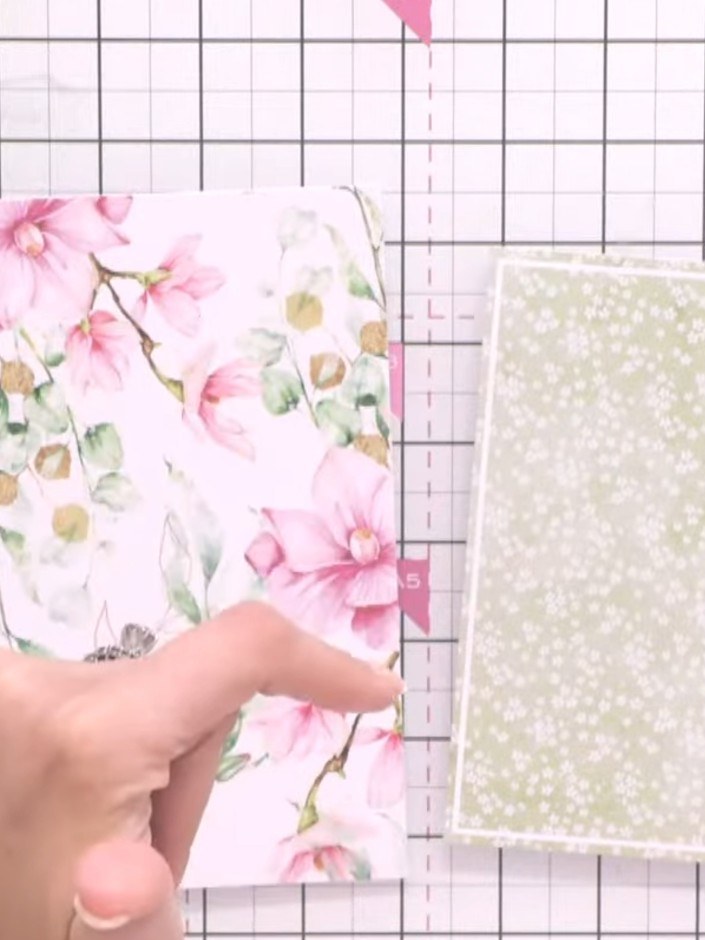
Select embellishments from your Magnolia kit such as decorative birds or leaves to add to your card design.
▶ watch this step (21:00)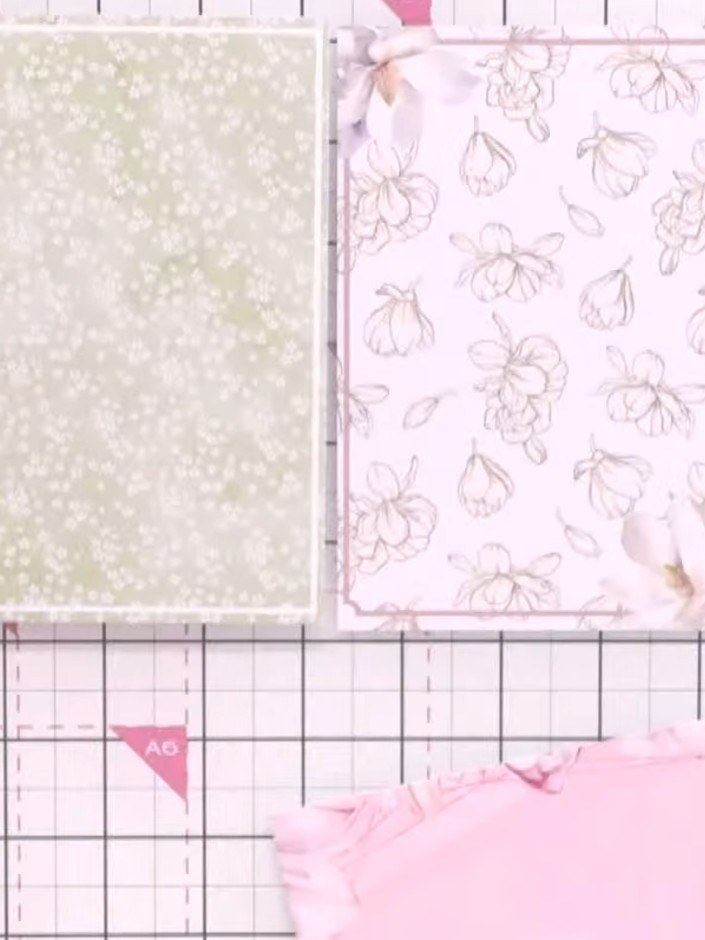
Arrange your chosen embellishments around the topper before gluing them down. Try different layouts to find the most pleasing arrangement for your design.
▶ watch this step (21:30)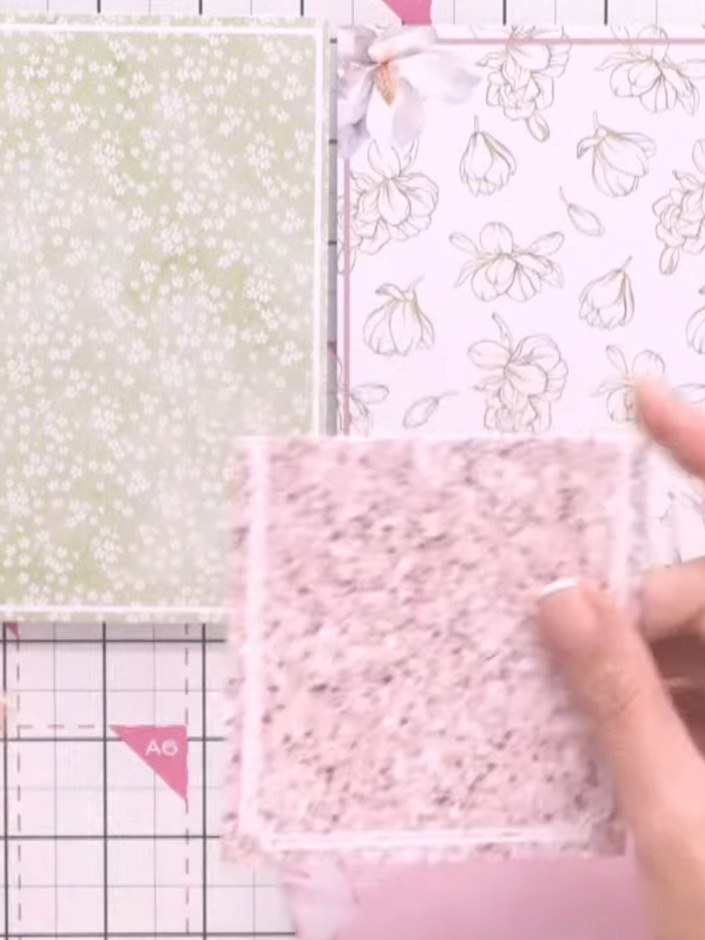
Secure your chosen embellishments in place using adhesive. Position decorative elements such as die-cut flowers, patterned paper pieces, or other embellishments onto your card to complete the design.
▶ watch this step (22:00)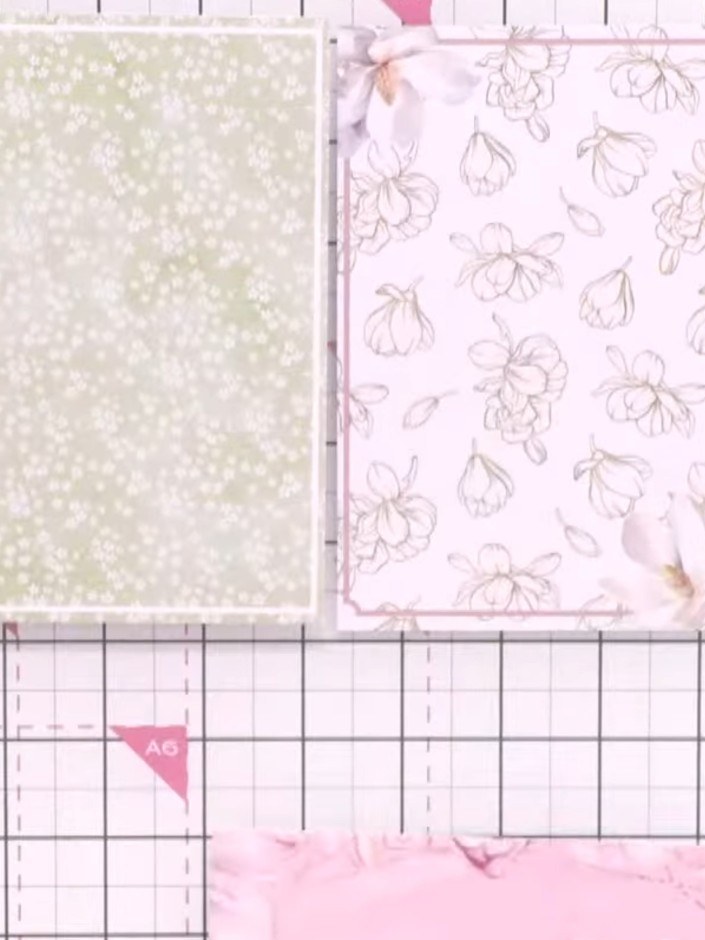
Step back and assess the balance of your design. Check that the floral elements are well distributed and the pink glitter paper pocket sits nicely on the left side of the card.
▶ watch this step (22:30)Written up from the show itself. See every guide from our shows · free how-to guides · watch live on My Telly
