Give your friends $10 off their first order!
Refer a FRIEND








Prices change straight away. Every language is our own translation, not Google.
A project from our live show HOBBYMAKER TV - Join us for the latest show - Broadcast 2 p.m. (UK) 15th August 2026 · 08/15/2026 · watch it from 14:45
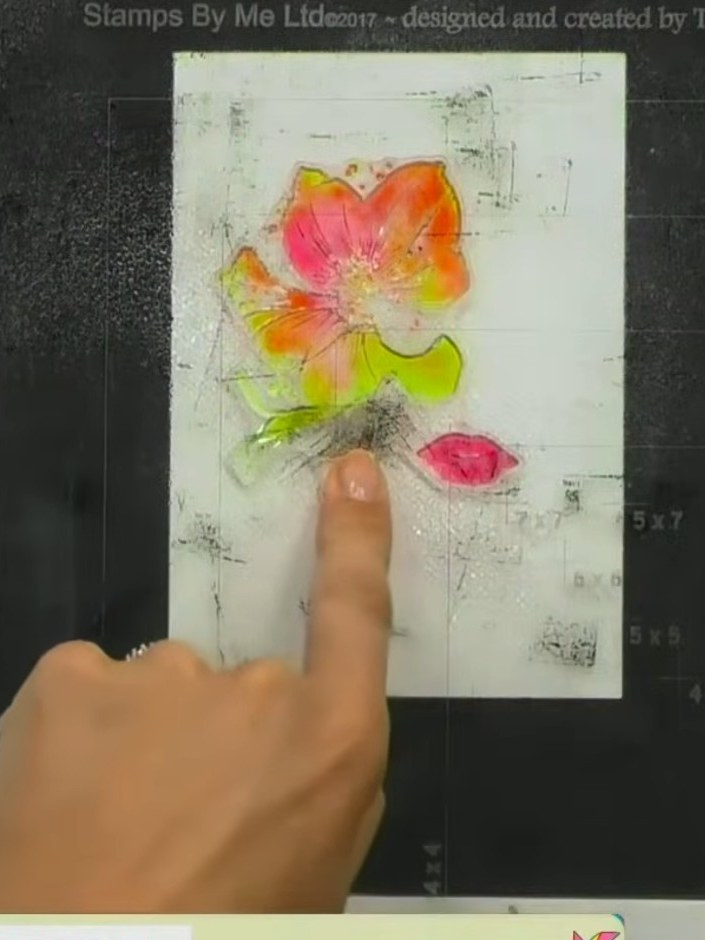
Create a vibrant watercolour-effect card featuring a colourful flower and lips using the innovative two-part lamination stamp technique. The design showcases bold purple, orange, pink, yellow and lime green hues blended together for an artistic, contemporary look. This clever method allows you to achieve beautiful watercolour effects without traditional painting skills, combining stamped colour layers with detailed line work for a professional finish.
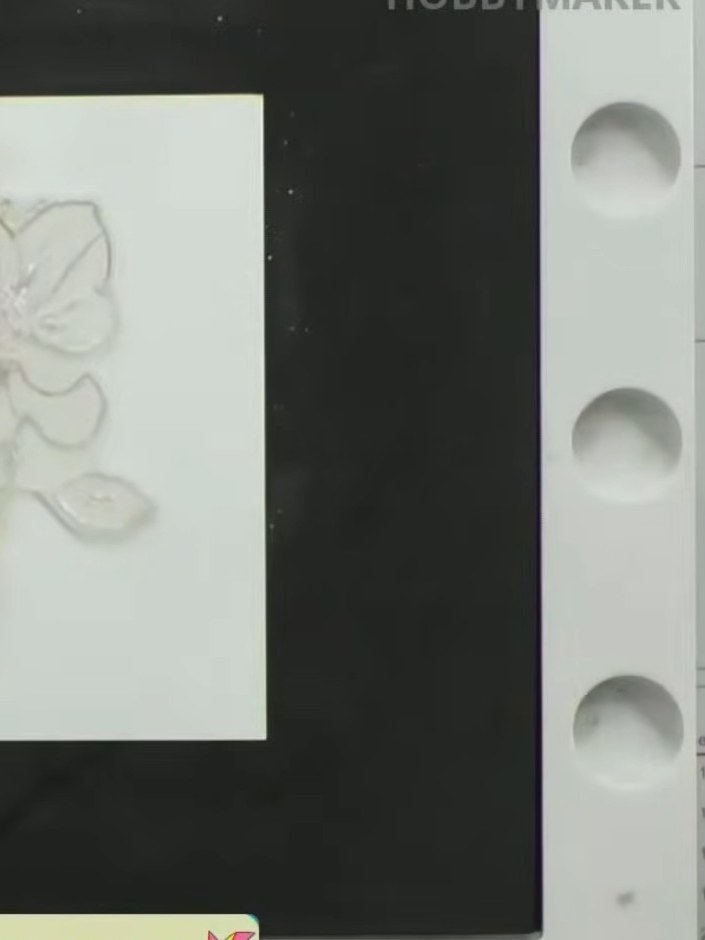
Select the solid portion of the clear lamination stamp showing the face outline. This is the part that will be used for adding colour to your design.
▶ watch this step (16:00)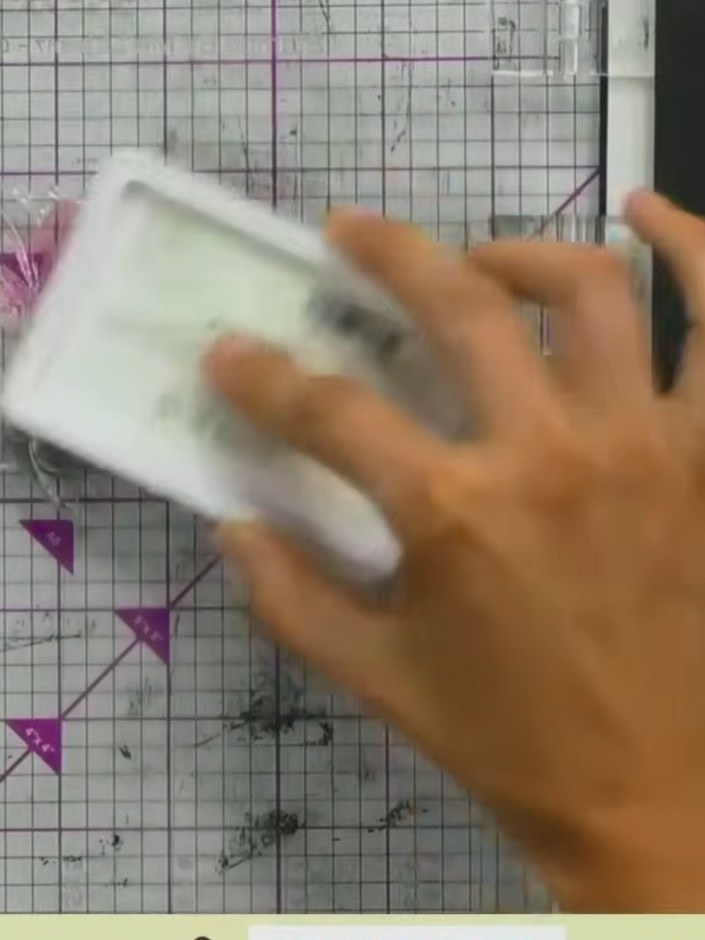
Ink up your stamp using an ink pad in your chosen colour. Apply the ink evenly across the stamp surface, ensuring full coverage of the design.
▶ watch this step (16:15)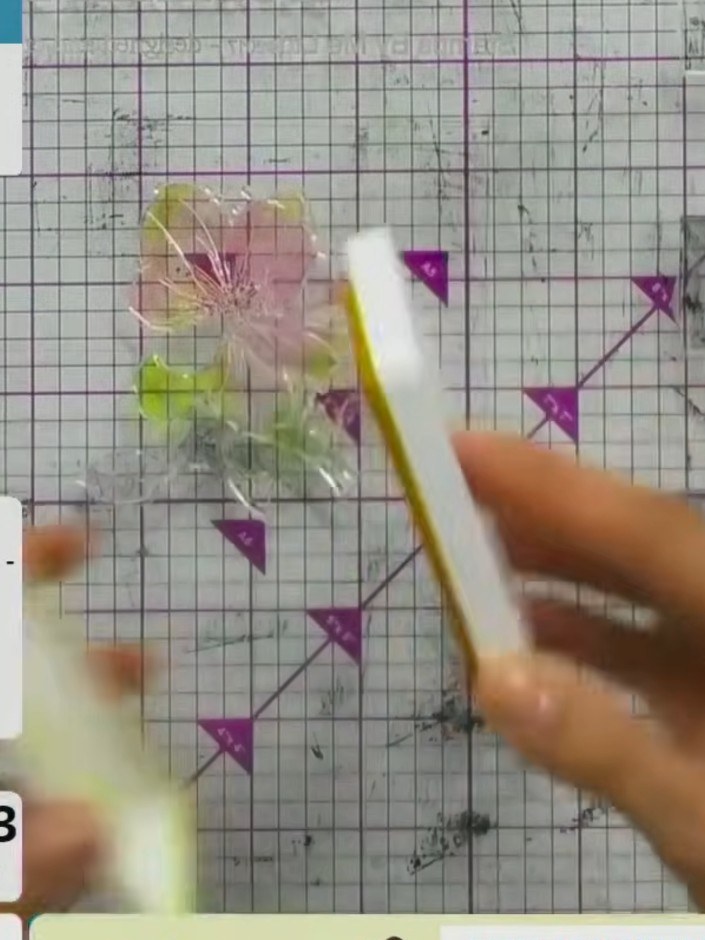
Lightly spray the inked stamp with water from a spray bottle to create a watercolour effect.
▶ watch this step (16:30)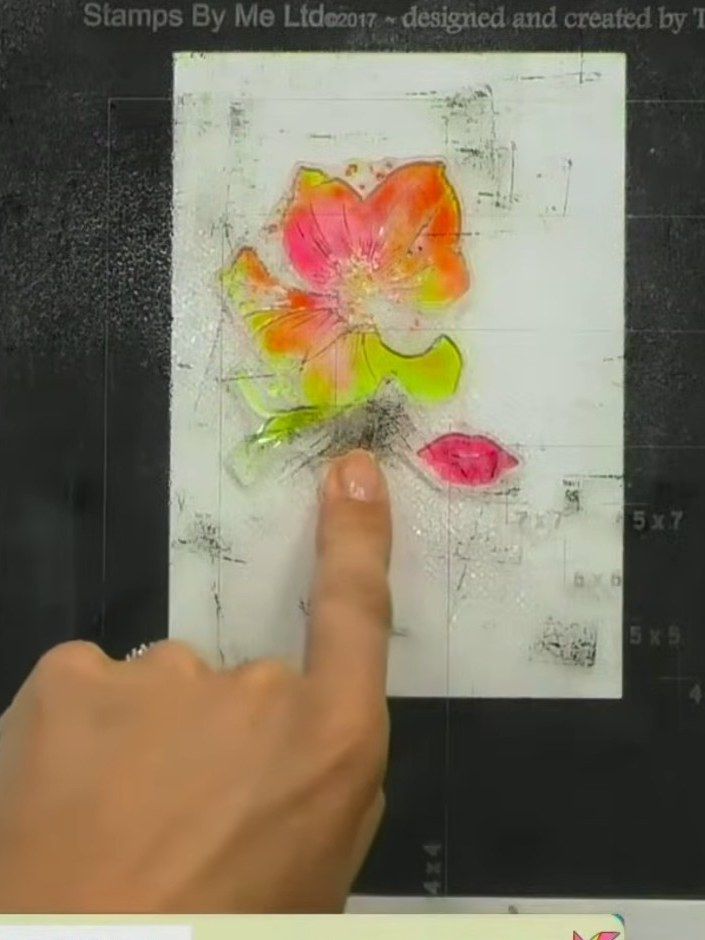
Stamp the coloured watercolour flower firmly onto your white card stock, pressing down to transfer the vibrant pink, orange, yellow and green design.
▶ watch this step (16:45)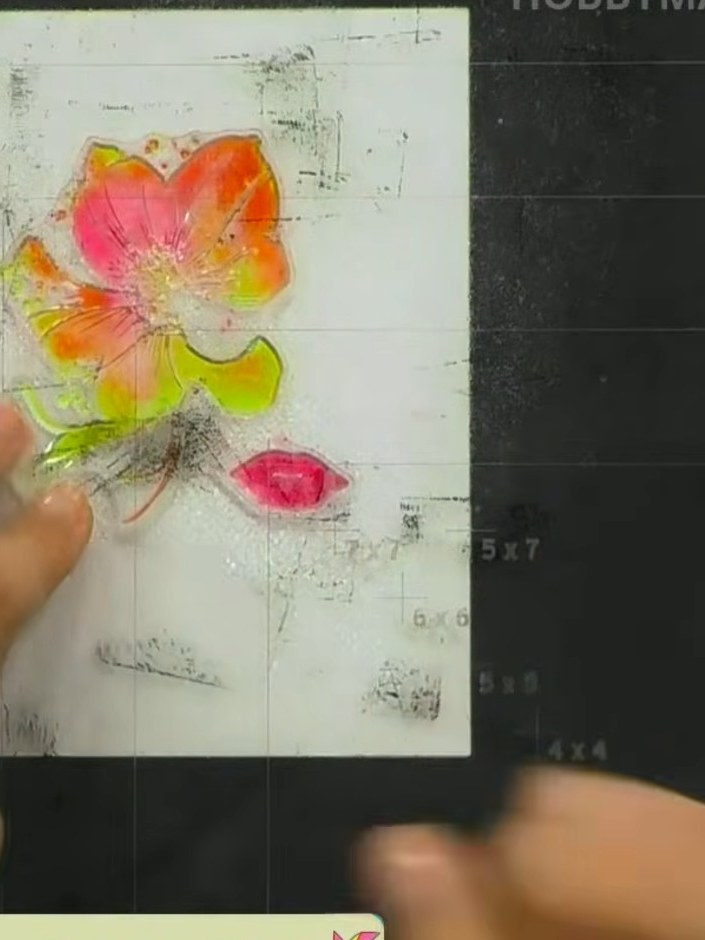
Allow the card to dry completely so the watercolour ink sets properly. The card stock will absorb the ink as it dries.
▶ watch this step (17:00)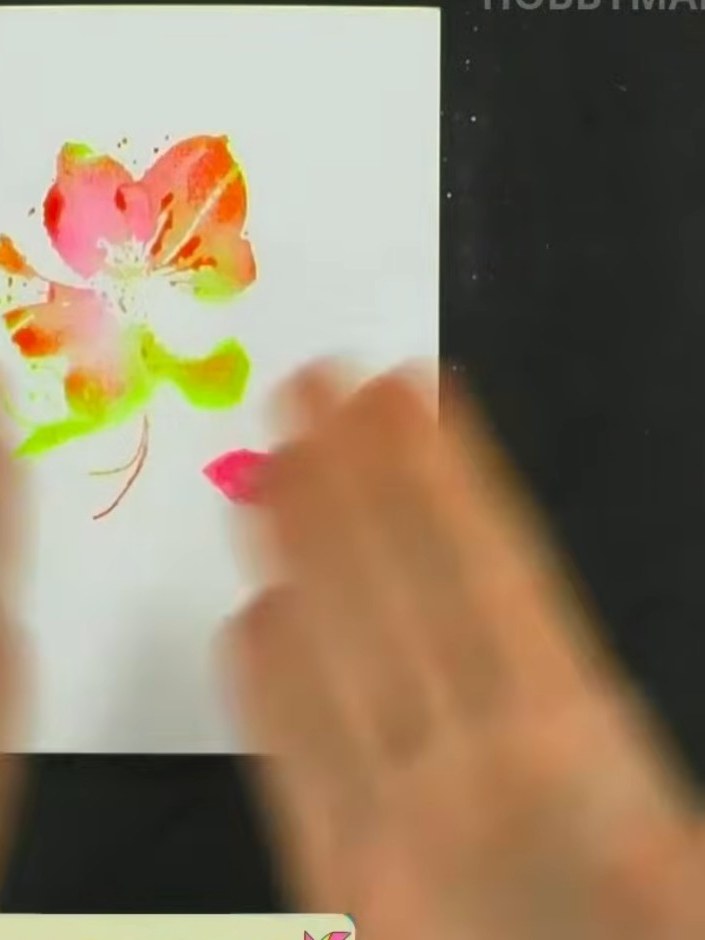
Select the detail stamp from the A5 stamp duo set. This stamp features facial elements including eyes, lips and hair details that will be used to add features to your design.
▶ watch this step (18:00)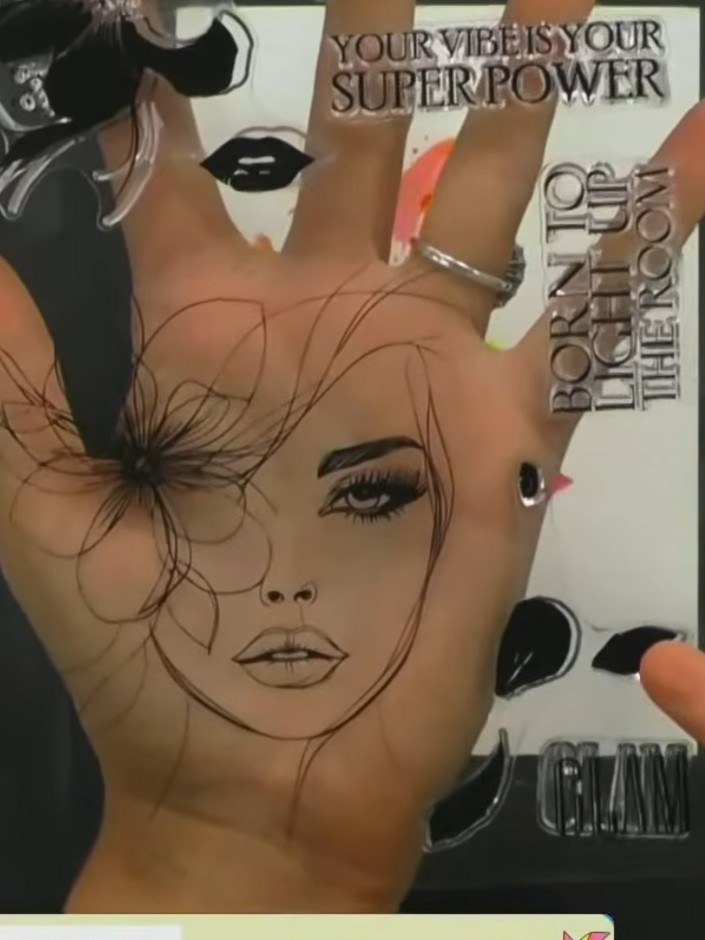
Ink the detail stamp with black or dark ink, ensuring good coverage. The stamp shows the flower outline and other design elements that will add definition to your watercoloured image. Carefully align and stamp the second layer of the flower design over the coloured base, matching the detail to the watercoloured areas beneath. Press firmly to ensure a clear impression. Press down firmly and evenly on the lamination pouch to ensure crisp detail transfer from the stamped image. Apply consistent pressure across the entire surface to seal the watercoloured flower design.
▶ watch this step (18:15)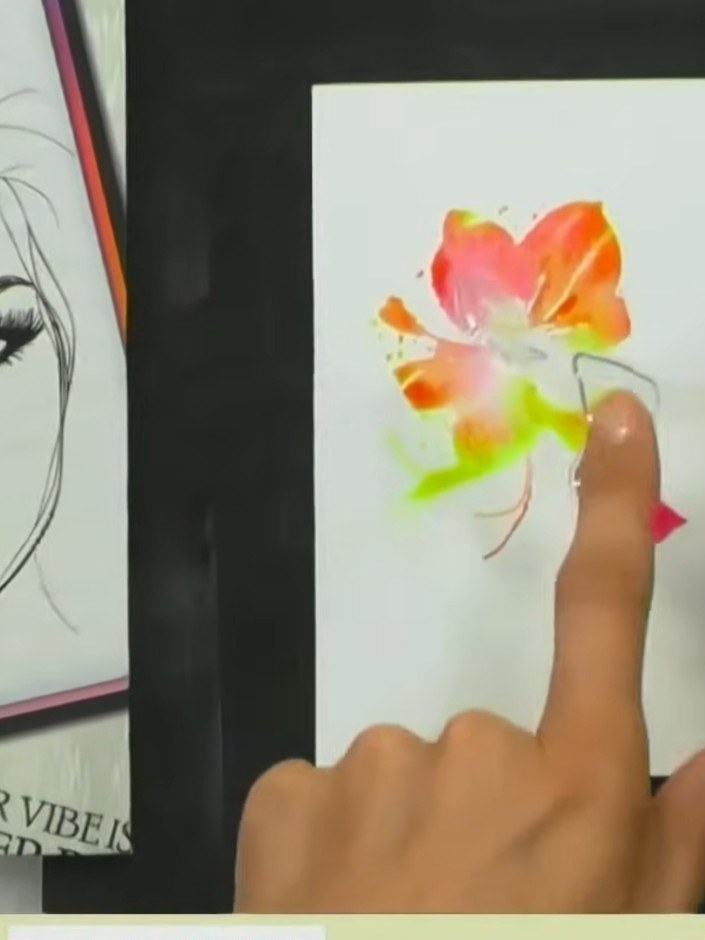
Add optional embellishments to enhance your design. Consider applying glitter to details or using glossy accents for extra dimension on the flower petals.
▶ watch this step (19:00)Written up from the show itself. See every guide from our shows · free how-to guides · watch live on My Telly


