Give your friends $10 off their first order!
Refer a FRIEND








Prices change straight away. Every language is our own translation, not Google.
A project from our live show ONE DAY SPECIAL - Join Toni for her brand new launch - Broadcast 13th December 24 · 12/13/2024 · watch it from 13:30
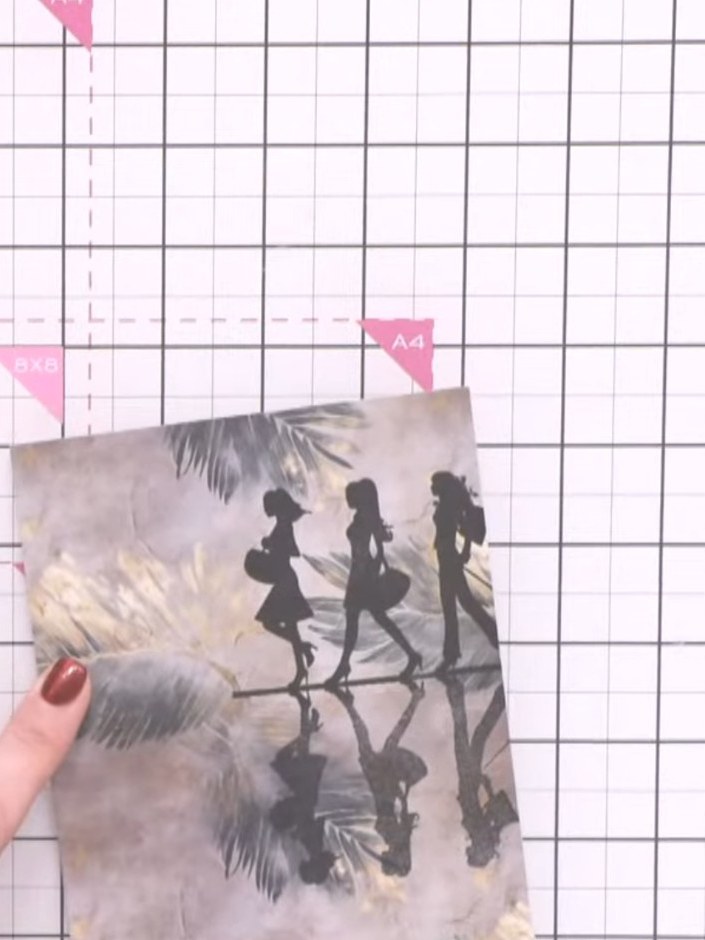
Create an elegant layered card featuring silhouettes of three ladies using the Reflection stamp technique. The design uses Evergreen all surfaces paper with a sophisticated black and white colour scheme, enhanced with a gold embossed 'SO SWEET' sentiment circle and delicate white gel pen details for a polished finish.
 Stamps By Me - All Surfaces - Gilded Gold - 8 X 8 Paper Pad - 061223FSEE IT
 A5 Stamp - Reflection - So Sweet - 240424JSEE IT
 Stamps By Me - Premium Pigment Ink Pure White - Cotton - 121022MSEE IT
 Circle Craft Punch - 1 Inch - 170926ZSEE IT
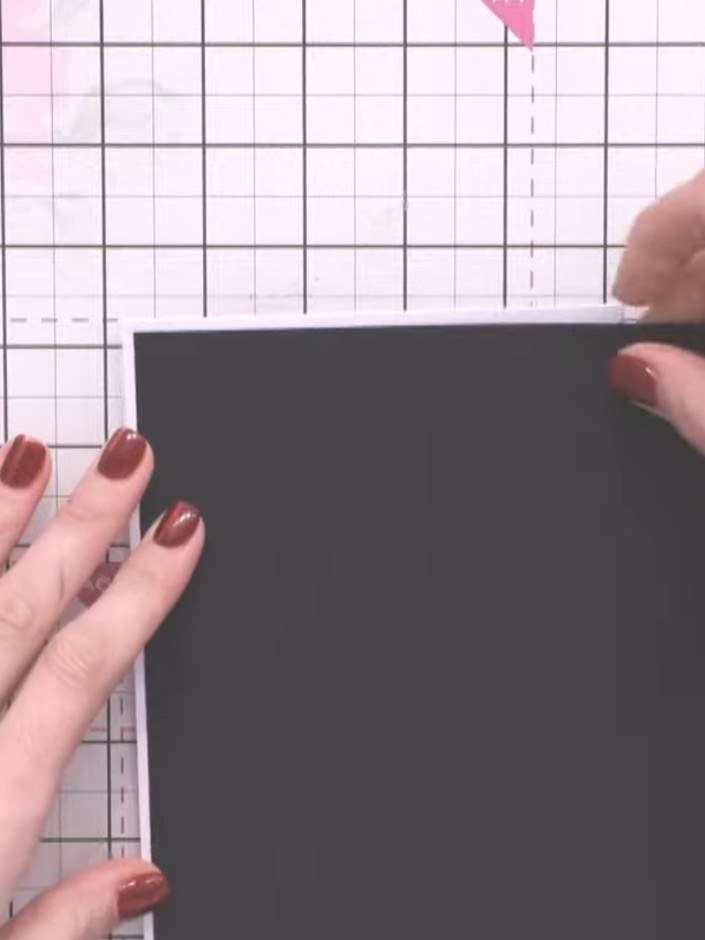
Cut a black card layer and a patterned layer from the Evergreen paper using a guillotine. Trim them to create thin borders around your card base.
▶ watch this step (15:30)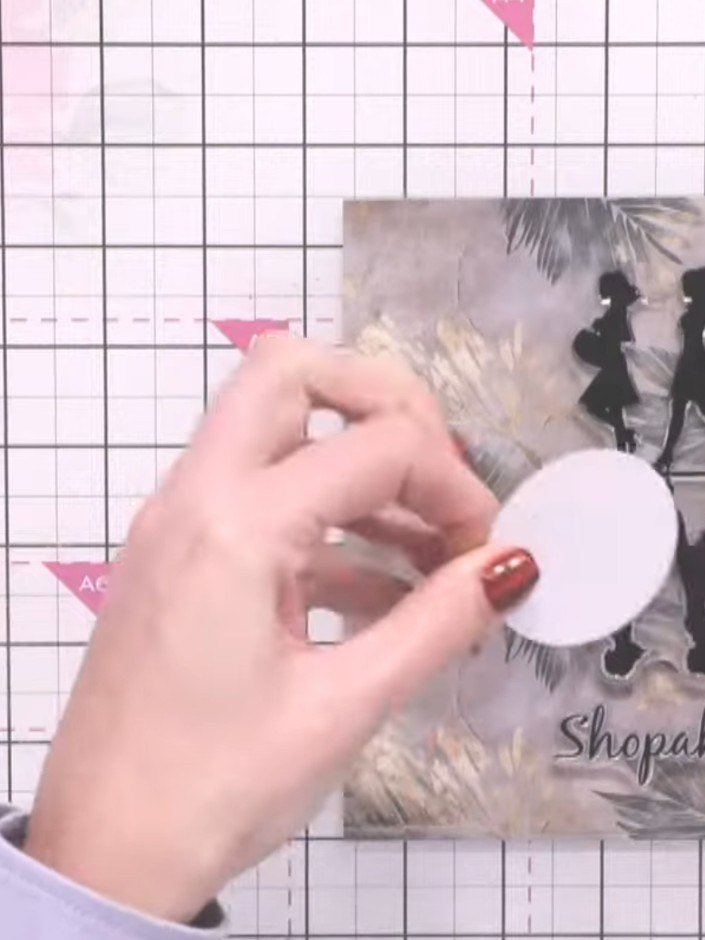
Ink the entire Reflection stamp with black ink, pressing the ink pad firmly across the stamp surface to ensure good coverage of all the design elements.
▶ watch this step (19:30)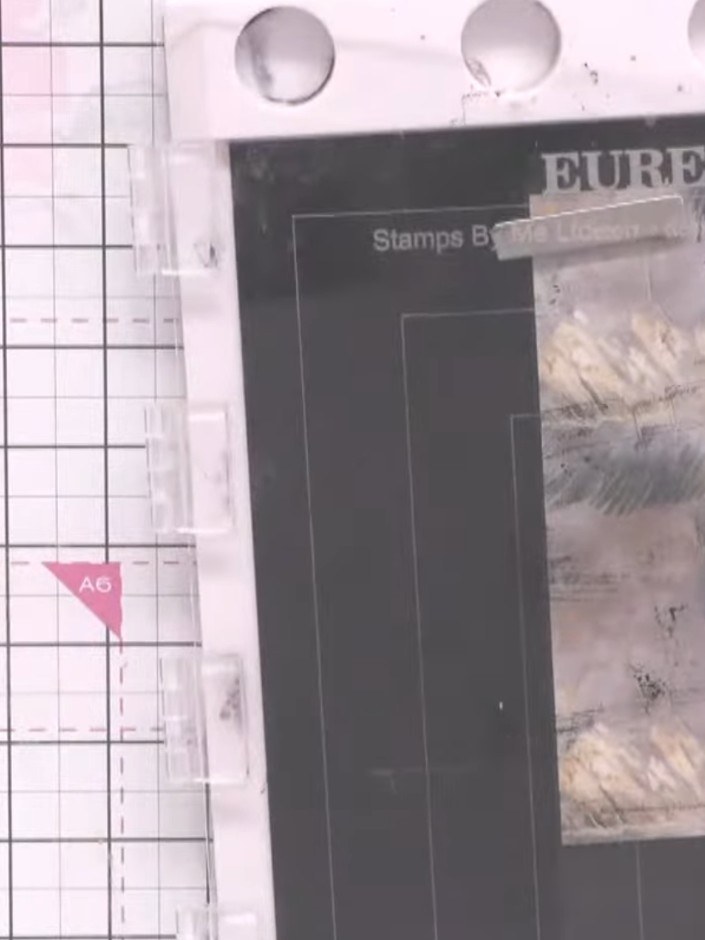
Stamp the ladies from the Reflection stamp set onto your Evergreen patterned paper using black ink, positioning them off-centre on the card front.
▶ watch this step (20:00)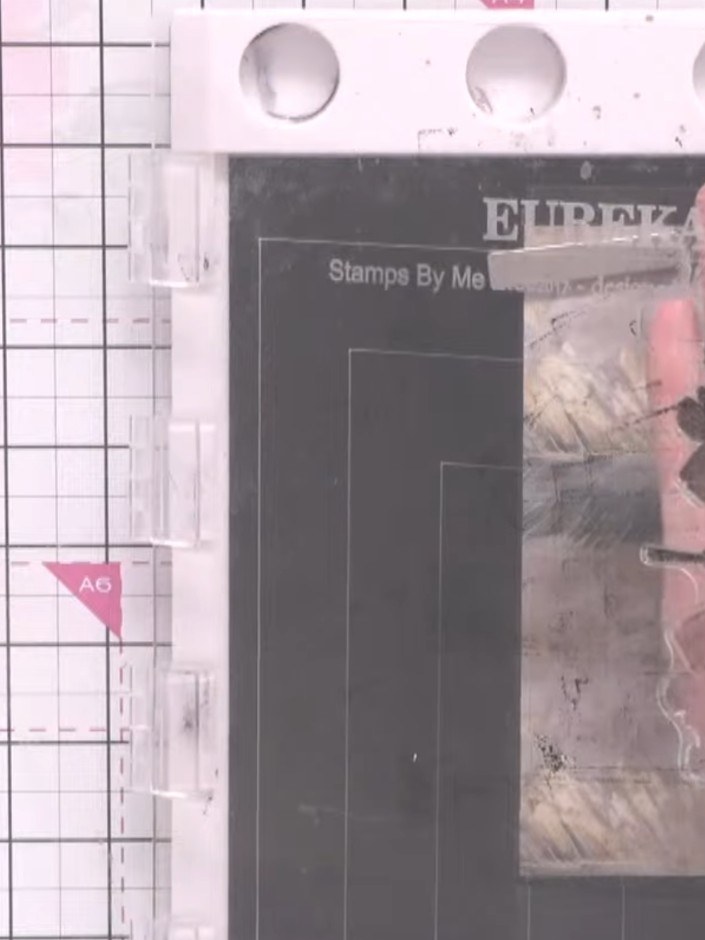
Re-ink just the top portion of the Reflection stamp with black ink to create a darker shadow effect on the ladies' silhouettes. Apply the ink lightly to the upper area only.
▶ watch this step (21:30)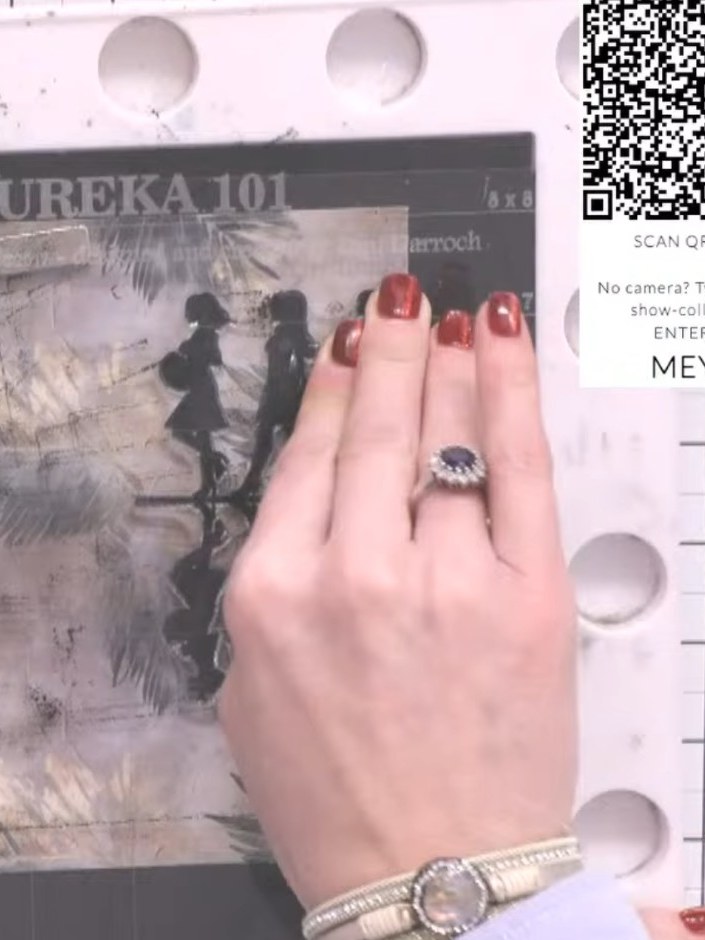
Stamp the reflection image again over the same area to build up the darkness at the top, creating more depth and intensity in the stamped design.
▶ watch this step (22:00)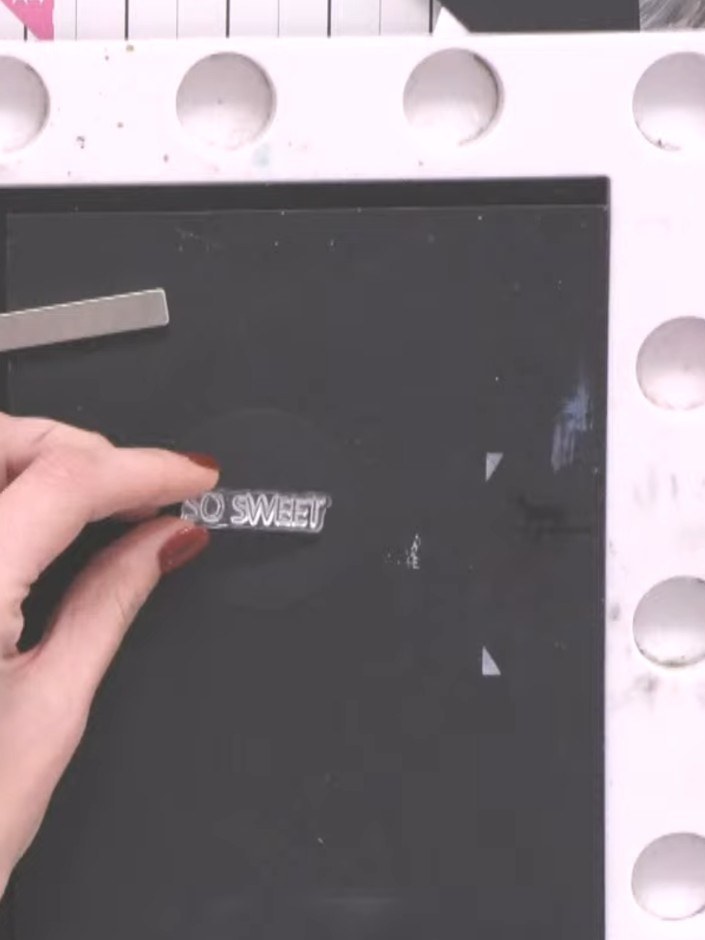
Use the 1 inch circle punch to punch a circle from black cardstock. Stamp the 'So Sweet' sentiment onto the black circle using black ink.
▶ watch this step (23:00)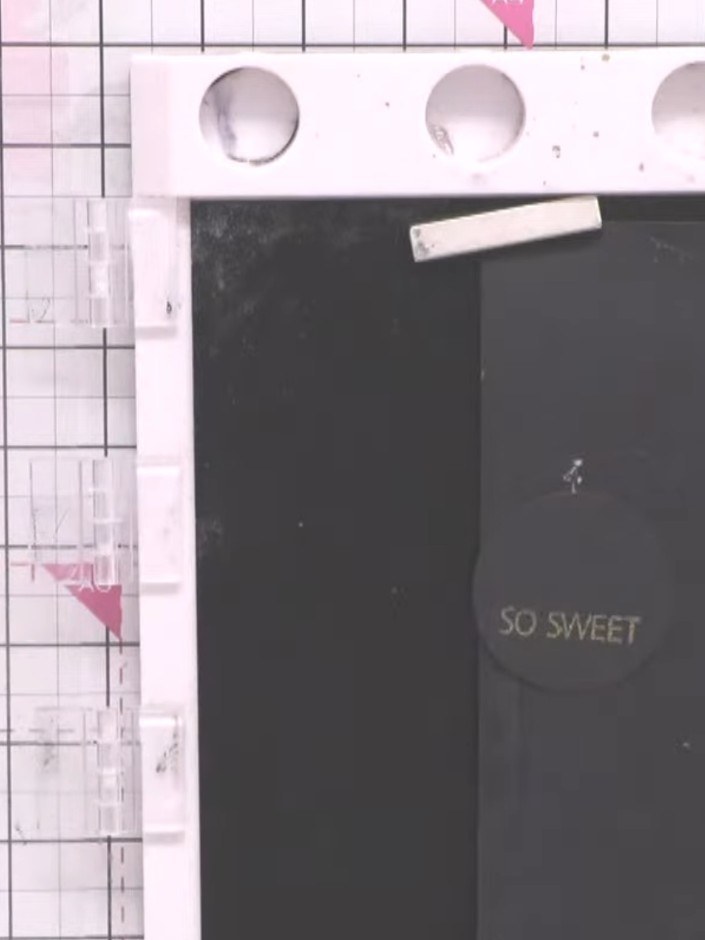
Apply gold embossing powder to the stamped 'SO SWEET' sentiment on the black card. Heat with a heat gun until the powder melts and sets to create a raised gold finish.
▶ watch this step (24:00)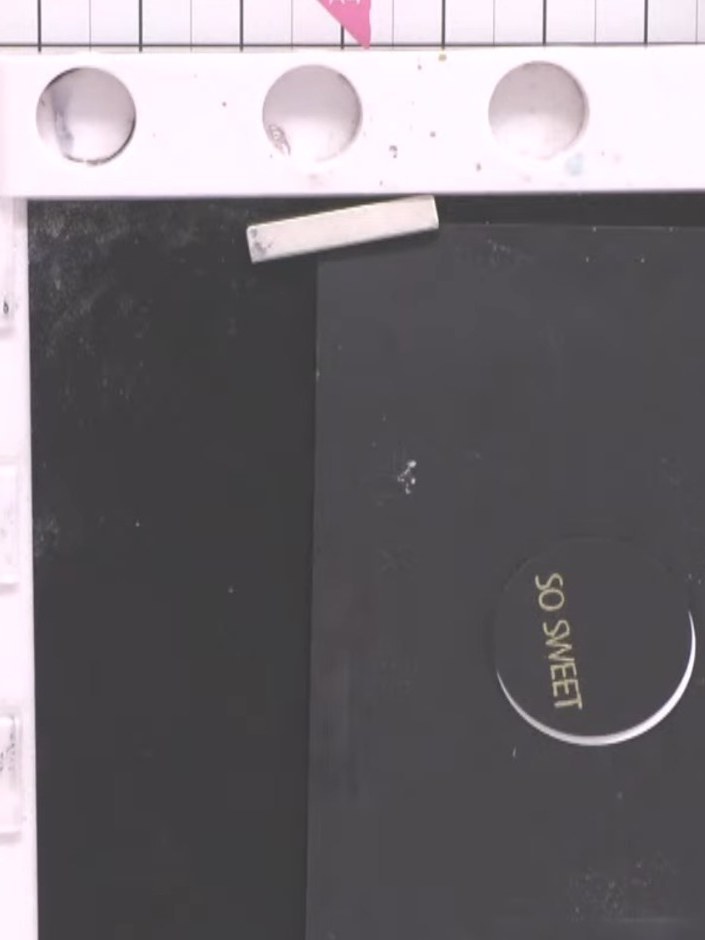
Using a white gel pen, draw a line around the embossed 'SO SWEET' sentiment circle to add definition and break up the design on the black card.
▶ watch this step (27:00)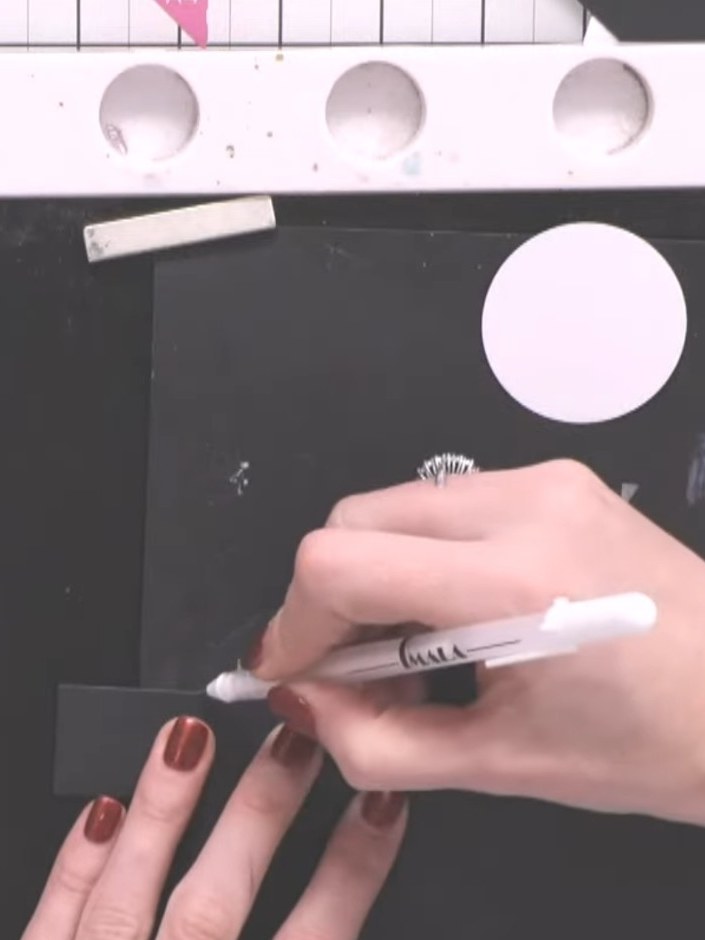
Using a white ink pad and a spot brush, dab small white ink impressions around the stamped lady figures to create a halo effect. This adds depth and highlights the images against the black card.
▶ watch this step (28:00)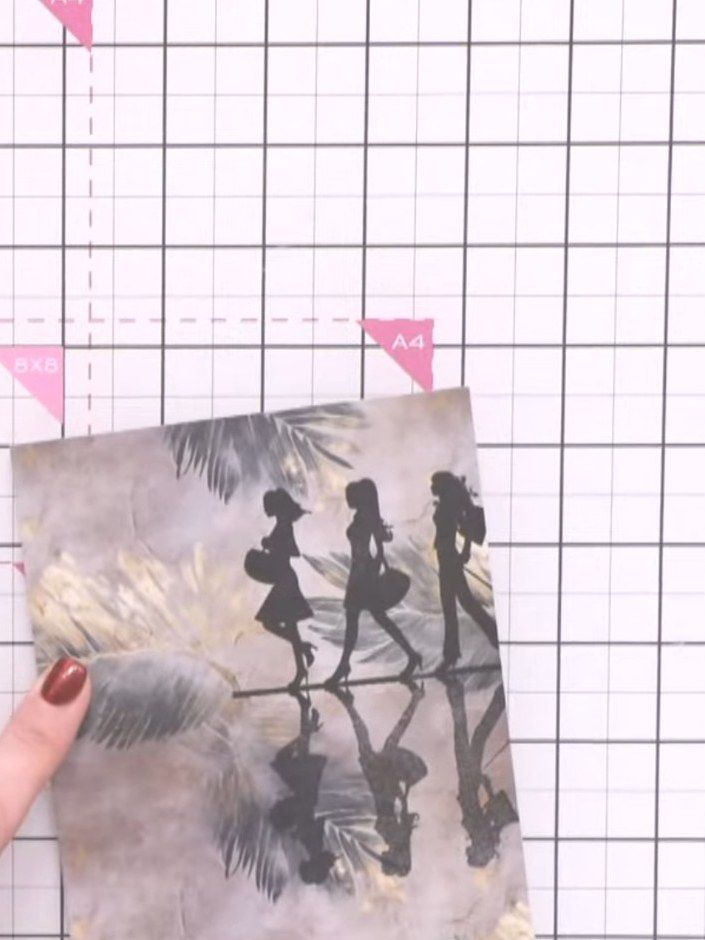
Adhere the black card layer and the patterned paper layer to your white card base. Attach the embossed sentiment circle using adhesive foam pads for dimension.
▶ watch this step (30:00)Written up from the show itself. See every guide from our shows · free how-to guides · watch live on My Telly


