Give your friends $10 off their first order!
Refer a FRIEND








Prices change straight away. Every language is our own translation, not Google.
A project from our live show MY PODCAST - Catch my latest updates broadcast 10th February 2025 · 02/10/2025 · watch it from 48:45
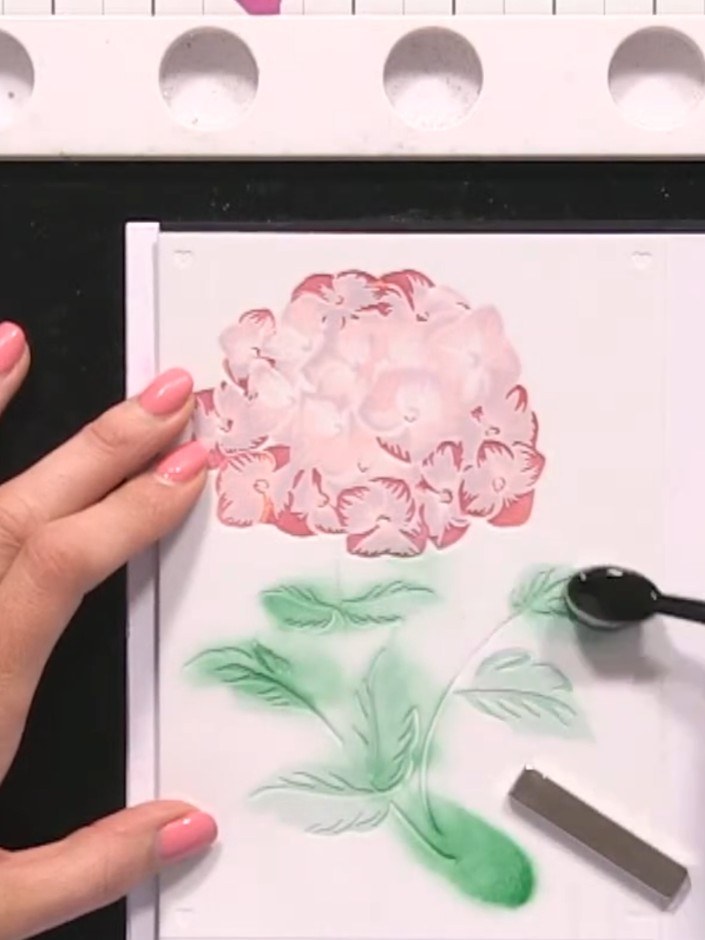
Create a vibrant floral card featuring colourful hydrangea blooms in pink, purple, and blue tones with green foliage. This project demonstrates the stencil splat and layering technique, using multiple stencils with different ink colours to build depth and dimension. Learn how to progressively layer stencils to achieve a beautiful, professional-looking floral design perfect for thank you cards or special occasions.
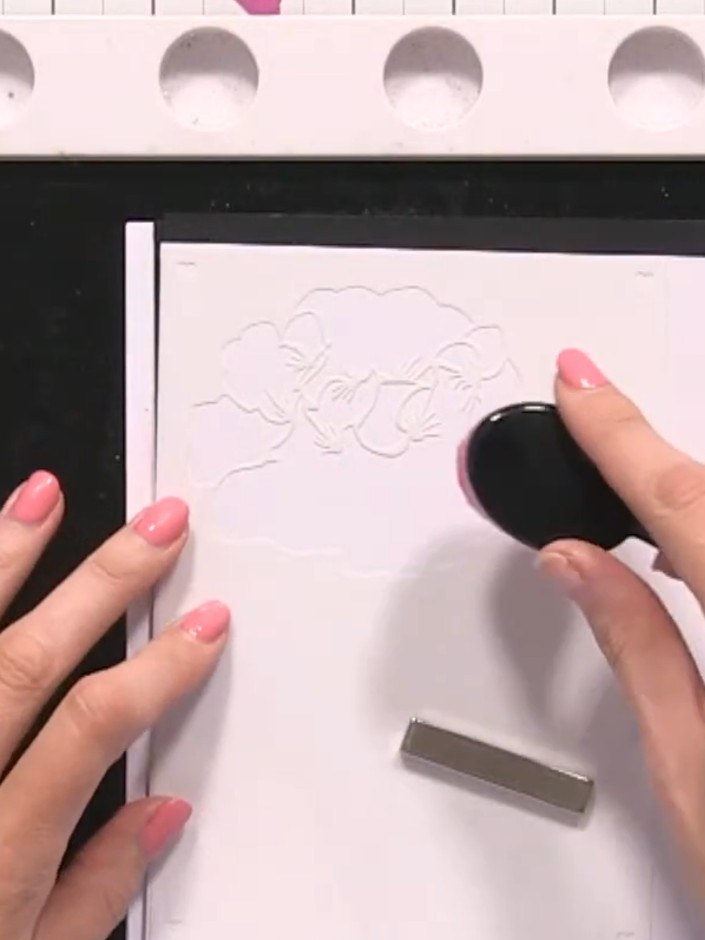
Position stencil number one on your white card stock, aligning it with the edge of the card.
▶ watch this step (48:45)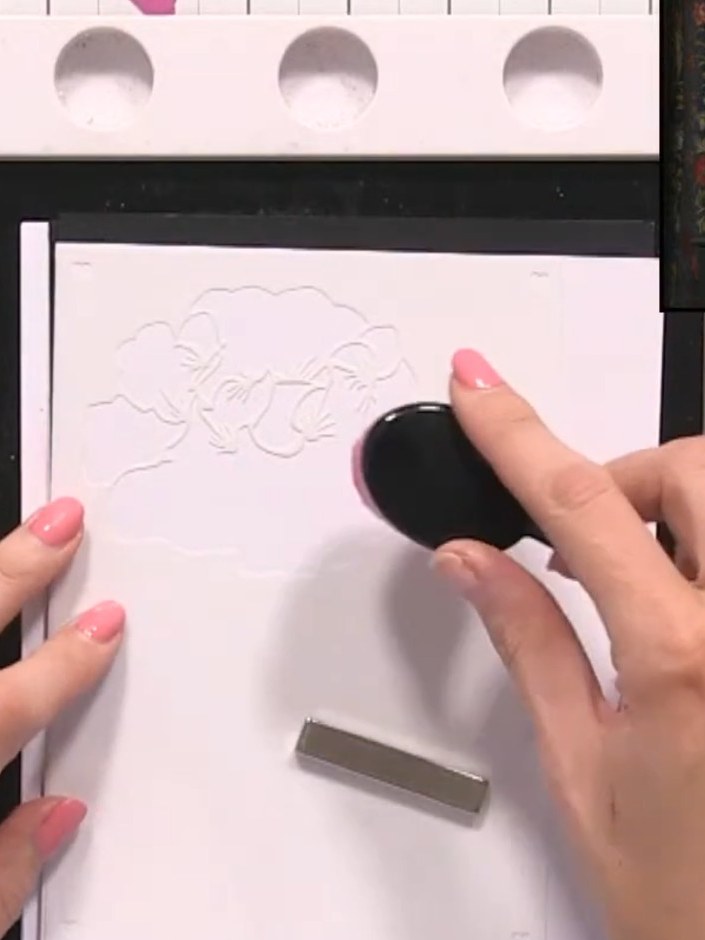
Using a blending brush, lightly apply orange ink through the embossed stencil onto the card. Use gentle circular motions to build up the colour gradually.
▶ watch this step (49:00)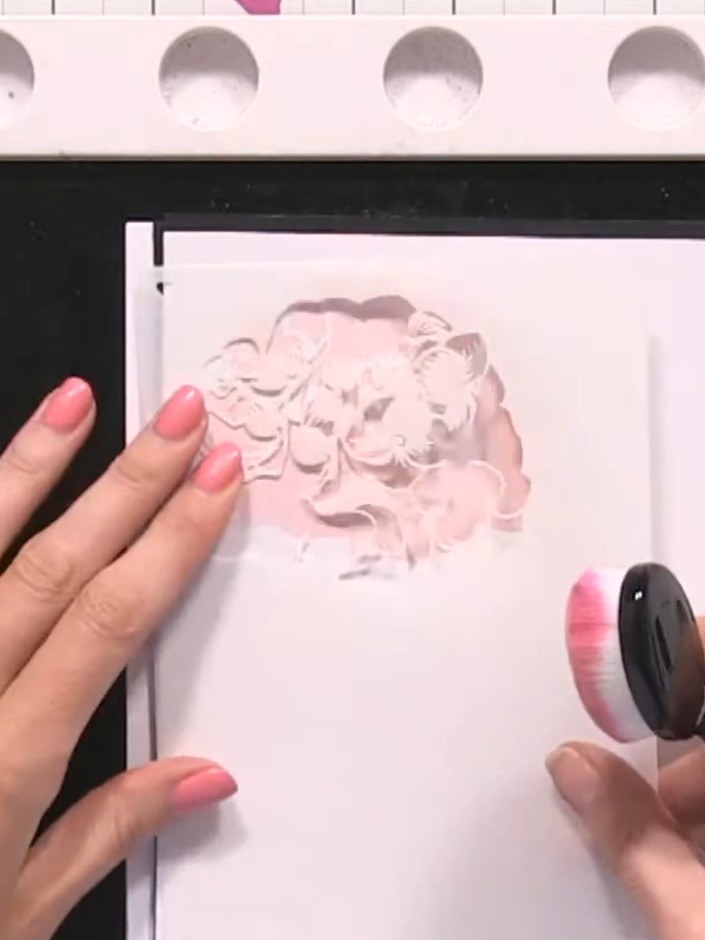
Position stencil number two over the card and apply the same orange ink using the blending tool, creating a second layer of the design.
▶ watch this step (49:30)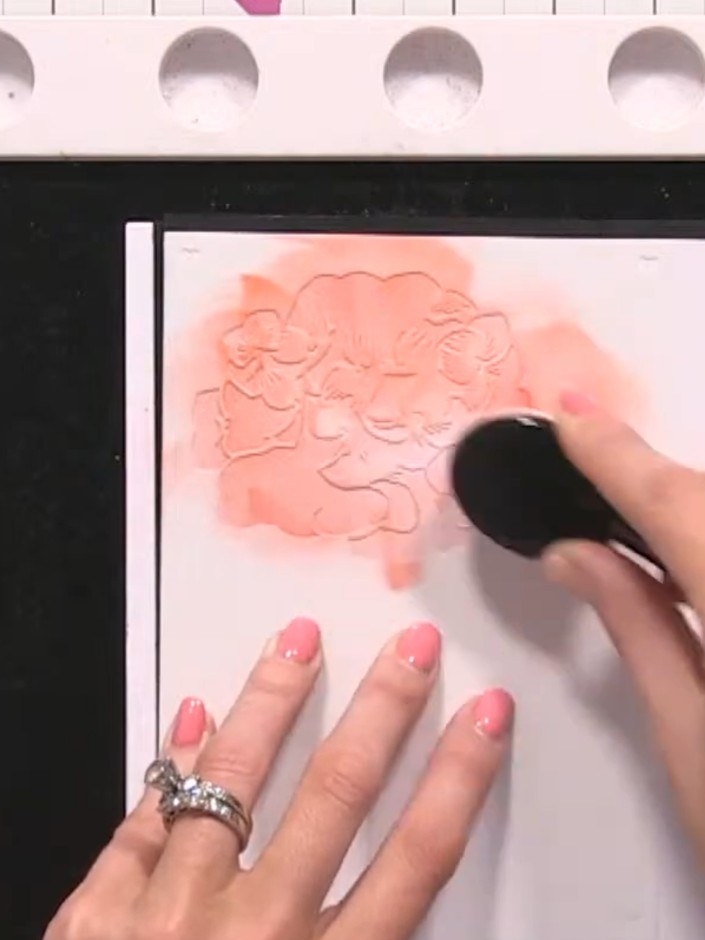
Switch to a pink ink and apply it through stencil number three using a blending brush. Dab the ink over the embossed floral design to add colour and depth. Move to stencil number four and apply green ink over the floral design using a blending brush. Blend the green ink gently over the raised stencil pattern.
▶ watch this step (50:00)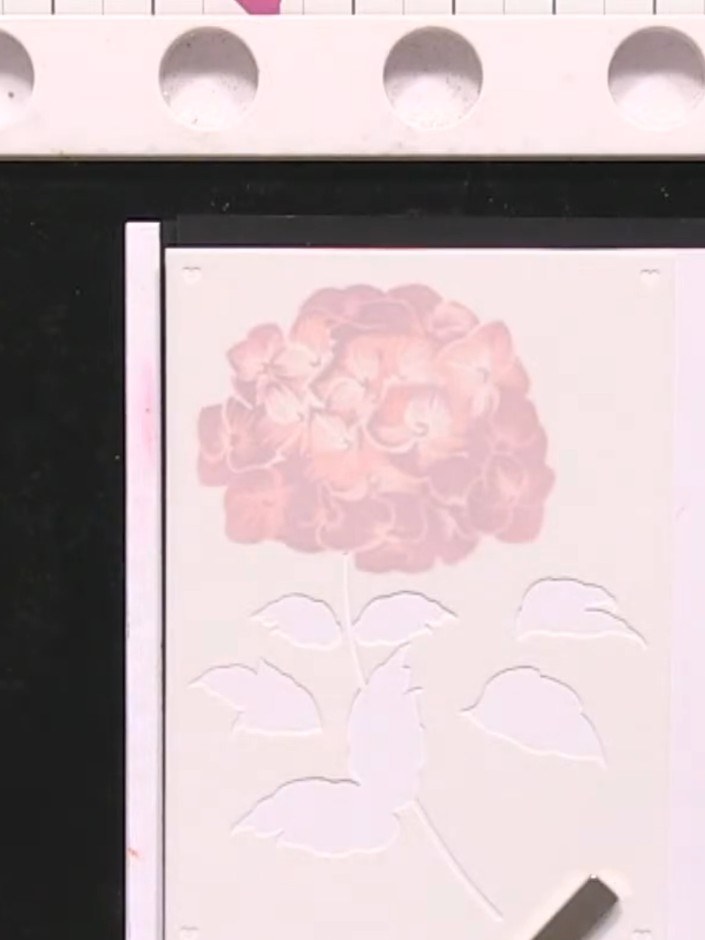
Add a touch of teal or blue ink to the green areas of the hydrangea to create dimension and depth.
▶ watch this step (53:00)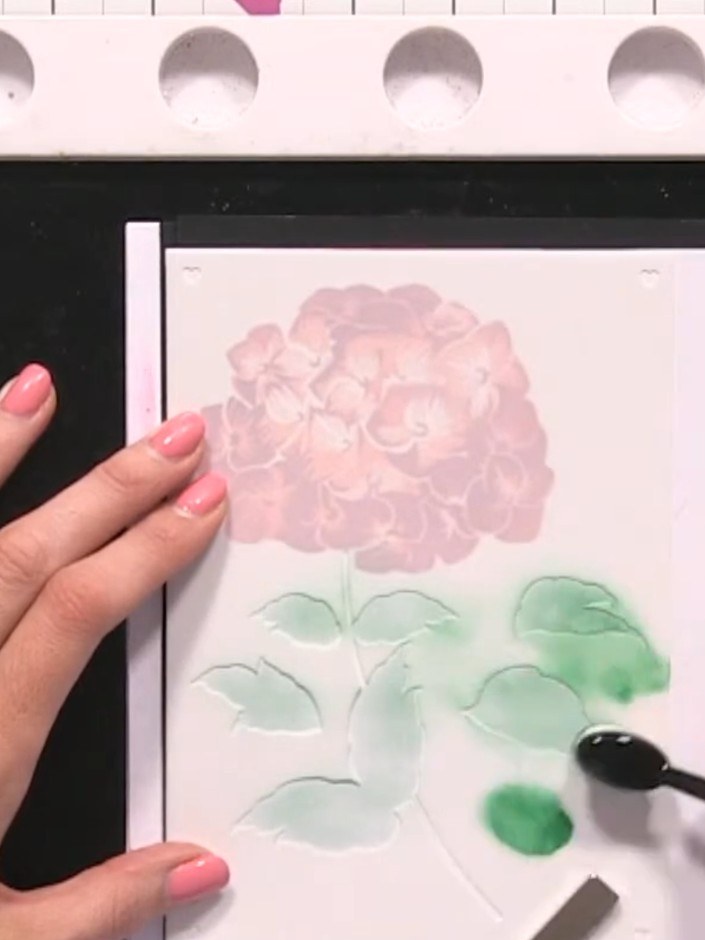
Apply a darker purple ink to stencil number five at the top of the hydrangea flower head to add depth and dimension.
▶ watch this step (54:00)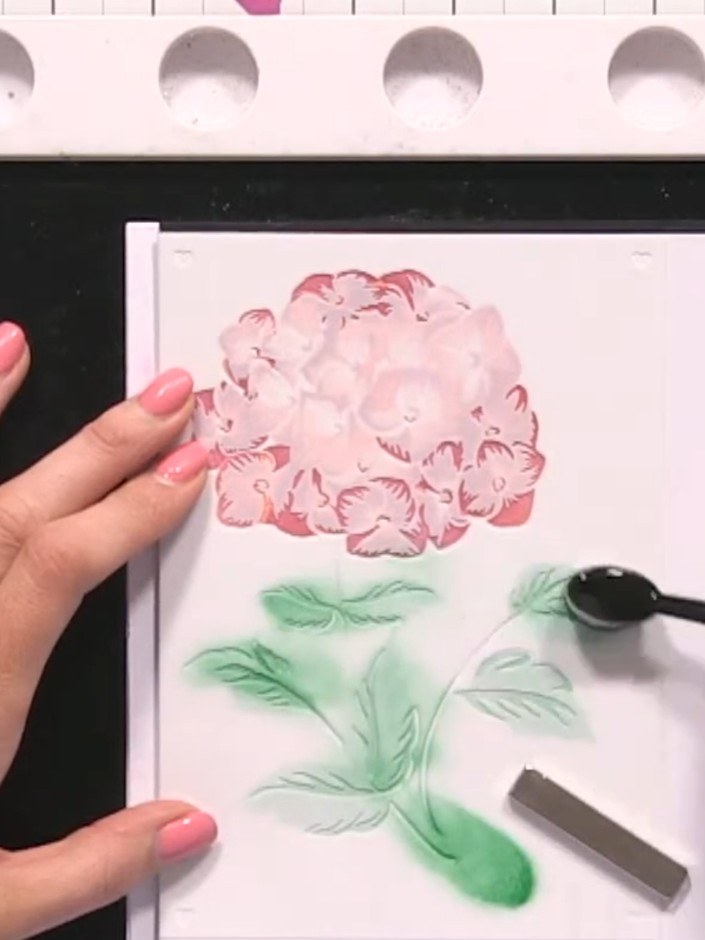
Carefully remove all the stencils to reveal the layered pink flower and green leaves design.
▶ watch this step (54:30)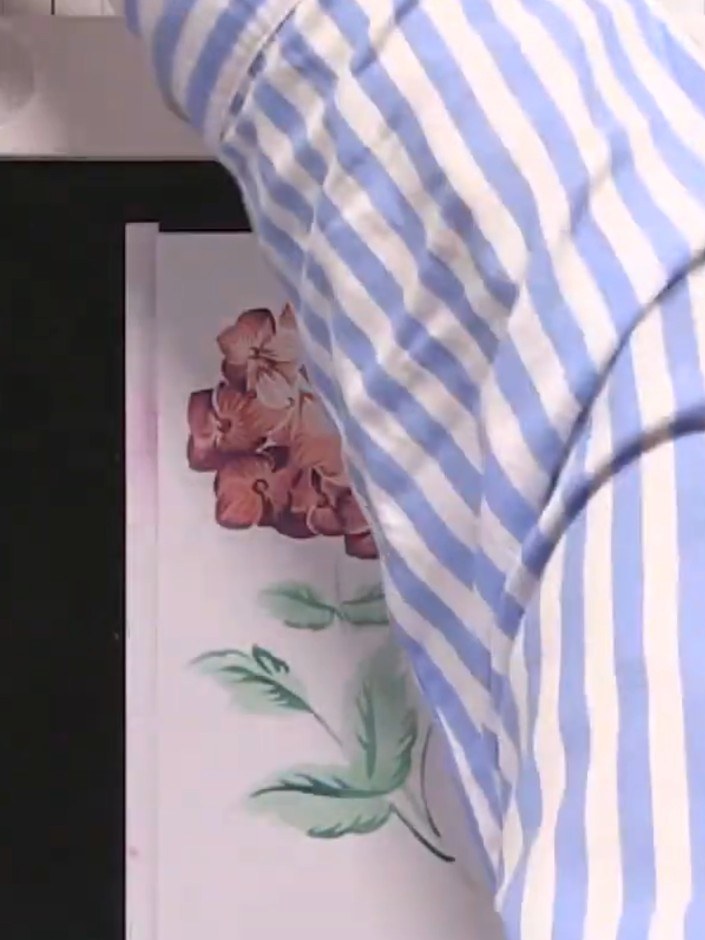
Die-cut your stamped floral design using the coordinating die set. Position the die over the top of your stamped image and run through your die-cutting machine.
▶ watch this step (57:00)Written up from the show itself. See every guide from our shows · free how-to guides · watch live on My Telly


