Give your friends $10 off their first order!
Refer a FRIEND








Prices change straight away. Every language is our own translation, not Google.
A project from our live show Create Together Club - 5 Days of Creativity - Broadcast Thursday 13TH Feb 2025 · 02/13/2025 · watch it from 14:15
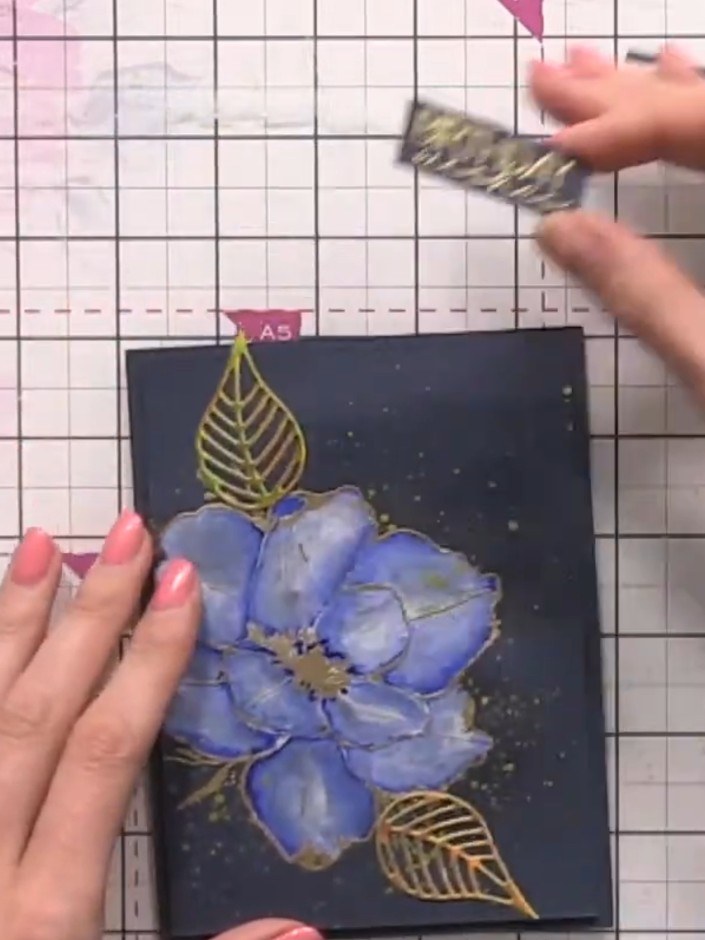
Create a stunning ethereal card featuring a hand-painted blue flower on navy card stock. This elegant design combines heat-embossed gold leaves and floral details with watercolour washes to achieve a dreamy, misty effect. The technique demonstrates how to add vibrant colour to dark backgrounds using white ink as a base layer before applying watercolours.
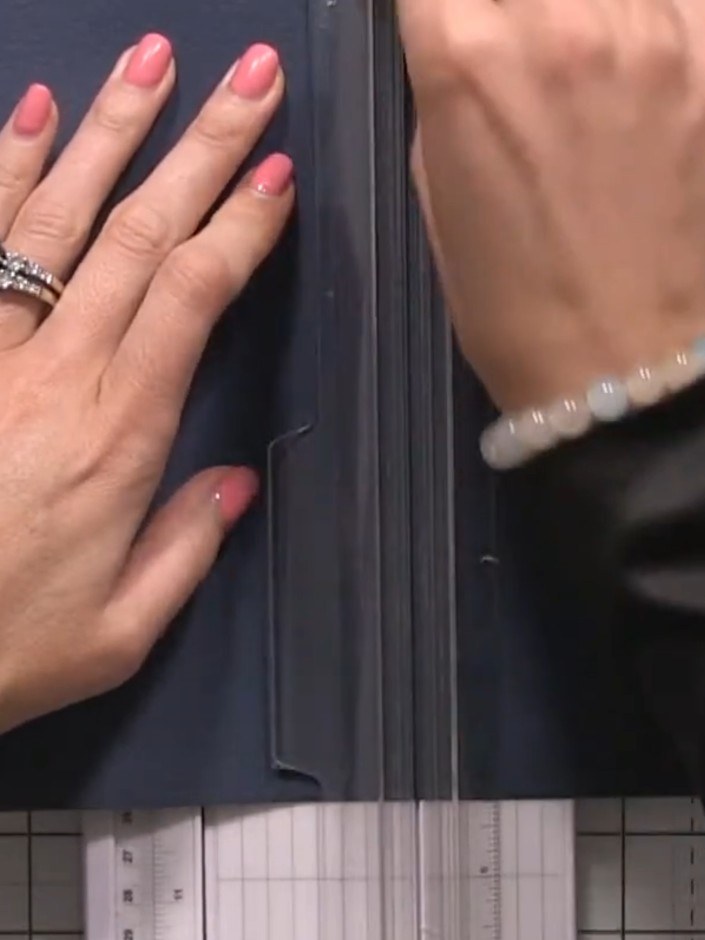
Score and fold your navy card stock to create a card blank approximately 6 by 4.5 inches.
▶ watch this step (15:15)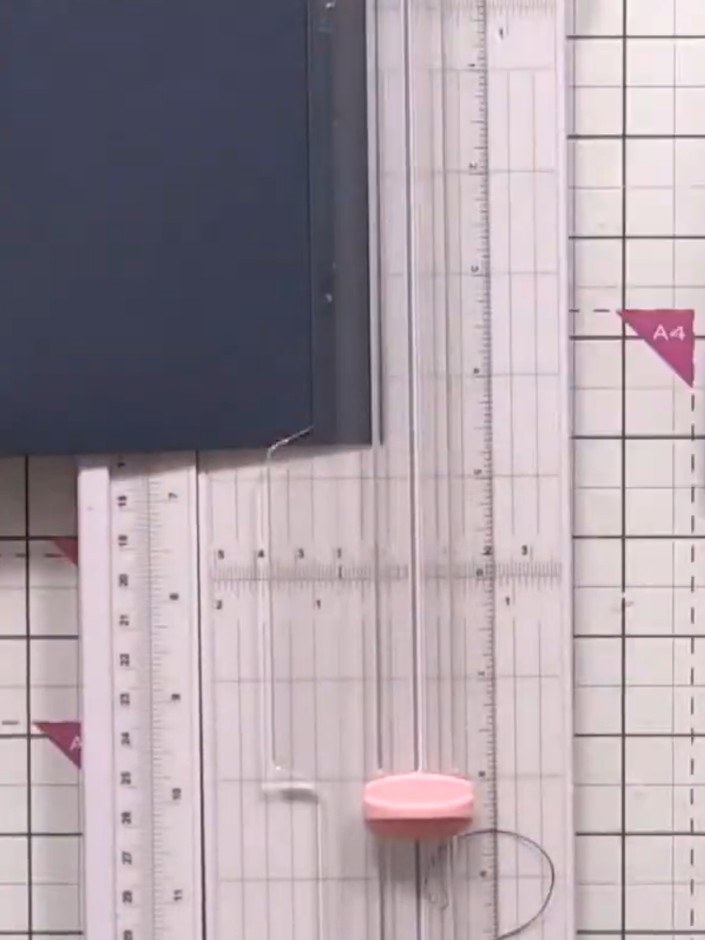
Cut a second piece of navy card stock slightly smaller than your card base to create a working layer.
▶ watch this step (15:30)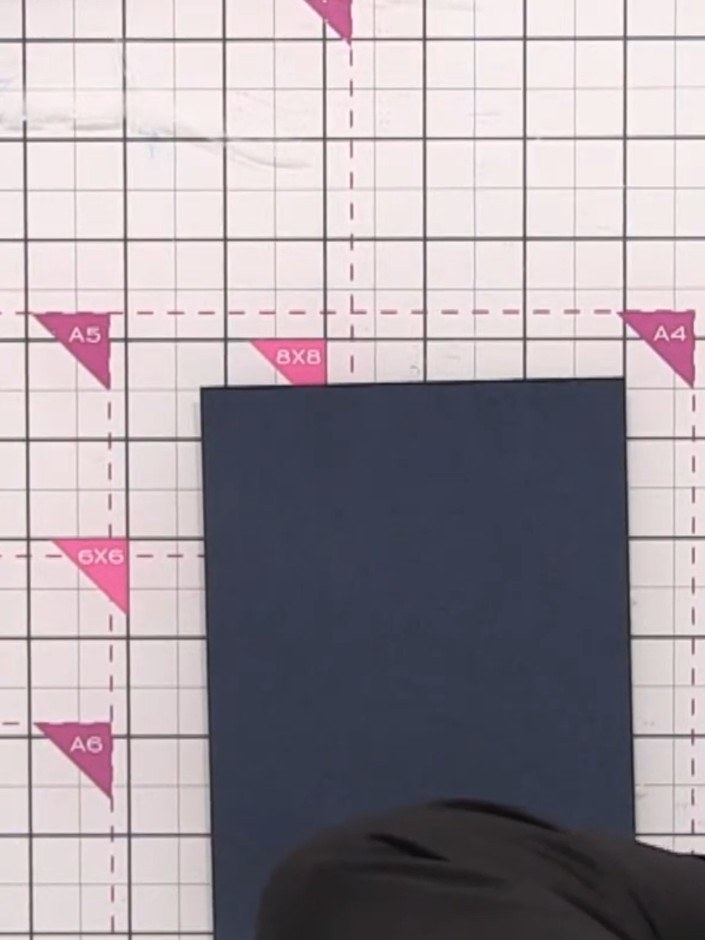
Place the navy card stock on your craft mat. Use an antistatic bag to prepare the surface, then apply the Forever Lilies flower stamp using a sticky ink pad to stamp the image onto the navy card.
▶ watch this step (17:00)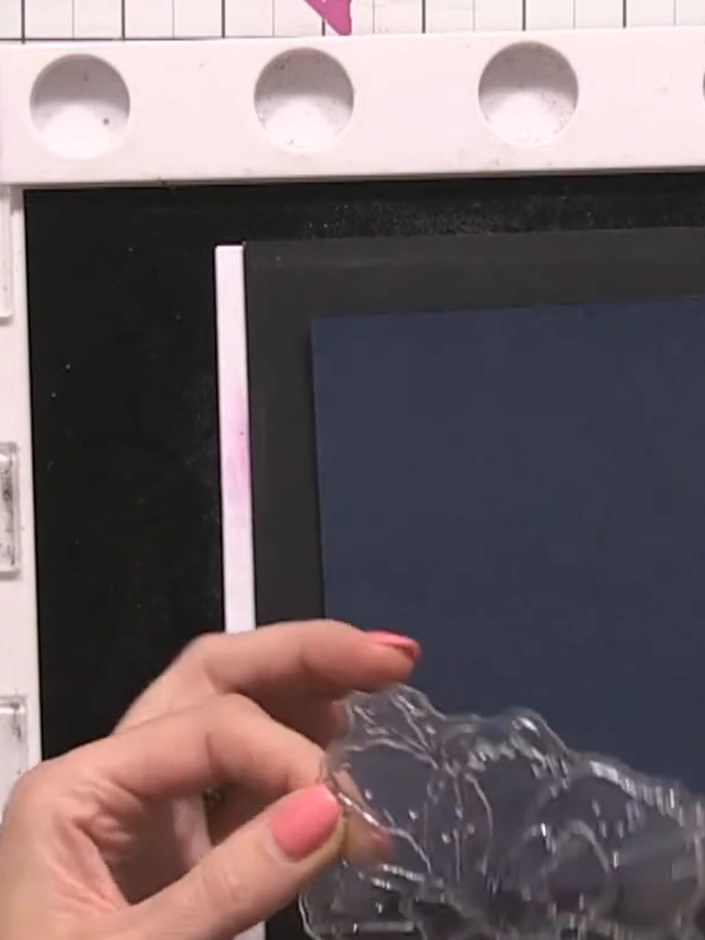
Apply gold embossing powder to the stamped image, ensuring it covers all the details and splats. Tap off any excess powder back into the container.
▶ watch this step (17:15)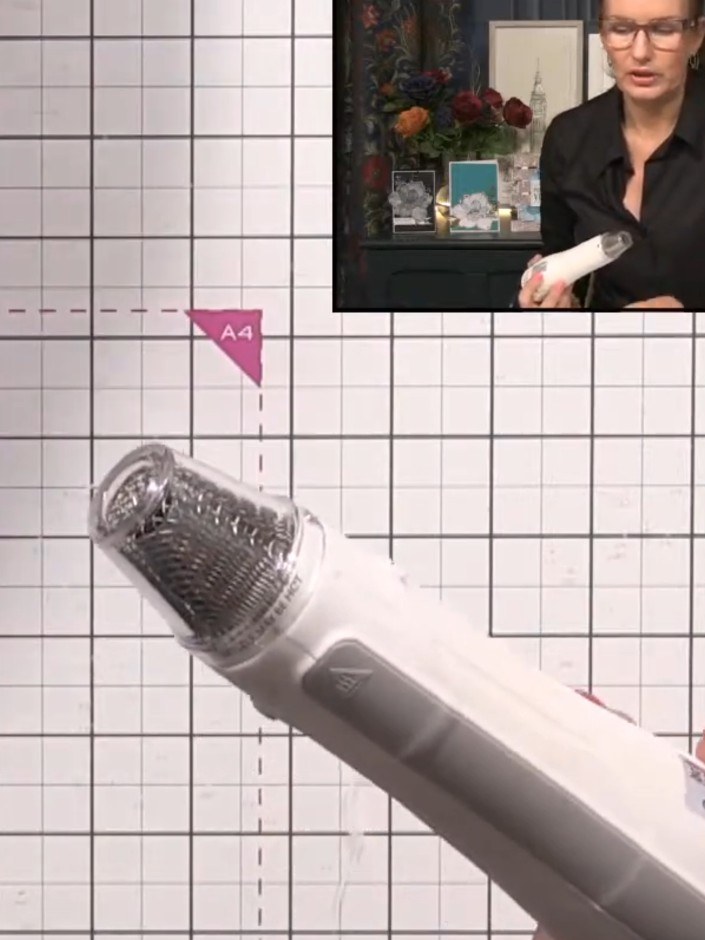
Heat set the embossed gold image on the navy card using a heat gun, moving it over the surface until the embossing powder is fully melted and shiny.
▶ watch this step (20:30)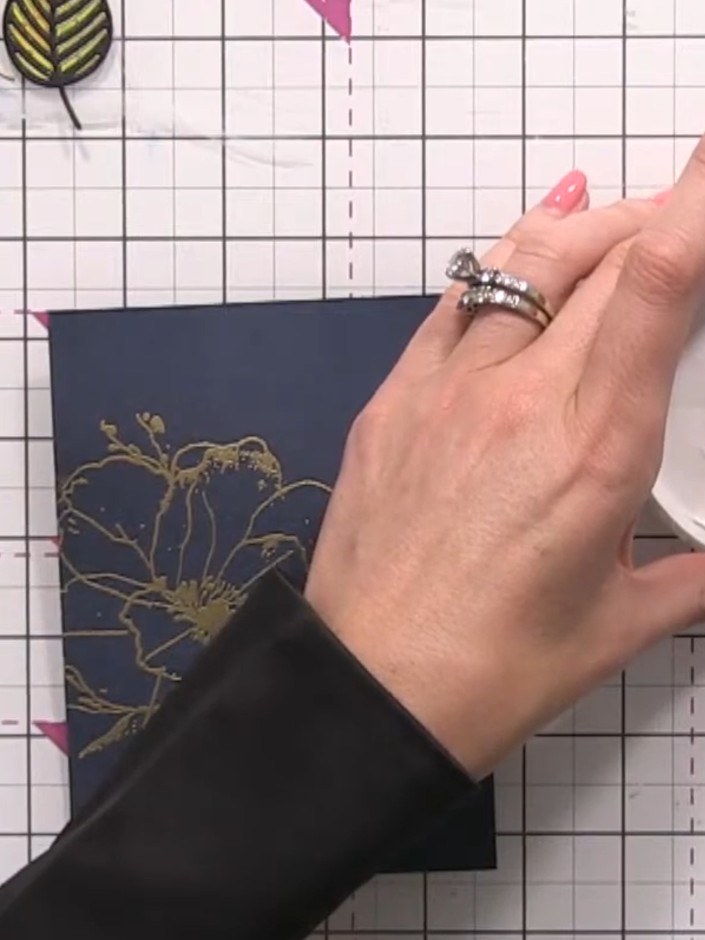
Add water to white ink in a palette to create a paintable consistency. Use a brush to mix the ink and water together until you achieve a fluid, workable paint.
▶ watch this step (27:30)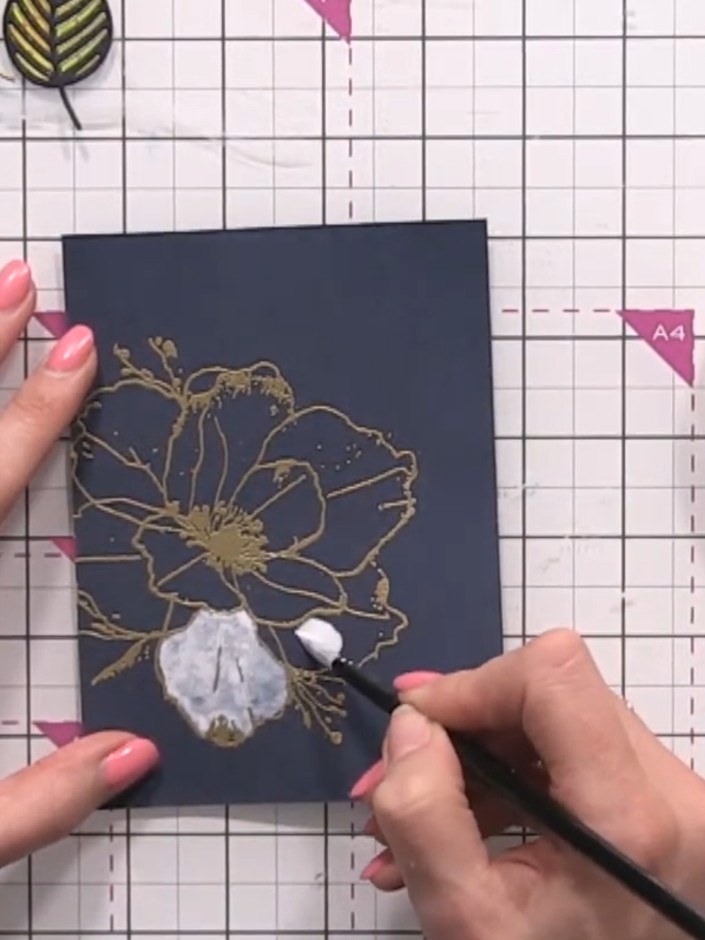
Paint the entire flower with the white ink mixture, carefully staying within the embossed gold lines. Use a paintbrush to apply the white ink evenly over all the petals and flower details.
▶ watch this step (28:00)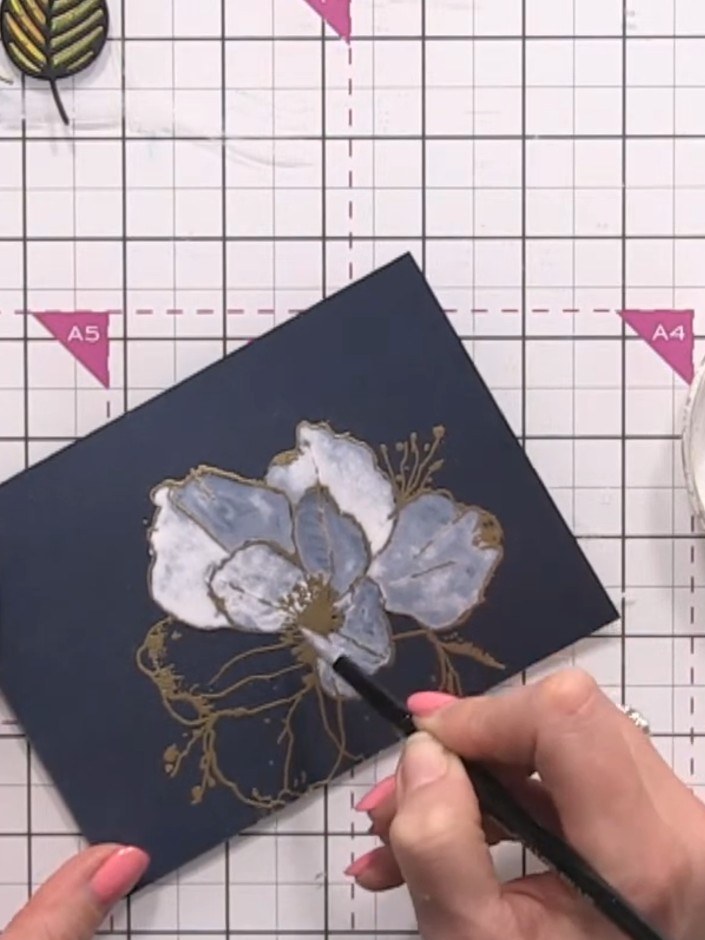
Allow the white paint to dry completely. Areas with more water will create a smoky, ethereal effect on the flower petals.
▶ watch this step (29:30)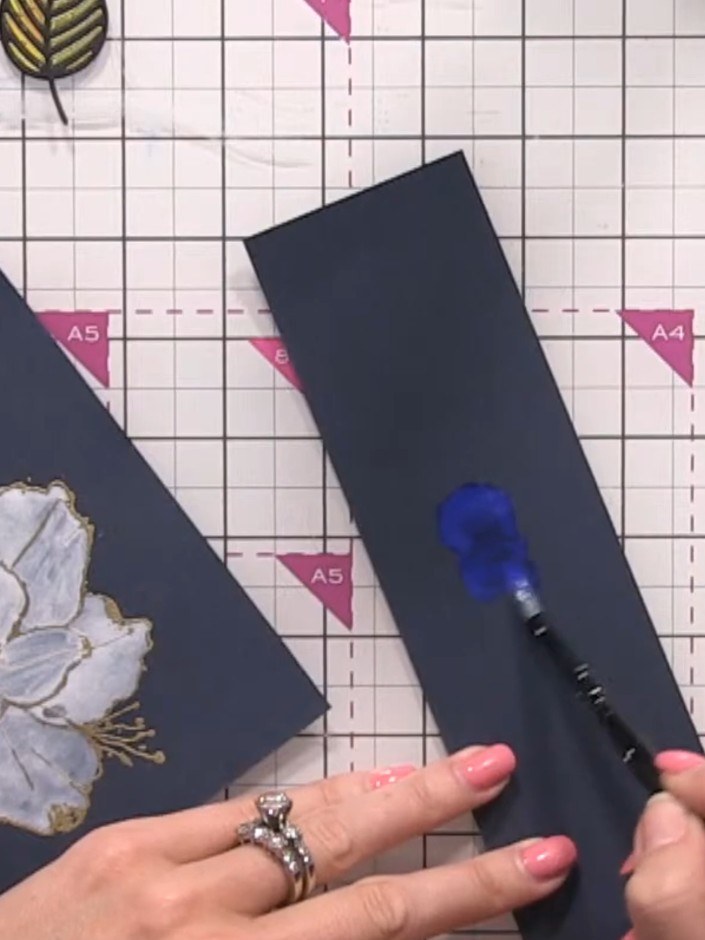
Pick up blue watercolour paint with a wet brush and apply it to a piece of navy cardstock, creating a wash of colour. Work the paint onto the card surface to achieve the desired consistency and coverage.
▶ watch this step (35:00)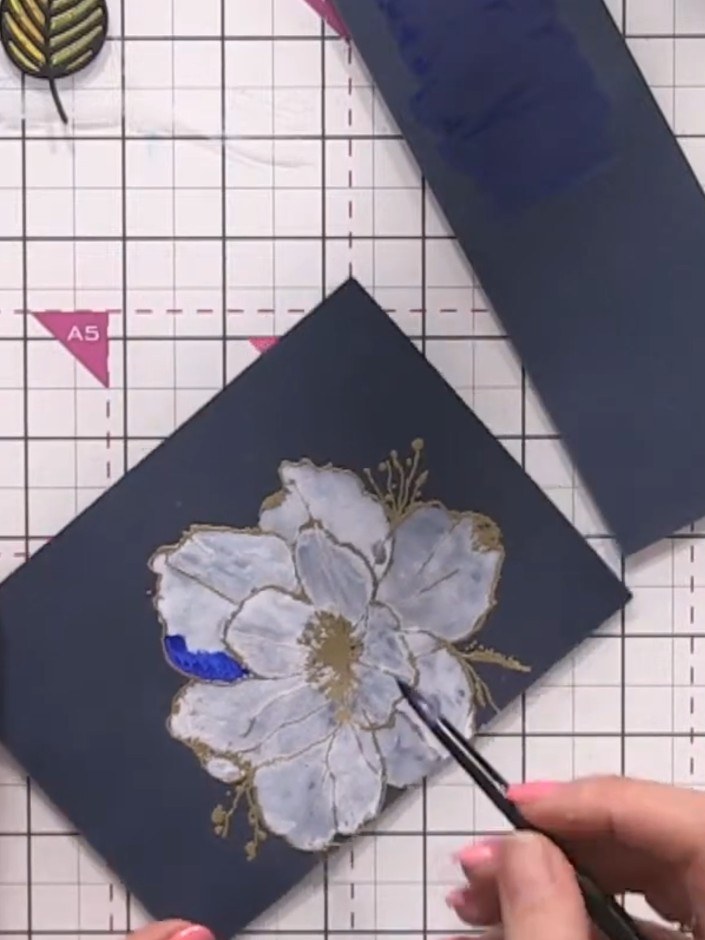
Using blue watercolour, paint the outer edges of each petal on the flower. Work on one petal at a time, carefully applying the colour to define the edges.
▶ watch this step (35:45)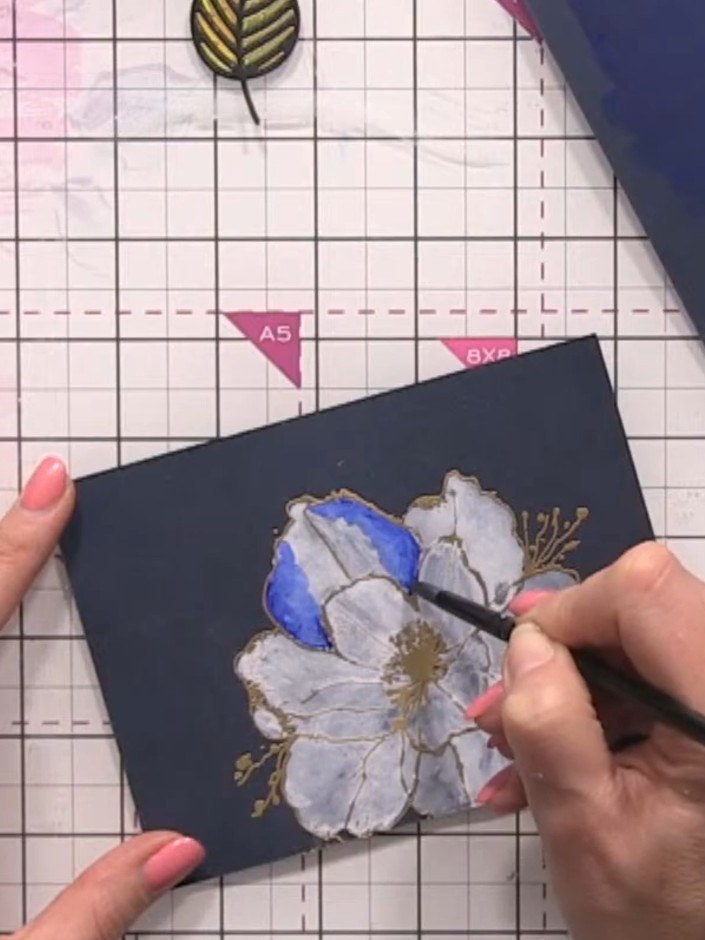
Clean your brush and dampen it with water. Blend the blue coloured edges inward toward the white centre of the flower to create a soft gradient effect.
▶ watch this step (36:30)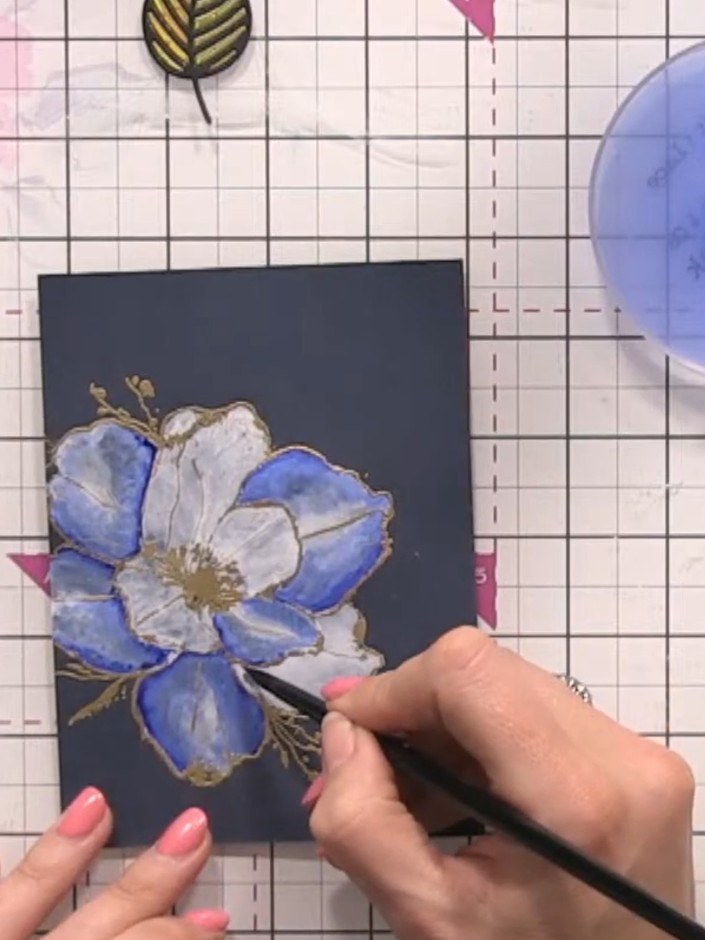
Once the paint is dry, add additional definition to the flower by painting darker blue details in the creases and around the gold embossing. Use a less-watered brush for more concentrated colour and precise detailing.
▶ watch this step (42:00)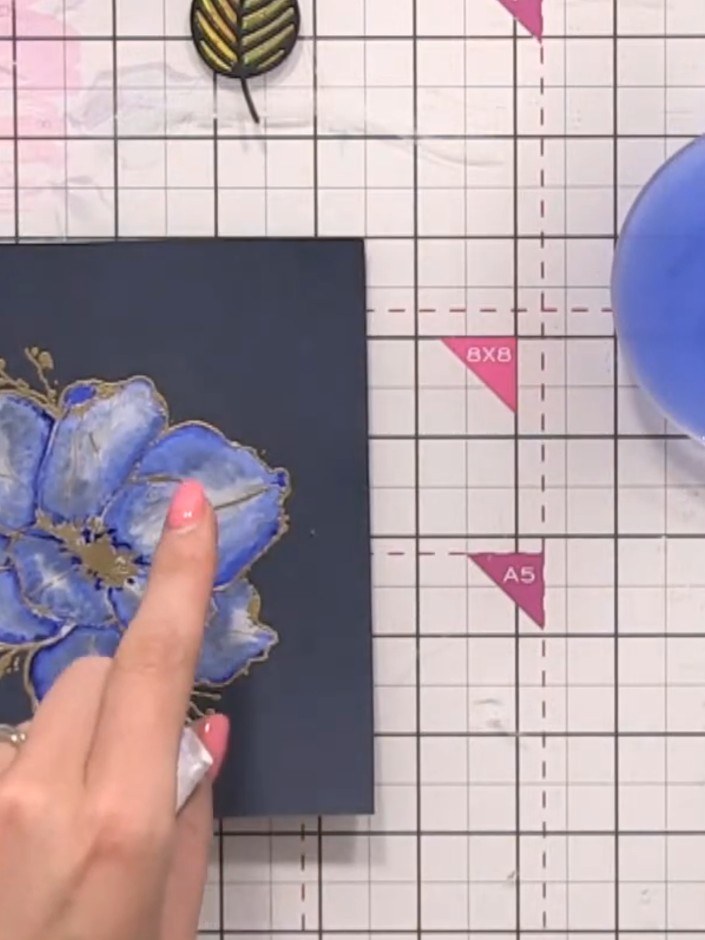
Wet your brush and add gold paint splats around the flower for decorative accents.
▶ watch this step (47:00)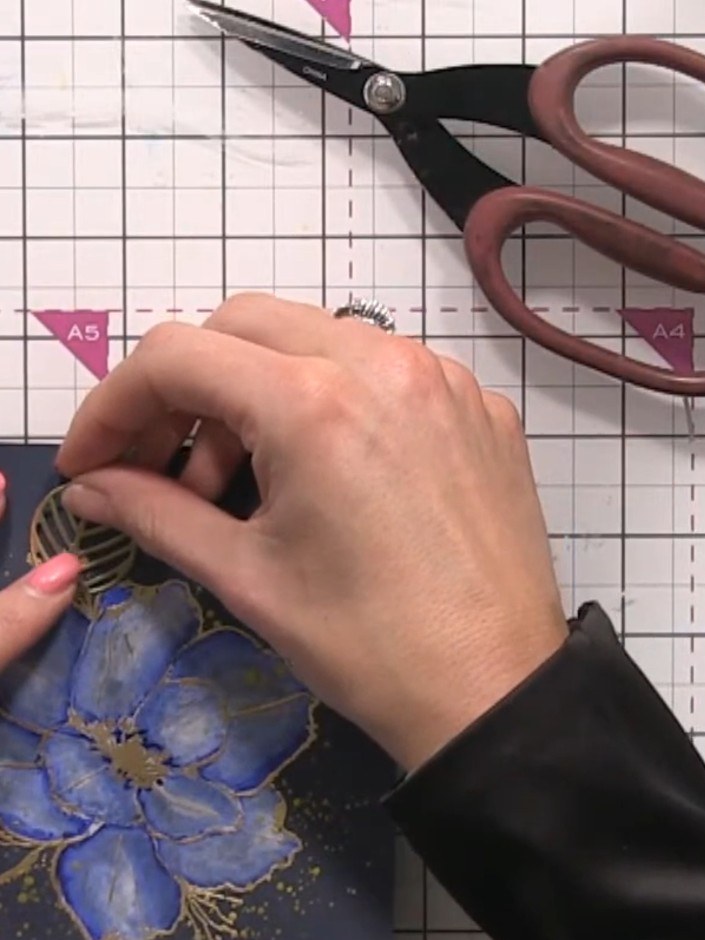
Cut out the gold foliage skeleton leaves using the die-cut pieces. Layer and position them onto the painted blue flower design on the navy card.
▶ watch this step (50:30)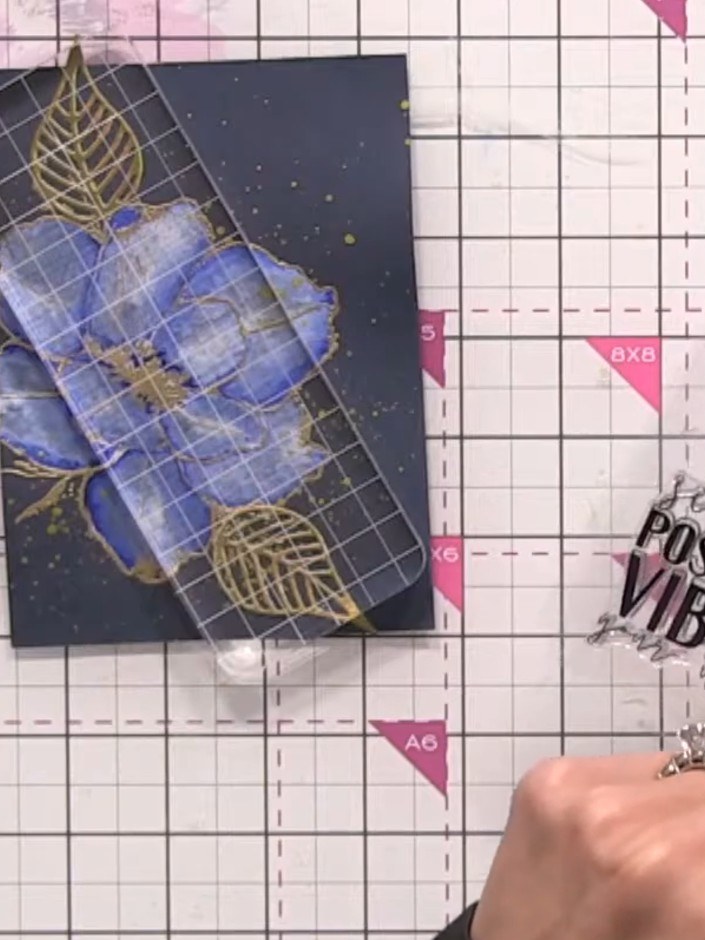
Stamp a sentiment such as 'Birthday Wishes' onto a small piece of navy card stock using gold embossing powder. Heat emboss to set the design.
▶ watch this step (53:00)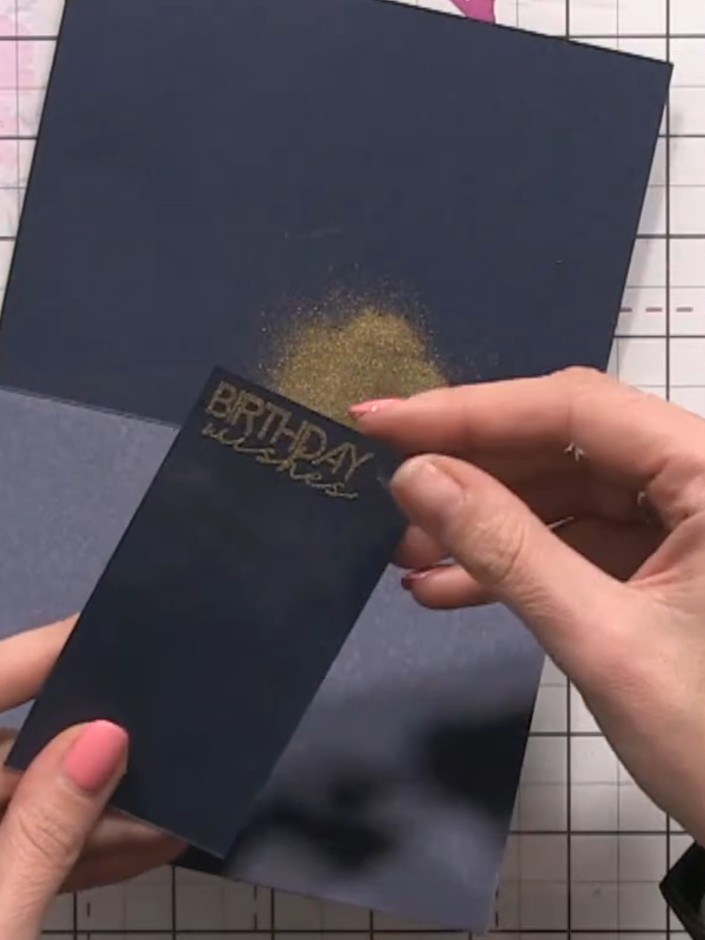
Heat set the sentiment using a heat tool. Trim down the sentiment piece and create a small foam pad by stacking pieces of card stock together.
▶ watch this step (54:00)Written up from the show itself. See every guide from our shows · free how-to guides · watch live on My Telly


