Give your friends $10 off their first order!
Refer a FRIEND








Prices change straight away. Every language is our own translation, not Google.
A project from our live show Create Together Club - 5 Days of Creativity - Broadcast Friday 14TH Feb 2025 · 02/14/2025 · watch it from 29:30
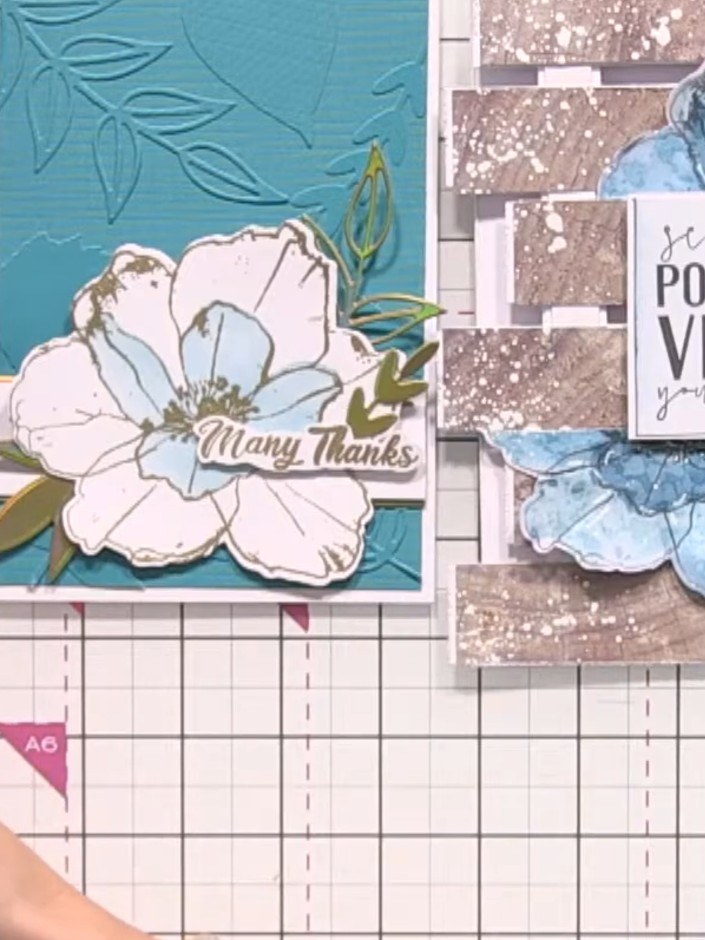
Create a stunning ombré effect card featuring a beautiful poppy design that seamlessly transitions from light to dark pink tones. This elegant piece is achieved by stamping onto graduated colour card stock, cutting into strips, and reassembling them to create a smooth colour gradient. The paper piecing technique produces a sophisticated, contemporary card perfect for any occasion.
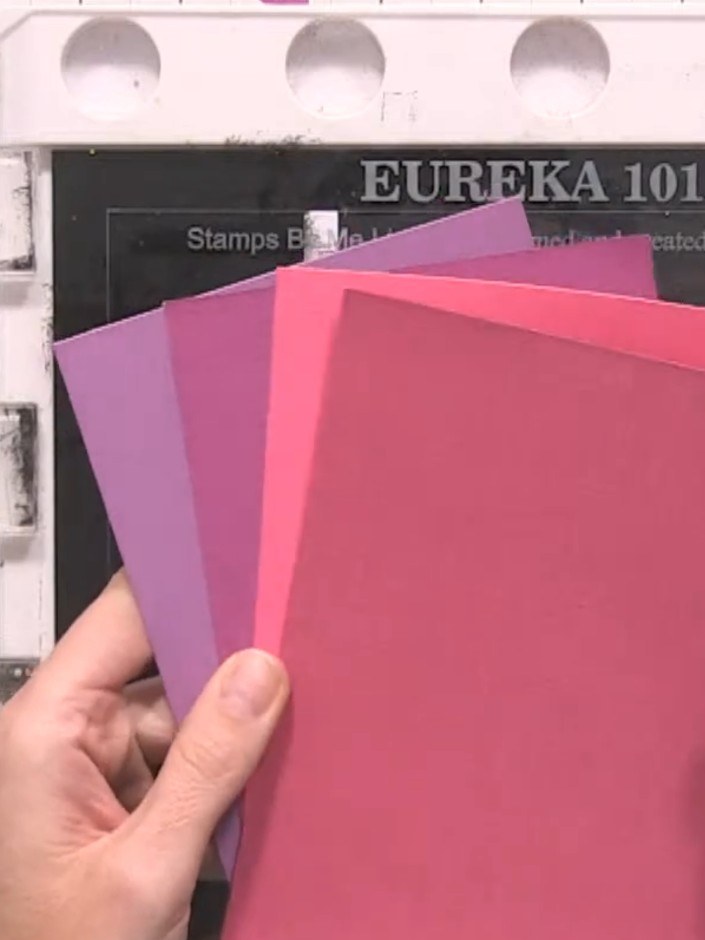
Gather four pieces of card stock in graduated colours, ranging from light to dark. For example, use shades progressing from light pink through to deep purple.
▶ watch this step (29:30)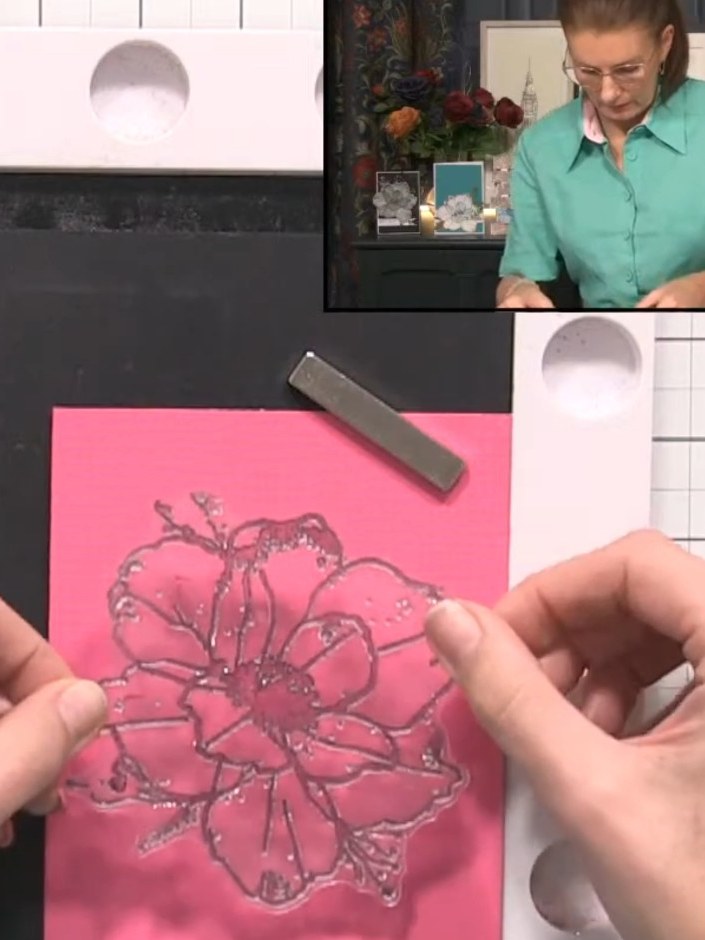
Ink up the large poppy stamp with black ink using an ink pad or applicator.
▶ watch this step (30:00)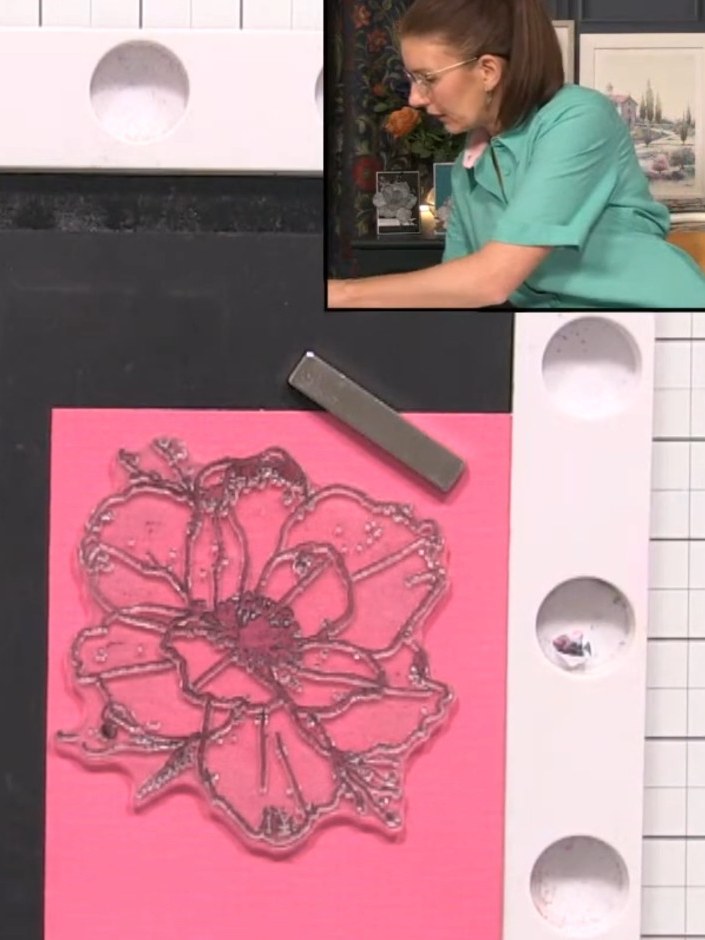
Stamp the poppy image onto the top portion of each piece of pink card stock, keeping the stamp in the same position for all four pieces to create a consistent design.
▶ watch this step (30:15)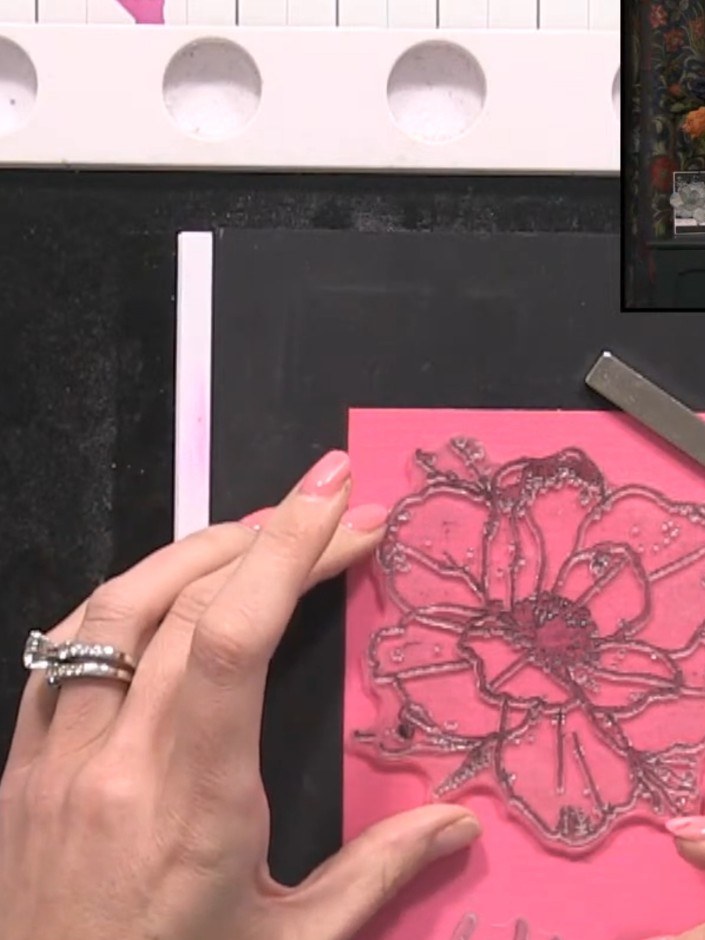
Stamp a sentiment below the poppy on each pink piece using the same position for consistency. This ensures all three cards have matching layouts.
▶ watch this step (30:45)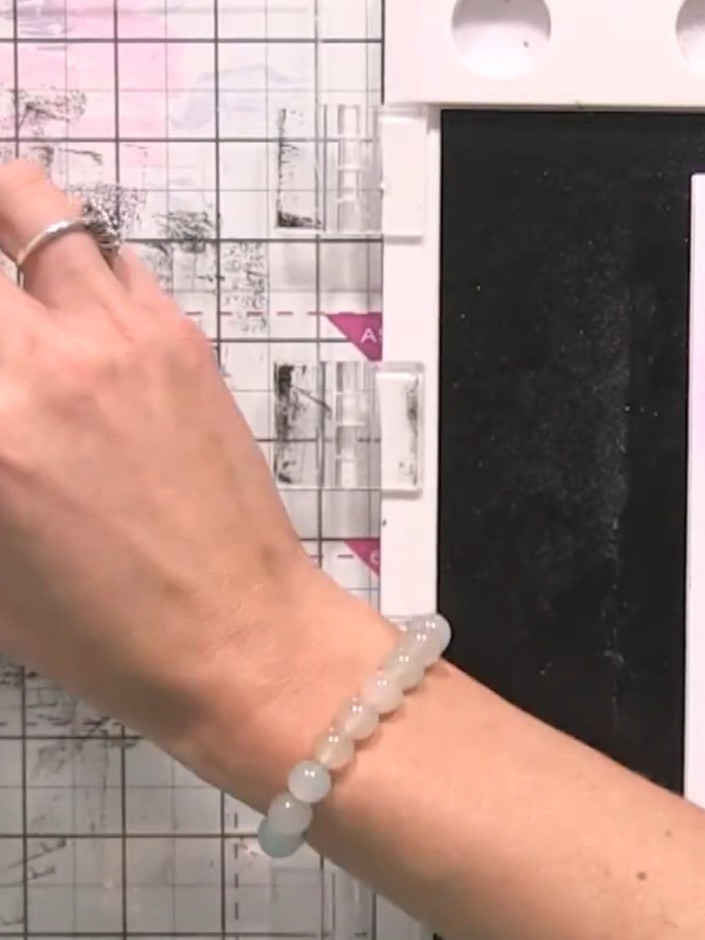
Using your guillotine, cut all four stamped pieces into one-inch strips.
▶ watch this step (31:00)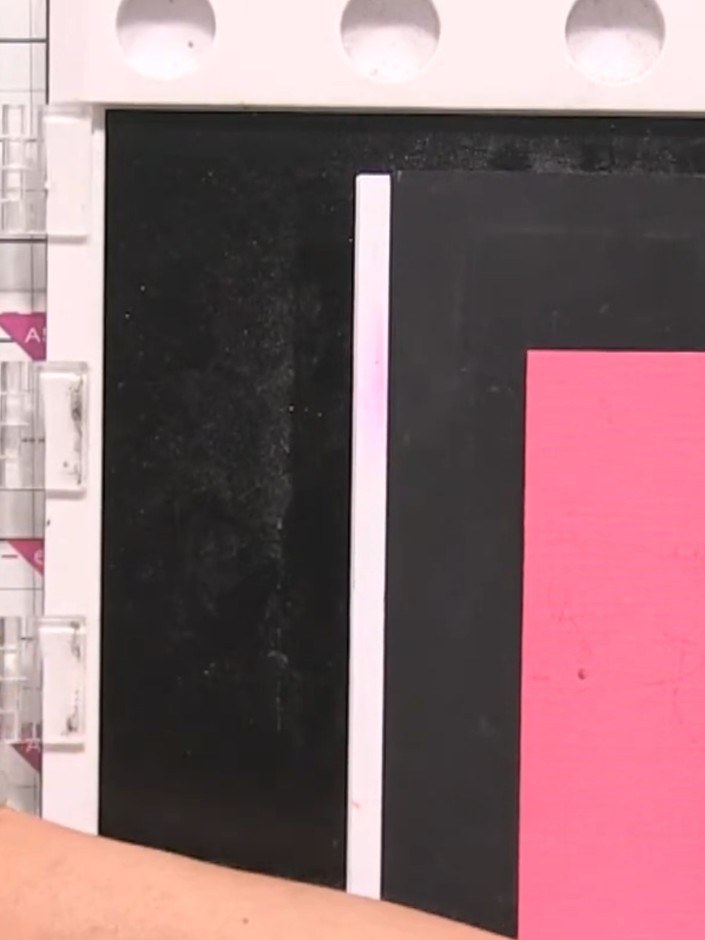
Arrange your paper strips in colour order from lightest to darkest to create your ombré sequence. Lay them out on your work surface to check the graduated effect before adhering.
▶ watch this step (31:30)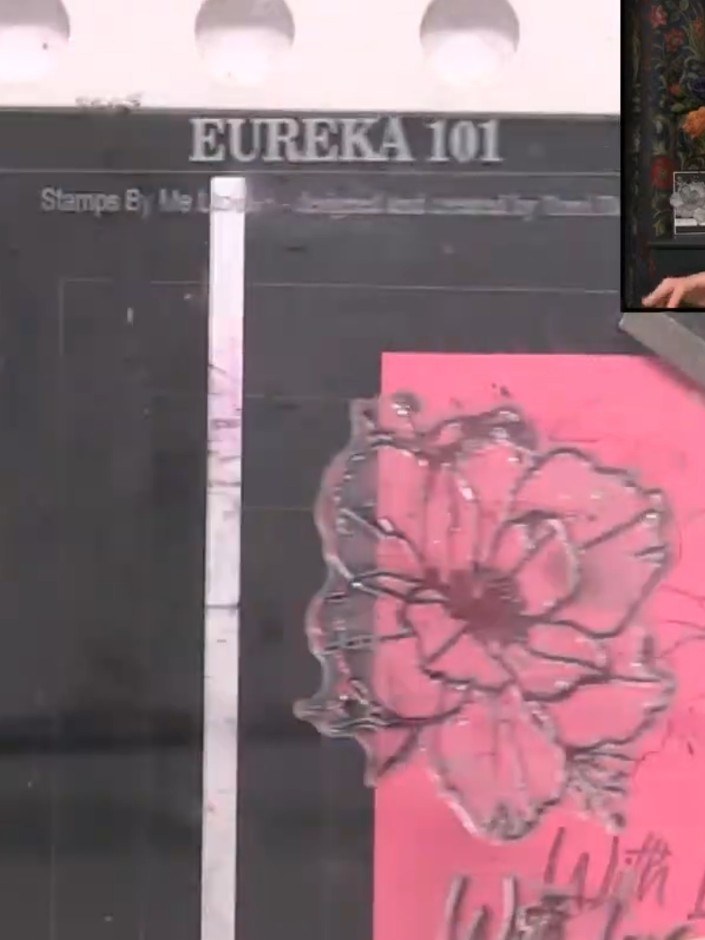
Take your black card base and begin adhering the pink ombré strips from top to bottom in your chosen colour order, starting with the darkest shade at the top.
▶ watch this step (32:00)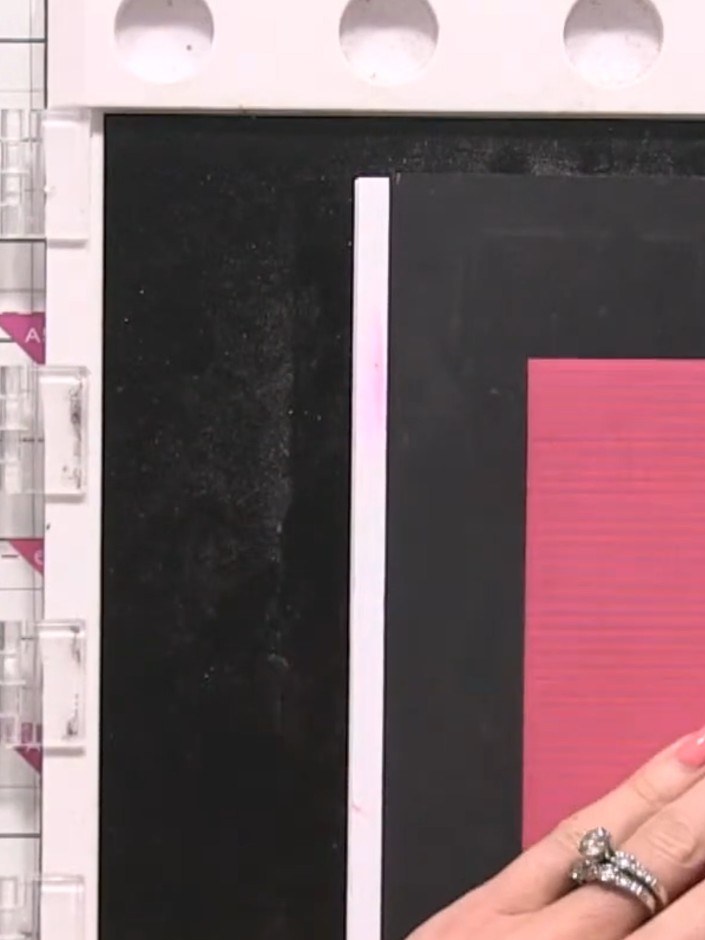
Position each pink strip carefully on the black card, ensuring the poppy design lines up continuously across the colour gradient from light to dark.
▶ watch this step (32:30)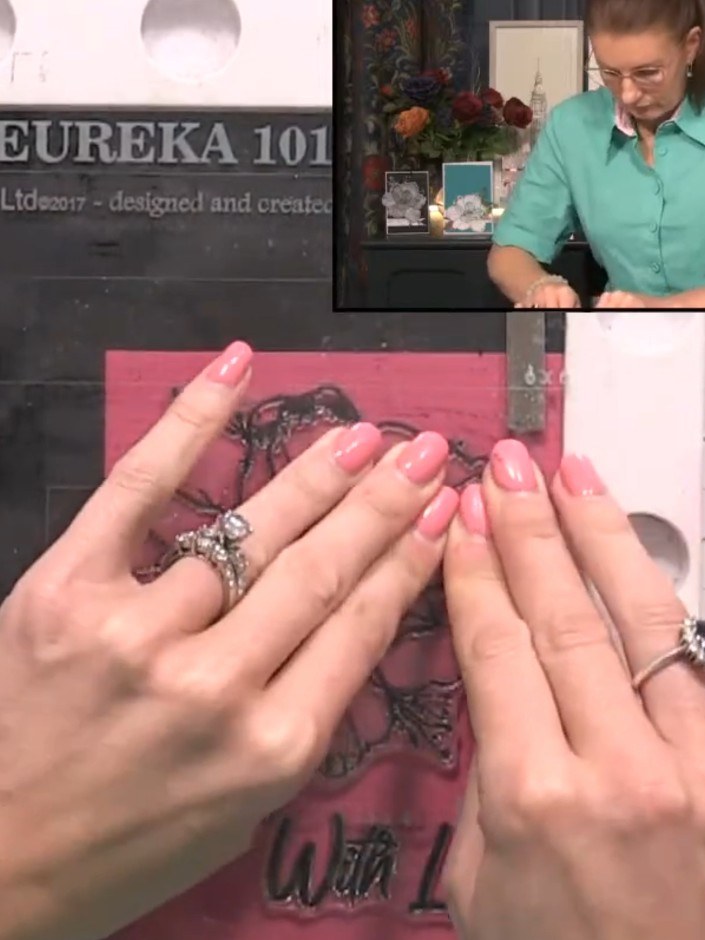
Continue adding strips to the card front, alternating between your four pink colours to build up the ombré effect. Work your way across the panel, ensuring each strip is adhered smoothly.
▶ watch this step (33:00)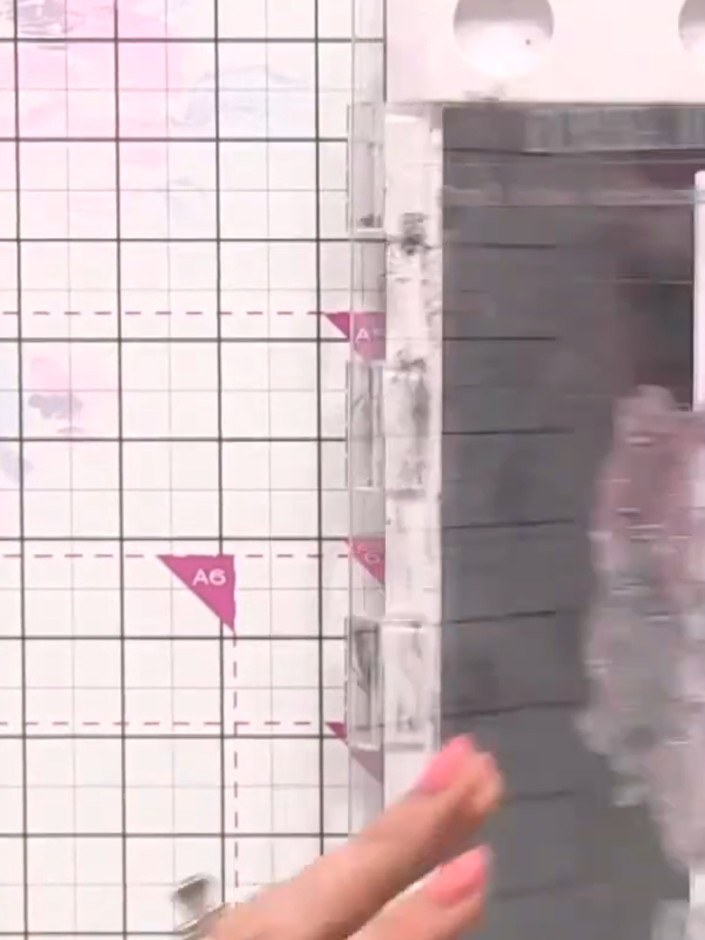
Using a trimmer or craft knife with a ruler, trim the assembled card to create clean, straight edges. Ensure all layers are aligned and the card has neat, even borders. Use a white gel pen to add highlights and detail to the poppy stamped image. The white gel pen will add dimension and bring out features of the flower. Allow the gel pen to dry, noting it will dry back slightly lighter than when first applied.
▶ watch this step (33:30)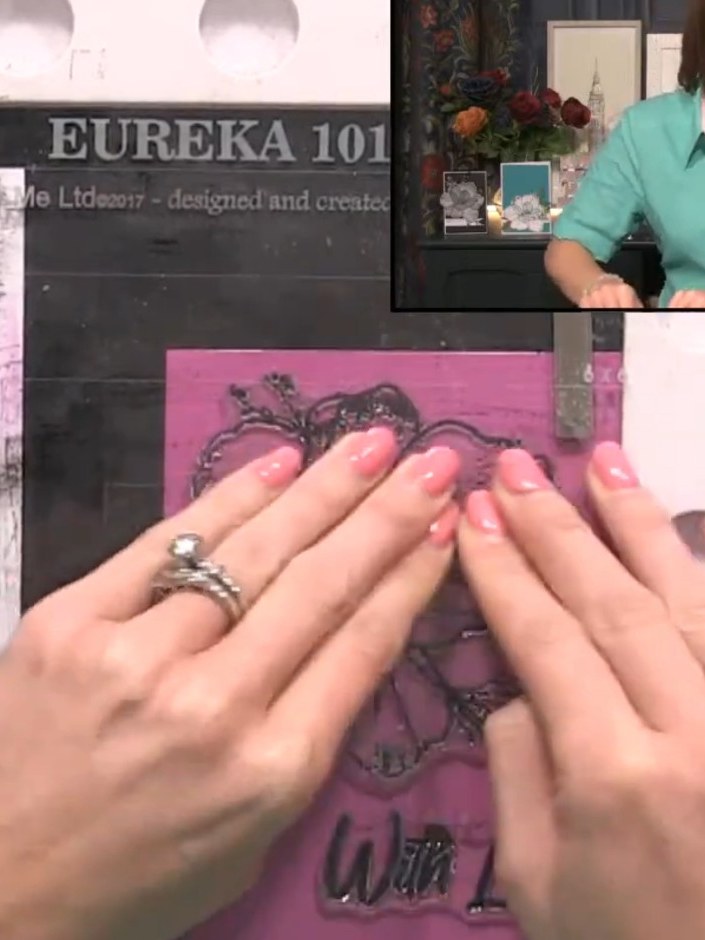
Adhere the finished ombré piece to a card blank to complete your card. Smooth down firmly to ensure good adhesion.
▶ watch this step (34:30)Written up from the show itself. See every guide from our shows · free how-to guides · watch live on My Telly


