Give your friends $10 off their first order!
Refer a FRIEND








Prices change straight away. Every language is our own translation, not Google.
A project from our live show MY PODCAST - Catch my latest updates broadcast 7th April 2025 · 04/07/2025 · watch it from 23:00
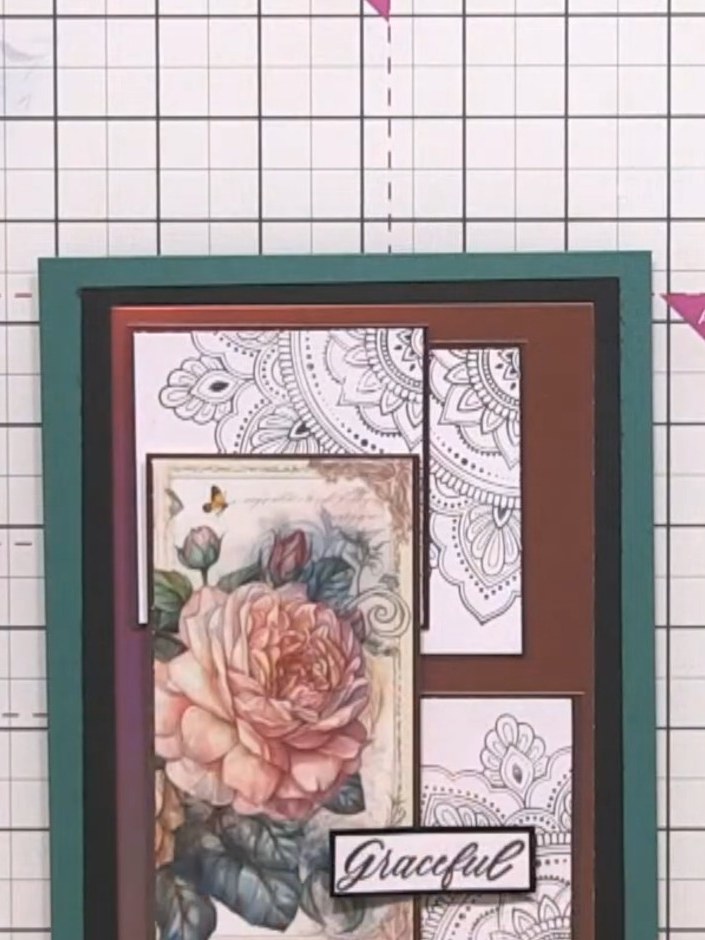
Create a sophisticated vintage-inspired card featuring the Serendipity mosaic stamp combined with beautiful floral pattern papers. This elegant design showcases layered panels in teal, burgundy and gold tones, with the large decorative stamp cut into sections and arranged in a modern, artistic layout. The finished card includes dimensional elements and a sentiment label for a graceful, gallery-style effect.
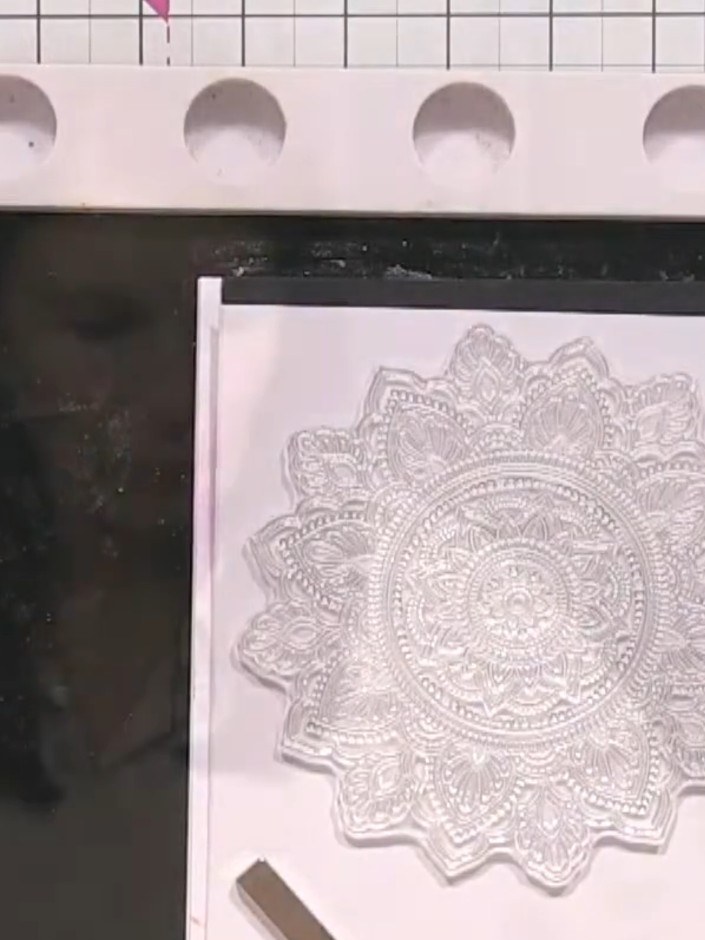
Ink up the Serendipity mosaic stamp with black ink and stamp it onto white card stock to create a crisp, detailed impression. Cut the stamped design into four equal squares using a guillotine, cutting down the centre both horizontally and vertically.
▶ watch this step (24:15)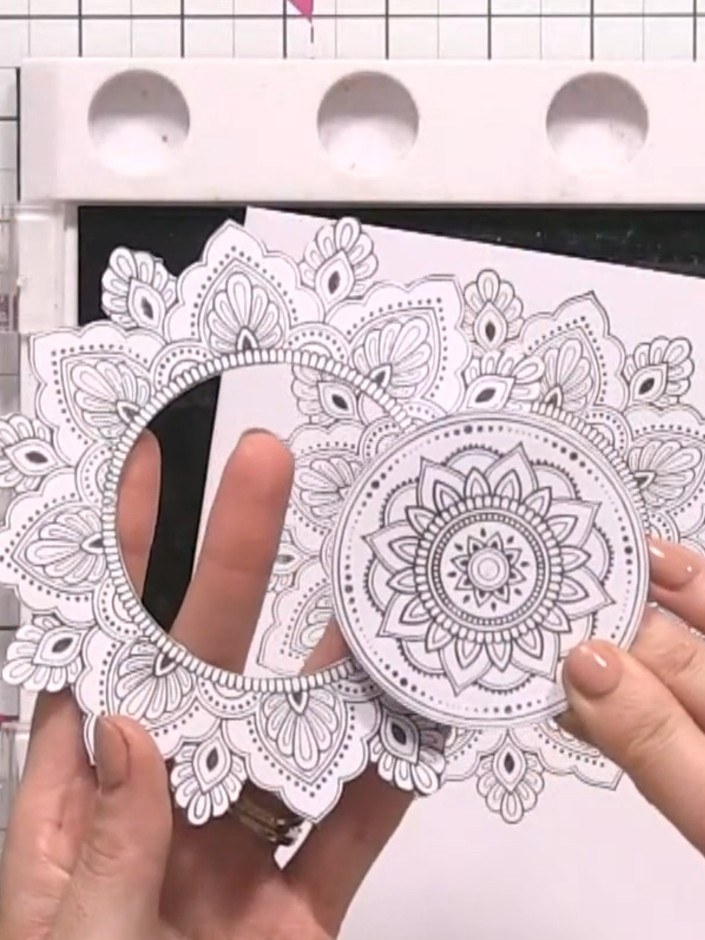
Mat and layer each of the four stamped squares onto pieces of mirror board, creating a gold border around each square. Cut strips of teal, black and mirror board card to create the base layers for your card front. Position the decorative panels on the brown card base to plan your layout.
▶ watch this step (29:30)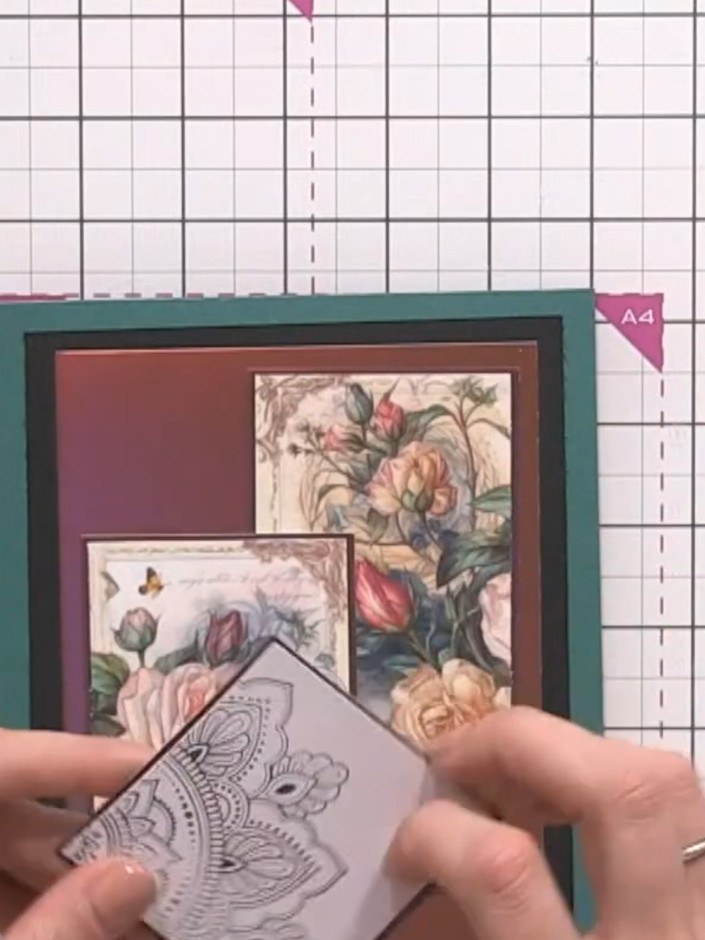
Arrange the matted floral squares and decorative panels onto the layered teal and brown card base, positioning them off-centre for visual interest. Adhere each piece in place once you're happy with the arrangement.
▶ watch this step (43:30)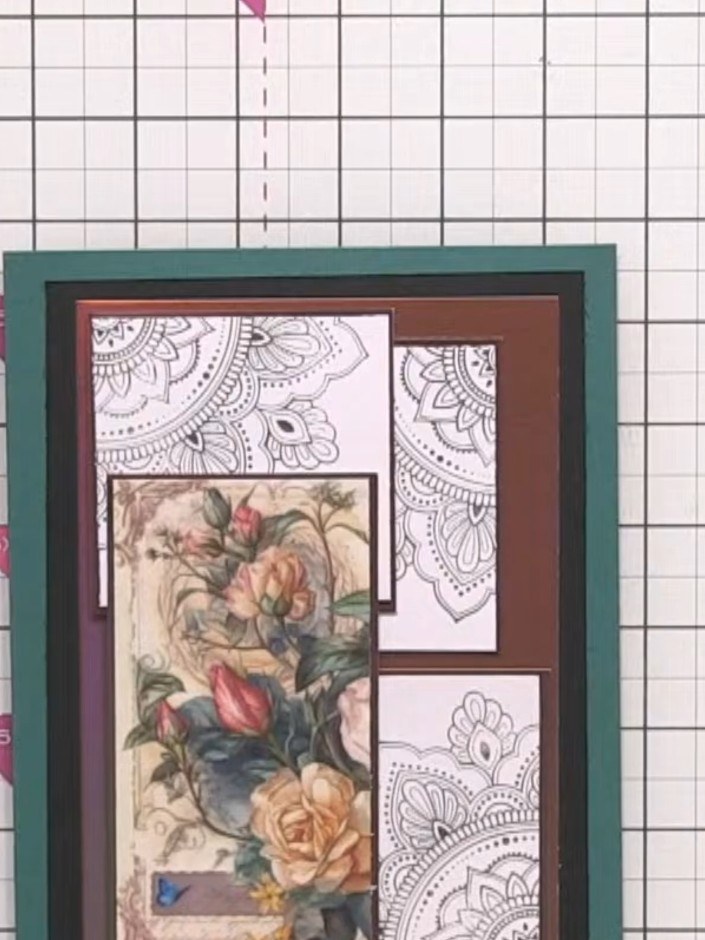
Add optional hand-coloured detail using sparkle pens or coloured pencils to enhance elements of the design and tie the colours together with the patterned papers.
▶ watch this step (45:00)Written up from the show itself. See every guide from our shows · free how-to guides · watch live on My Telly


