Give your friends $10 off their first order!
Refer a FRIEND








Prices change straight away. Every language is our own translation, not Google.
A project from our live show MDF Coaster 13 x 13 x 5cm - C9WHF2 · 08/08/2025 · watch it from 28:15
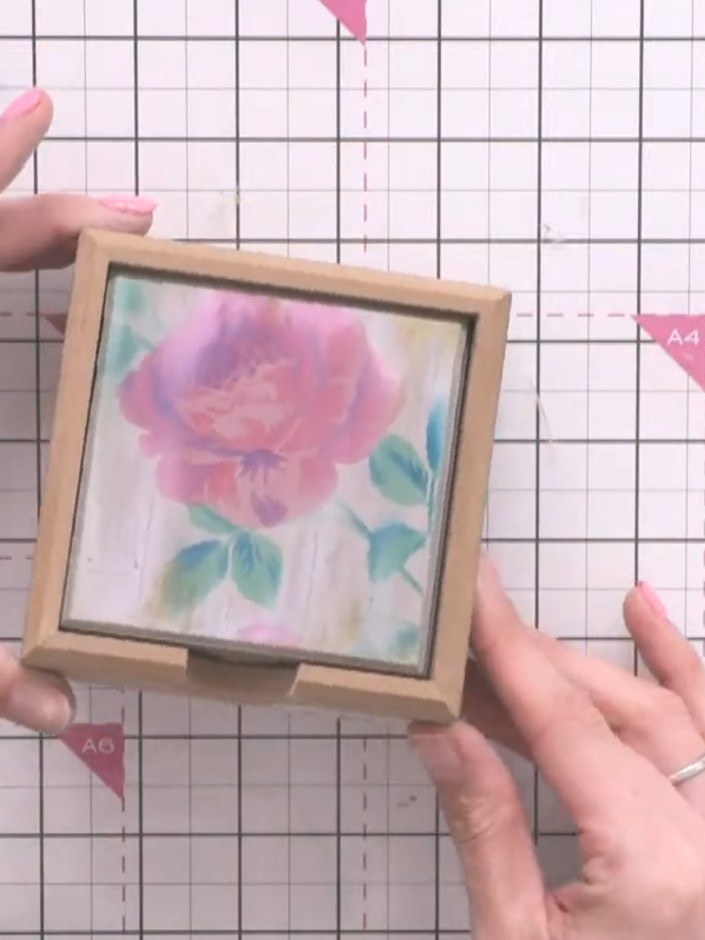
Create a beautiful vintage-style decorative coaster by transforming a plain MDF piece with eco-friendly paints and delicate stencilled floral designs. Using layering techniques with soft pinks, greens and blues, combined with distressing using finger waxes and white pigment, you'll achieve an elegant aged effect. The finished piece features dimensional rose details with a charming handmade character, perfect as a gift or decorative accent.
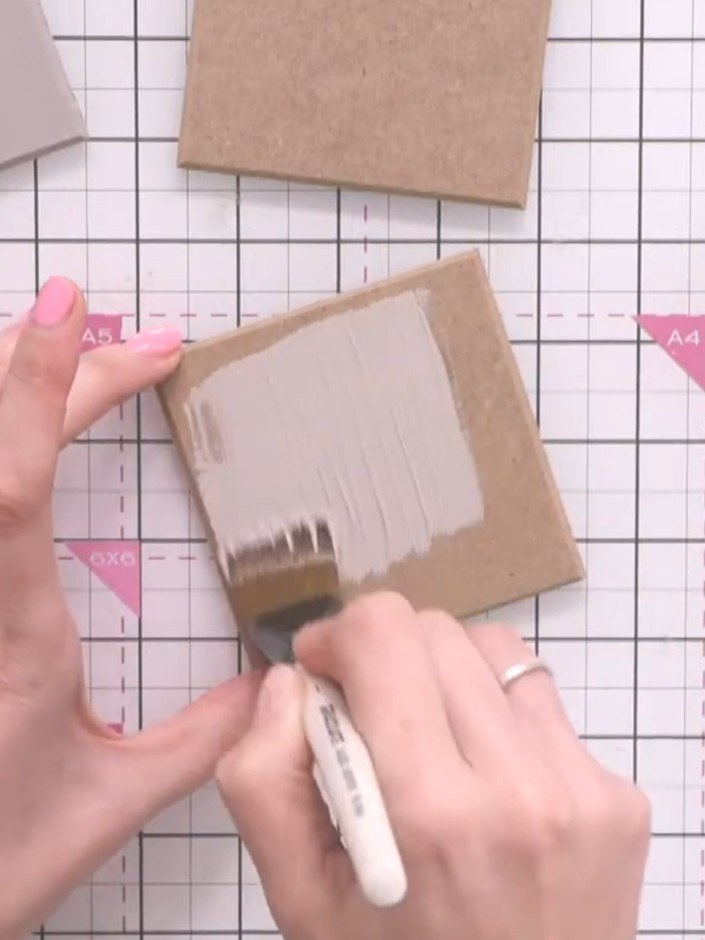
Place the MDF coaster on a protective surface and apply your first base coat of paint using a graduate brush. Use cross-hatching strokes to ensure even coverage across the surface.
▶ watch this step (28:30)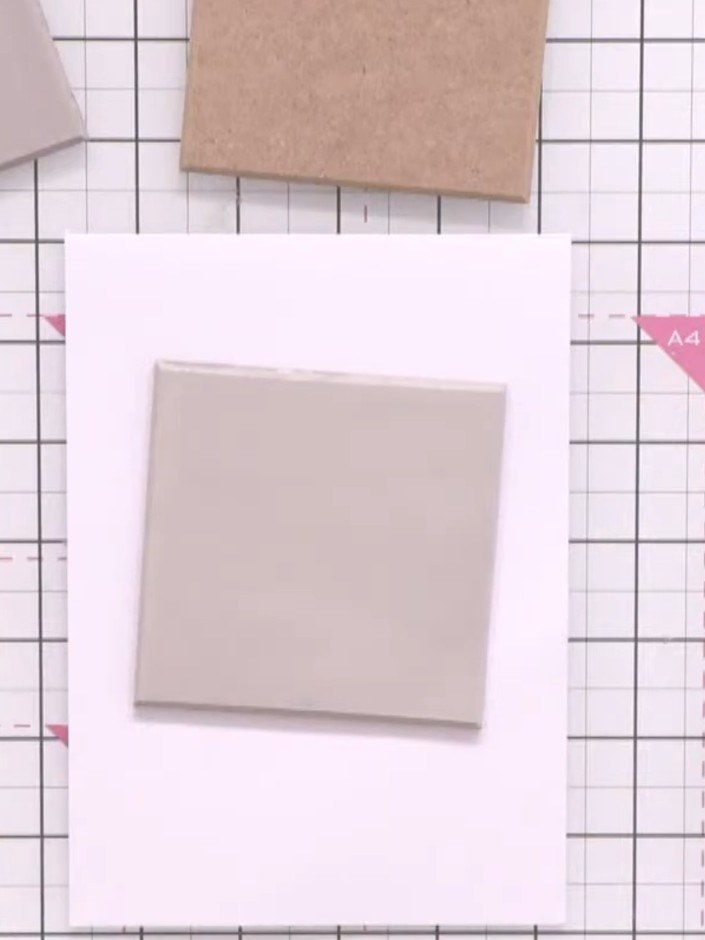
Once the base coat is completely dry, position your classic rose layering stencil centrally on the MDF coaster.
▶ watch this step (31:00)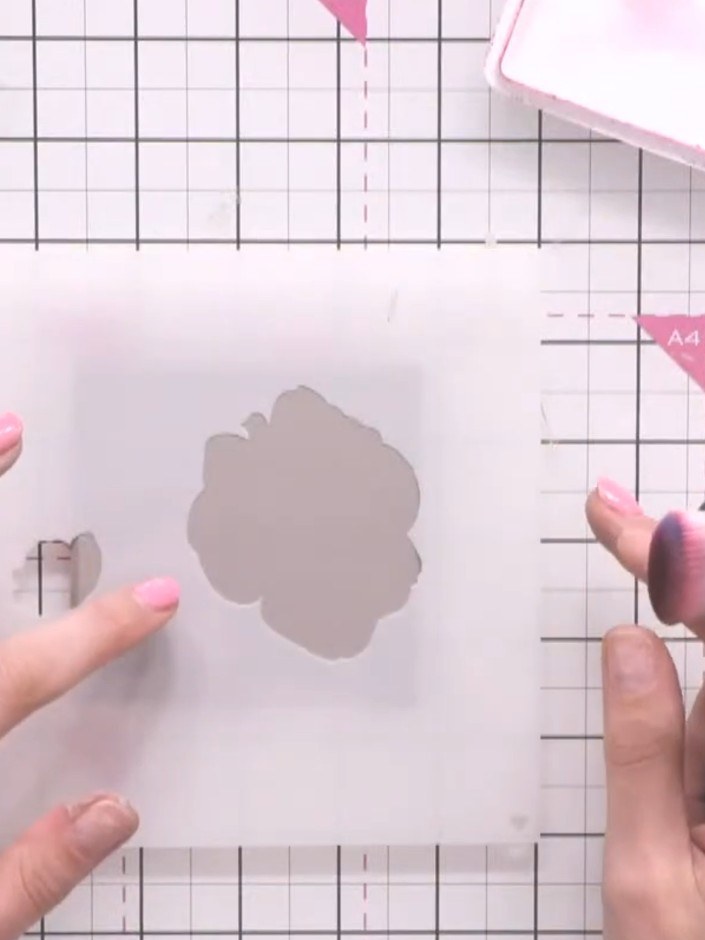
Using a pink ink pad and blending brush, lightly tap the first stencil layer onto the MDF coaster. Build up the colour gradually by tapping gently over the stencil design.
▶ watch this step (35:00)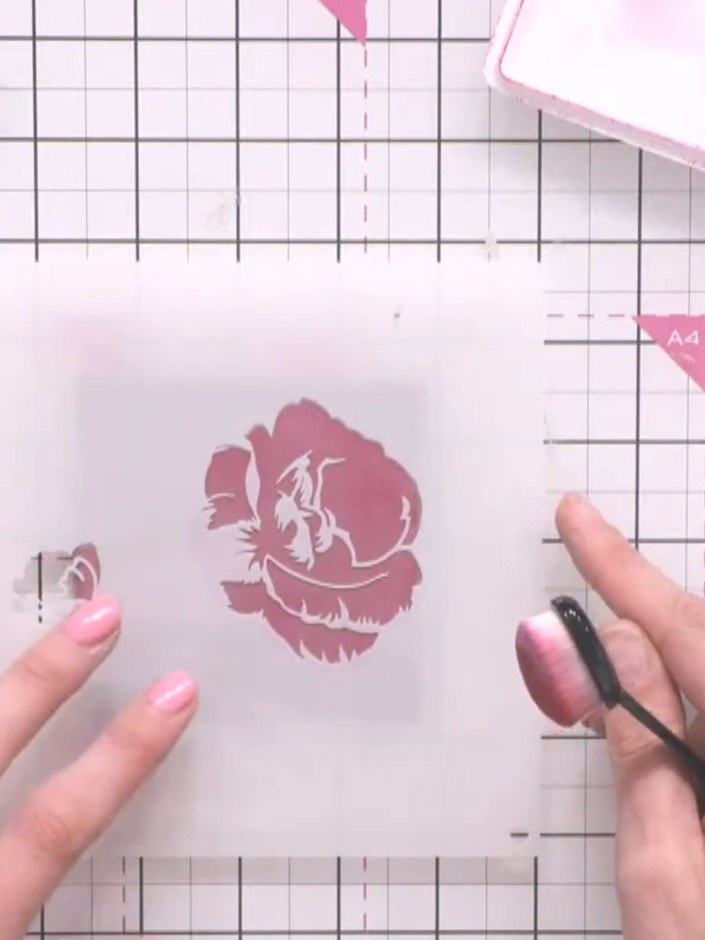
Remove the first stencil and position the second stencil layer over the coaster. Tap lightly with the pink ink pad to add detail to the rose centre.
▶ watch this step (36:30)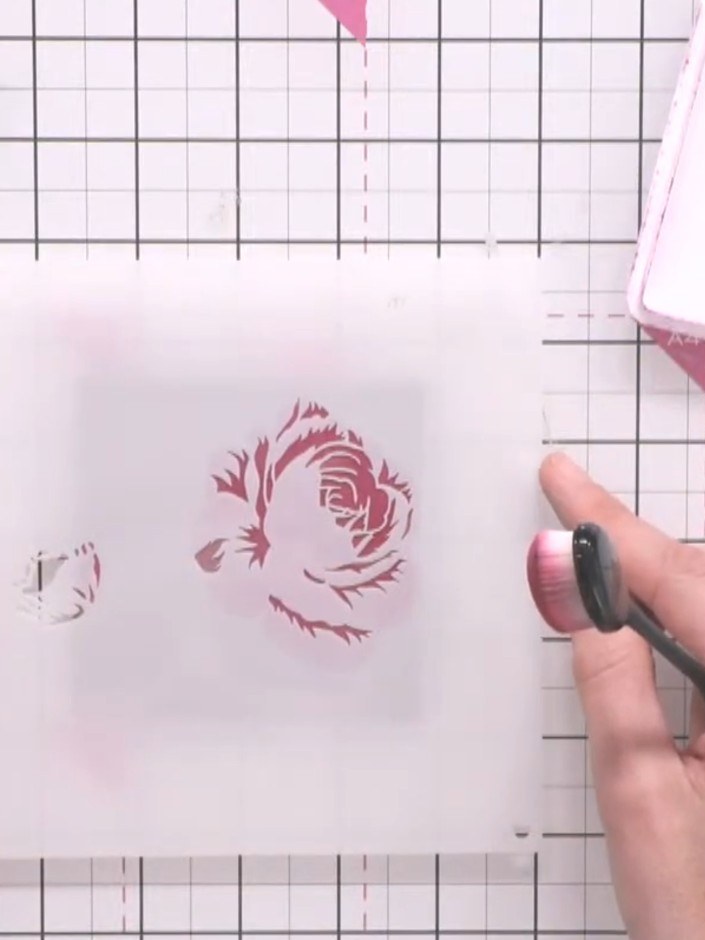
Continue layering with the remaining stencils, using darker pink tones for additional floral details and green for the leaves. Tap gently with the blending tool to build up dimension and depth in your design.
▶ watch this step (38:00)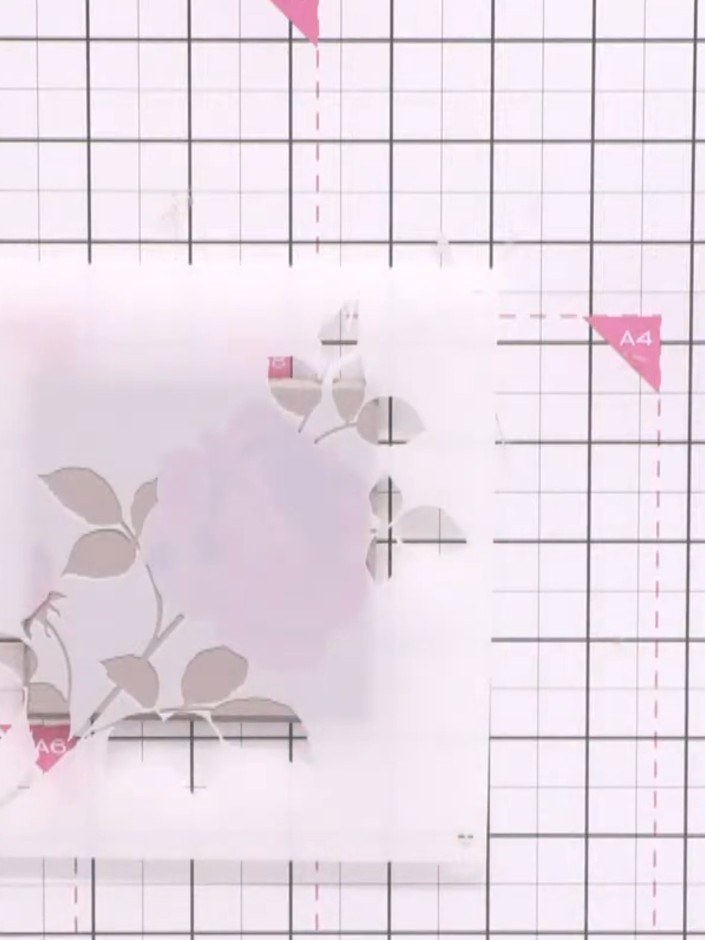
Switch to a teal or purple ink pad for additional depth on the foliage areas. Tap lightly over the stencilled design to avoid overwhelming the base colours.
▶ watch this step (40:15)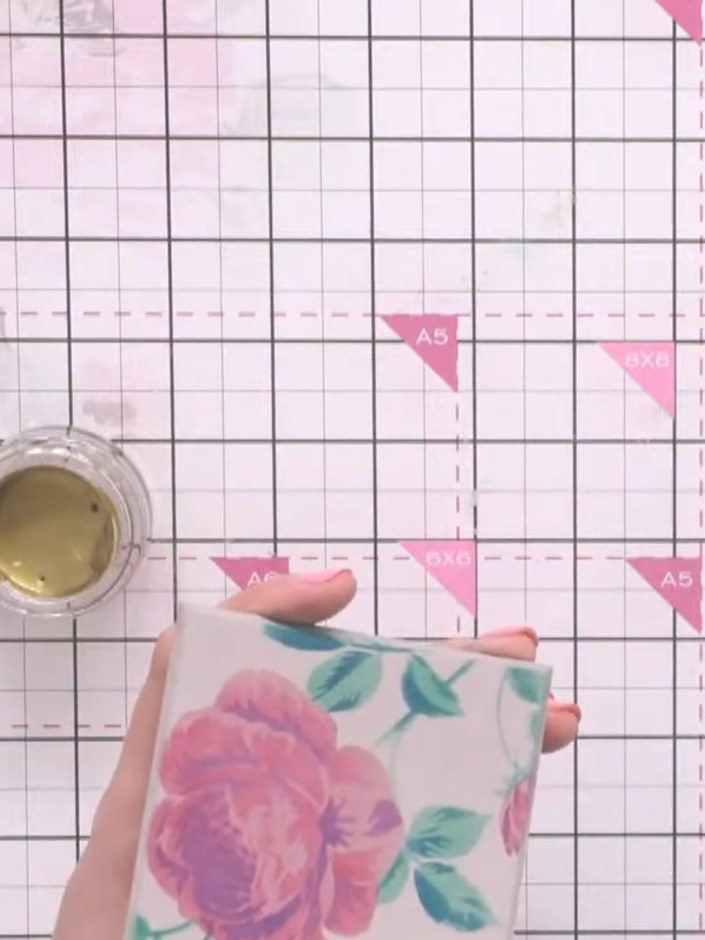
Apply gold finger wax to the edges and corners of the coaster by dipping your finger into the wax and tapping gently onto the edges, blending as needed.
▶ watch this step (44:30)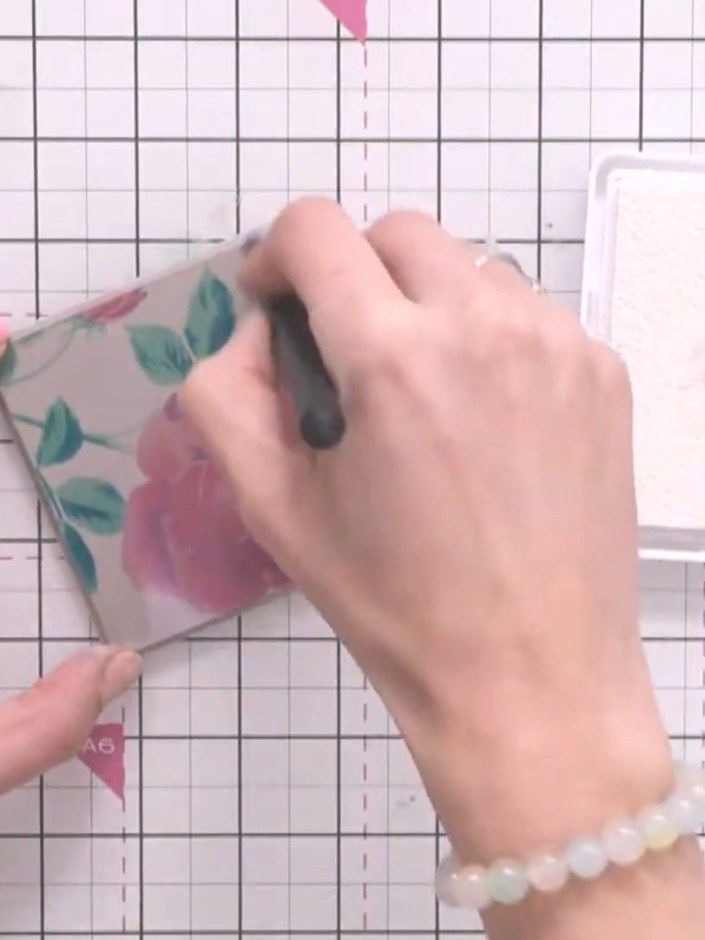
Distress the design by dry brushing white pigment over the surface in one consistent direction, dragging upwards to create vintage wear lines.
▶ watch this step (49:00)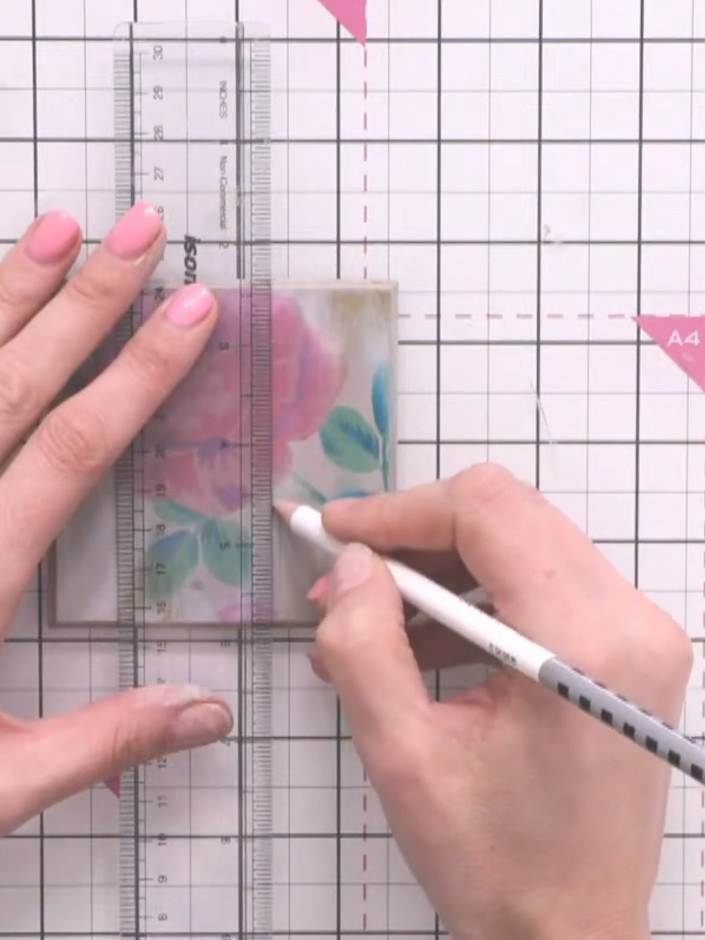
Using a silver pencil and ruler, lightly draw imitation wood grain lines across the coaster surface. Press gently to create subtle lines without heavy marks.
▶ watch this step (54:15)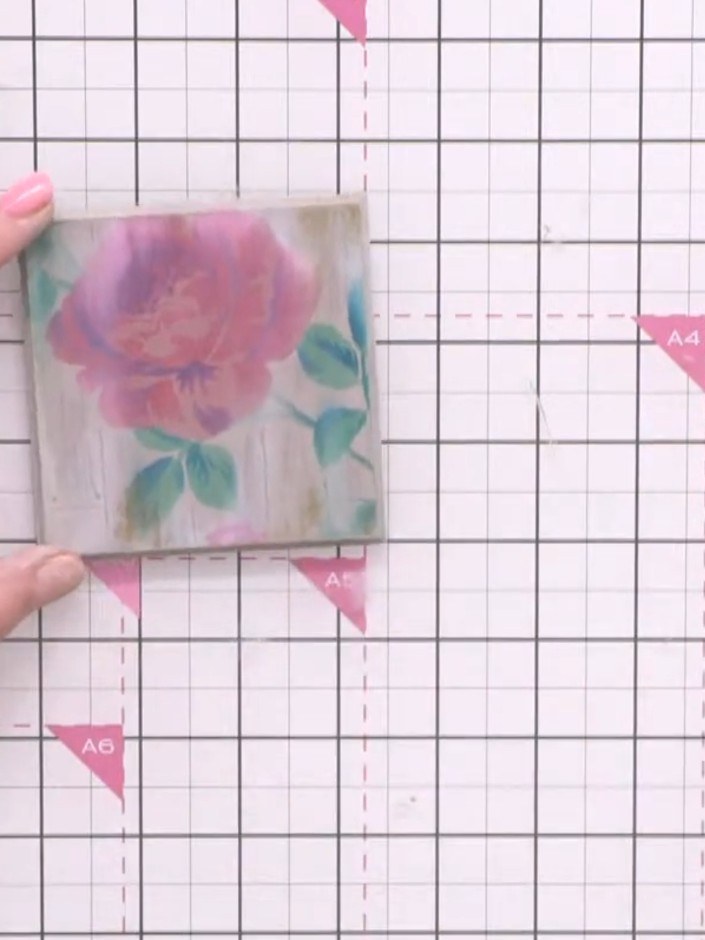
Once the design is completely dry, apply a coat of matte or satin varnish over the entire surface of the coaster to seal and protect the painted design.
▶ watch this step (55:30)Written up from the show itself. See every guide from our shows · free how-to guides · watch live on My Telly