Give your friends $10 off their first order!
Refer a FRIEND








 The Friday Final CutFri 20 Nov 5am
 Community ShowcaseMon 23 Nov 5am
 Deal HuntersTue 24 Nov 8am
Prices change straight away. Every language is our own translation, not Google.
A project from our live show ONE DAY SPECIAL - Join Toni for her brand new launch - Broadcast 26th September 2025 · 09/26/2025 · watch it from 20:30
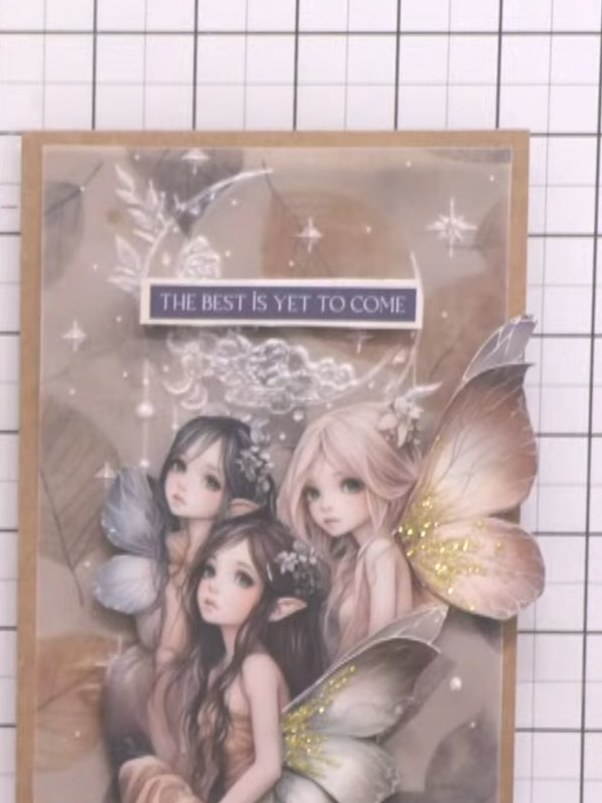
Create an enchanting fairy card featuring three delicate fairy figures with glittering wings on an embossed vellum background. The design showcases soft, muted tones with touches of gold glitter on the wings, complemented by embossed moon and star details. This project combines die-cutting, embossing, and layering techniques to achieve a dreamy, ethereal effect perfect for special occasions.
 Stamps By Me Bumper Pack - Whispering Wings - 090625ASEE IT
 Stamps By Me Embossing Folder - Whispering Wings - 090625CSEE IT
 Stamps By Me Stamp & Die Set - Whispering Wings - 090625BSEE IT
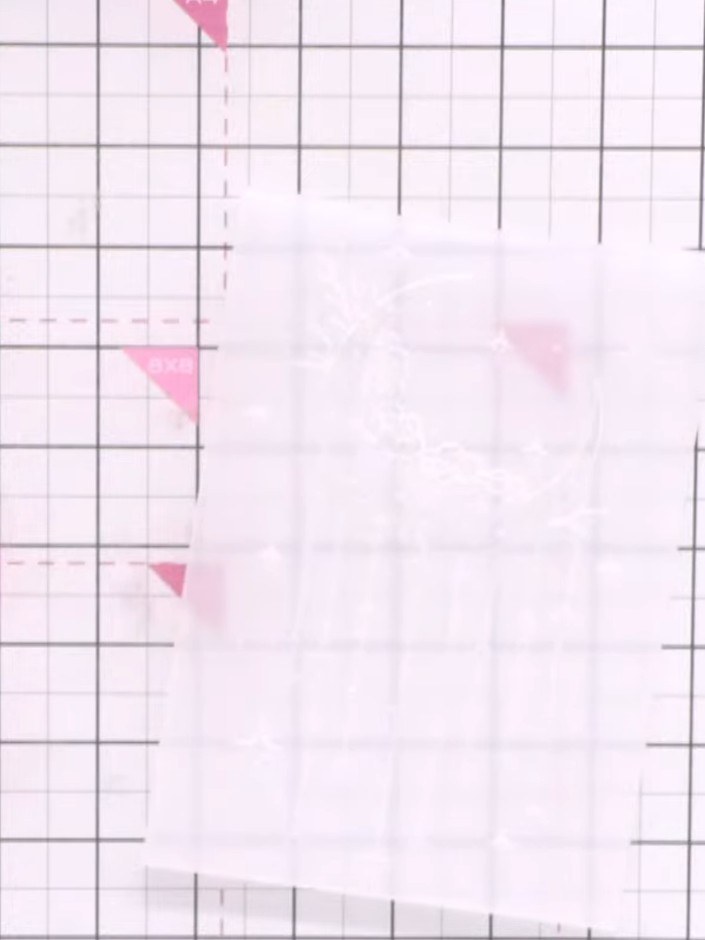
Place the craft-coloured card stock into the Whispering Wings embossing folder. Run the folder through your die-cutting machine to emboss the moon and draping stars design onto the card.
▶ watch this step (20:45)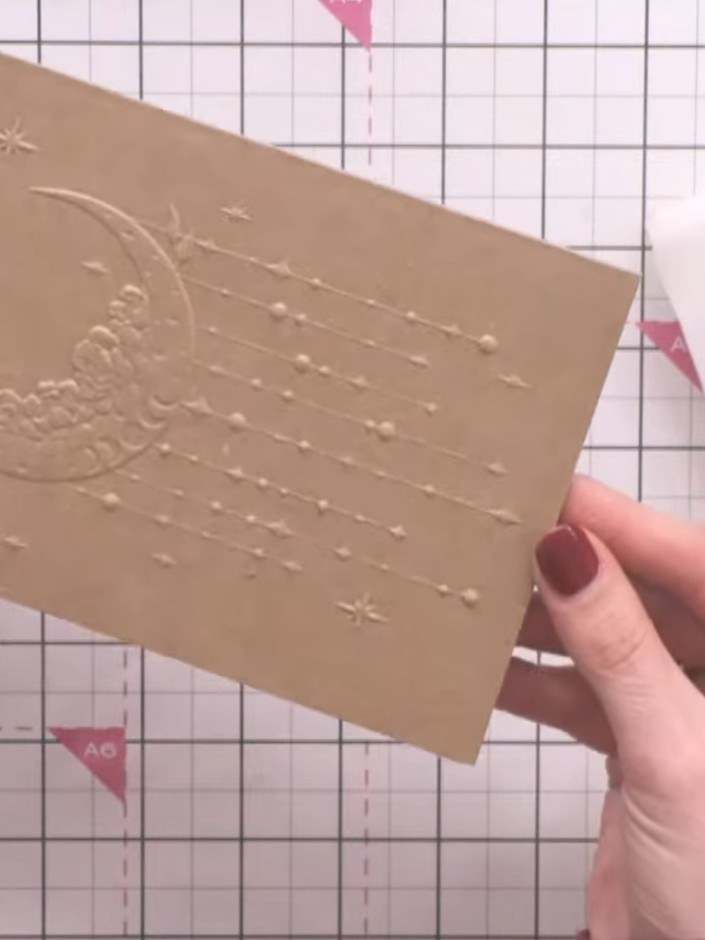
Apply white pigment ink over the embossed details on the kraft card using a dabbing motion to highlight the texture. Work the ink gently across the raised embossed design to make the fairy and stars stand out.
▶ watch this step (22:00)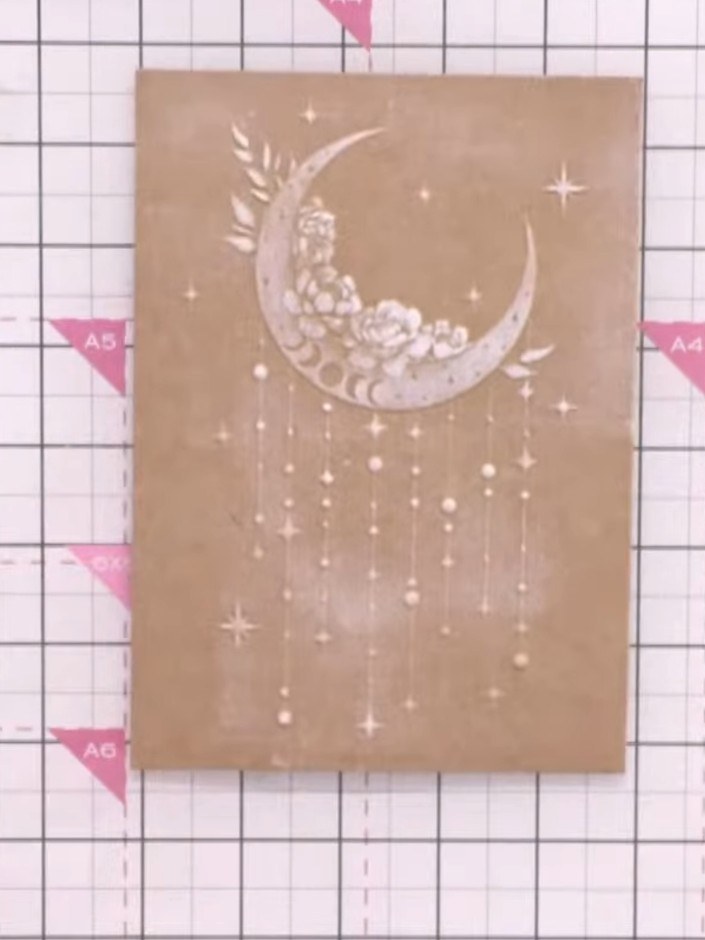
Use a brush or your finger to blend away any excess white ink from the embossed design, creating a clean and smooth finish on the kraft card background.
▶ watch this step (22:45)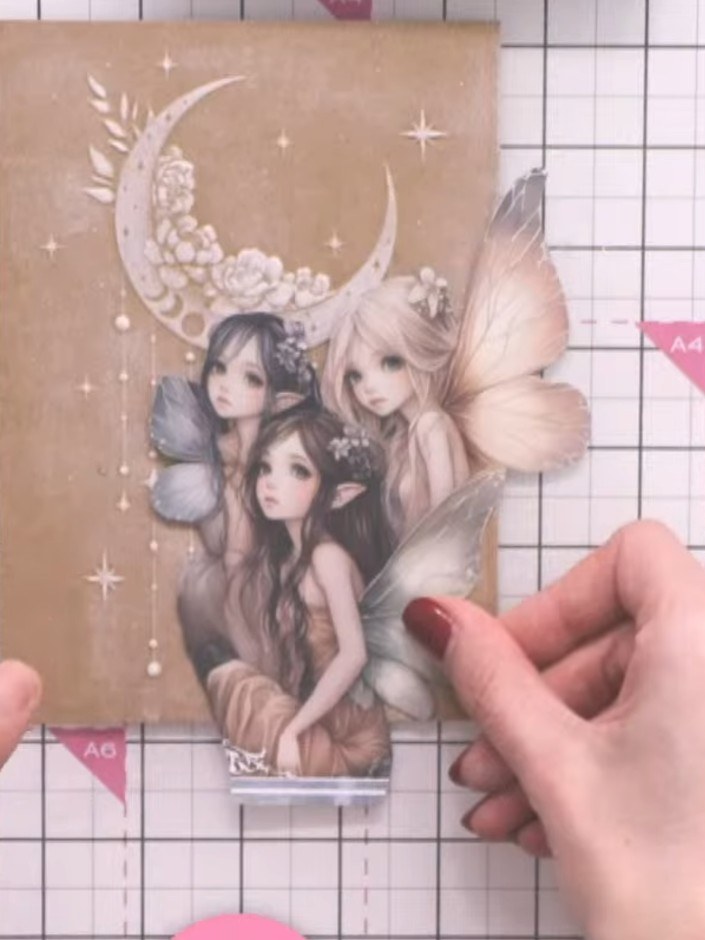
Place the preprinted vellum featuring the three fairies from the Whispering Wings paper pack into the coordinating embossing folder. Run it through your die-cutting machine to create an embossed vellum layer.
▶ watch this step (30:15)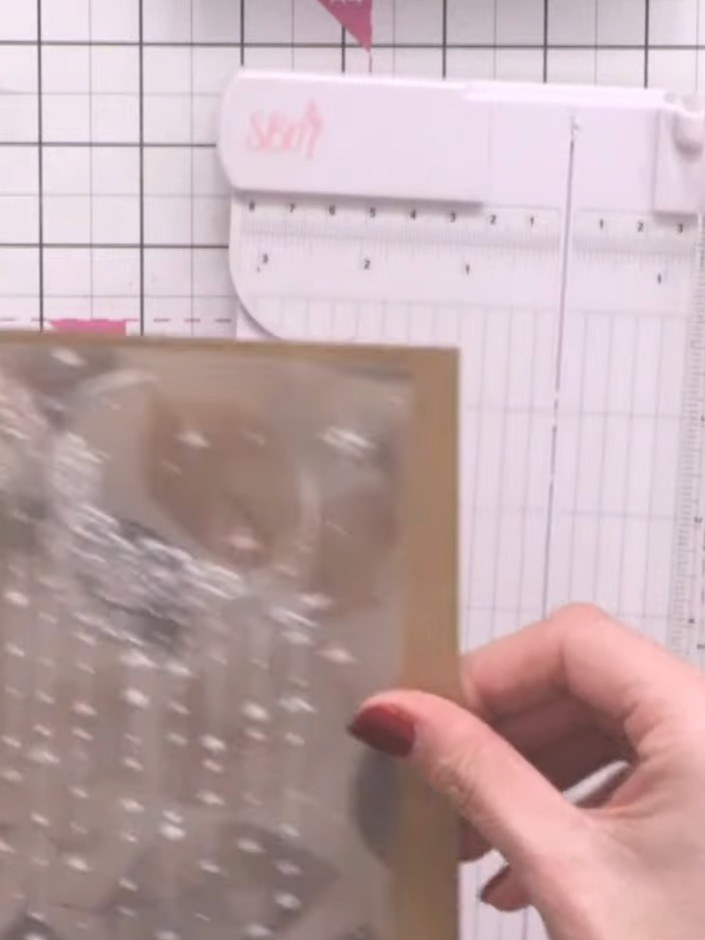
Trim the embossed vellum to fit your card base, removing any excess material. Be careful not to cut away too much of the embossed design.
▶ watch this step (32:15)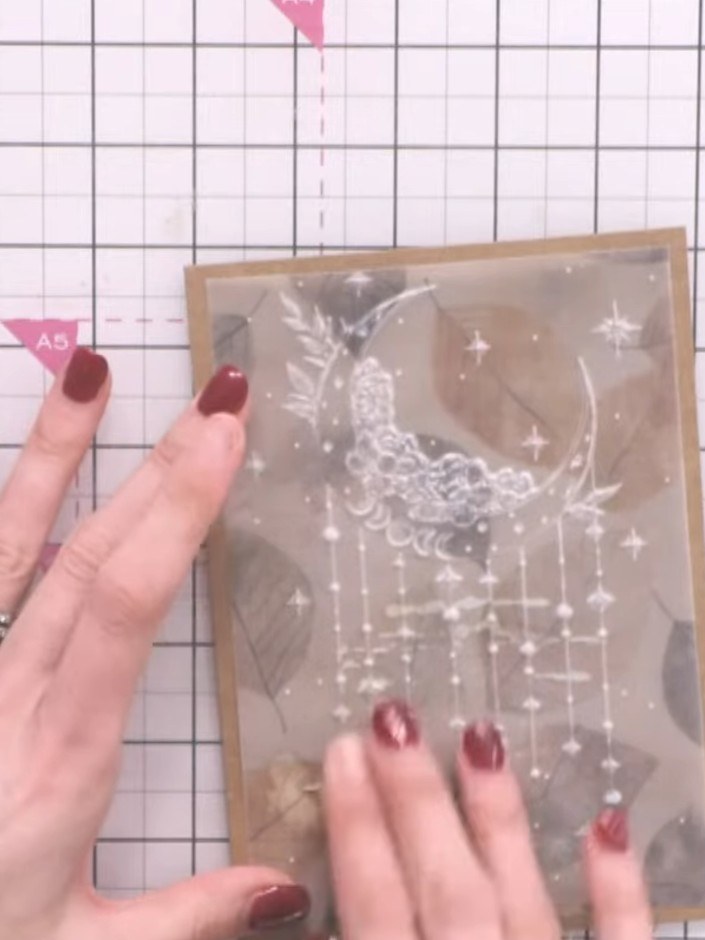
Adhere the embossed vellum to the back of your kraft card base using glue only in areas where it will be hidden by other elements, such as where the fairy toppers will be positioned.
▶ watch this step (40:00)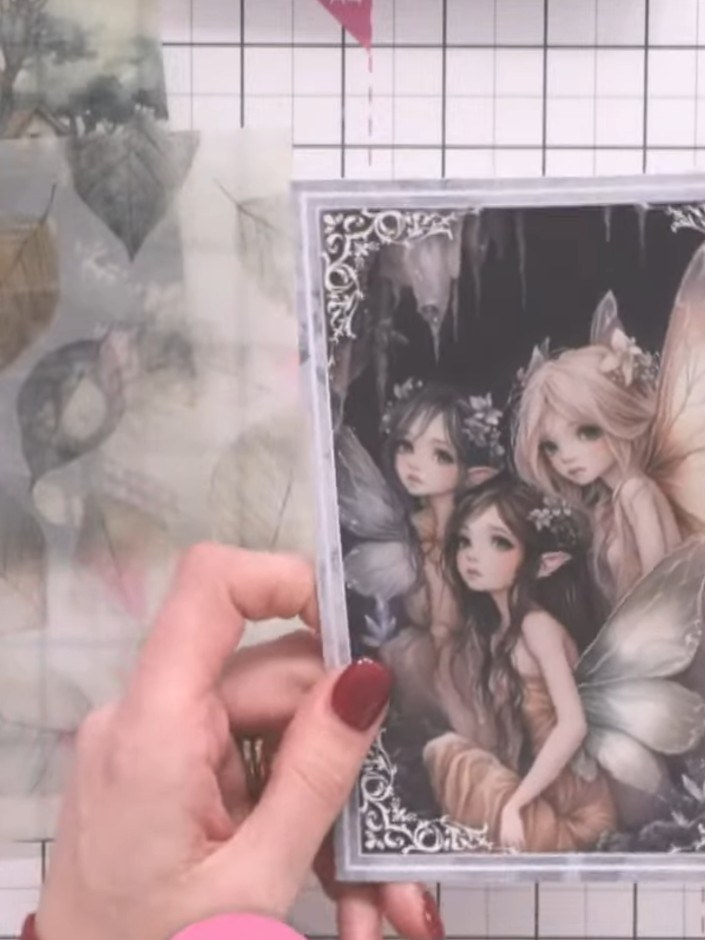
Carefully fussy cut one of the fairy figures from the Whispering Wings paper pad, cutting closely around the wings and body to remove the image from its decorative frame.
▶ watch this step (27:45)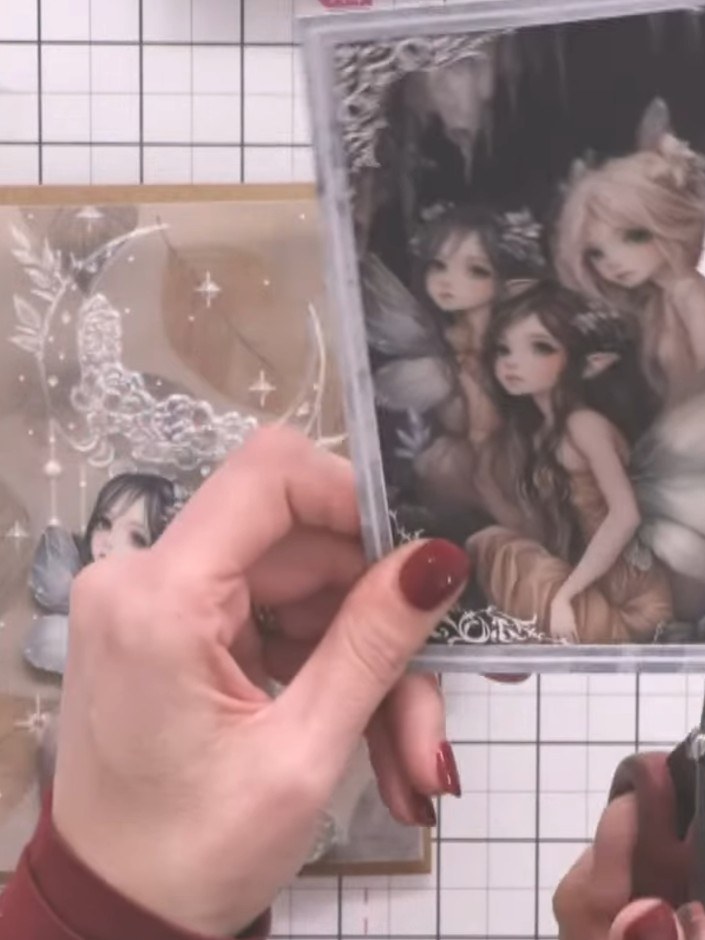
Select a coordinating sentiment from the paper pack and fussy cut it with scissors, leaving the cream border detail around the edges.
▶ watch this step (33:45)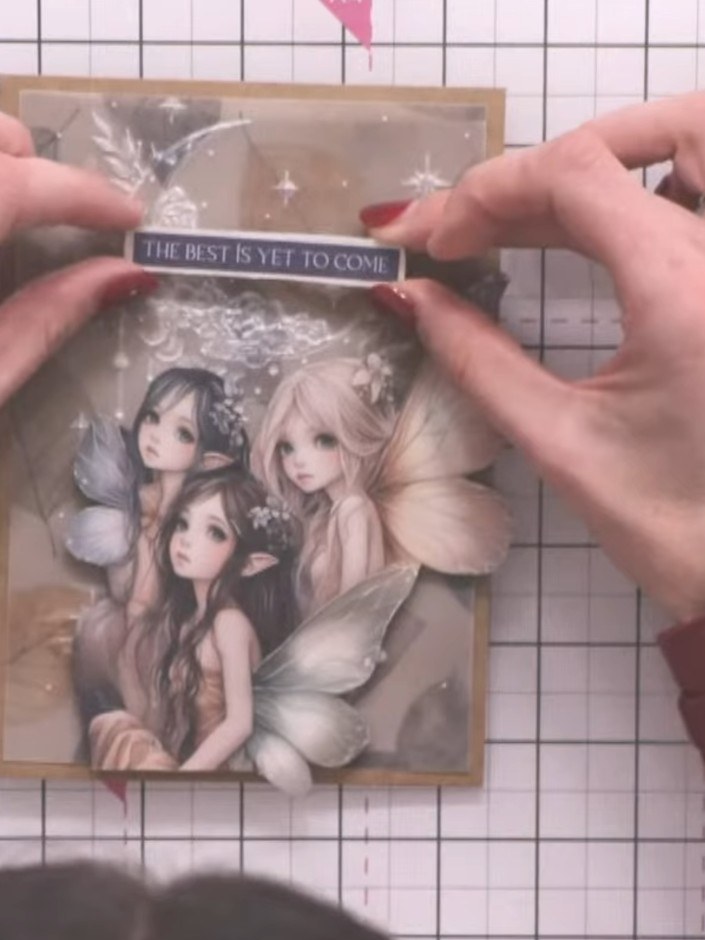
Adhere the sentiment strip reading 'THE BEST IS YET TO COME' to the centre top of the card, positioning it over the embossed vellum panel with the fairy image.
▶ watch this step (44:45)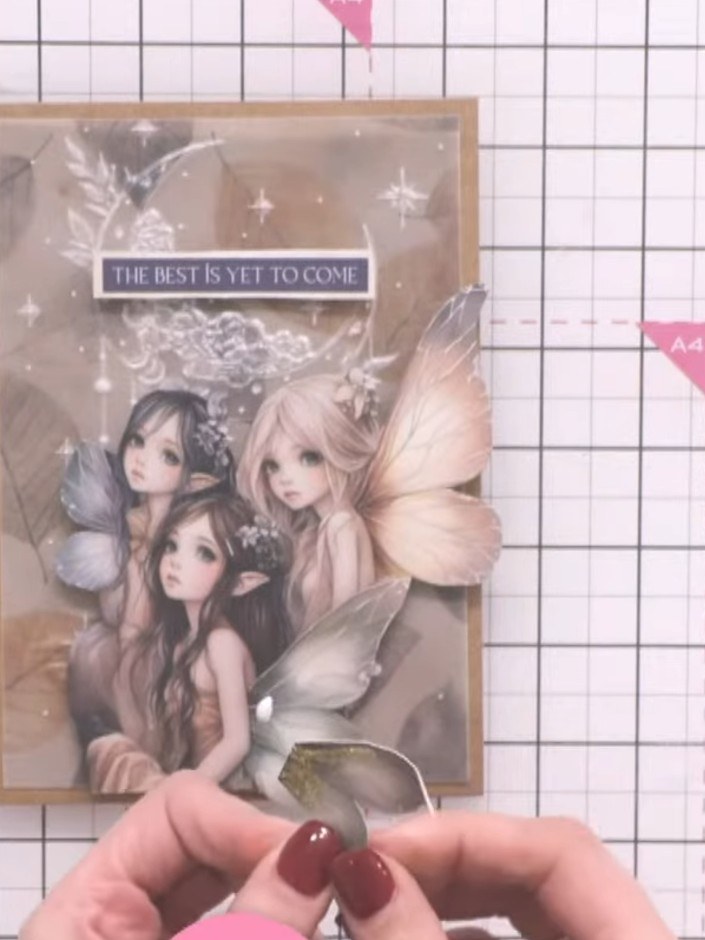
Apply gold glitter glue sparingly to the fairy wings. Allow to dry completely.
▶ watch this step (45:30)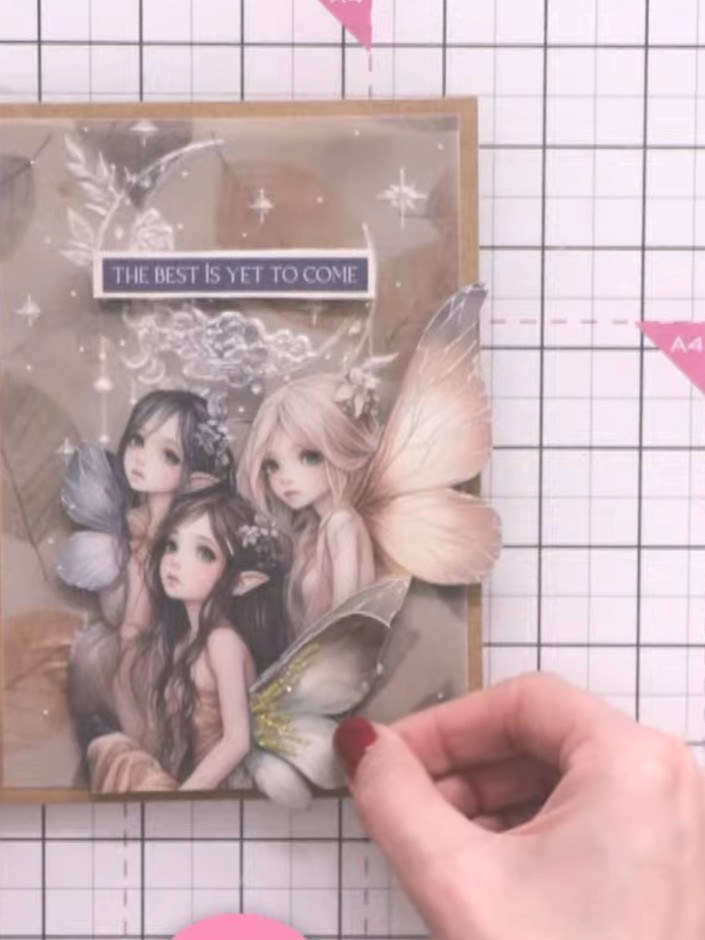
Adhere the fairy figure flat to the card underneath the glitter-embellished wing, positioning it so the wings pop up off the card for dimension.
▶ watch this step (45:45)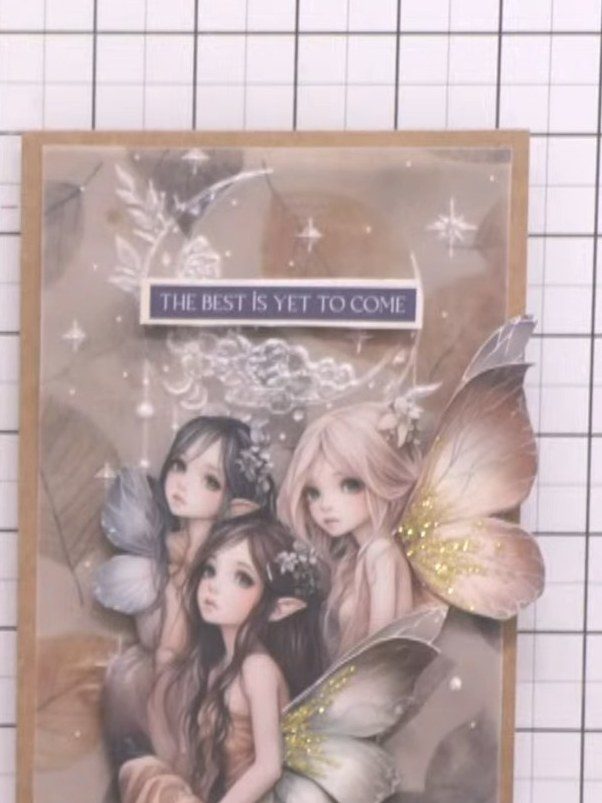
Add small sparkle embellishments around the fairy image and along the embossed details using a pick-up tool. Position them to enhance the magical effect and complete your card.
▶ watch this step (47:15)Written up from the show itself. See every guide from our shows · free how-to guides · watch live on My Telly