Give your friends $10 off their first order!
Refer a FRIEND








 The Friday Final CutFri 20 Nov 5am
 Community ShowcaseMon 23 Nov 5am
 Deal HuntersTue 24 Nov 8am
Prices change straight away. Every language is our own translation, not Google.
A project from our live show SUNDAY SAVINGS - Join Toni for her LIMITED TIME DEALS! - Broadcast 26th October 2025 · 10/26/2025 · watch it from 1:07:30
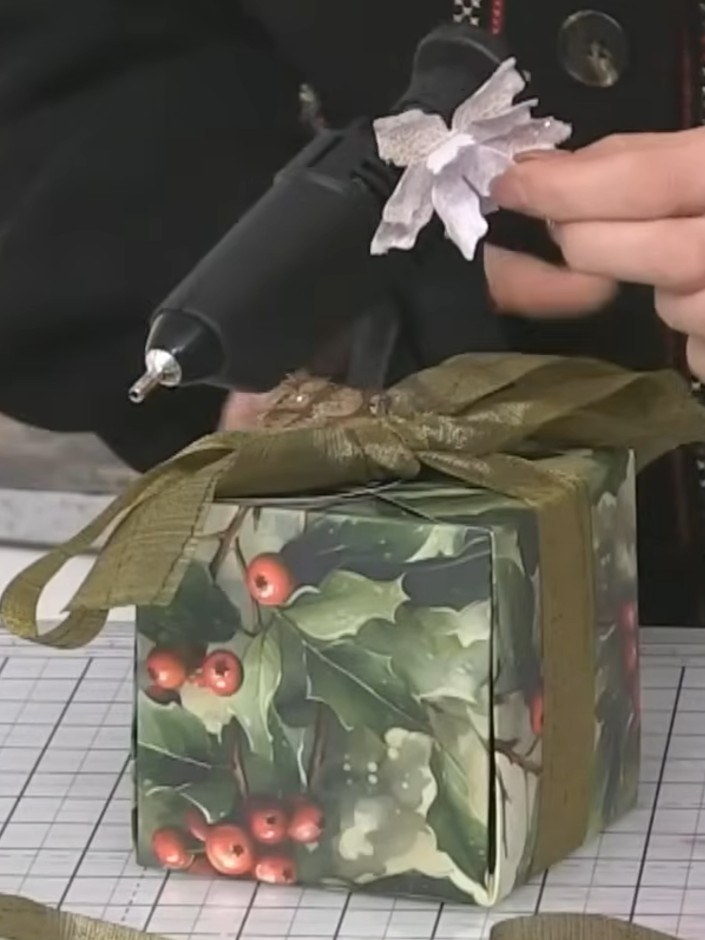
Create a luxurious Christmas gift presentation by decorating a glueless box with festive holly and berry elements. This elegant design features rich green foliage, burgundy die-cut leaves, white paper flowers, and a sophisticated olive-gold ribbon bow. Using die-cutting, layering, and glitter embellishments, you'll transform a simple box into a stunning seasonal gift package.
 Media Glitter - Colourless Glitter - 050923ASEE IT
 Holly & Berry- the Complete Kit - 050925ASEE IT
 Holly & Berry Paper Pack - 12 X 12 - 031123ASEE IT
 Holly & Berry Die Collection - 050925BSEE IT
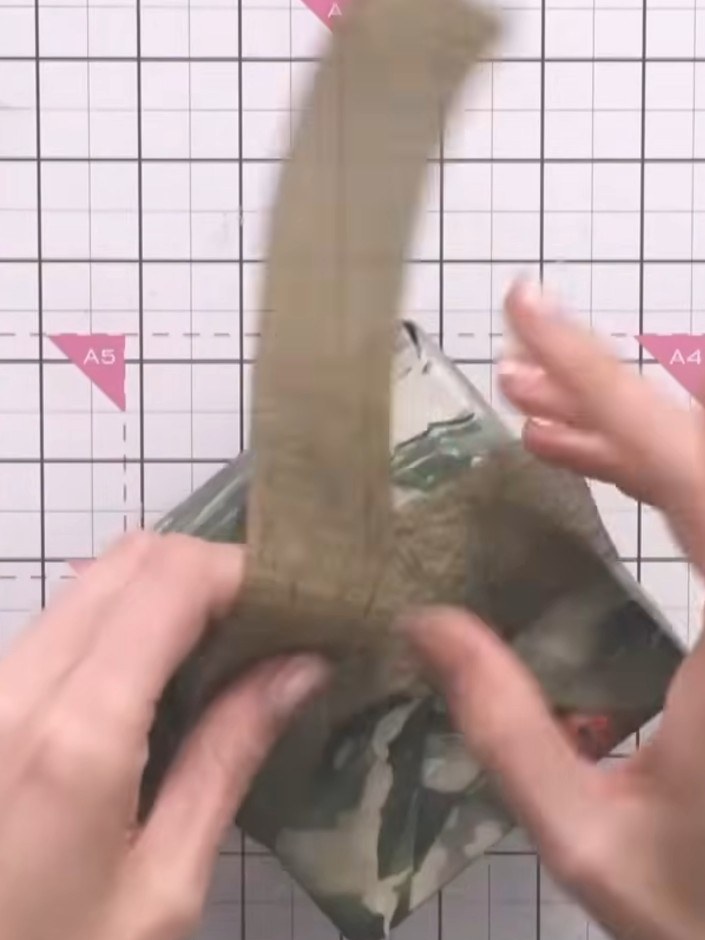
Tie a sage green metallic ribbon around the decorated gift box and secure with a bow on top.
▶ watch this step (1:08:00)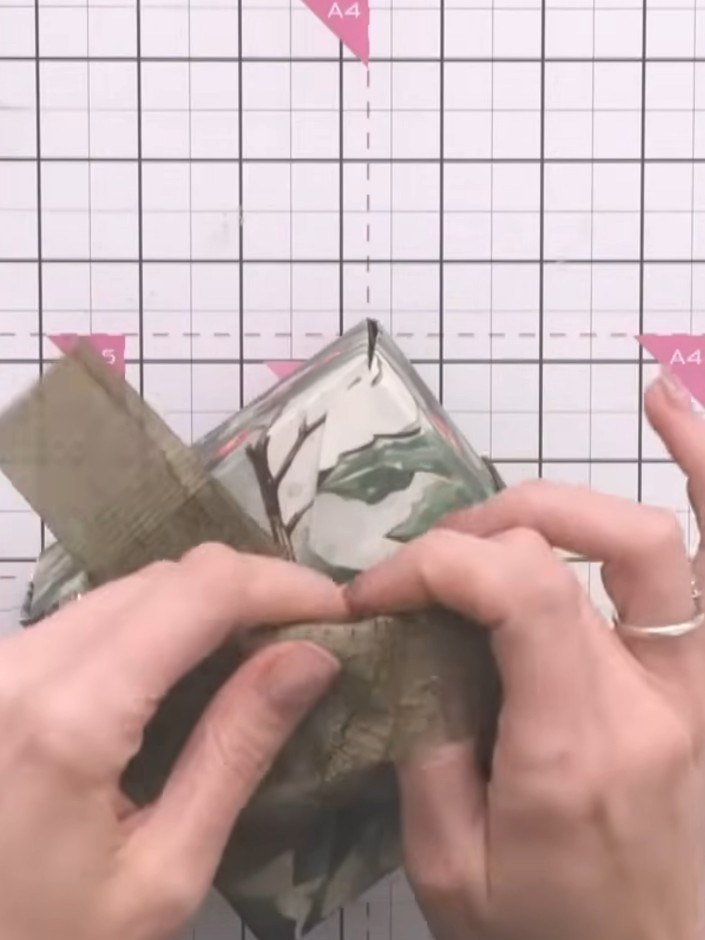
Position the olive green ribbon bow on top of the decorated gift box. Arrange and adjust the ribbon tails to create dimension, allowing them to drape naturally over the sides of the box.
▶ watch this step (1:08:45)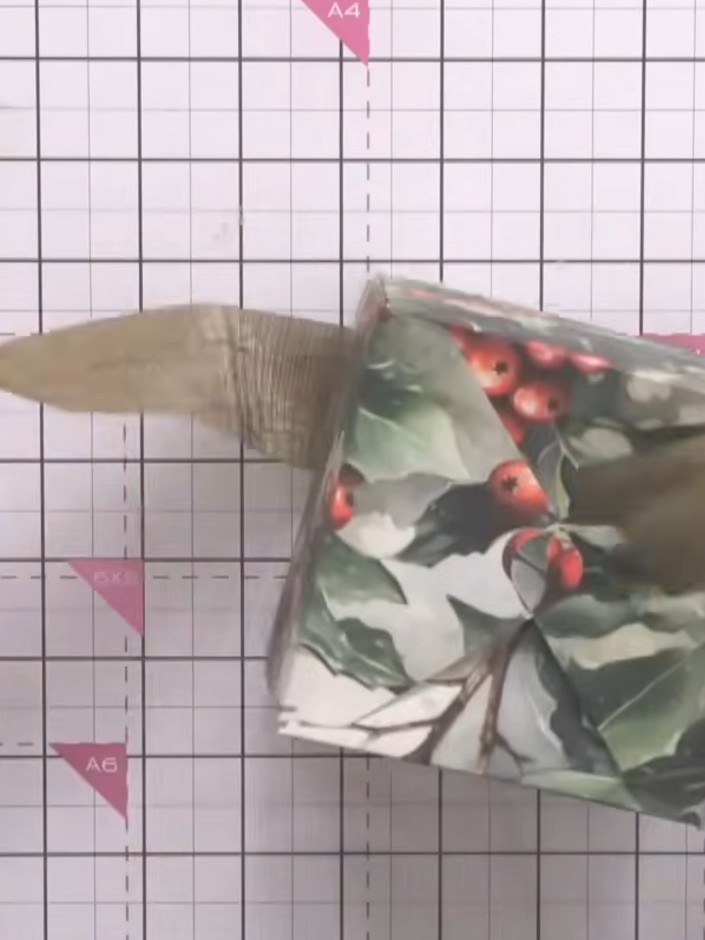
Tie the velvet ribbon into a large bow and position it on top of the gift box. Use hot glue to secure a pine cone underneath the bow.
▶ watch this step (1:09:00)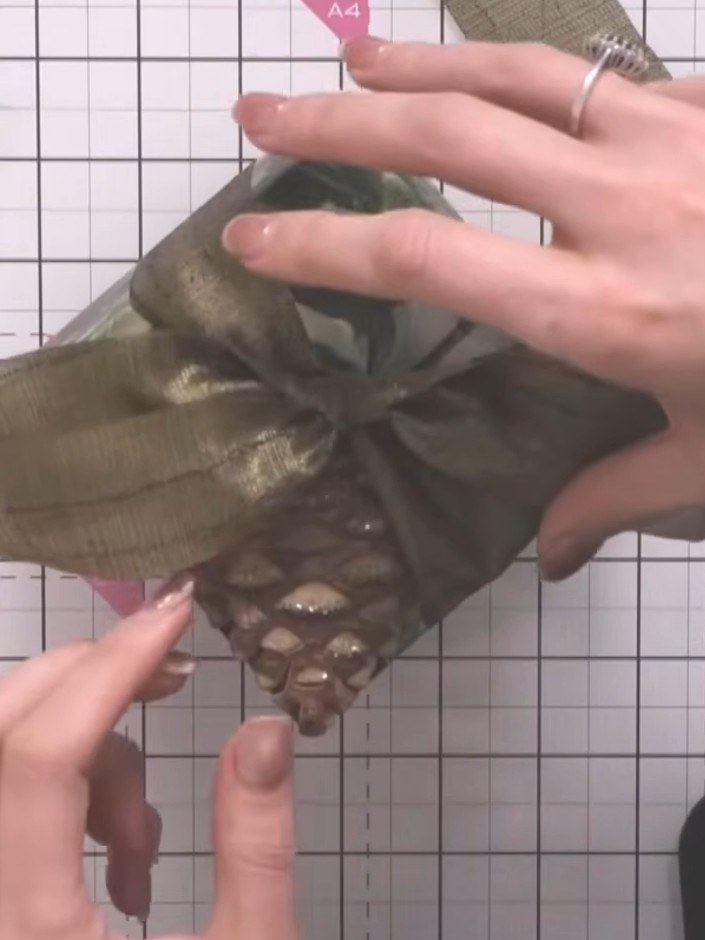
Attach the die-cut poinsettia flowers from the Holly and Berry collection to the top and sides of the decorated box using glue. Position the flowers under the ribbon bow and around the box as desired.
▶ watch this step (1:10:00)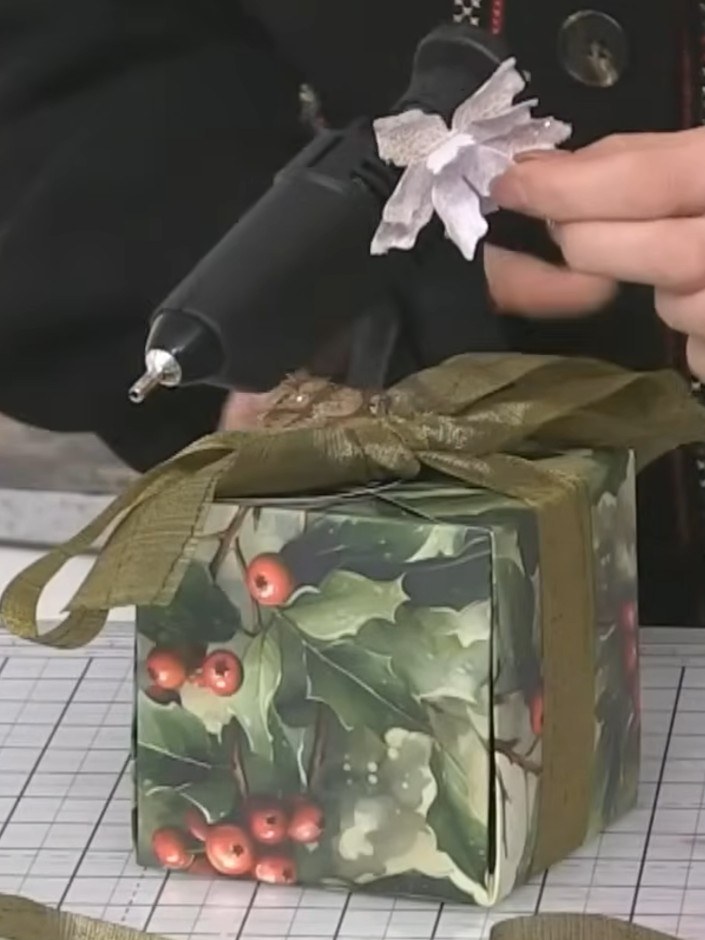
Add die-cut holly and berry greenery around the flowers on the gift box. Distress the edges of the greenery with ink to hide any white edges and create a more natural look.
▶ watch this step (1:10:30)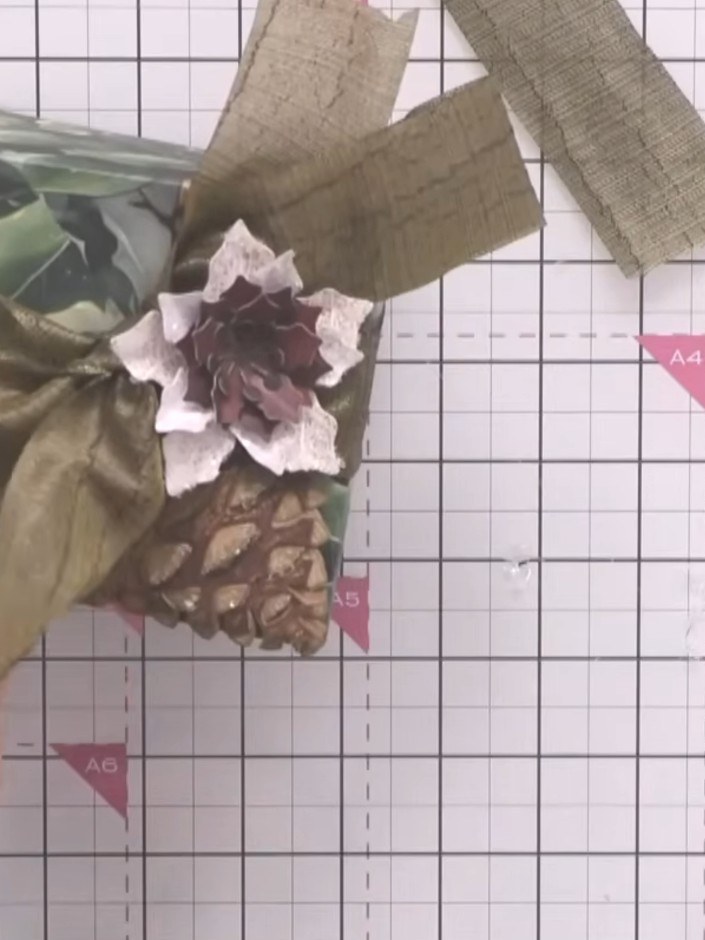
Apply colourless glitter to the white flower centres using a glue pen to create an icy sparkle effect.
▶ watch this step (1:11:00)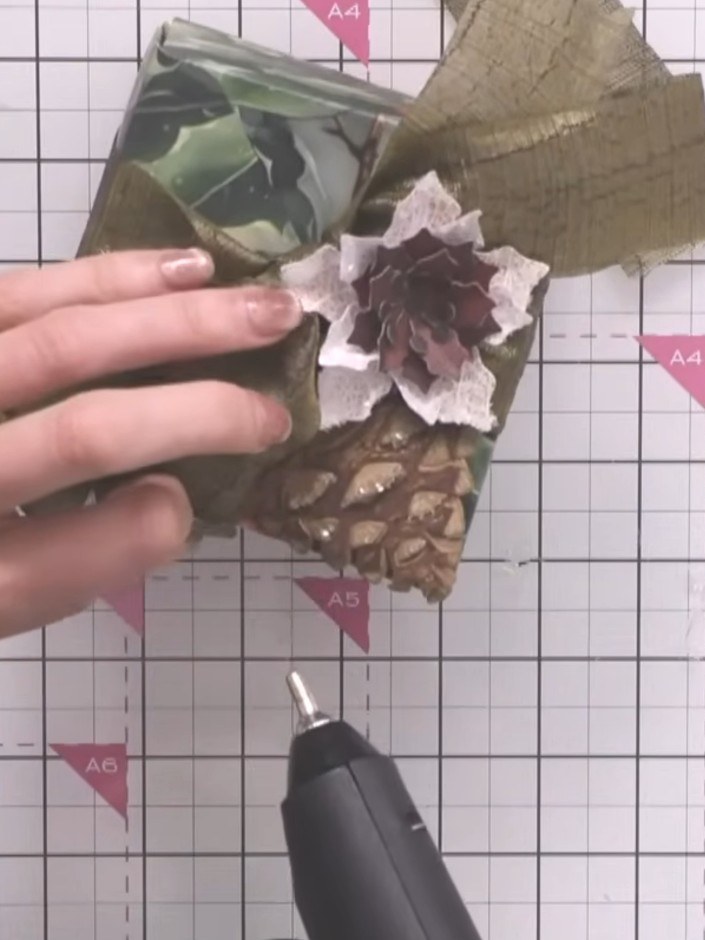
Arrange all the decorative elements on top of the box, positioning the pine cone, flowers, ribbon bow and foliage so they create visual interest and all elements are visible. Use a glue gun to secure everything in place.
▶ watch this step (1:12:00)Written up from the show itself. See every guide from our shows · free how-to guides · watch live on My Telly