Give your friends $10 off their first order!
Refer a FRIEND








A project from our live show HSN PRODUCT INSPIRATION - Join me for a fun filled show broadcast 27th October 2026 · 10/27/2026 · watch it from 52:30
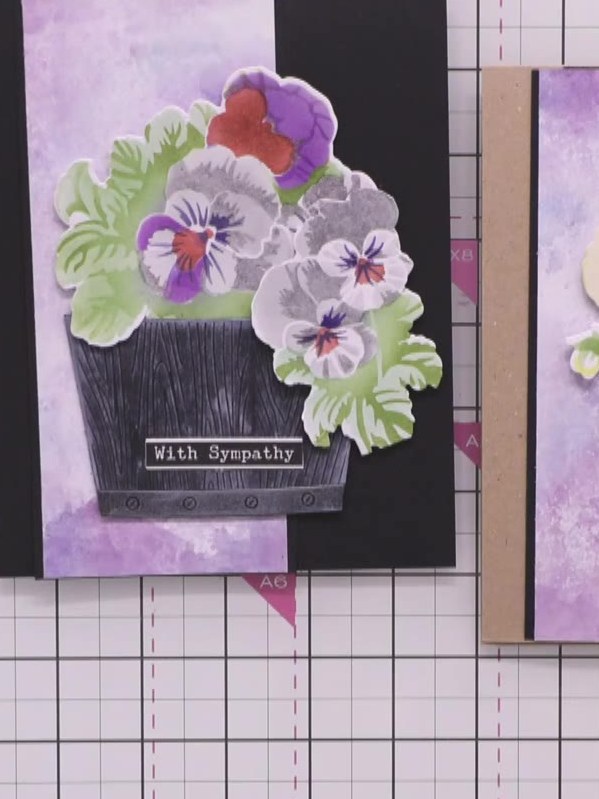
Create a beautiful layered pansy card using the Poetic Pansies stencil system with coordinating dyes. The finished card features dimensional stencilled pansies in yellow and purple tones arranged on a distressed wooden crate embellishment, mounted on a kraft card base with a purple watercolour background for a luxurious finish. This project uses layering techniques with stencils and dye inks to build up realistic floral depth.
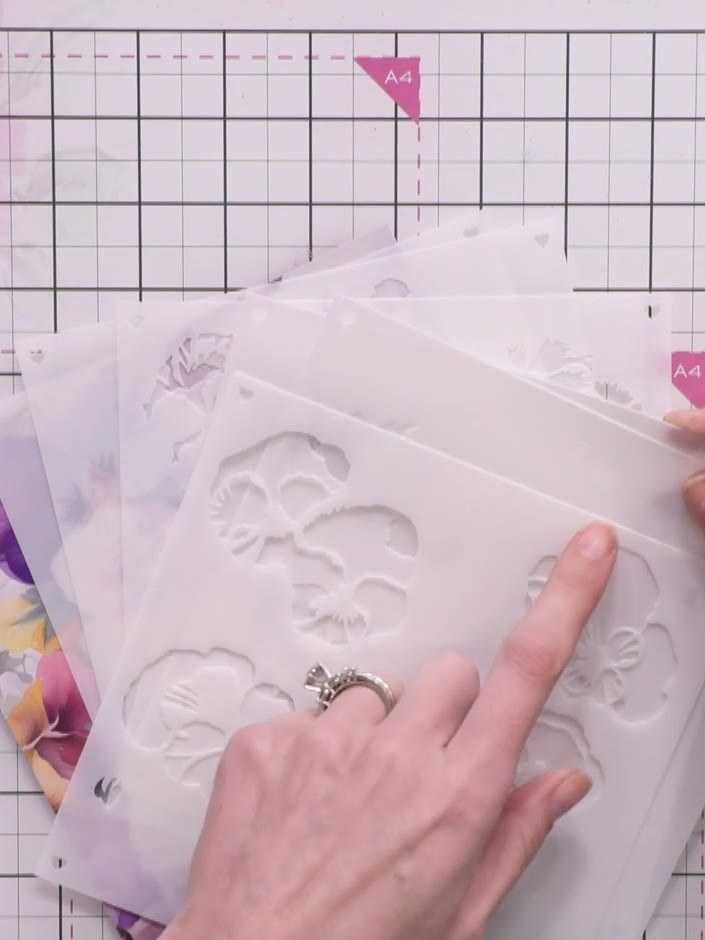
Line up your first stencil (number one) with the edge of your card, ensuring you can see the etched number clearly. Position the stencil carefully on your card base.
▶ watch this step (52:30)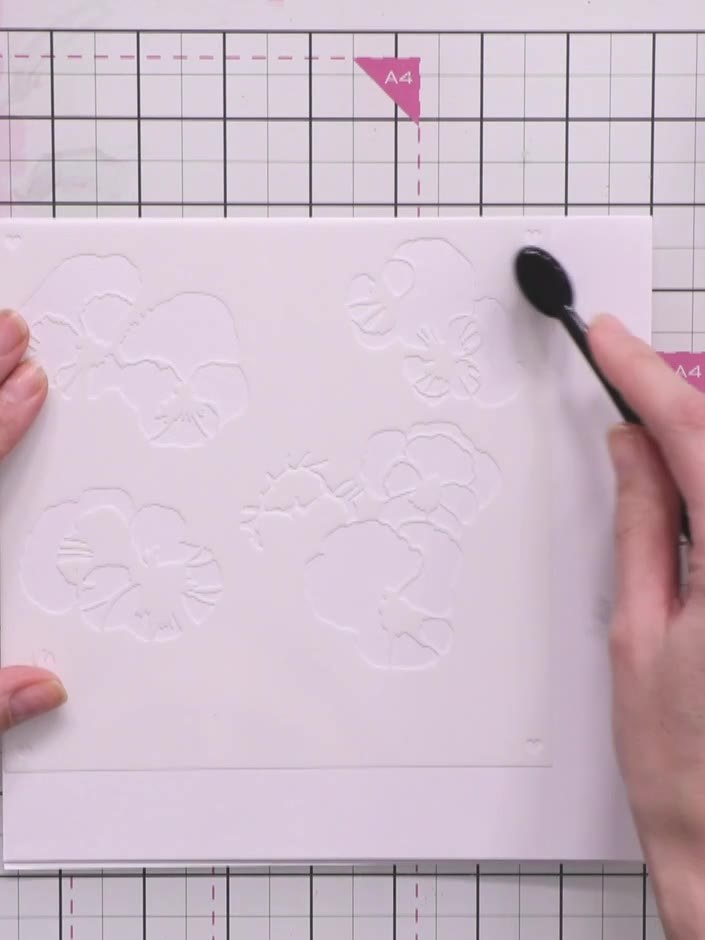
Apply your chosen ink colour through the stencil using a blending brush. Press gently to transfer the colour onto the embossed card, working the ink over the raised floral design.
▶ watch this step (56:45)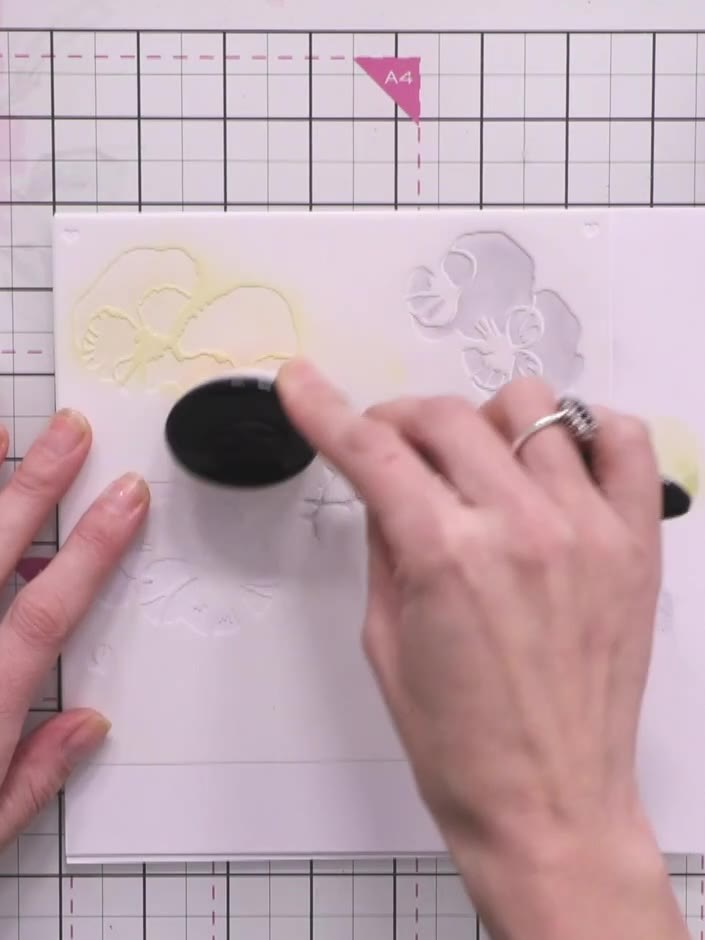
Remove the first stencil and position the second stencil (number two) on your card, aligning it with the edge in the same position as before. Use the blending tool to apply yellow ink through the stencil.
▶ watch this step (59:00)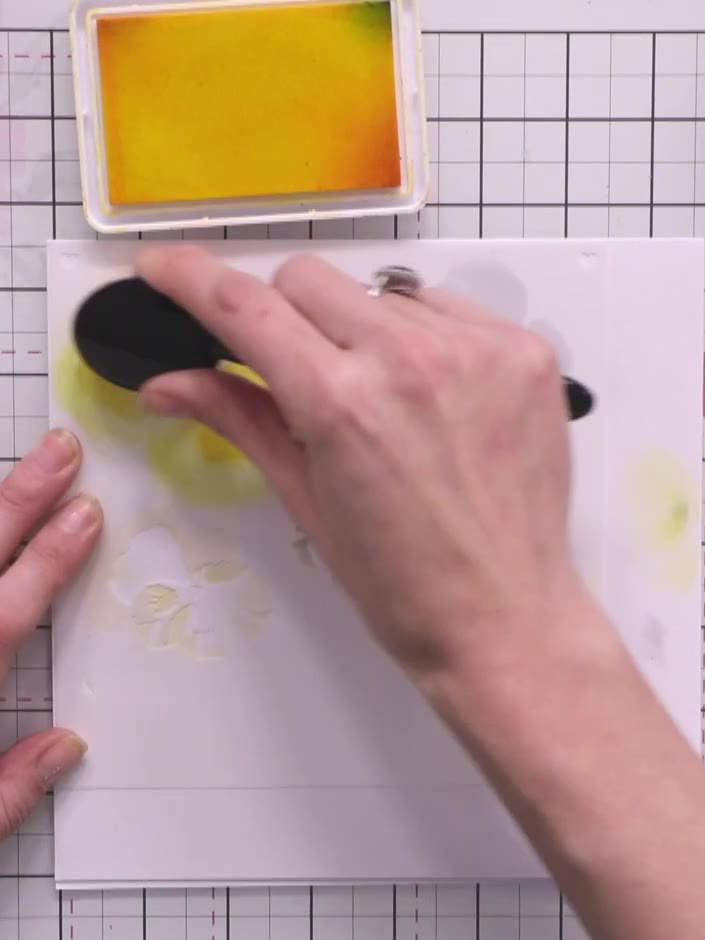
Apply a second colour through stencil number two using the blending tool. You can either press harder with the same yellow shade or use a different colour for variation. Blend the ink over the stencilled areas to build up depth and dimension.
▶ watch this step (1:00:00)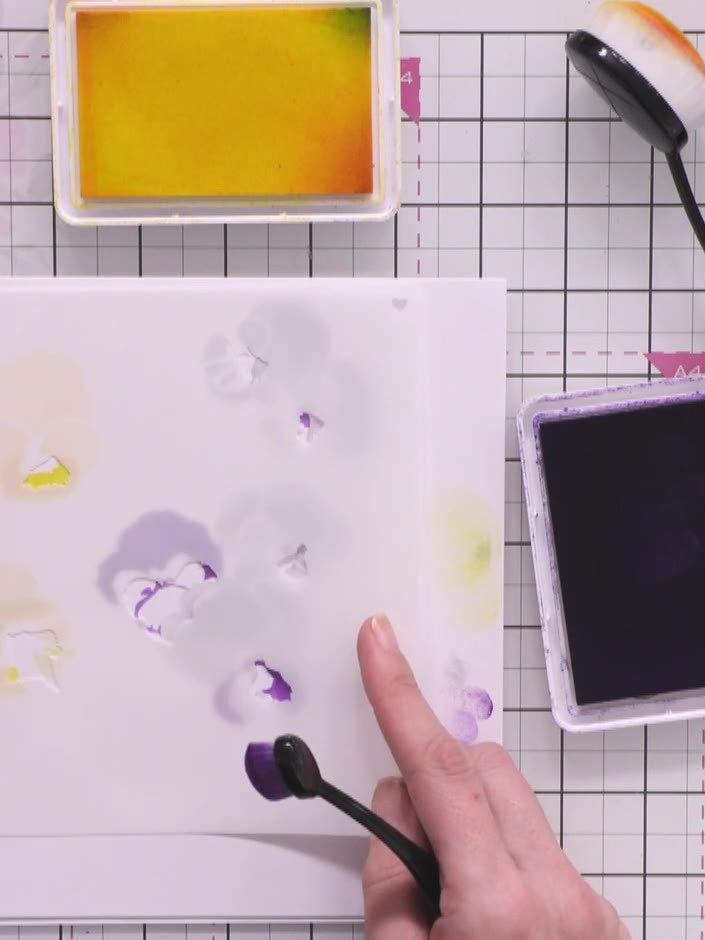
Continue with stencil number three, applying purple and yellow ink colours to build up the pansy formation. Use a blending tool to add the colours through the stencil, changing colours as desired to create depth and dimension.
▶ watch this step (1:01:30)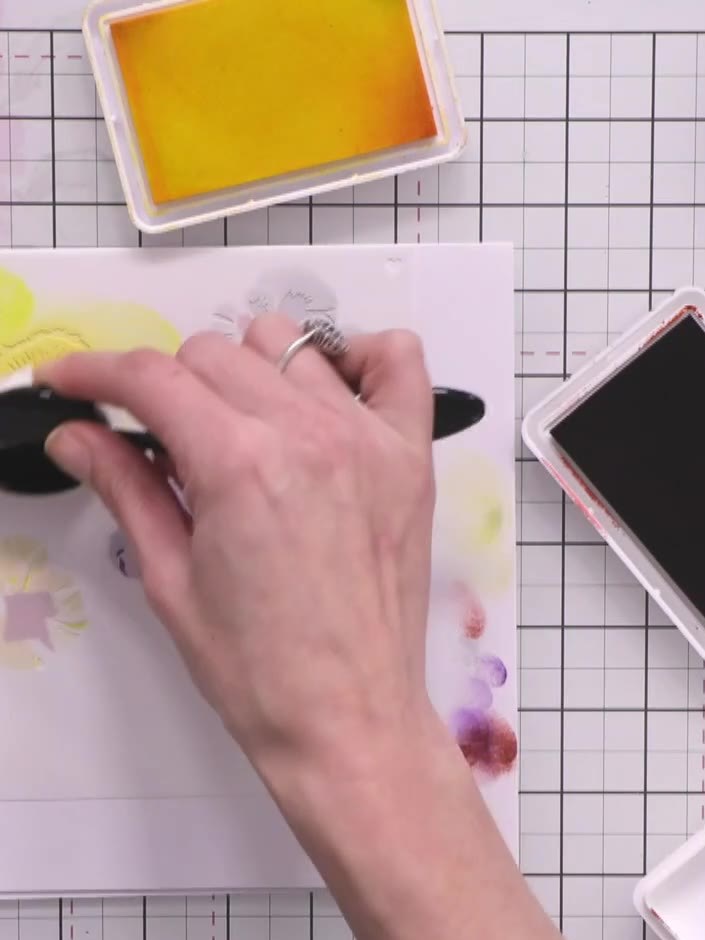
Apply stencil number four over the card to complete the first pansy formation. Repeat the entire stenciling process on additional cards to create multiple layered flowers.
▶ watch this step (1:03:30)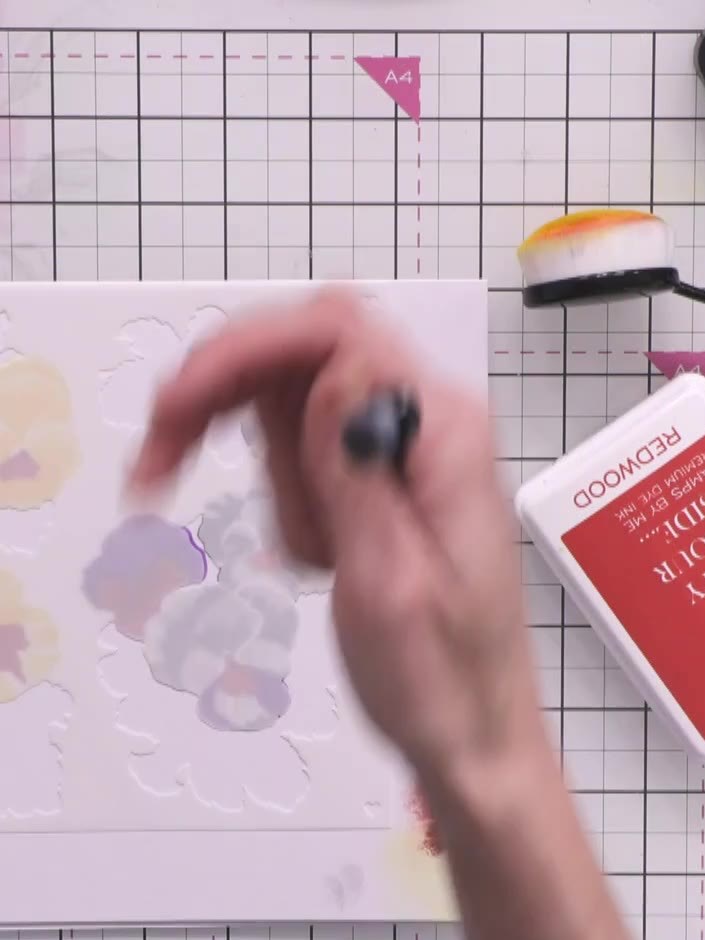
Position stencil number five over your card to add the green leaf underlays. Using green ink, press slightly harder to create depth and definition for the leaves beneath the pansies.
▶ watch this step (1:05:30)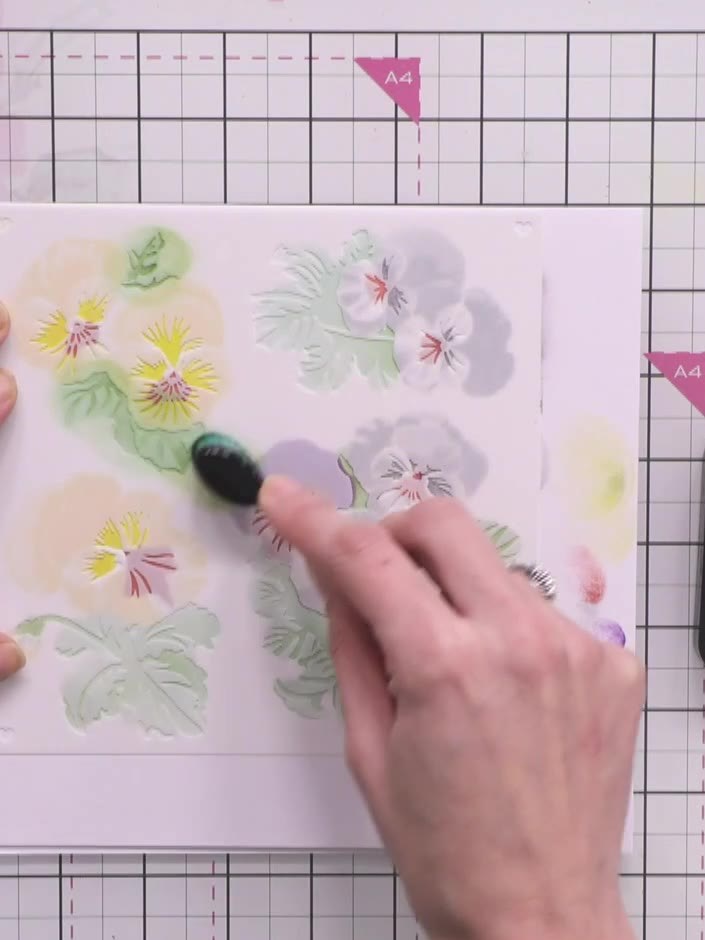
Apply stencil number six to add darker green to the leaf edges and centres of the flowers using Distress Ink in green, working with a blending tool.
▶ watch this step (1:07:45)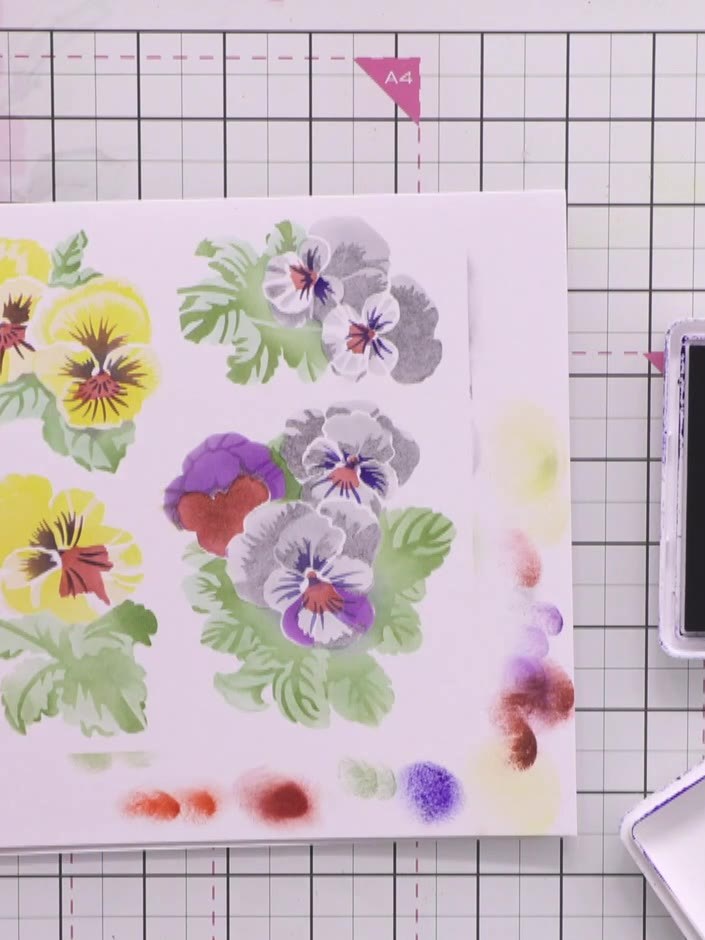
Die cut your stencilled pansy card using the coordinating dies from the Poetic Pansies set. The dies will cut around the individual pansy flowers and leaves you've created.
▶ watch this step (1:11:30)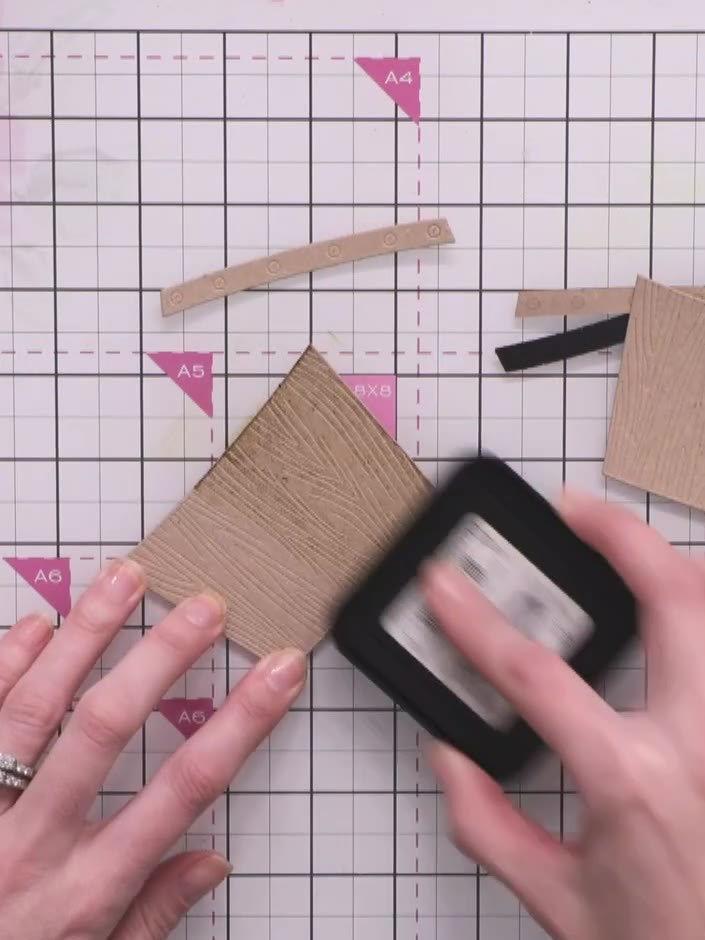
Distress the wooden crate pieces by swiping a black ink pad directly across the embossed surface to pick up the raised texture. This will highlight the wood grain effect on the kraft cardstock.
▶ watch this step (1:15:45)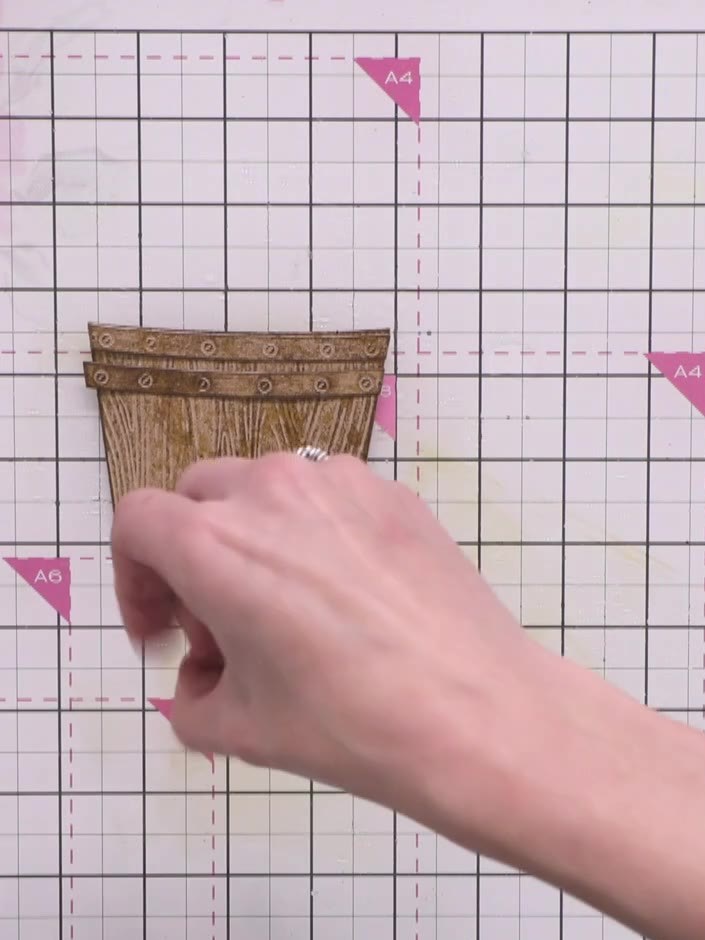
Flick water onto the stamped wooden crate to activate the ink and allow it to sink in. Dab gently with a tissue to create a rustic, weathered effect.
▶ watch this step (1:17:00)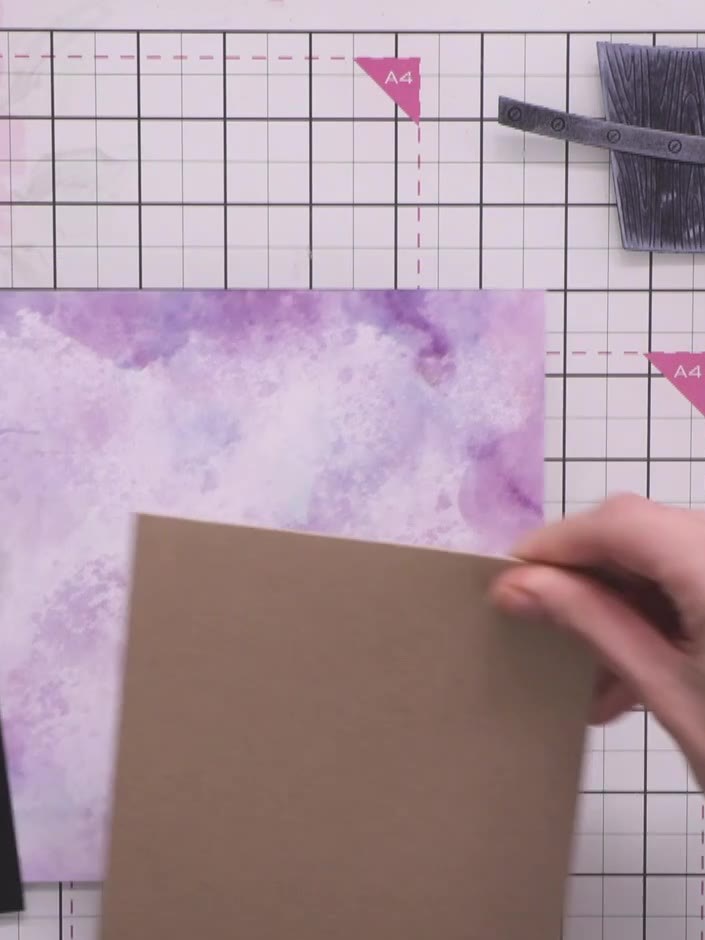
Mount your stencilled purple pansy panel onto a piece of contrasting card (either black or kraft brown) to create a thin border. Trim the mounted panel to size, ensuring the border is even on all sides.
▶ watch this step (1:25:00)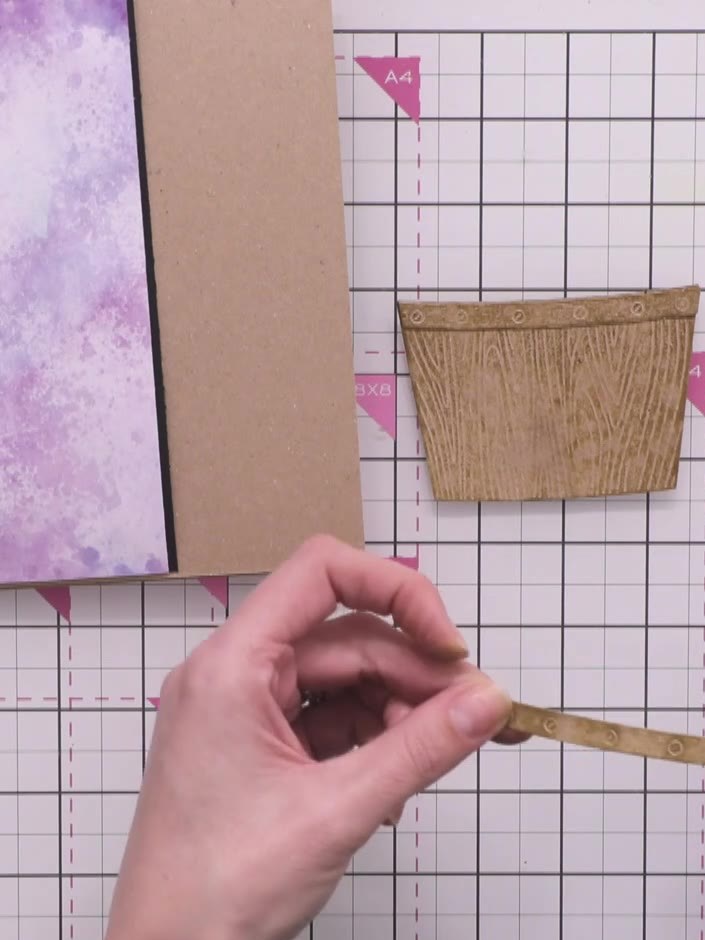
Apply adhesive to the back of the wooden crate piece and position it at the top of your purple watercolour panel on the kraft card base. Press firmly to secure in place.
▶ watch this step (1:30:15)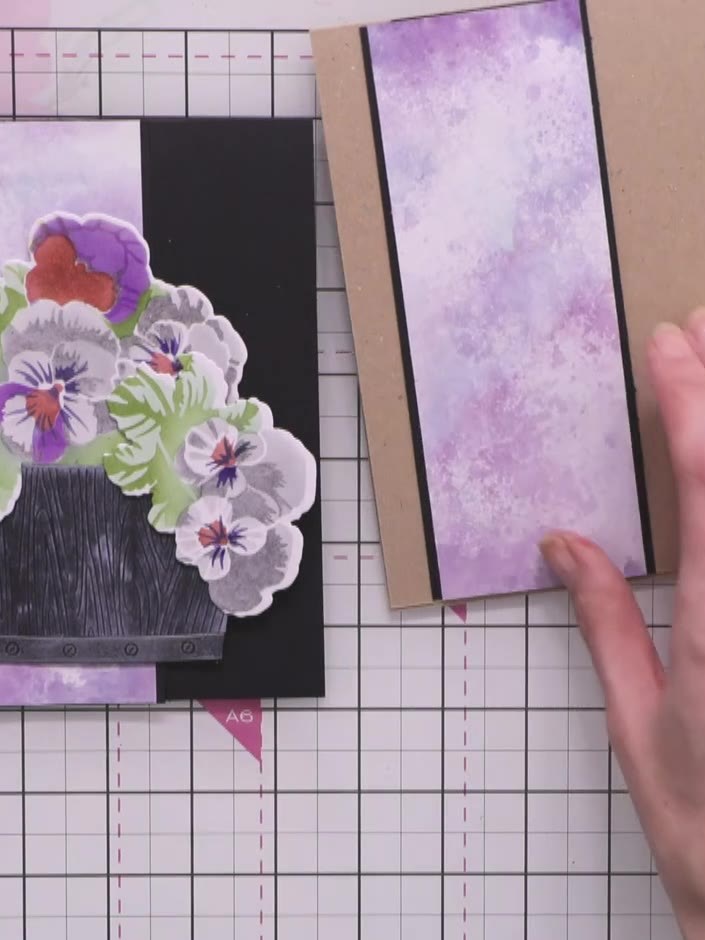
Layer your die-cut pansies onto the wooden crate, using foam pads behind some flowers to create dimension. Arrange the purple and white pansies with green leaves to build up a dimensional floral display.
▶ watch this step (1:34:00)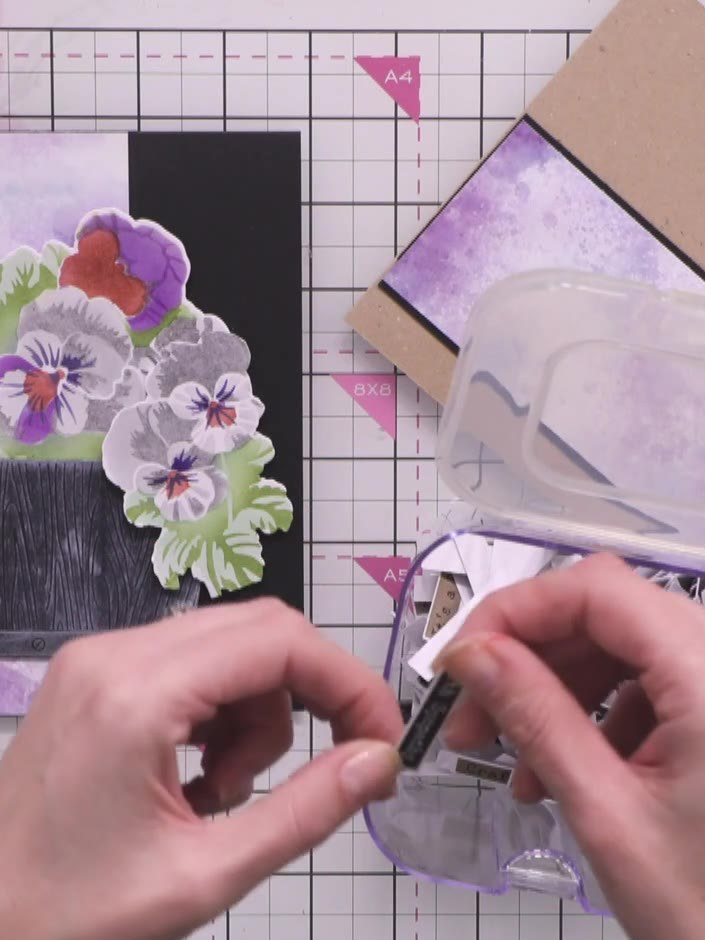
Add a sentiment to complete your card. You can use a sentiment stamp from the kit or attach a washi tape sentiment strip to the bottom of your card.
▶ watch this step (1:36:00)Written up from the show itself. See every guide from our shows · free how-to guides · watch live on My Telly