Give your friends $10 off their first order!
Refer a FRIEND








A project from our live show CREATE AND CRAFT - Join Carley Duff for her brand new IMALA 22 Launch show 1 - Broadcast 4th OCT 22 · 10/04/2022 · watch it from 10:30
Create a layered card using die-cut apertures with textured crackle paste applied through stencils. The paste is heat-embossed with metallic powders to create a dimensional, mosaic-like effect with beautiful colour variation.
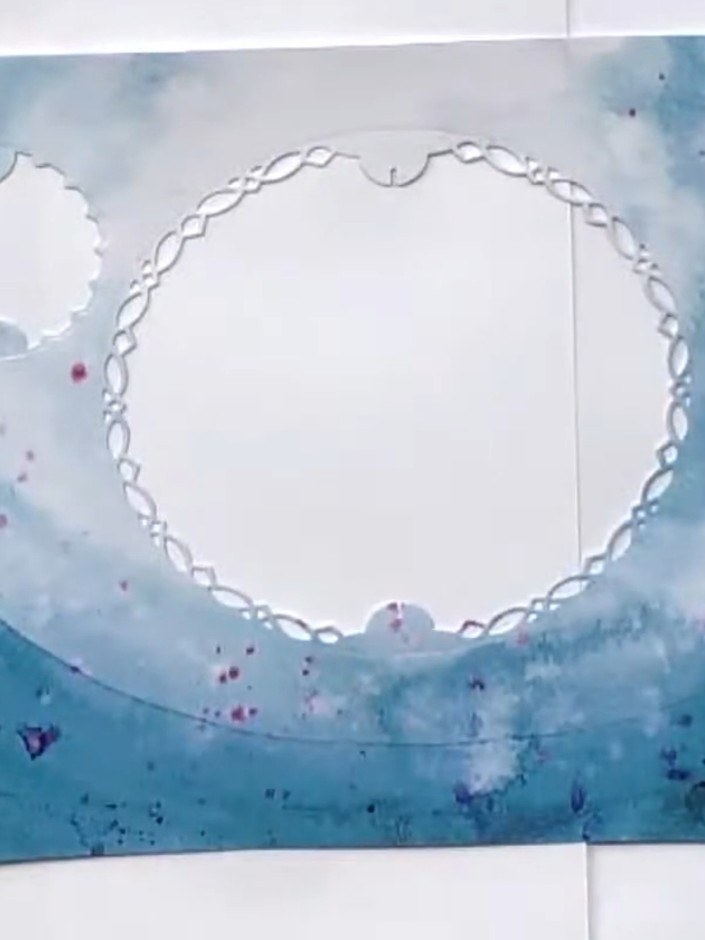
Die-cut two apertures of different sizes from your white card base using the decorative frame dies from the crystal Christmas die set. Position a smaller aperture at the top left and a larger heart-shaped aperture in the centre right of your card front.
▶ watch this step (10:30)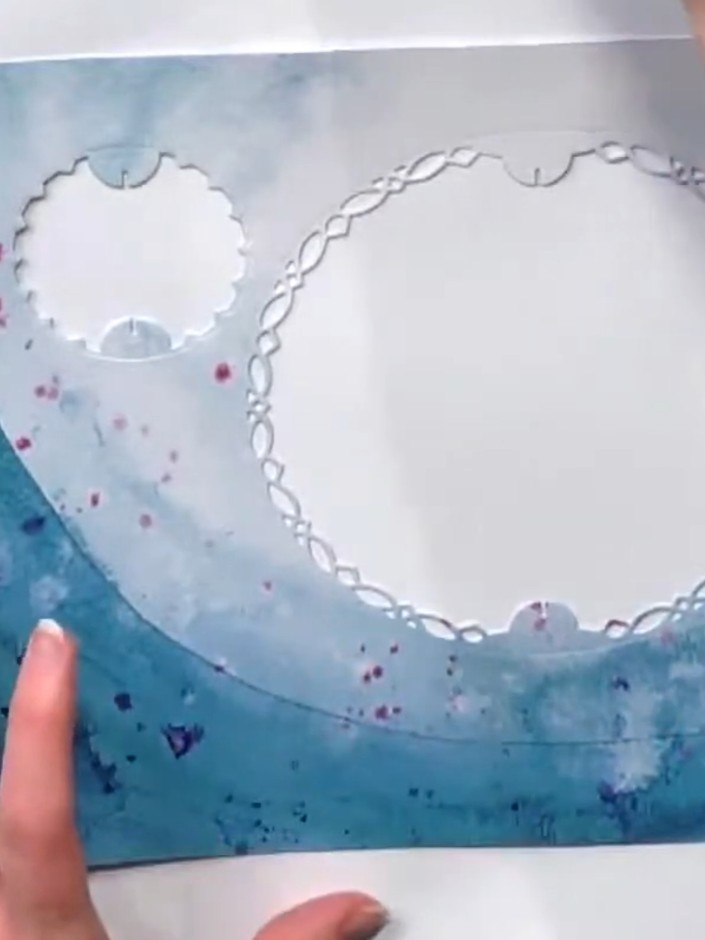
Back the floral patterned card with another sheet of cardstock to create a sturdy 400 GSM base. This provides strength when adding wet mediums like crackle paste.
▶ watch this step (10:45)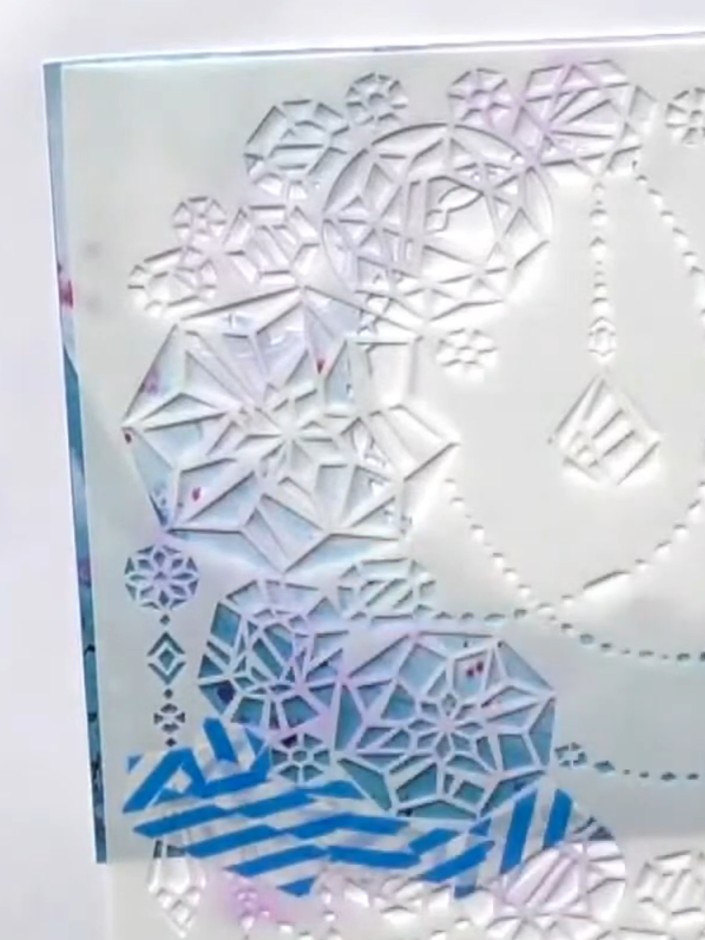
Position a stencil over the aperture area on your card. Using a palette knife, apply white crackle paste through the stencil, working over a bin to catch any excess.
▶ watch this step (11:00)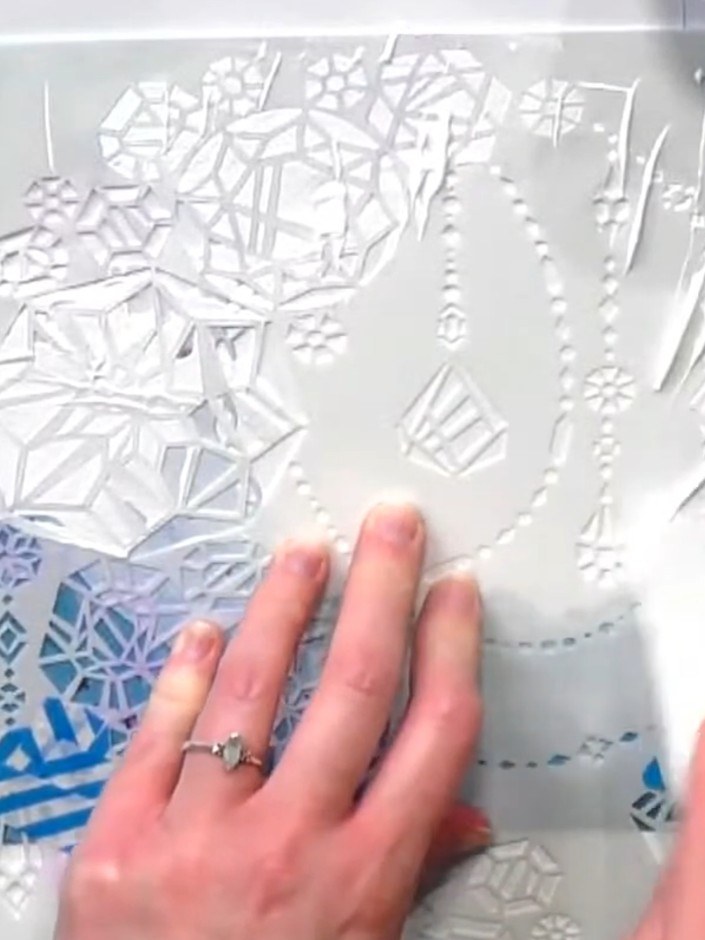
Allow the crackle paste to dry naturally. As it dries, it will begin to crack and create dimensional texture on the surface of your card.
▶ watch this step (11:30)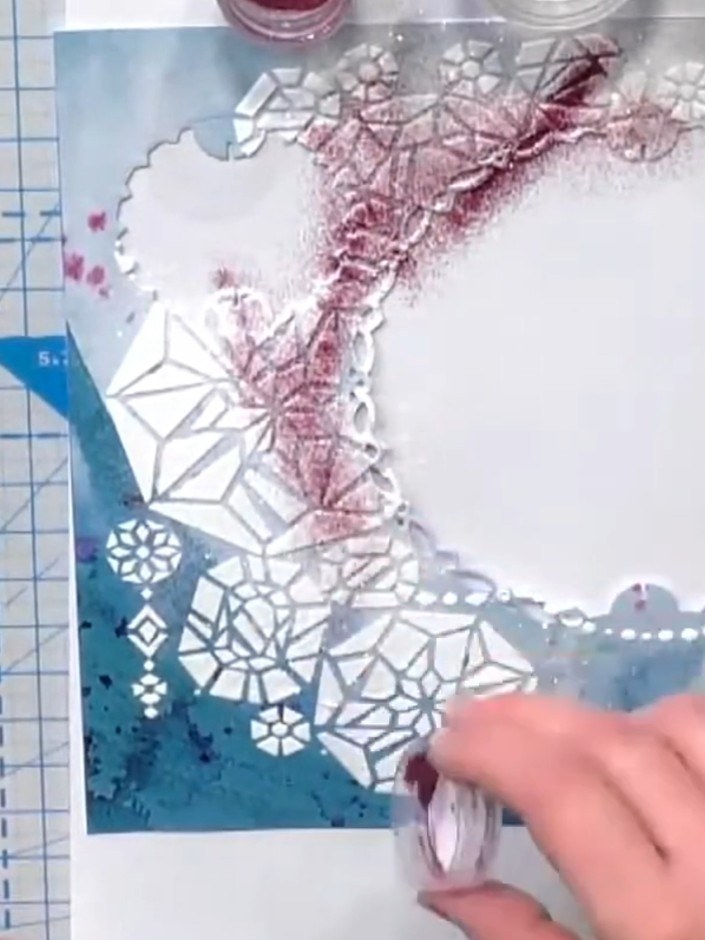
Sprinkle translucent embossing powder over the wet crackle paste whilst it is still damp so it adheres to the stencilled design. Ensure good coverage across all the paste areas.
▶ watch this step (14:00)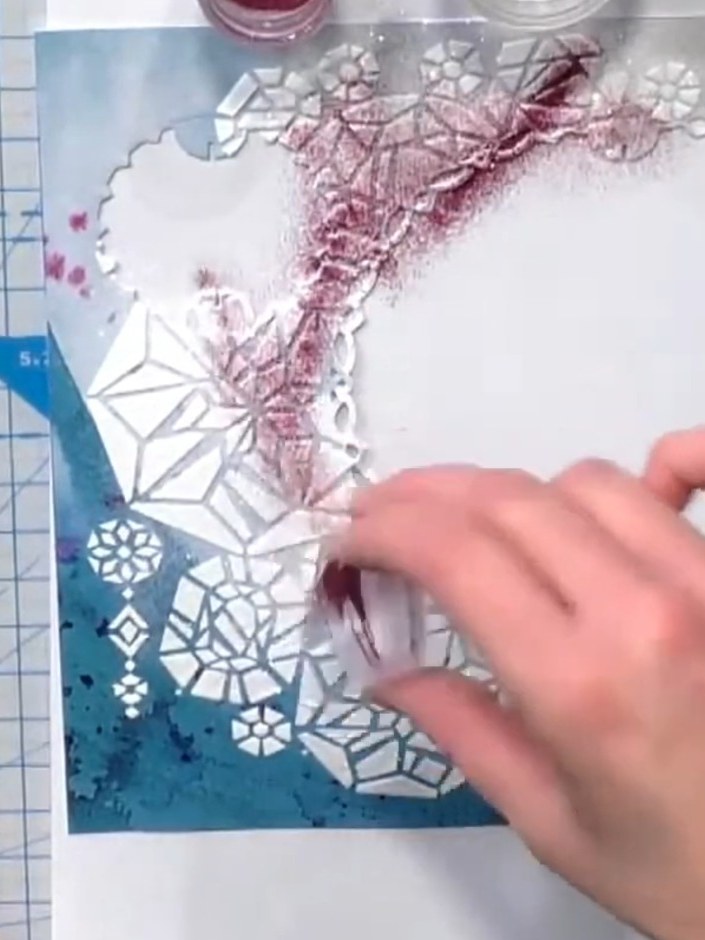
Sprinkle a hint of pink embossing powder (such as Himalayan musk) over the textured areas to add subtle colour that complements the design without covering it completely.
▶ watch this step (14:15)Written up from the show itself. See every guide from our shows · free how-to guides · watch live on My Telly