Give your friends $10 off their first order!
Refer a FRIEND








A project from our live show FUNKY TUESDAY - BRAND NEW AND EXCLUSIVE FROM SARAH GRAY - Broadcast 5th Oct 22 · 10/05/2022 · watch it from 17:45
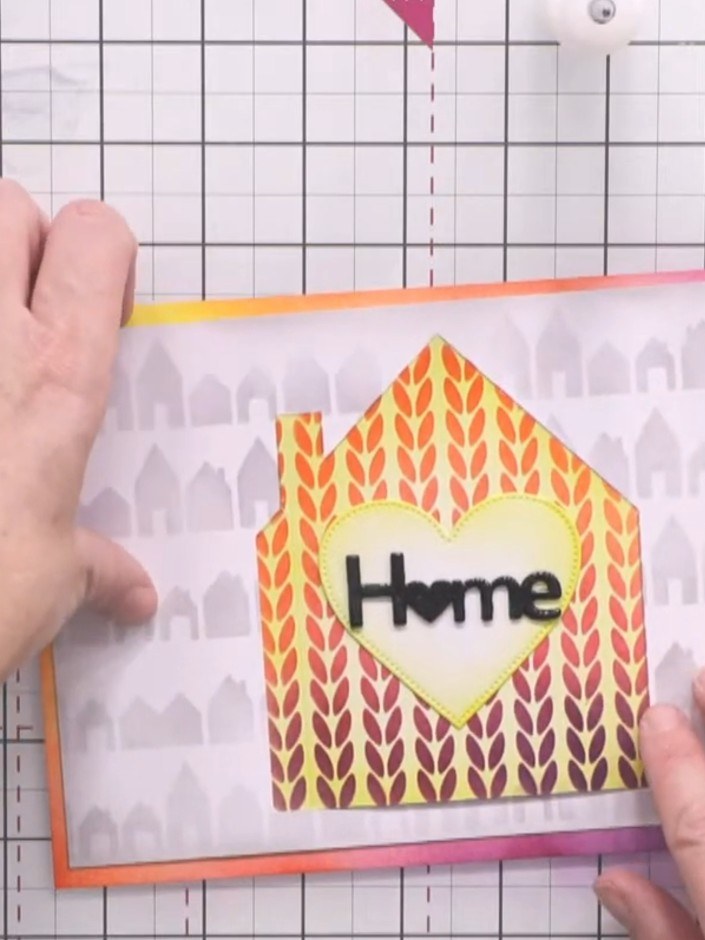
Make this eye-catching A5 card with a large house aperture as the centrepiece, blended in warm yellow, magenta and bittersweet tones. Add depth with a knitted pattern stencil overlay and a grey neighbourhood street scene backdrop. The opening front panel reveals a vibrant blended interior complete with a welcoming sentiment.
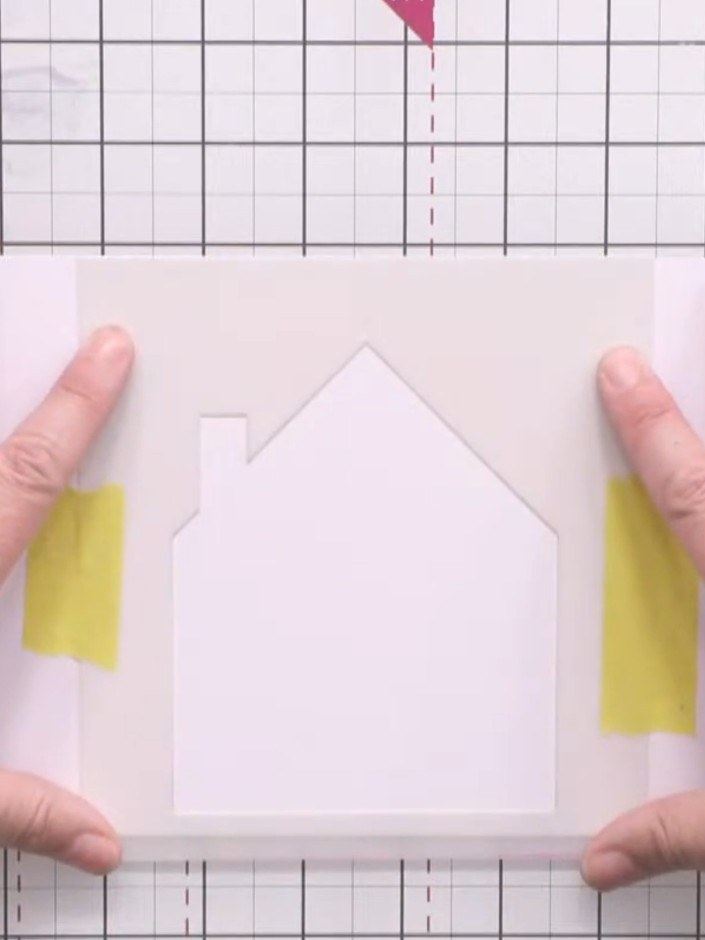
Position the large house aperture stencil on white card. Secure it in place using small pieces of masking tape at the corners to prevent it from moving.
▶ watch this step (17:45)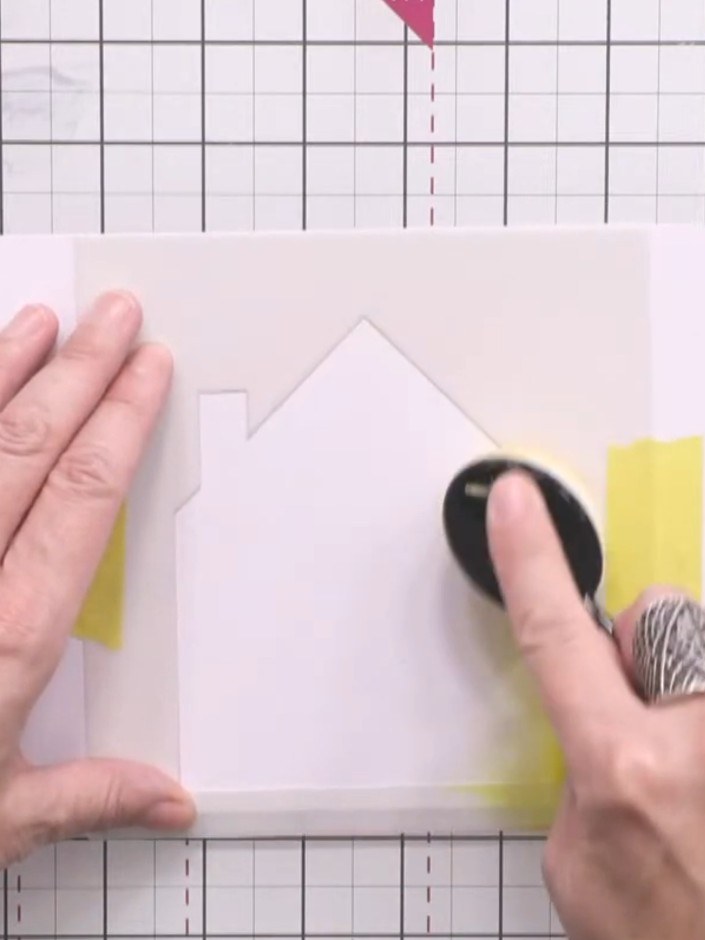
Using a large blending brush, pick up sherbet yellow ink and apply it to the house aperture. Start with darker colour at the edges and blend lighter towards the middle.
▶ watch this step (18:15)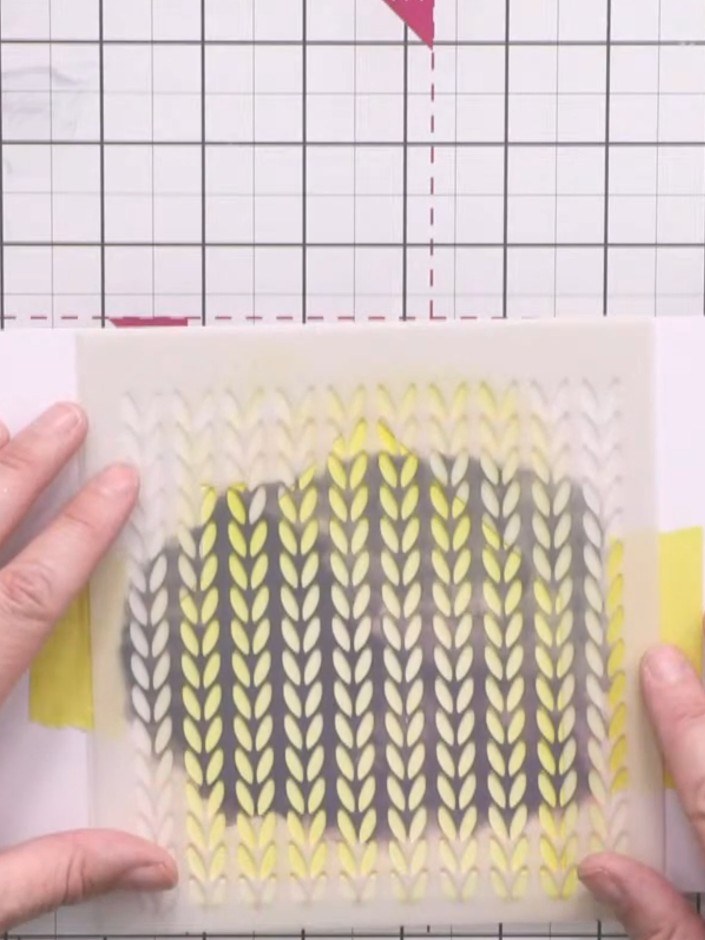
Place the knitted pattern stencil over the house aperture. Using magenta ink, work from the bottom of the stencil upwards to create the textured pattern.
▶ watch this step (20:15)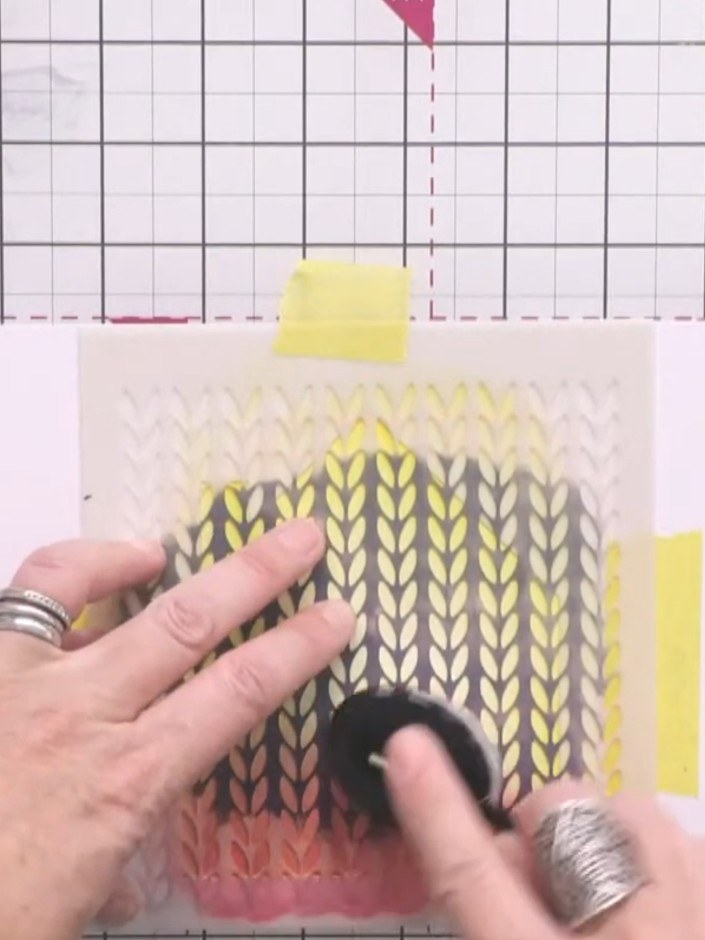
Position the knitted pattern stencil over the card and apply bittersweet ink to the lower portion using a blending tool. Work upwards to blend with the magenta ink already applied, creating a gradient effect.
▶ watch this step (21:00)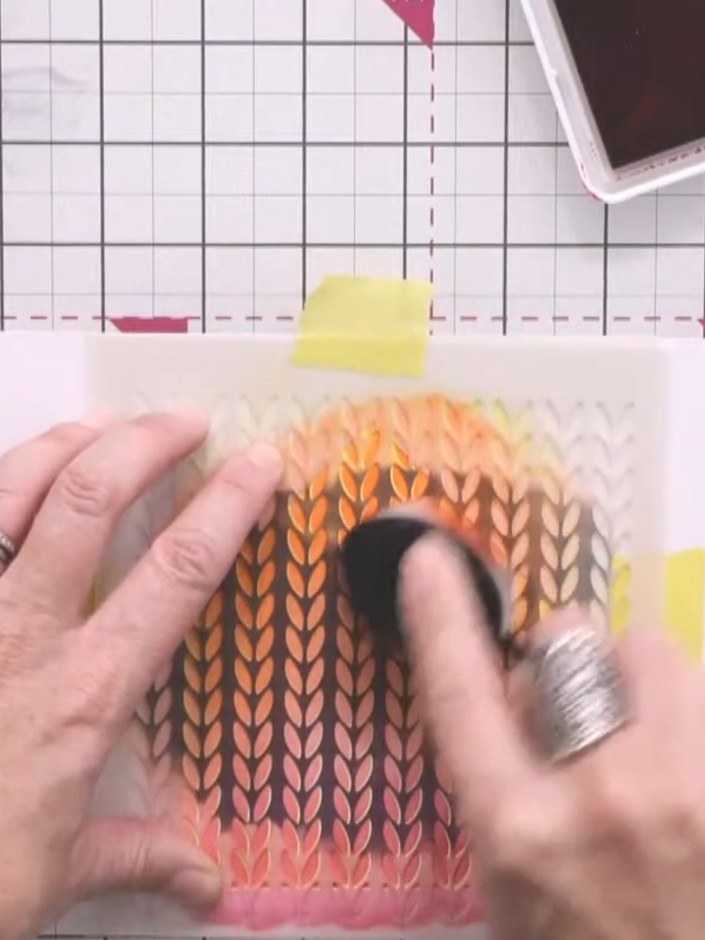
Apply indigo ink to the bottom section of the knitted pattern stencil. Soften and blend the transition between the orange and indigo by adding a touch of pink ink where the colours meet.
▶ watch this step (22:00)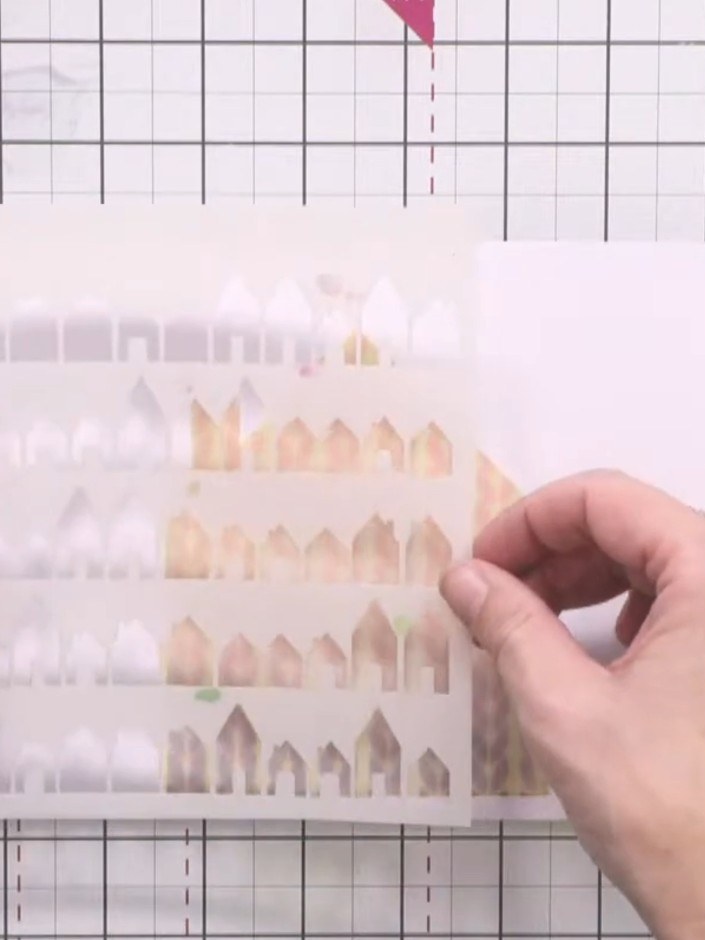
Place the mask over the house aperture to protect it. Position the neighbourhood street stencil across the background and apply hickory smoke grey ink through the stencil to create the street scene.
▶ watch this step (24:30)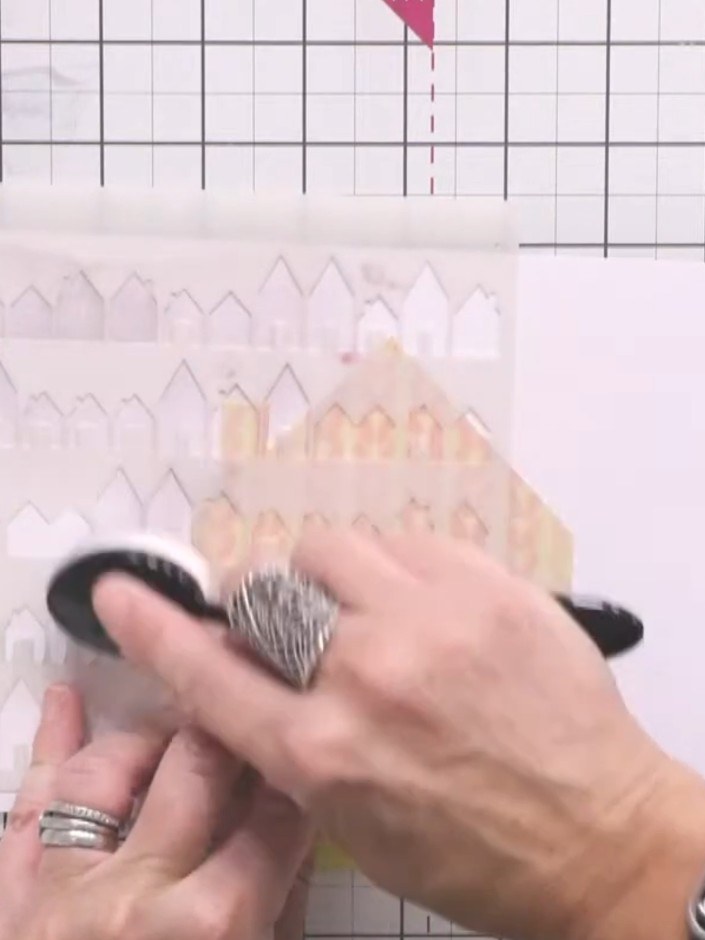
Blend warm colours across the back of the card using yellow, magenta, bittersweet and indigo inks. Create a hazy rainbow effect by blending the colours together where they meet.
▶ watch this step (25:30)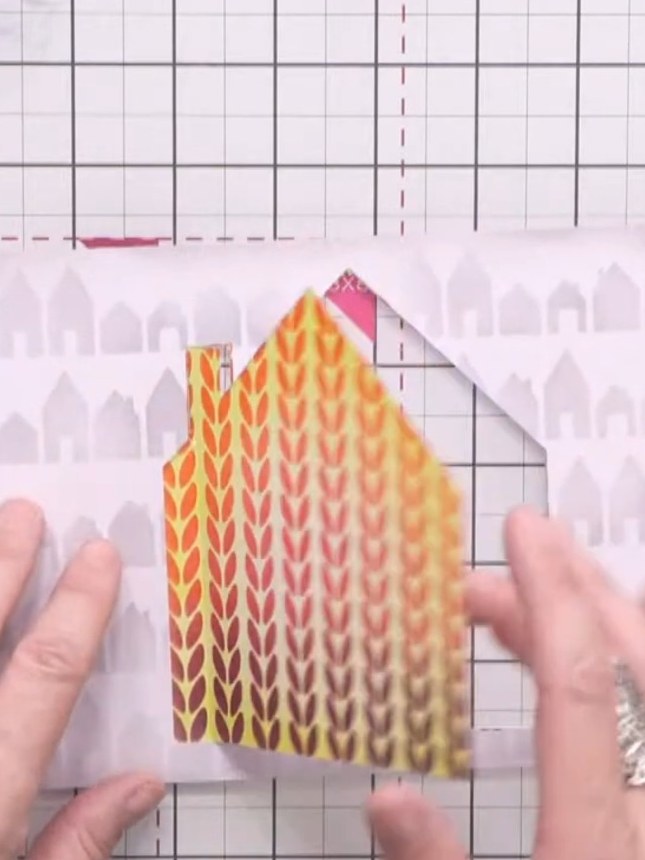
Using a craft knife, carefully cut around the house aperture to create a door opening. Leave one edge intact to act as a hinge so the door can open and close.
▶ watch this step (28:00)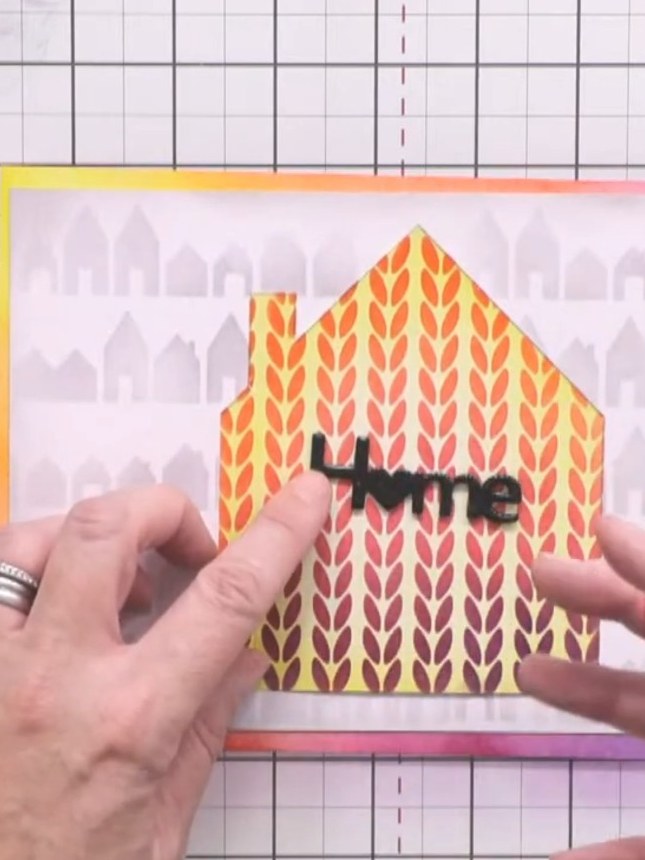
Die-cut the word 'home' from black card three or four times. Layer the die-cuts together and seal with clear embossing ink.
▶ watch this step (30:30)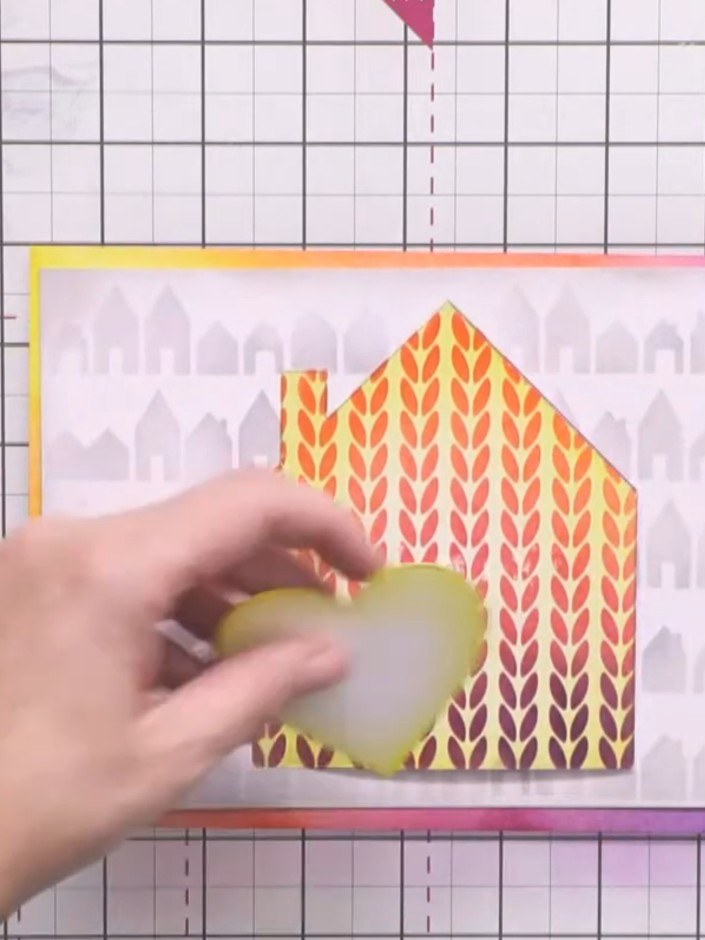
Adhere the layered 'home' sentiment to the front of the card, positioning it over a small blended heart shape on the house design.
▶ watch this step (31:00)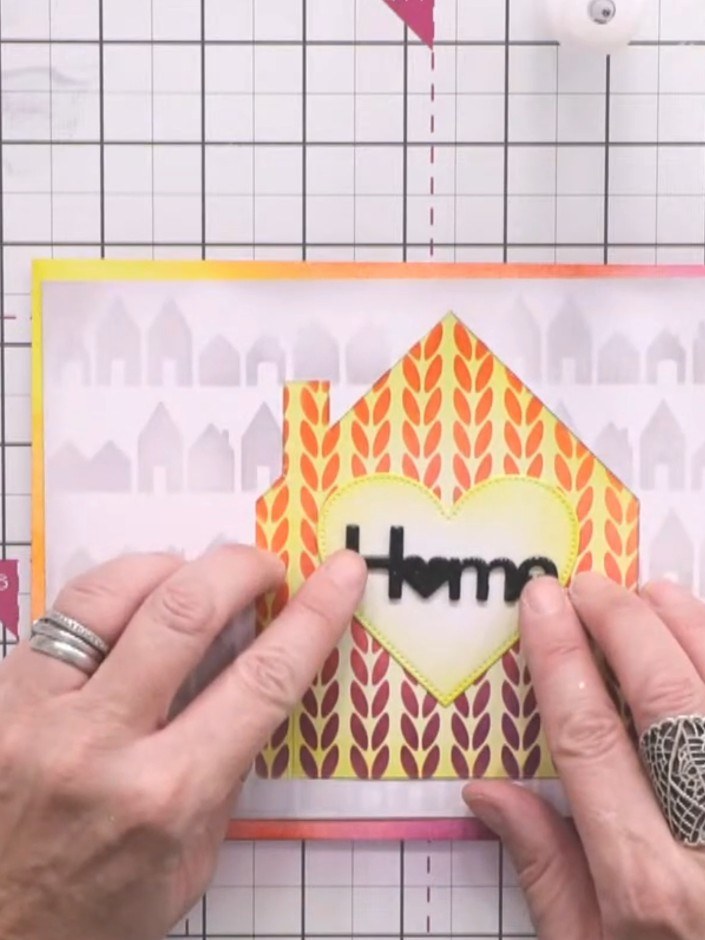
Stamp the sentiment 'home' from the mini house stamp set onto the yellow heart aperture using black ink and the Eureka stamp positioning tool. Position the sentiment centrally behind the aperture opening.
▶ watch this step (31:30)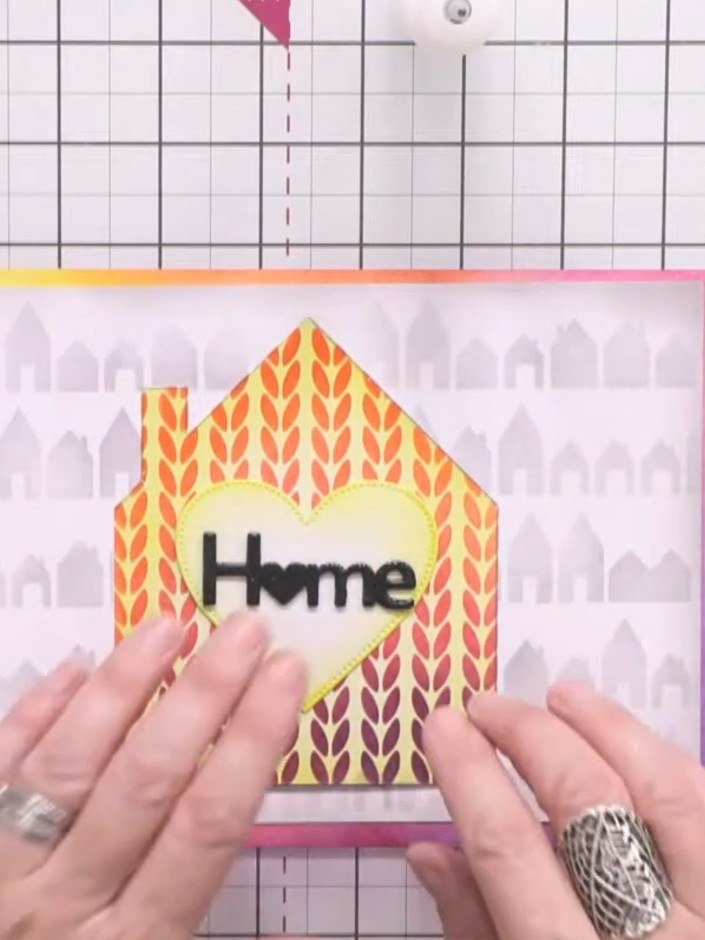
Adhere a small die-cut house silhouette in black card inside the aperture of the card as a finishing touch.
▶ watch this step (32:00)Written up from the show itself. See every guide from our shows · free how-to guides · watch live on My Telly