Give your friends $10 off their first order!
Refer a FRIEND








A project from our live show CREATE AND CRAFT - NEW AND EXCLUSIVE - Join Toni for her latest products and inspiration - Broadcast 12th Oct 22 · 10/12/2022 · watch it from 50:00
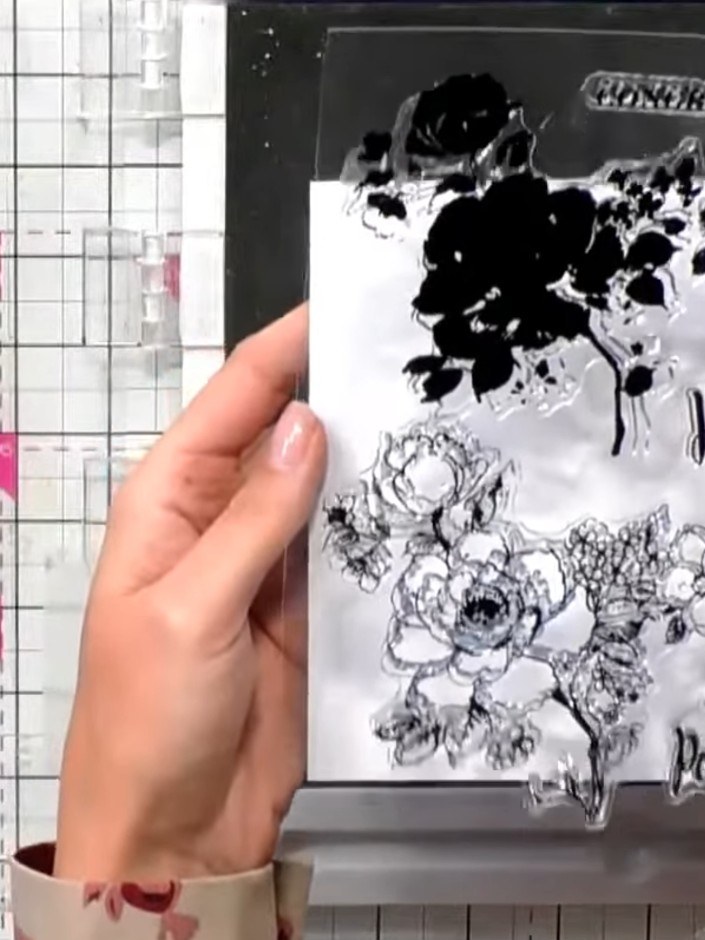
Create a stunning floral card featuring a delicate watercolour rose design with layered colouring in soft pinks, corals and greens. This elegant card is perfect for sympathy messages or special occasions, using stamping, watercolour blending and spray techniques to achieve a beautiful artistic finish. The sentiment 'Bee Happy' is framed within a circular aperture surrounded by the gorgeous blooms.
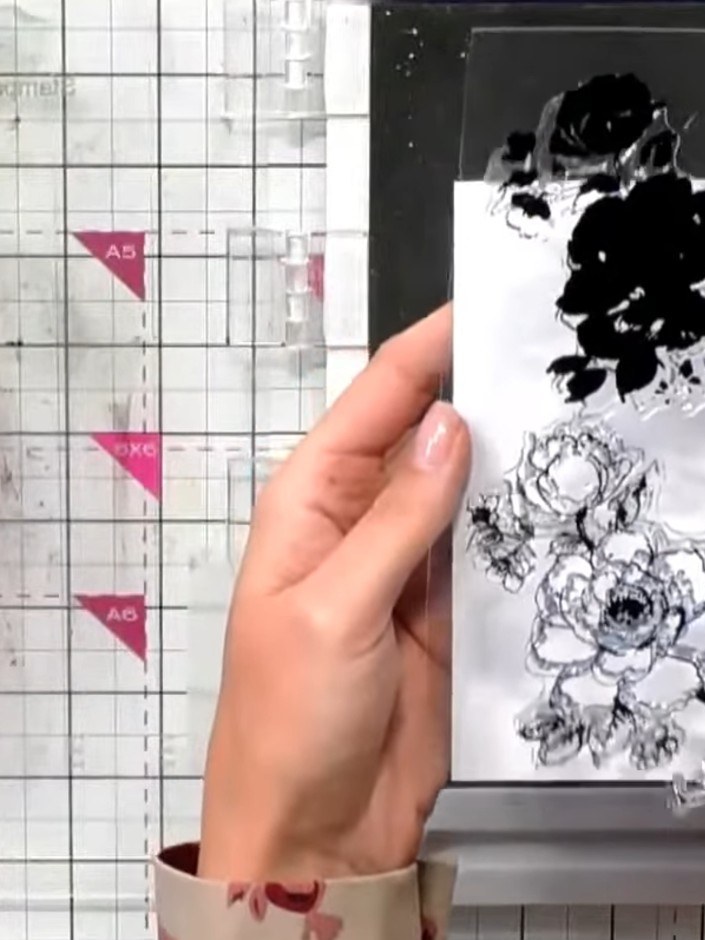
Stamp the solid portion of the rose design onto white cardstock using a black ink pad. Position the stamp carefully and press firmly to ensure a clear impression.
▶ watch this step (50:00)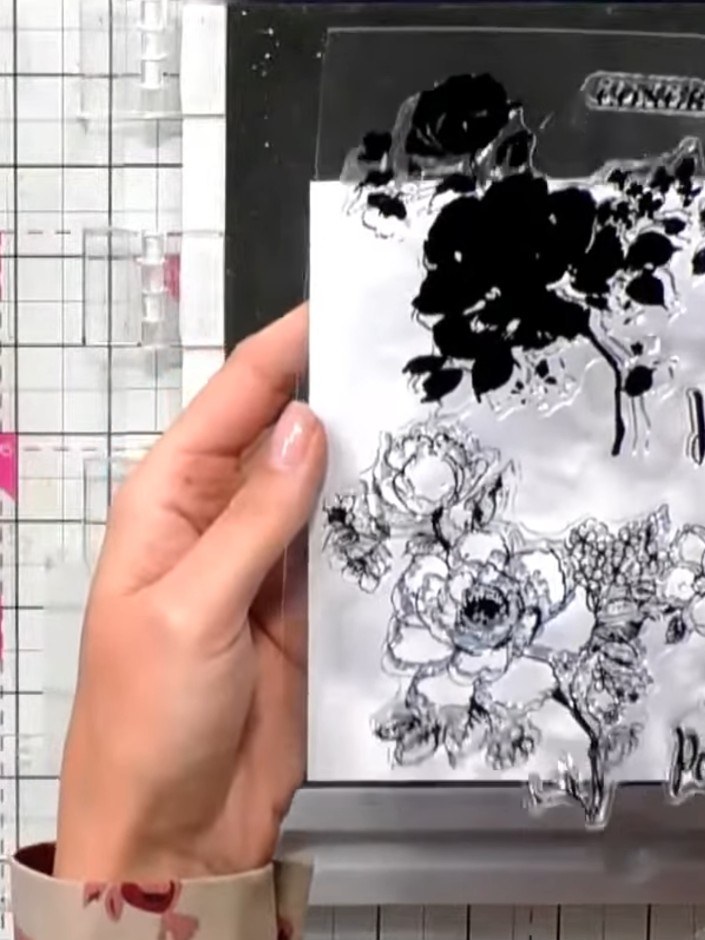
Apply multiple ink pad colours directly to the stamped floral design. Use pinks, oranges and greens to create a natural rose effect with layered colouring.
▶ watch this step (50:15)
Apply the watercolour paints sporadically across different parts of the stamped flower image. Place pinks and oranges on the petals and green on the leaves, building up the colour gradually.
▶ watch this step (50:30)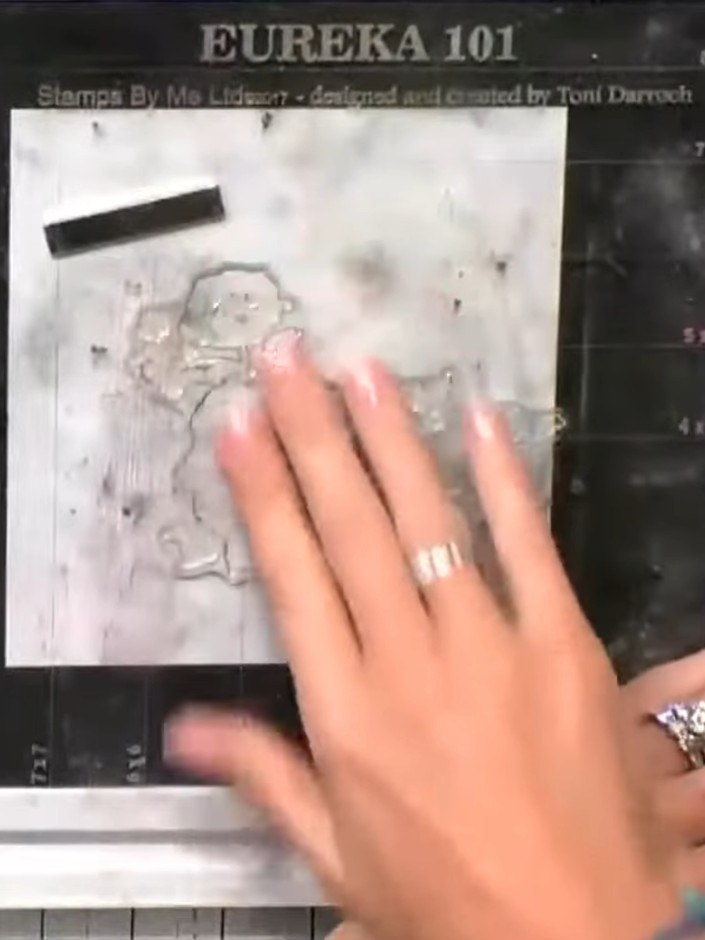
Spritz the inked stamp with water to activate the ink and blend all the colours together, creating a watercolour effect on the stamp surface.
▶ watch this step (50:45)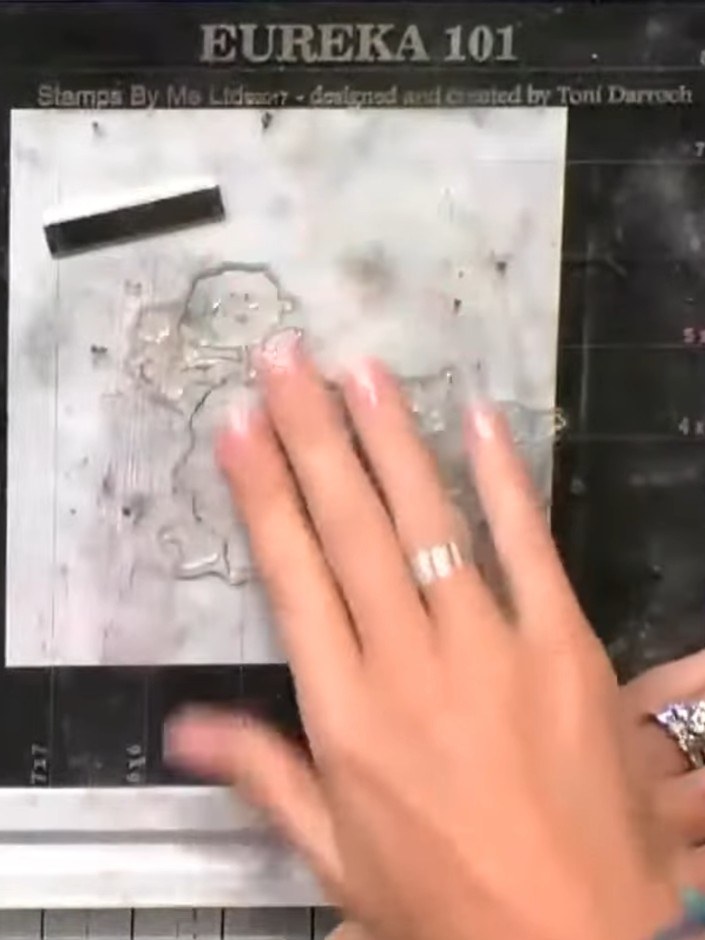
Press the stamp firmly onto the white cardstock to transfer the blended watercolour design. Apply even pressure across the entire stamp surface to ensure a complete impression.
▶ watch this step (51:00)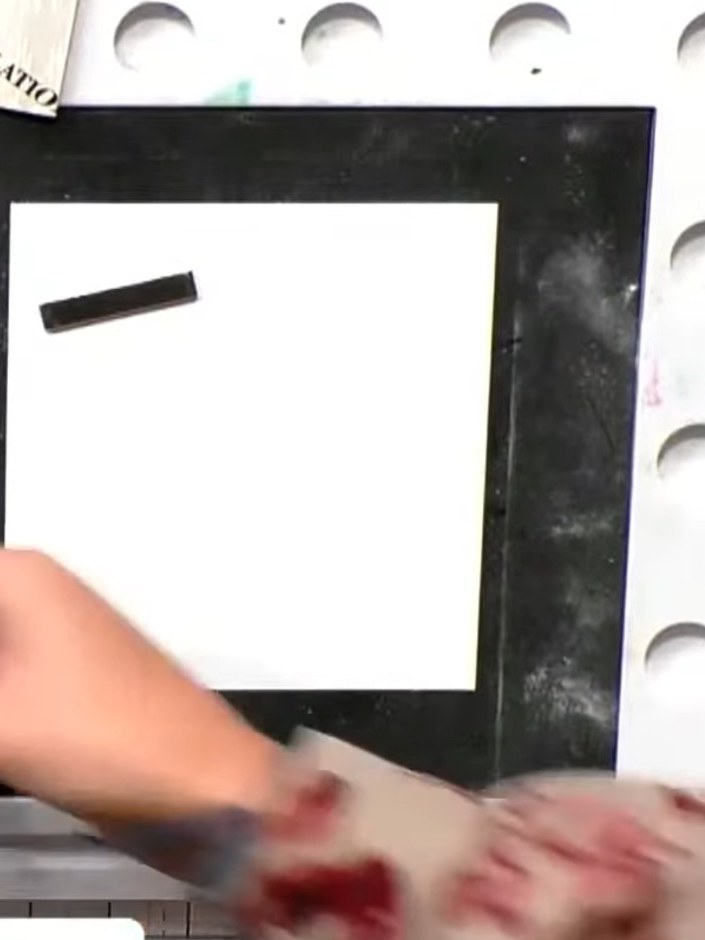
Once the watercoloured design is dry (use a heat tool if needed), carefully line up the black outline stamp over the coloured image and stamp to add definition to the rose design.
▶ watch this step (51:15)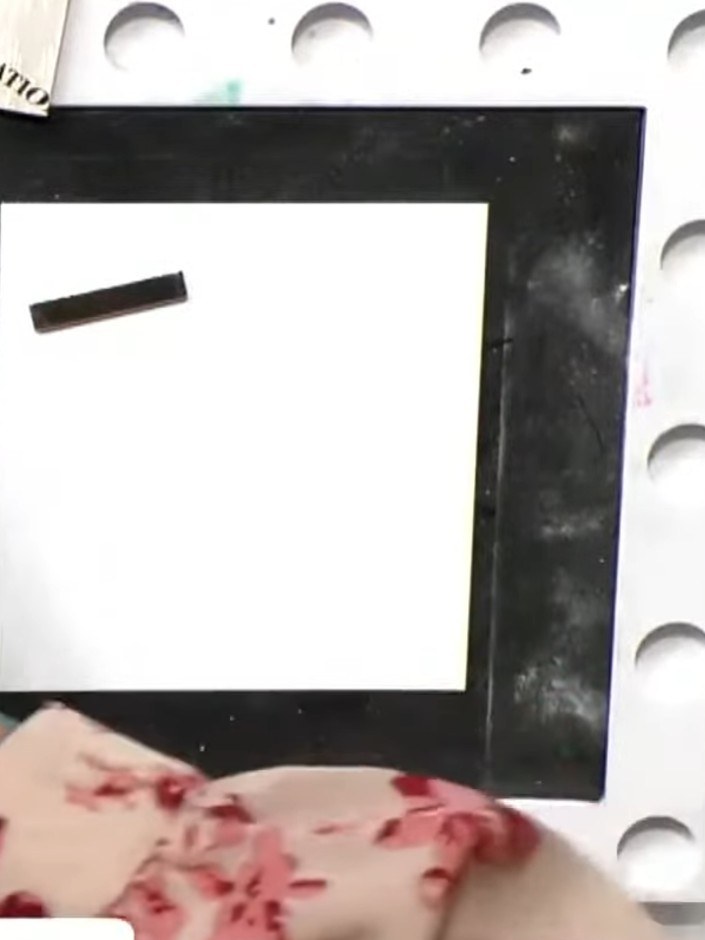
Mount your finished watercolour rose design onto the white cardstock base. Add your chosen sentiment to complete the card.
▶ watch this step (51:45)Written up from the show itself. See every guide from our shows · free how-to guides · watch live on My Telly