Give your friends $10 off their first order!
Refer a FRIEND








A project from our live show CREATE AND CRAFT - NEW AND EXCLUSIVE - Join Toni for her latest products and inspiration show 2 - Broadcast 12th Oct 22 · 10/12/2022 · watch it from 14:45
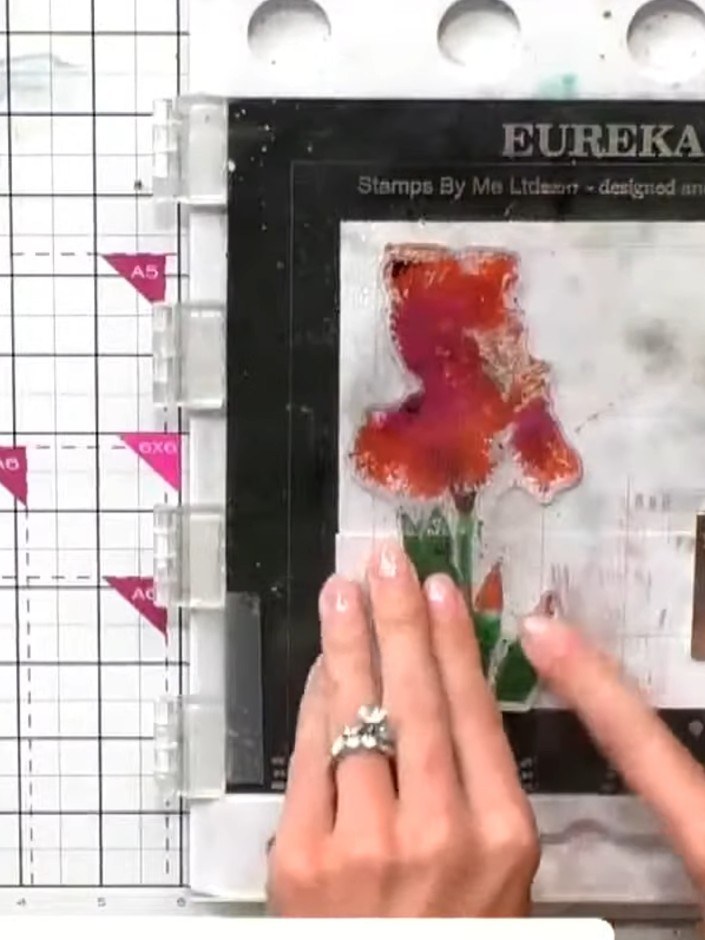
Create a stunning watercolour iris card featuring vibrant orange, pink and purple petals with green foliage. This beautiful floral design is achieved using the two-part lamination stamp technique, which layers stamped images to create a realistic painted effect. The result is a professional-looking watercolour card that requires no artistic skills.
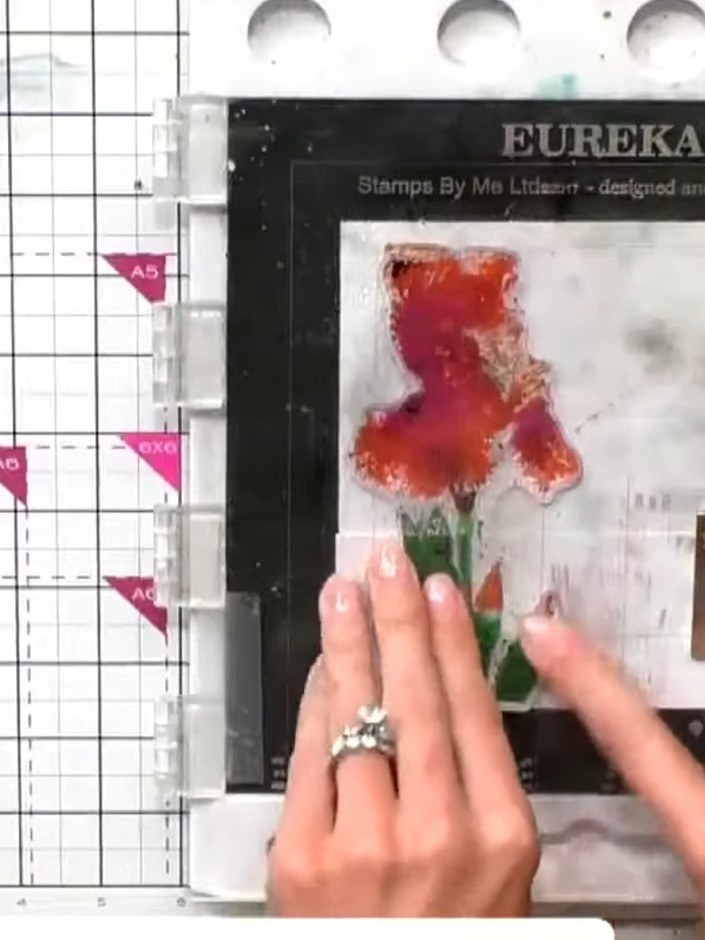
Add a touch of orange ink to the stamp pad to create colour variation. Blend the orange ink into the existing colours on the pad to achieve a varied, natural effect.
▶ watch this step (15:15)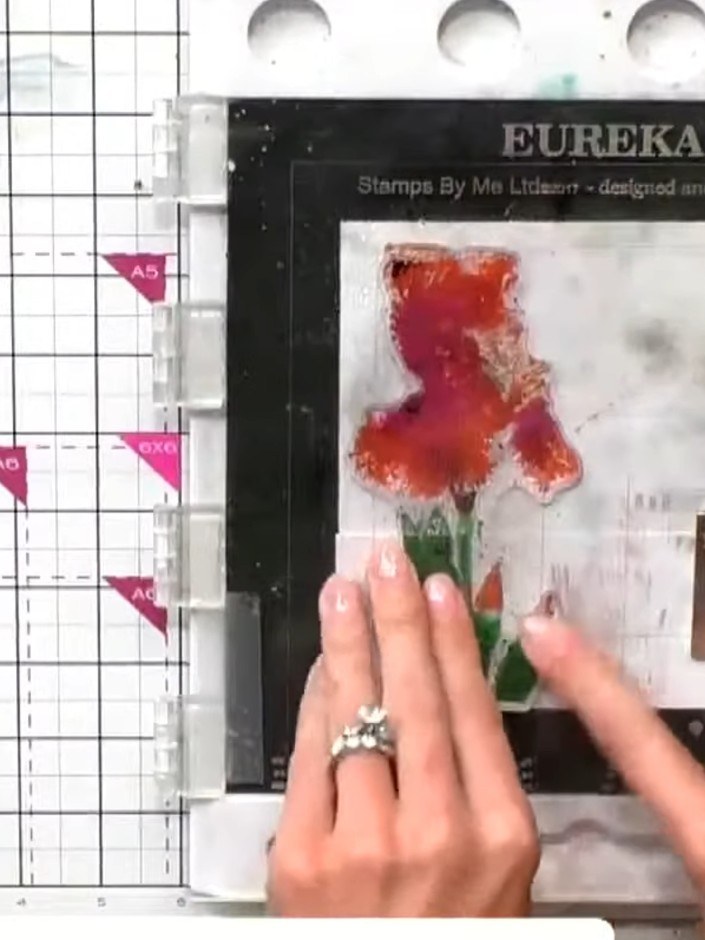
Spray the inked stamp with water to activate and blend the colours. The water will help the ink spread and create a watercolour effect on the stamp.
▶ watch this step (15:30)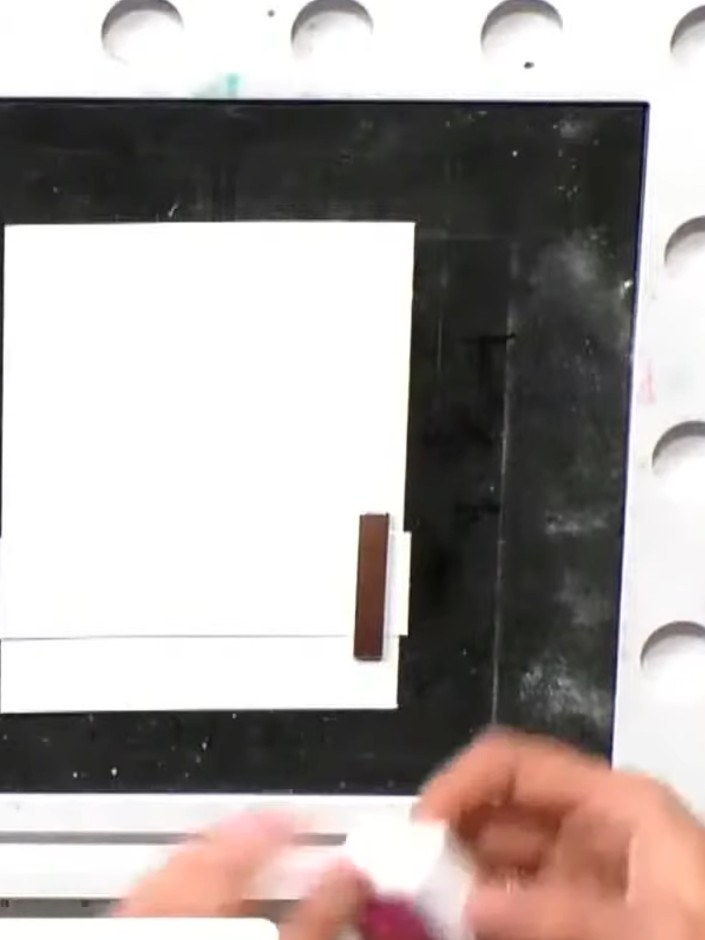
Take your stamped watercolour panel and position it onto your white card base. Press down firmly to adhere the panel in place, ensuring it is centred on the black matted frame.
▶ watch this step (15:45)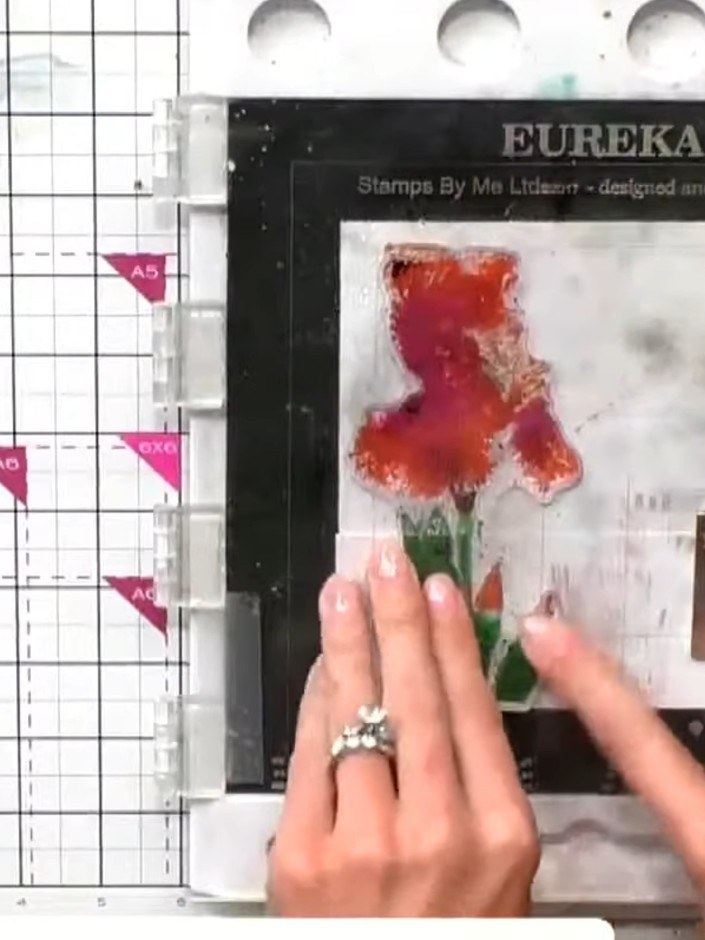
Allow the stamped image to dry slightly whilst the ink is still wet. This encourages the watercolour to bleed and create a beautiful soft effect on the card.
▶ watch this step (16:00)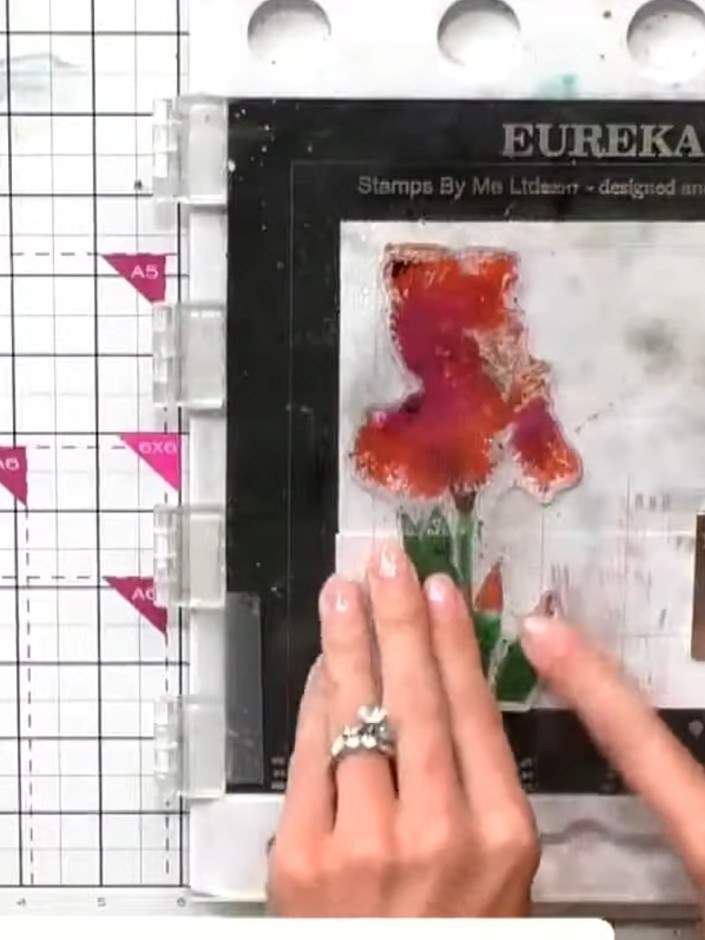
Loosely align and stamp the second layer of the iris over the first stamped image, allowing the colours to overlap naturally rather than matching perfectly. Give the stamp a good press to ensure full ink coverage.
▶ watch this step (16:30)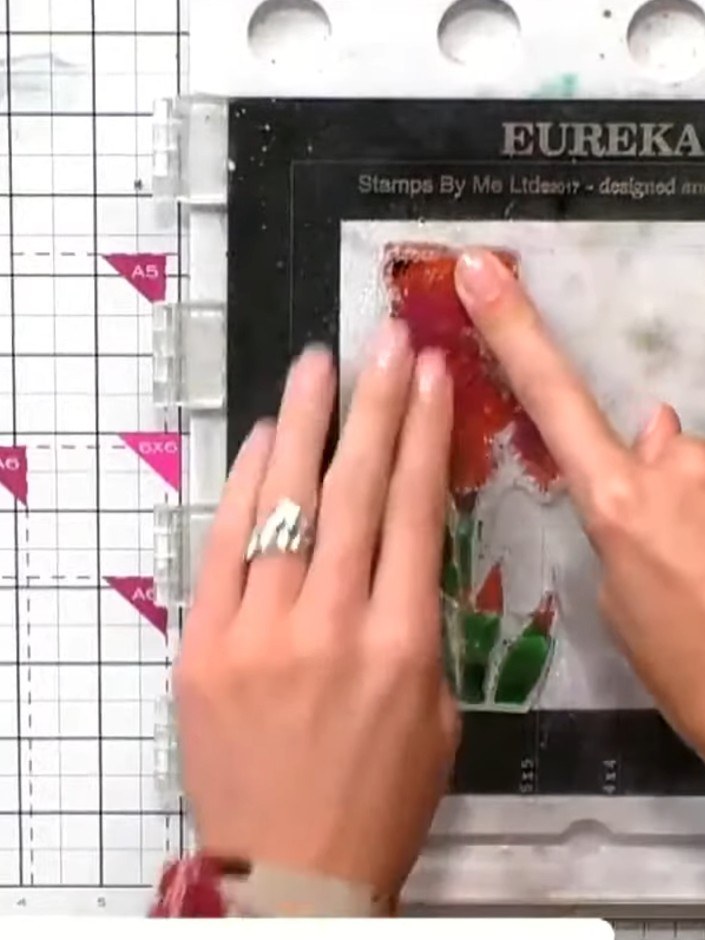
Layer your completed iris design onto coordinating cardstock to add dimension. Use the Eureka 101 mat to help position and smooth down the layers. Mount the finished piece onto your card base to complete your watercolour iris card.
▶ watch this step (17:00)Written up from the show itself. See every guide from our shows · free how-to guides · watch live on My Telly