Give your friends $10 off their first order!
Refer a FRIEND








A project from our live show CREATE AND CRAFT - BRAND NEW COLLECTION - Join Toni for her latest launch show 2 - broadcast 29 Nov 22 · 11/29/2022 · watch it from 51:15
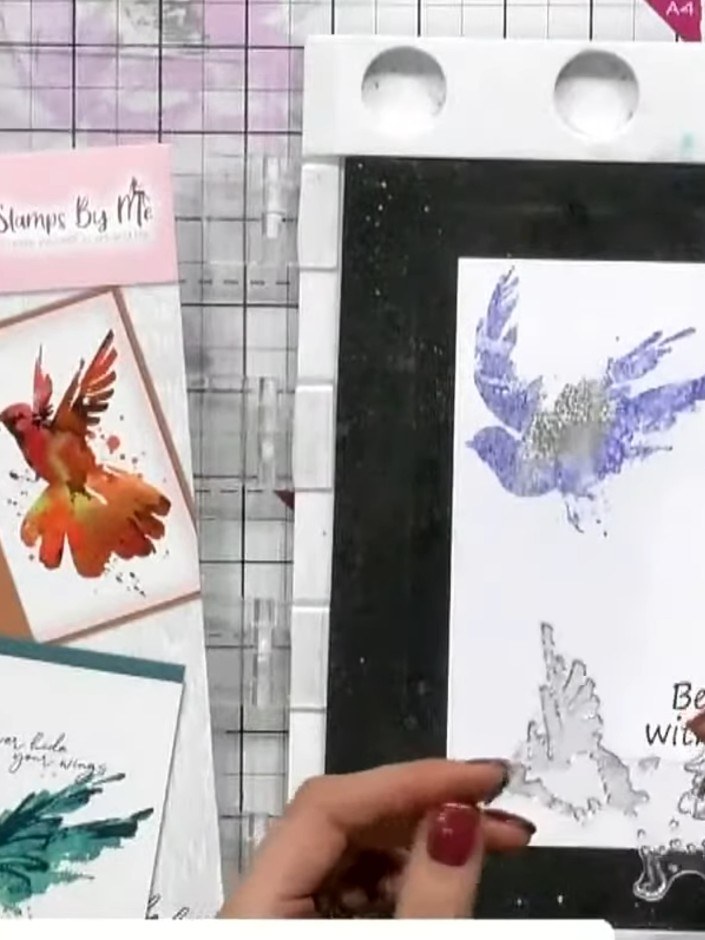
Create a stunning masculine card featuring watercolour-style birds in beautiful purple and black tones. This project uses the two-part lamination stamp technique, where you'll colour the solid bird stamp with inks and water spray, then layer it with the detailed outline stamp to achieve a realistic, artistic effect. The finished card is mounted on a black frame with an inspirational sentiment about gratitude.
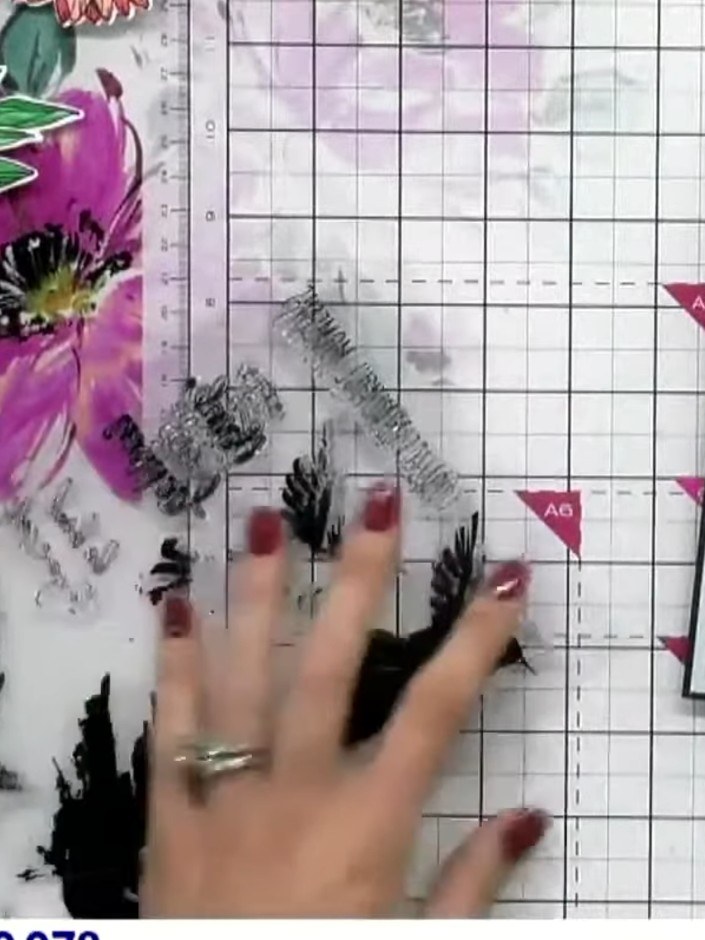
Stamp the solid portion of the bird design onto white cardstock using the first stamp from the lamination set. Use black ink to create a clear, crisp image.
▶ watch this step (51:30)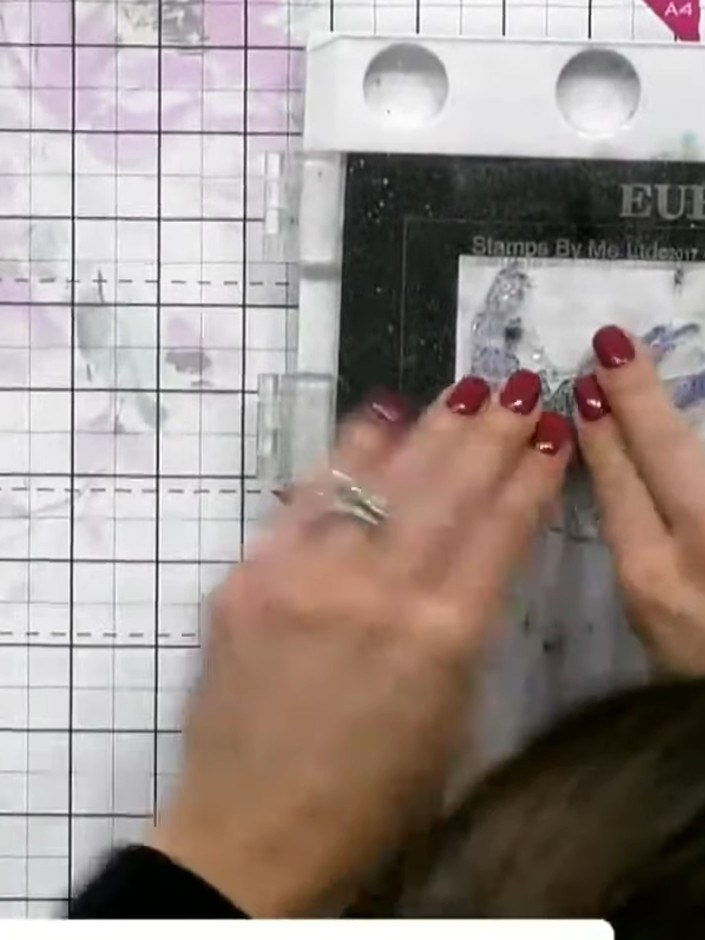
Stamp the detailed outline portion of the bird design on top of the coloured solid portion, aligning it carefully to match the shape beneath.
▶ watch this step (53:00)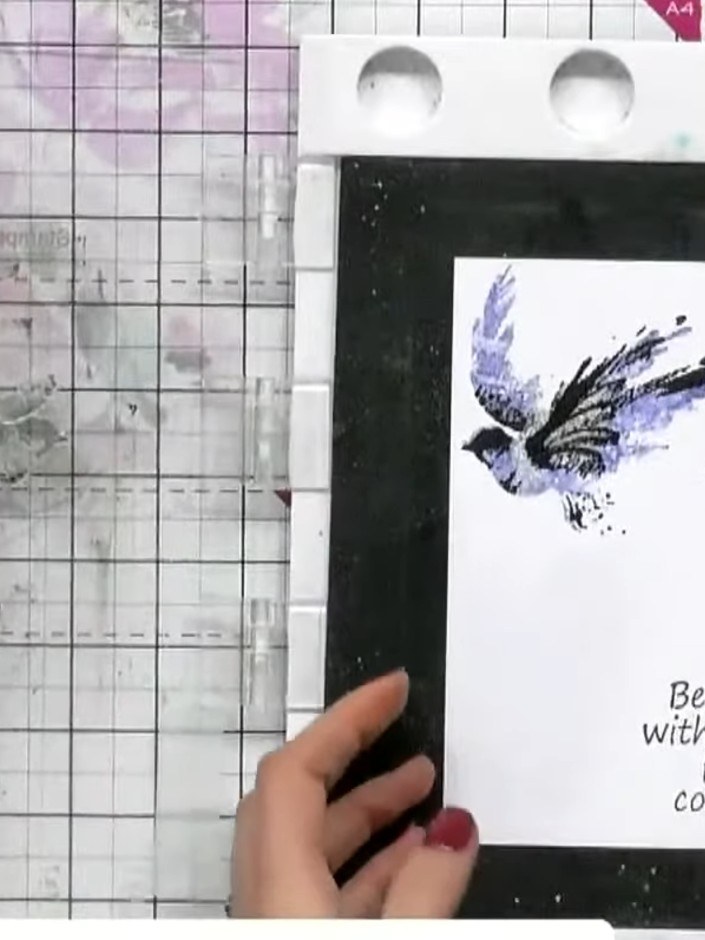
Stamp the second bird image onto the card using black ink, positioning it to the right of the first bird. Add purple watercolour spray over the stamped image to create the same watercolour effect as the first bird.
▶ watch this step (53:30)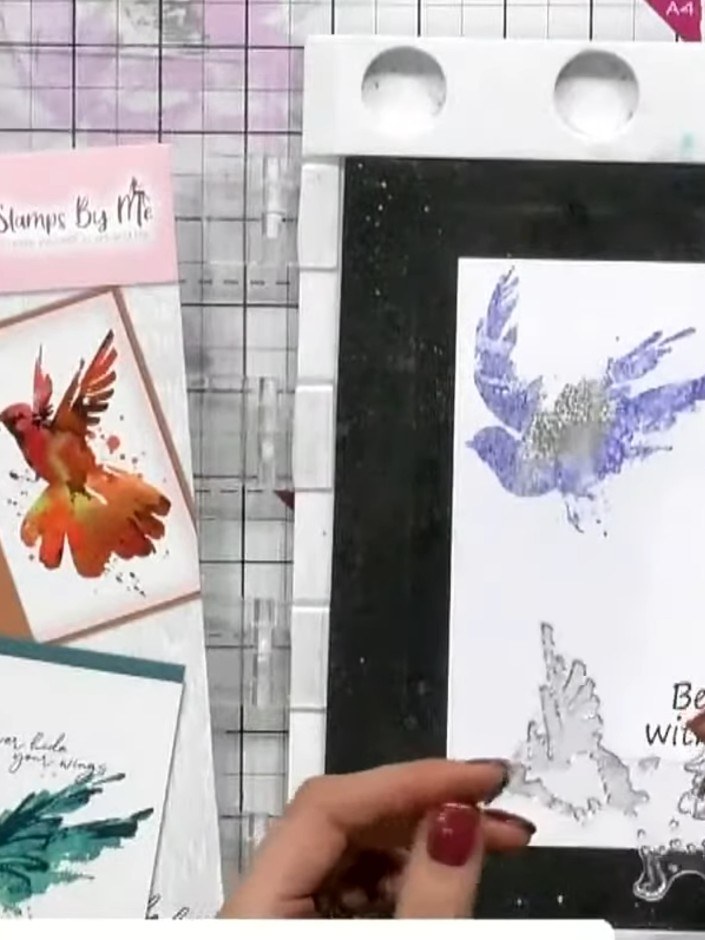
Mount the completed bird design onto a black card base. Position the laminated bird panel centrally on the card front and secure in place.
▶ watch this step (54:00)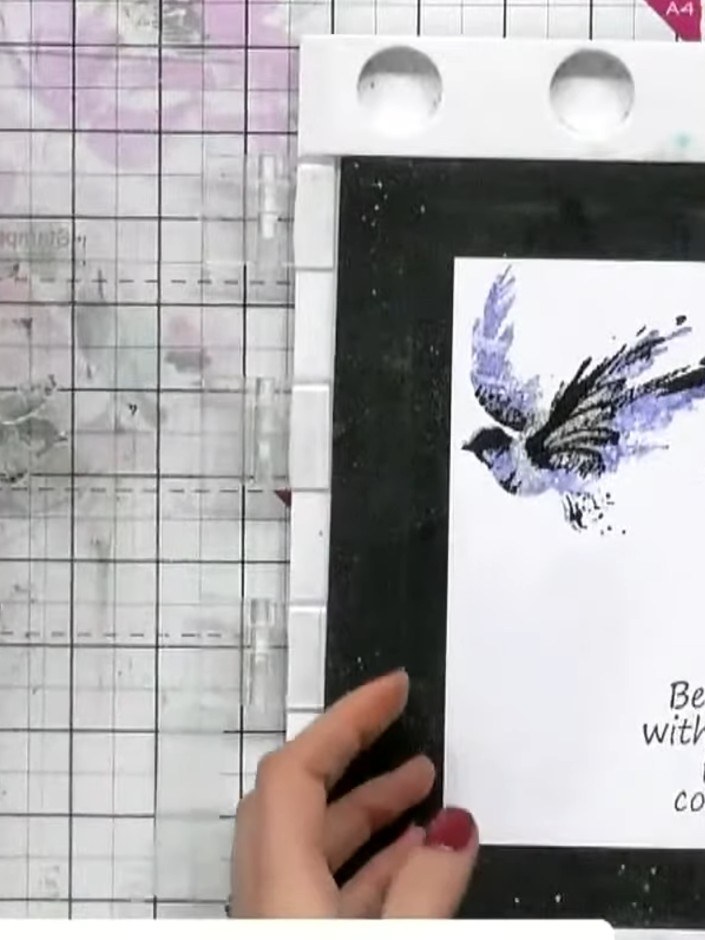
Position your stamped and die-cut panel onto a black card blank, ensuring it is centred. The finished card features birds with a watercolour effect and the sentiment 'Be generous with gratitude, for it is contagious.'
▶ watch this step (54:30)Written up from the show itself. See every guide from our shows · free how-to guides · watch live on My Telly