Give your friends $10 off their first order!
Refer a FRIEND








A project from our live show MONDAY MADNESS - Join Simon from AVAGO-INK for his latest products - Broadcast 9th JAN 23 · 01/09/2023 · watch it from 2:30
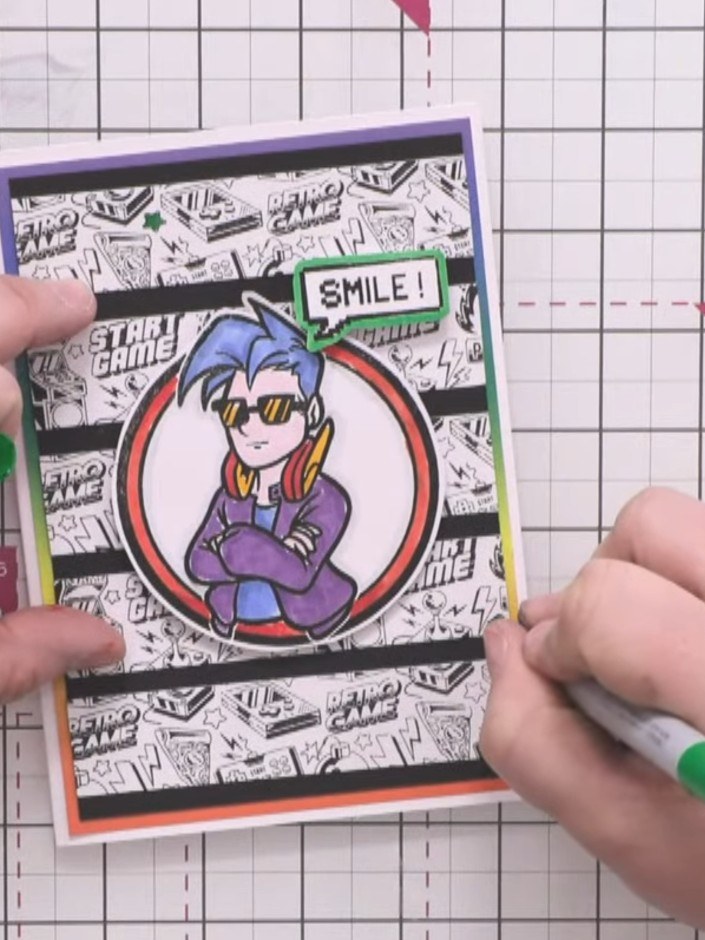
Create a vibrant retro gaming card featuring a cool character illustration with a rainbow-bordered circular frame. The design showcases three horizontal striped panels with black and white comic-style backgrounds, accented with bold orange and purple borders. Use alcohol markers to add bright colours to pre-printed images for a modern, playful finish.
 Izink Dye Based Ink Pad 5 X 5CM - Emeraude 050821HSEE IT
 Versafine Clair Morning Mist- 090123ASEE IT
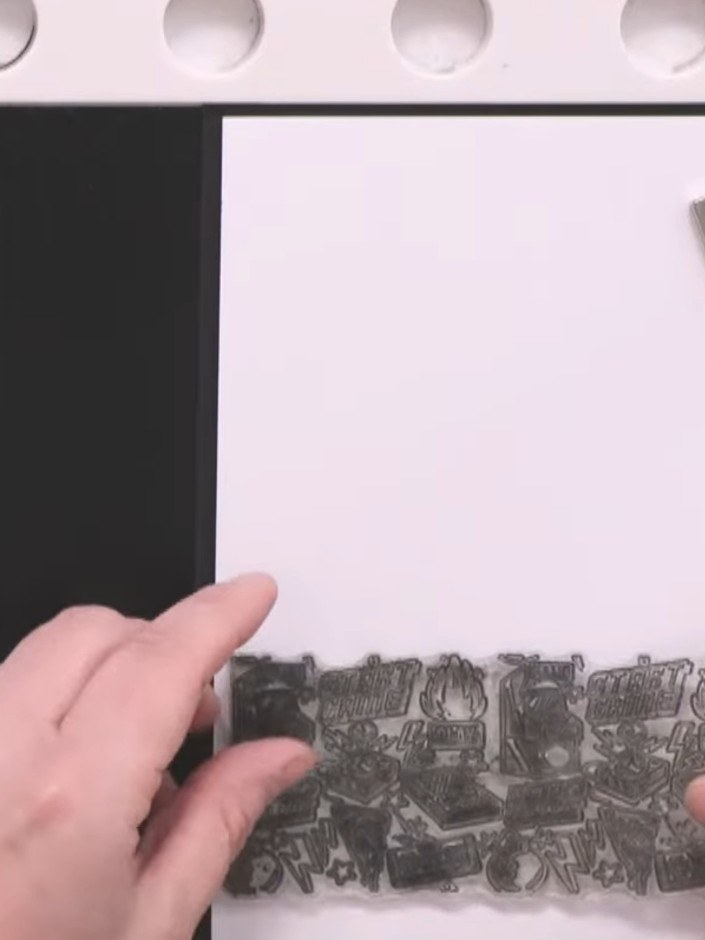
Place white stamping card into your stamp platform and stamp the Game Over background stamp three times in black ink, spacing them evenly down the card to create three separate sections.
▶ watch this step (2:30)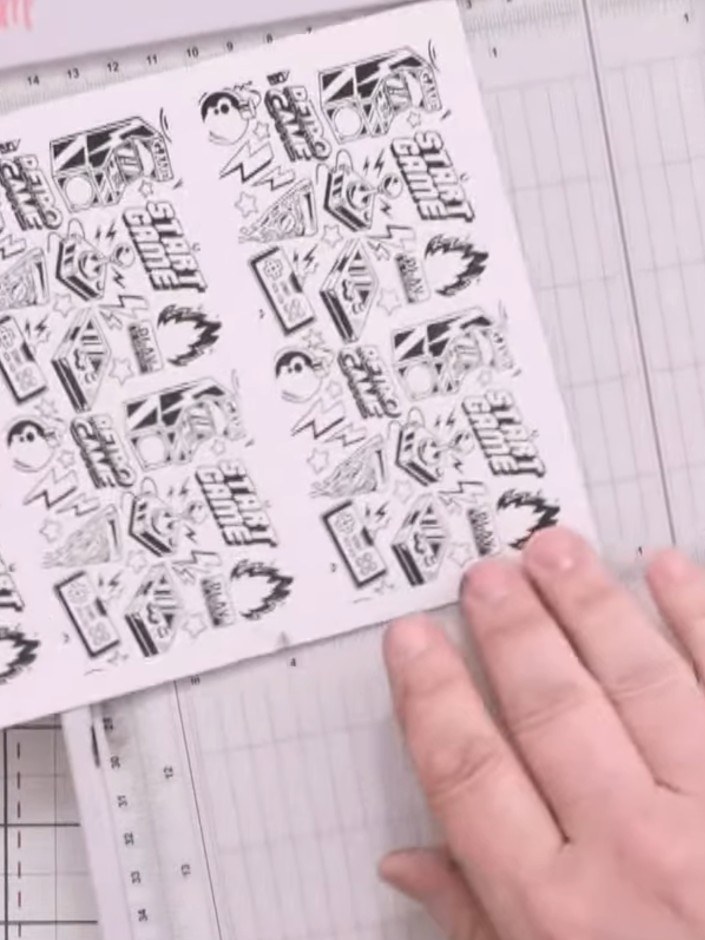
Use a paper trimmer to cut the stamped card into one-inch horizontal strips, creating six individual strips from the three stamped sections.
▶ watch this step (4:30)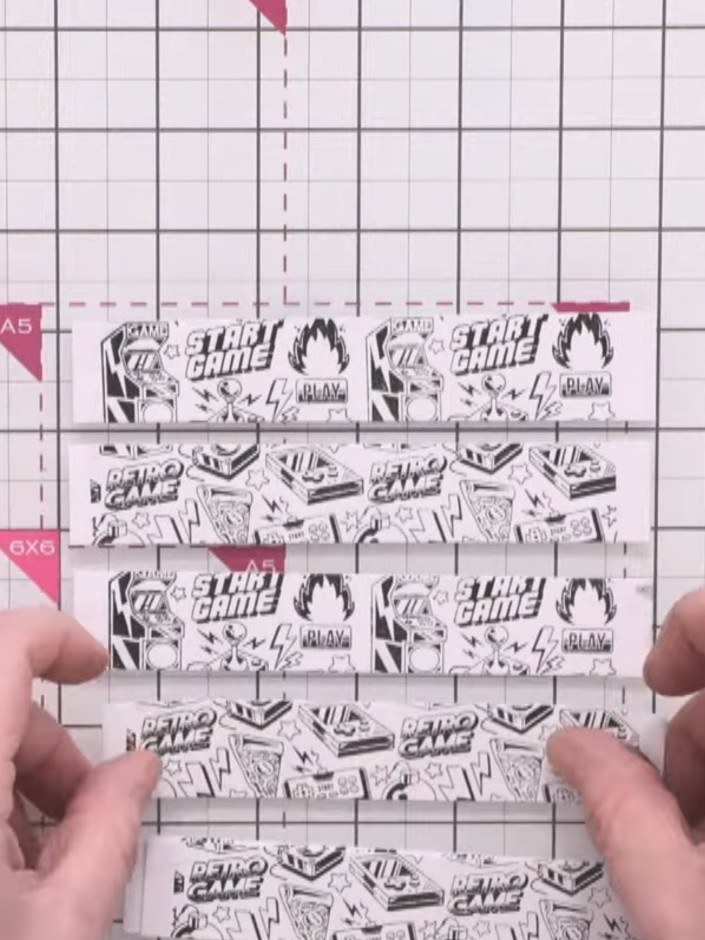
Arrange the patterned strips on a 4½ by 6½ inch card base, alternating the gaming pattern so the images continue across the strips. Leave even spacing between each strip.
▶ watch this step (6:00)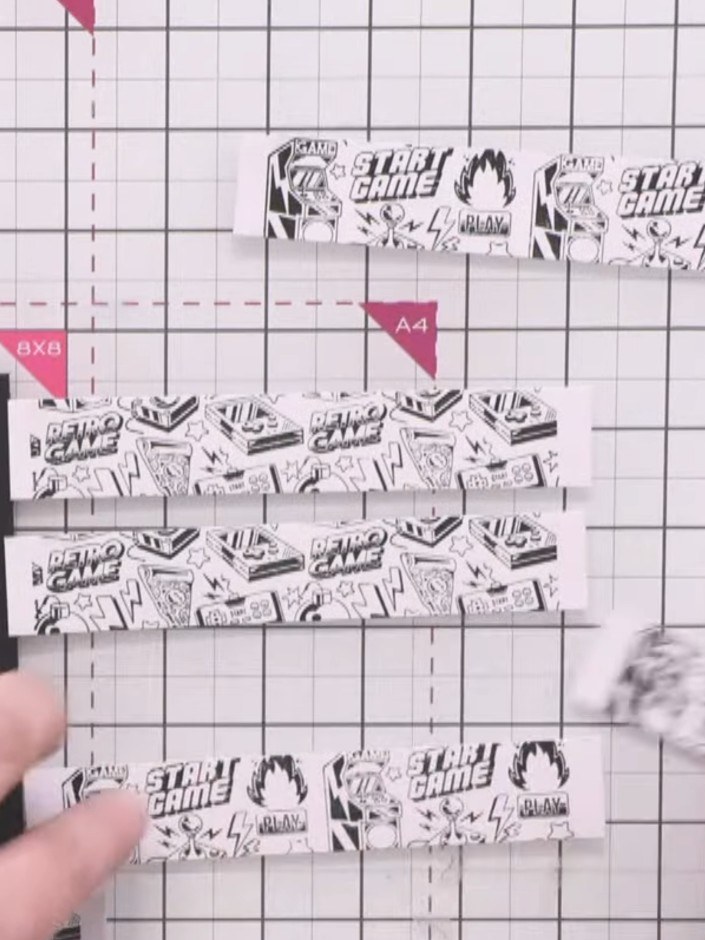
Adhere the patterned strips to the black card base, starting with the top and bottom strips to establish even spacing, then fill in the middle rows to create a striped background.
▶ watch this step (6:30)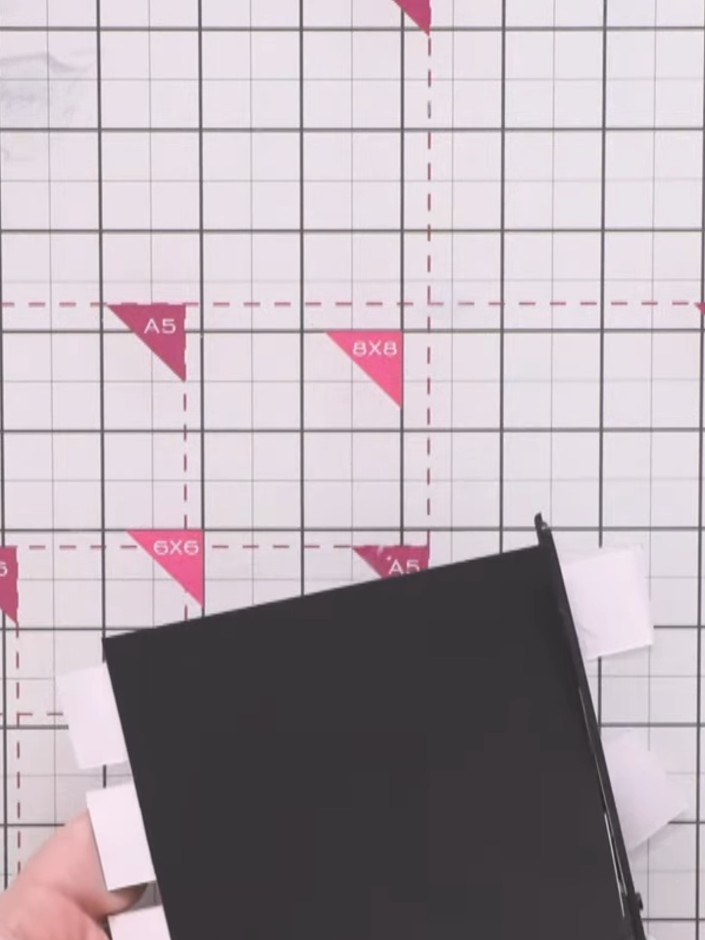
Trim the excess edges of the striped paper strips flush with the black card base using scissors.
▶ watch this step (8:30)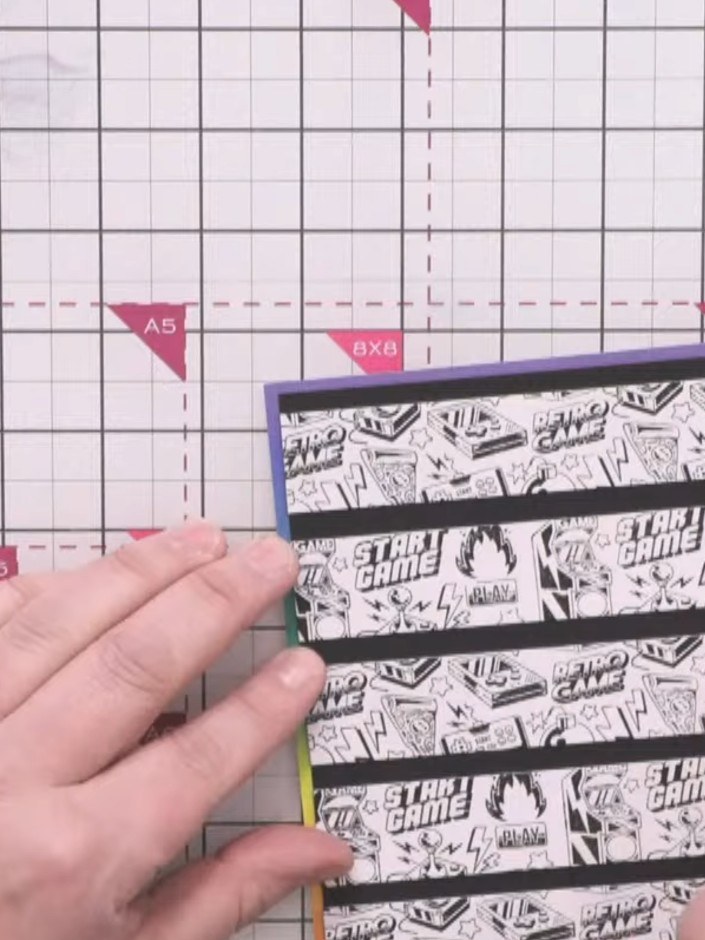
Mount the striped background panel onto the rainbow-coloured paper layer. Adhere this assembled piece to the white card blank to create a colourful border frame around the design.
▶ watch this step (9:00)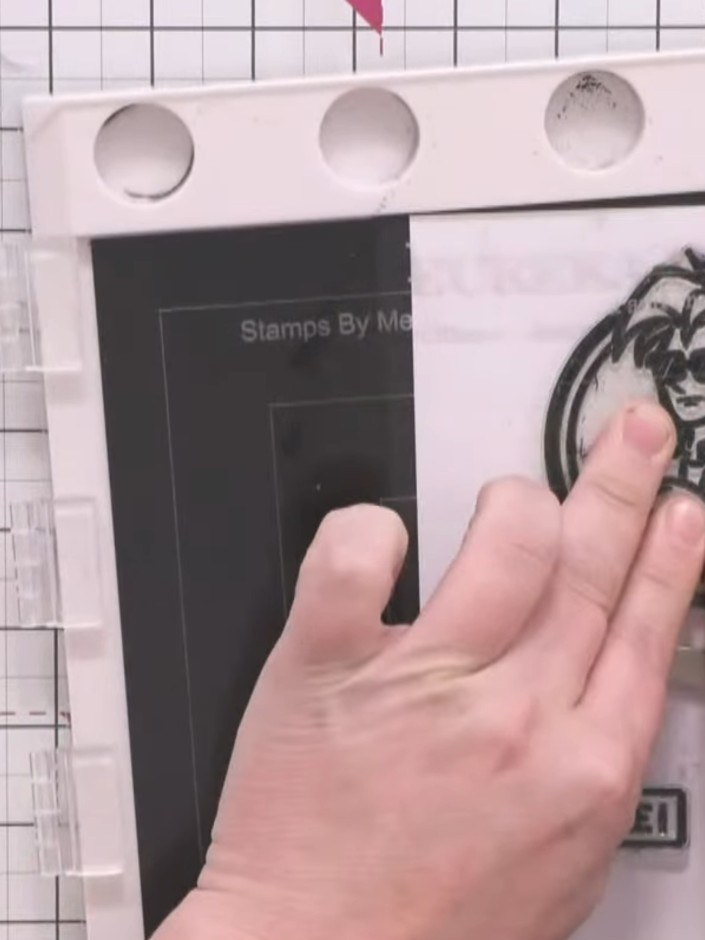
Stamp the Crash character image from the stamp set onto white card using black ink. Stamp the 'SMILE!' sentiment onto the same white card using black ink.
▶ watch this step (10:15)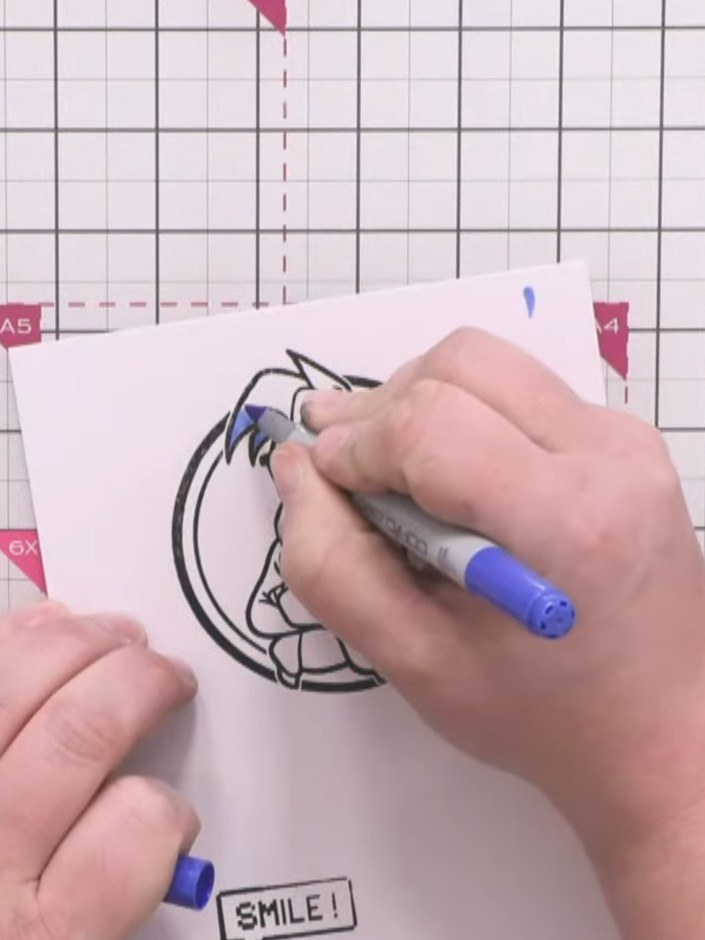
Colour the Crash character using alcohol markers. Apply blue to the hair and t-shirt with darker blue shading, colour the ring red, add red to the earphones, purple to the jacket, and orange to the sleeves.
▶ watch this step (11:45)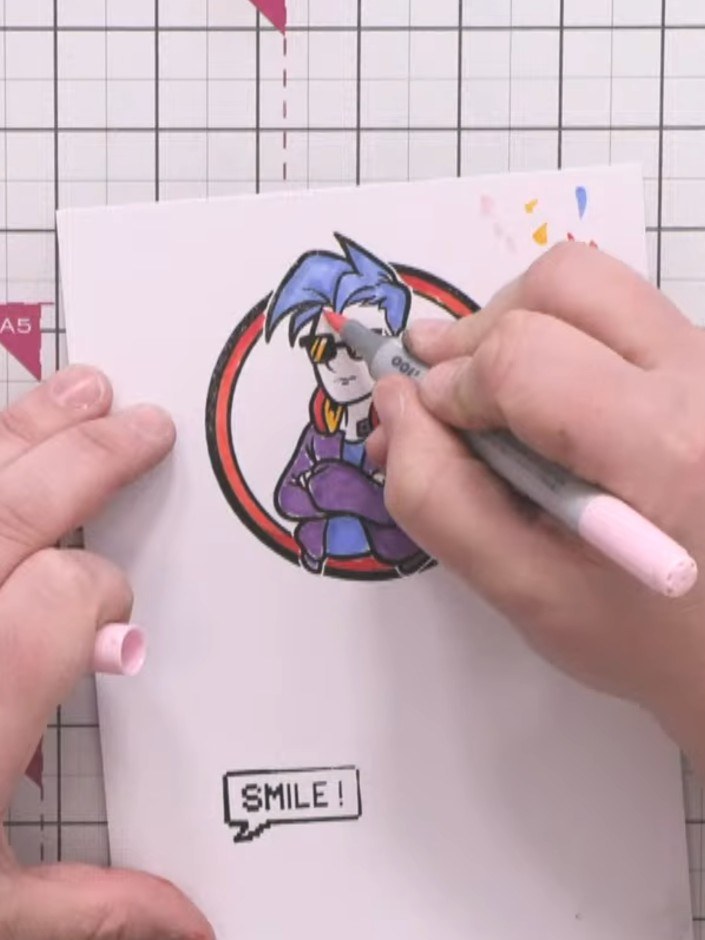
Colour the character's face and visible fingers with a pale skin-tone marker. Outline the character with a very pale grey marker to add depth and create separation from the white background.
▶ watch this step (16:00)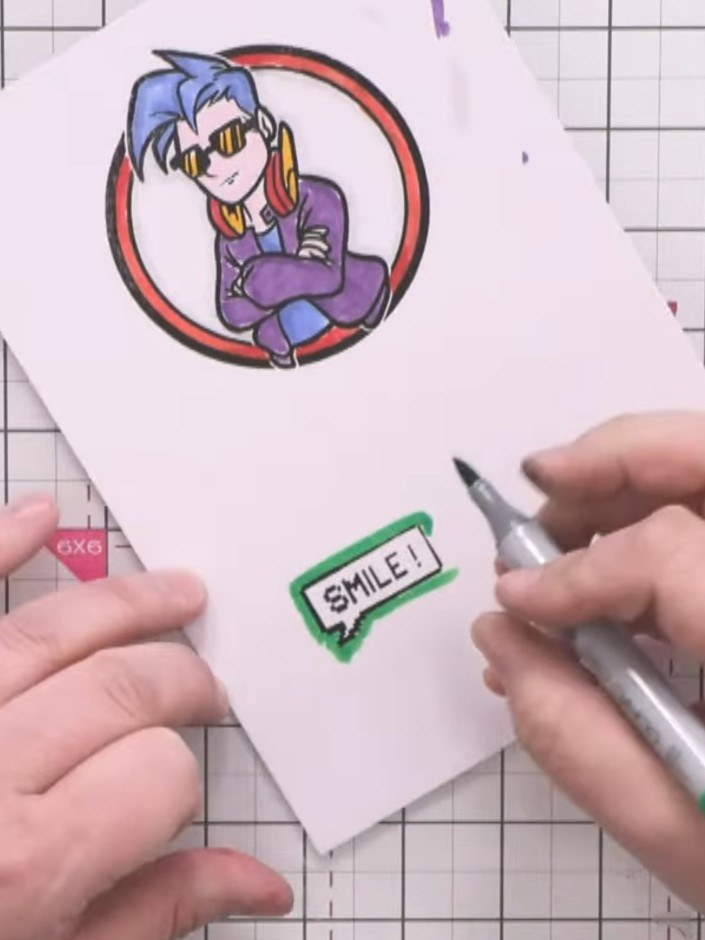
Colour the border of the 'SMILE!' sentiment stamp with a green marker. Carefully cut out both the character circle and the sentiment using scissors, leaving a slight white border around each element.
▶ watch this step (17:30)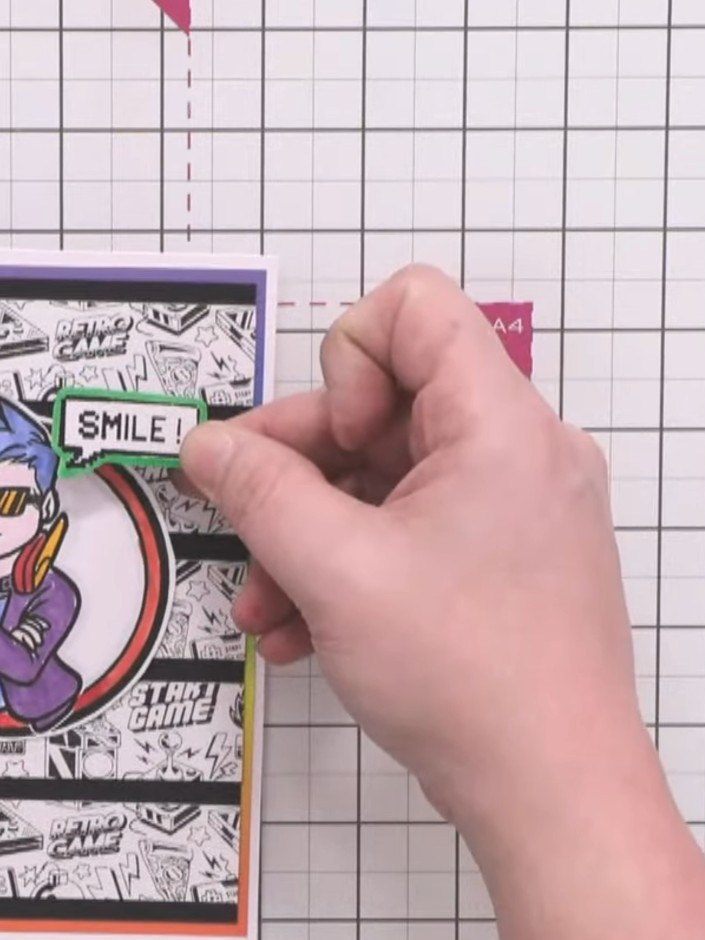
Attach foam pads to the back of the Crash character and position it in the centre of the card, slightly above the middle.
▶ watch this step (19:45)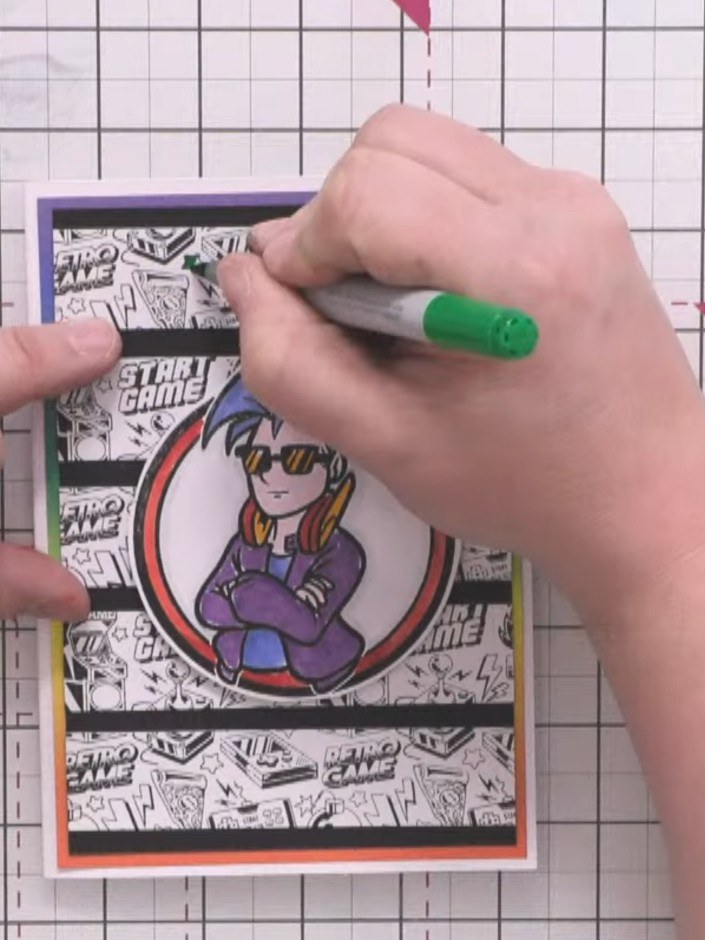
Add small flashes of colour to the background pattern using alcohol markers in green, red, blue, and orange to echo the colours used on the character and tie the design together.
▶ watch this step (21:00)Written up from the show itself. See every guide from our shows · free how-to guides · watch live on My Telly