Give your friends $10 off their first order!
Refer a FRIEND








A project from our live show CREATE TOGETHER CLUB - CHAPTER 2 - Join Toni for Inspiration show 1 using the second stamp in the collection called SOMEBUNNY LOVES YOU - Broadcast 10th Jan 23 · 01/10/2023 · watch it from 12:00
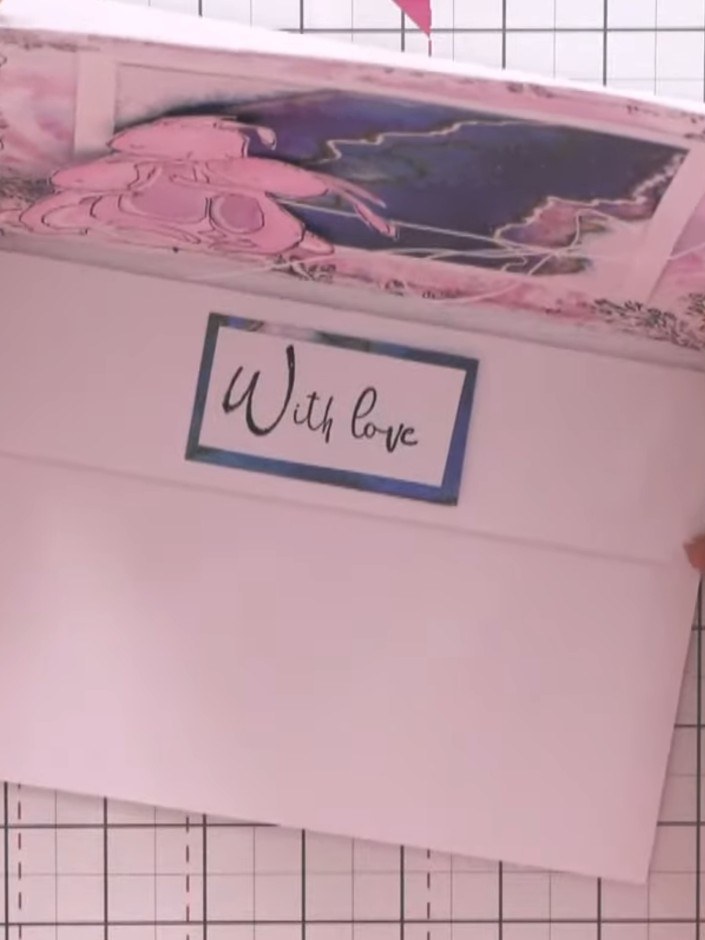
Create a charming 8x8 inch easel card featuring a beautiful watercolour-washed background in soft pinks and blues, adorned with stamped bunny family images. This dimensional greeting card stands upright for display and folds flat for posting, combining artistic ink blending techniques with delicate hand-painted details. The finished piece includes a sentiment panel and decorative elements that make it perfect for special occasions.
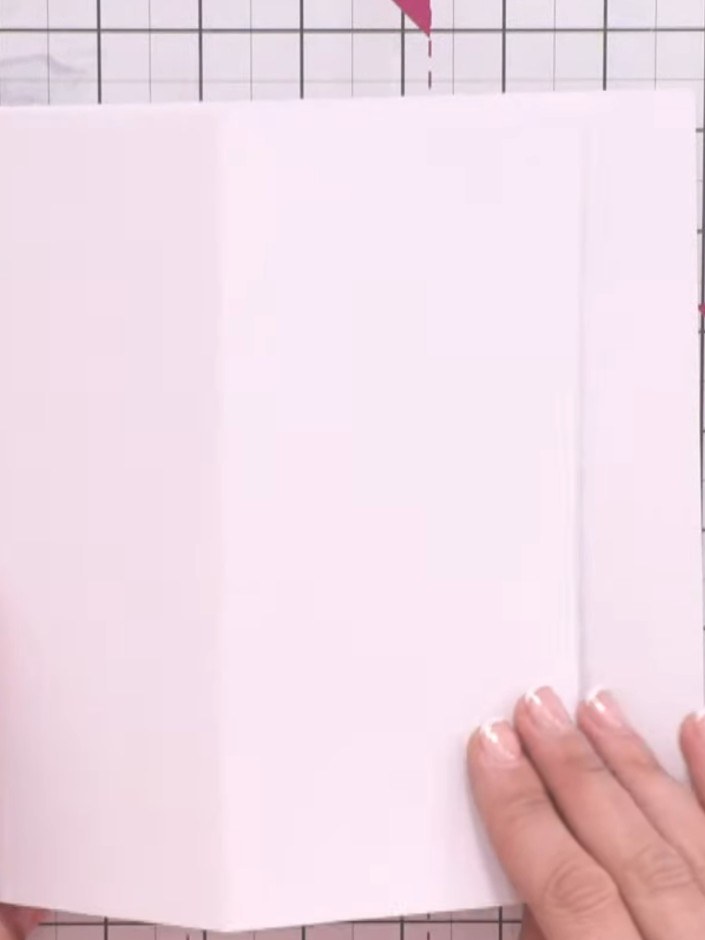
Take an 8x8 inch card blank and score down the centre of the front panel to create the easel fold. Use a scoring board to ensure a crisp, straight fold line.
▶ watch this step (12:30)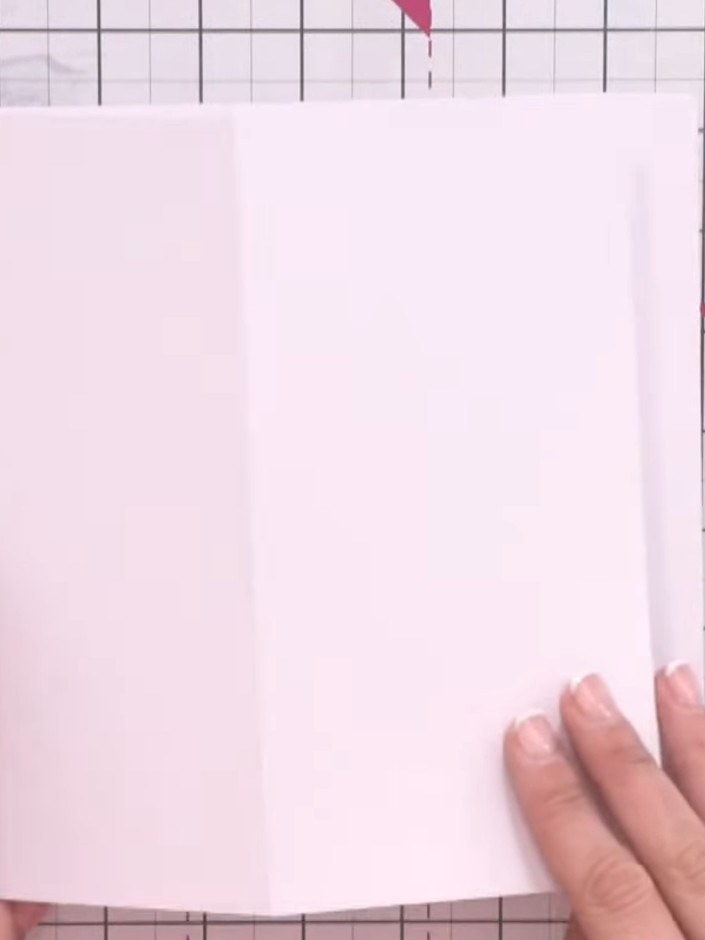
Cut a second piece of white card to the same size as your card base. This will be adhered to the scored card to create the easel stand.
▶ watch this step (12:45)
Take a piece of white card stock to use as your base layer for the watercolour wash background.
▶ watch this step (13:00)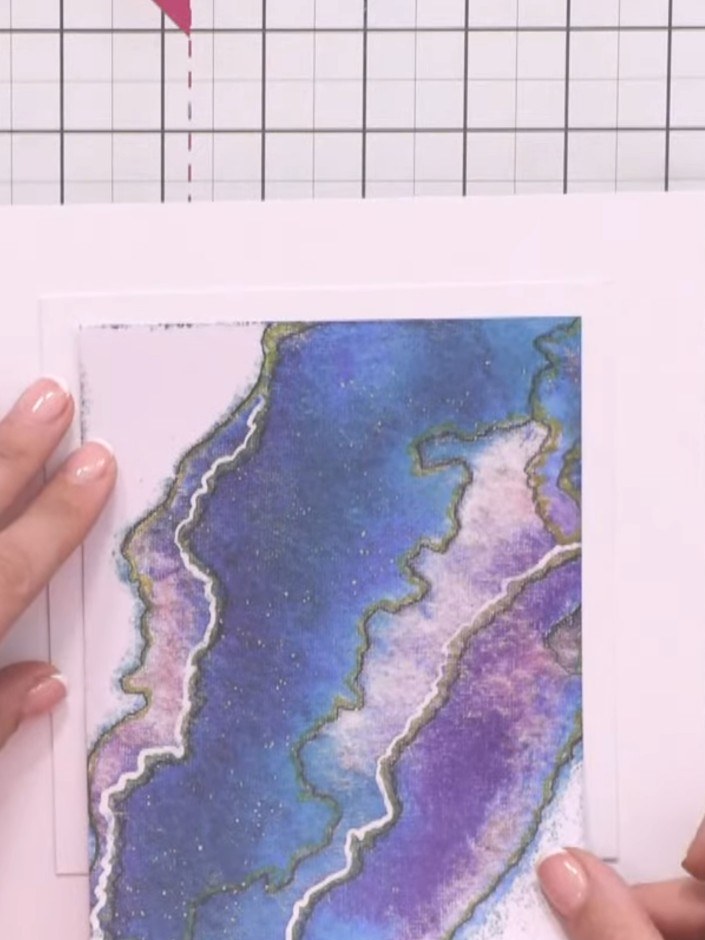
Trim a piece of the blue and purple watercolour patterned paper to fit within the aperture on your white card mat.
▶ watch this step (14:30)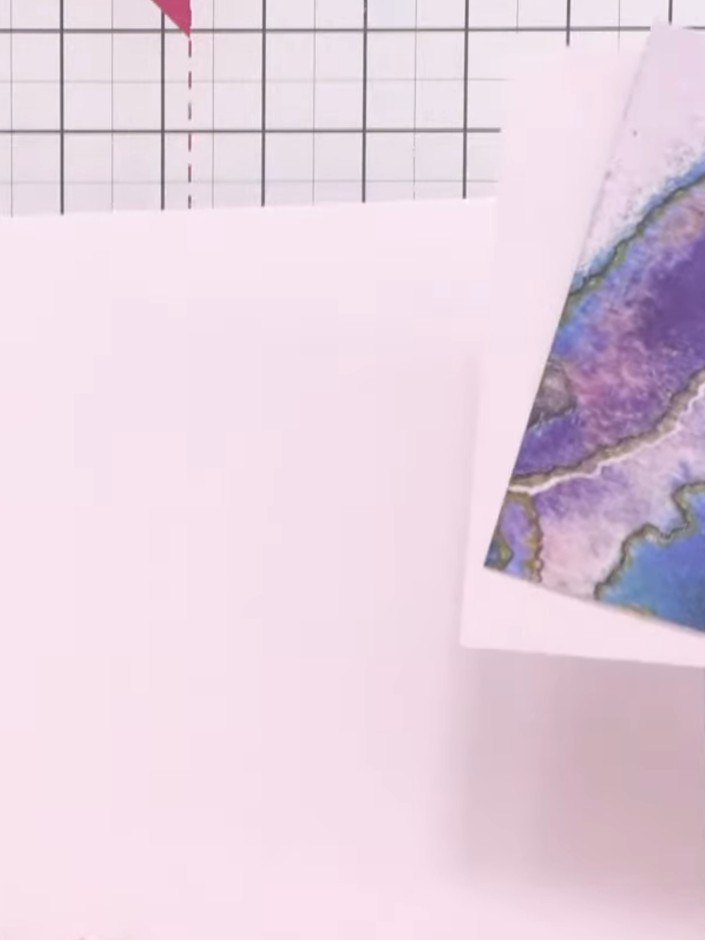
Apply a light watercolour wash to the back of the patterned paper piece using water and ink. Use gentle strokes to create a subtle colour effect on the reverse side of the paper.
▶ watch this step (15:15)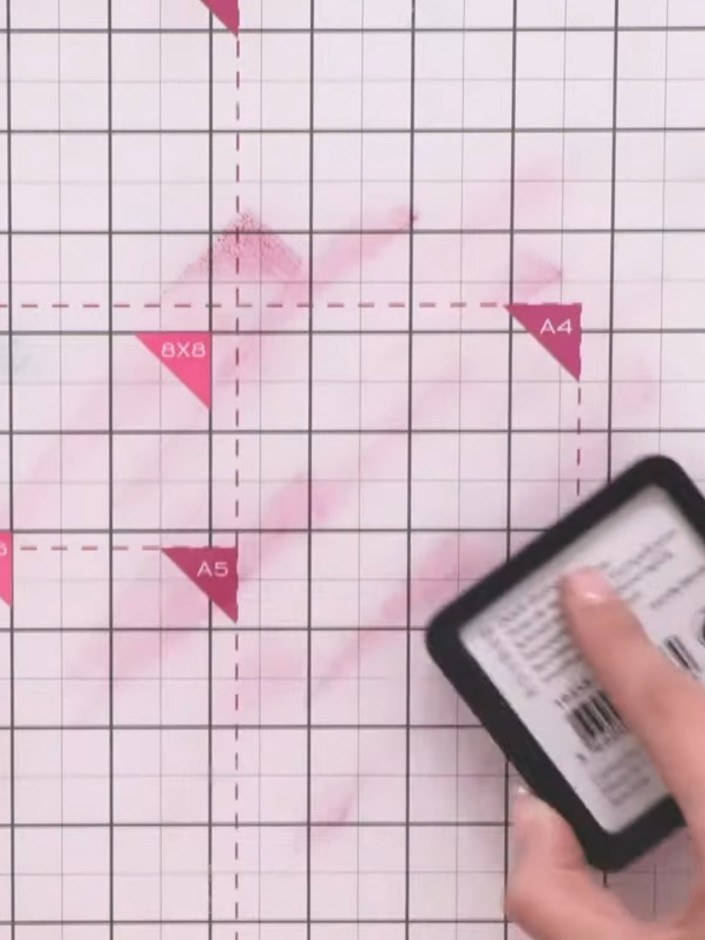
Create a coloured base layer by dropping pink ink onto your craft mat, spraying with water, and swishing with your finger to blend and avoid harsh lines.
▶ watch this step (15:45)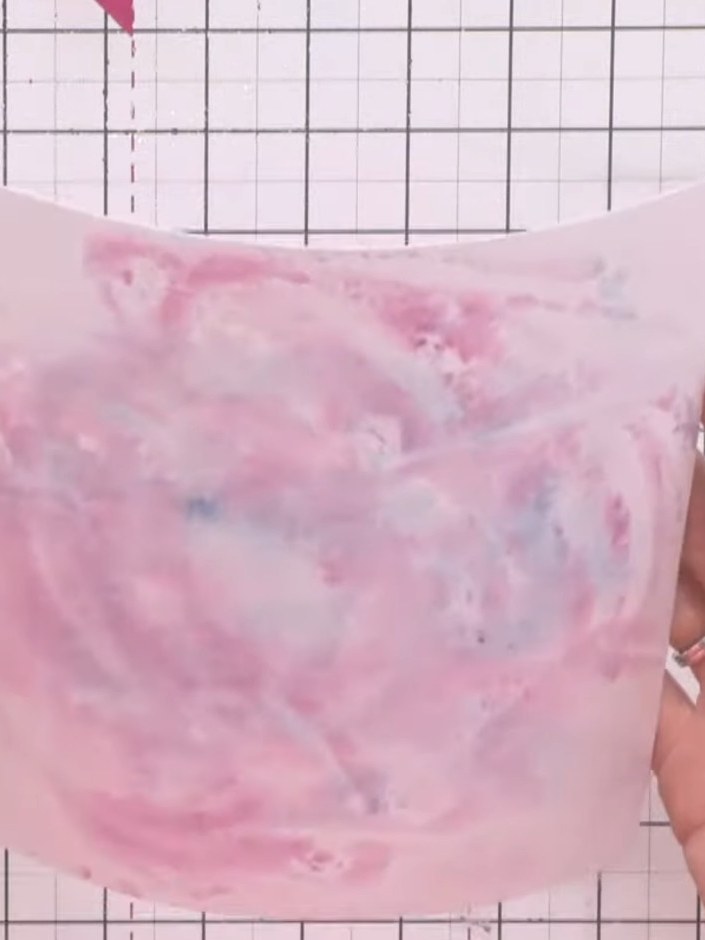
Add a second colour (blue) to the same base layer. Spray with water and blend the colours together using your finger to create a watercolour wash effect.
▶ watch this step (16:45)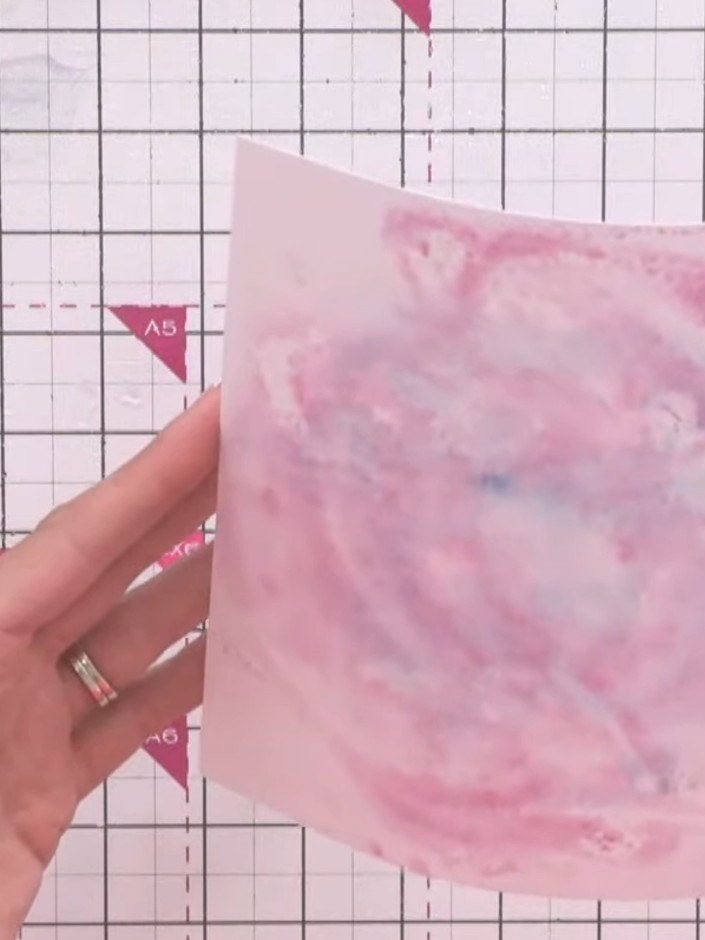
Add ink splats around the edges of the pink watercoloured base layer using a brush or spattering tool to create dimension and texture.
▶ watch this step (17:30)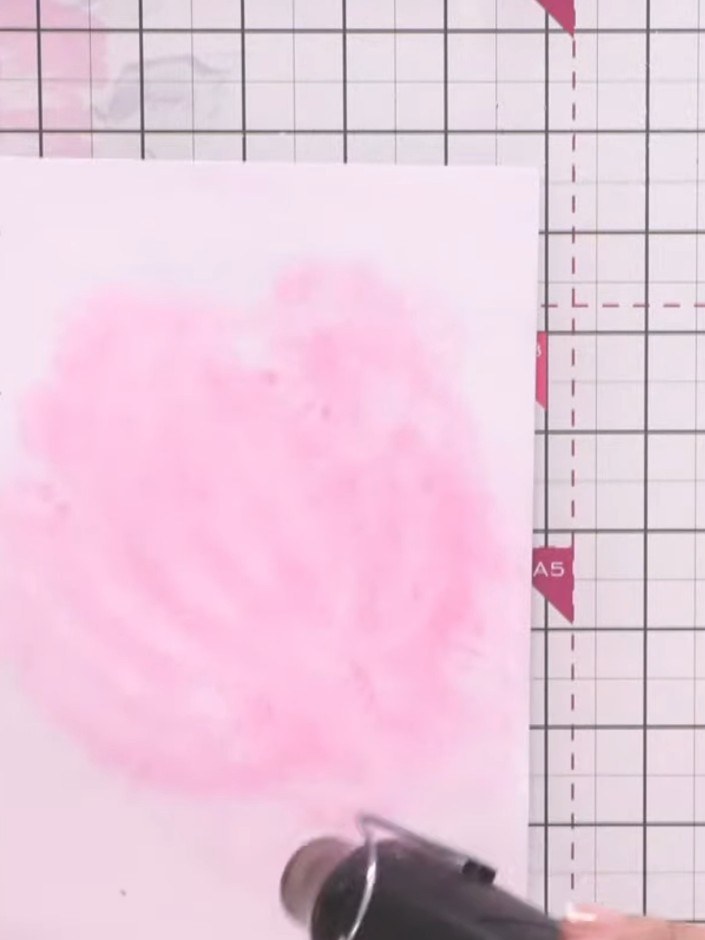
Use a heat gun to thoroughly dry the pink watercolour wash on the base layer panel. Hold the heat gun above the panel and move it across the surface until the watercolour is completely dry.
▶ watch this step (19:30)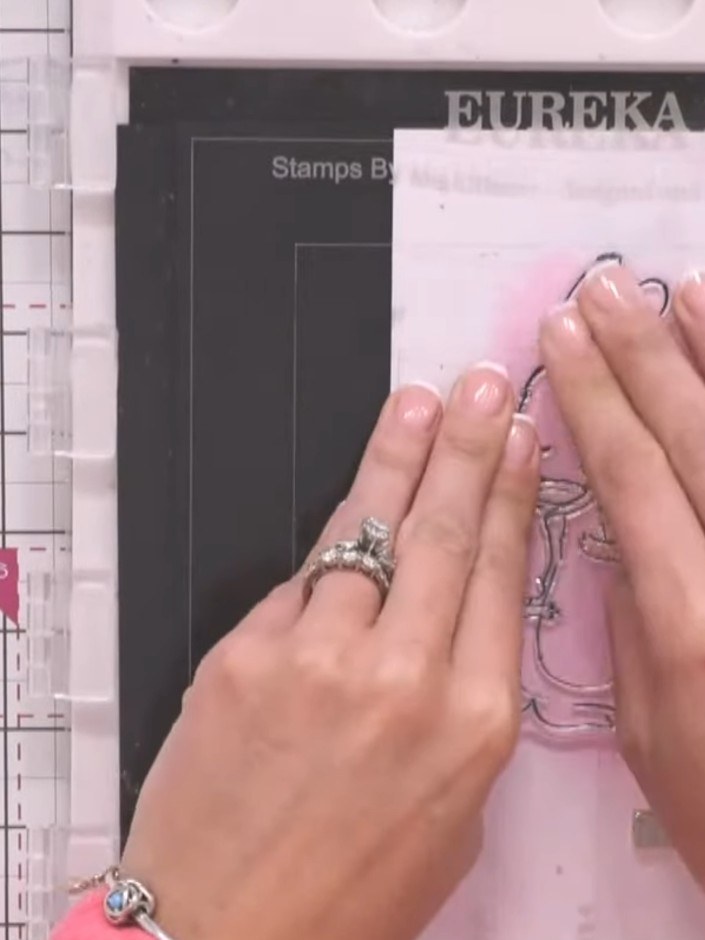
Stamp the bunny family image onto the dried watercolour background using pink ink. Position the stamp centrally on the coloured base layer and press firmly to transfer the image.
▶ watch this step (21:30)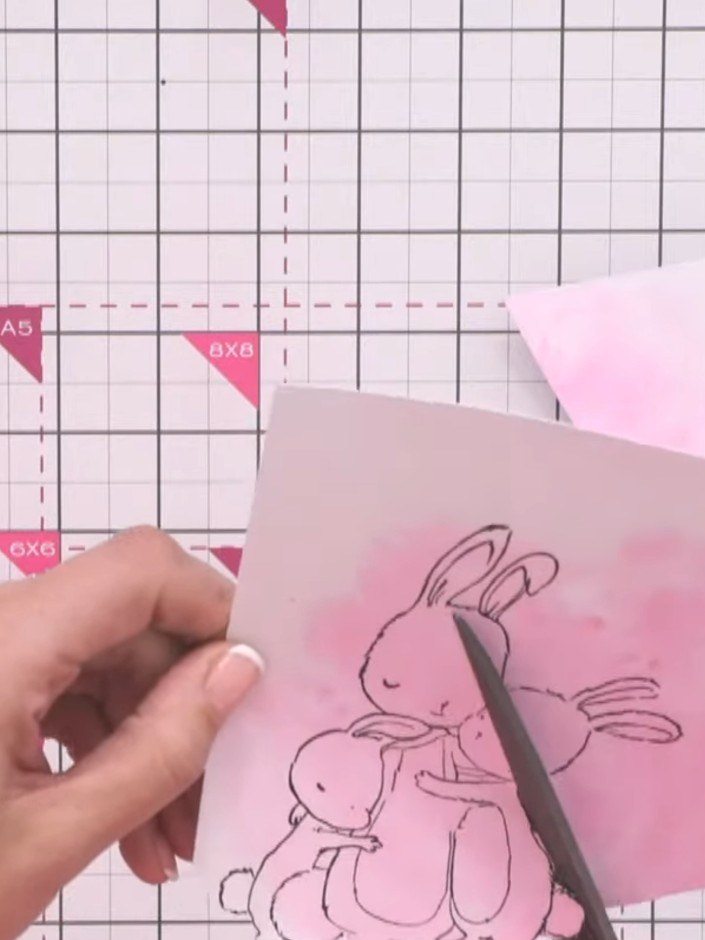
Fussy cut around the stamped bunny image carefully using scissors. Work gradually, moving the card rather than the scissors as you cut.
▶ watch this step (23:30)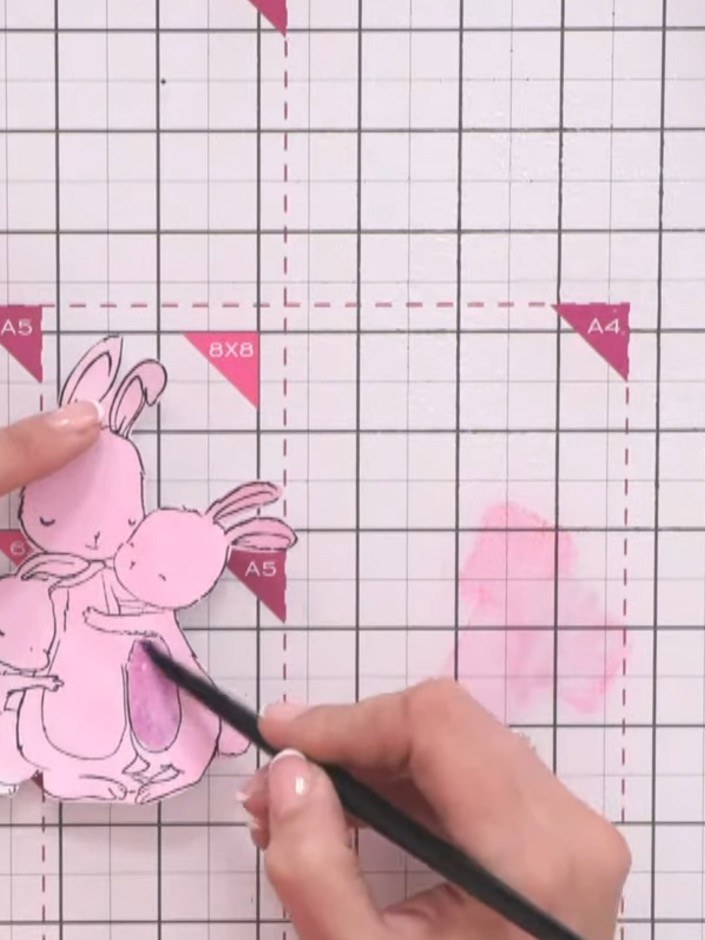
Add shading and detail to the bunny tummies using a brush with pink ink mixed with water. Build up the colour gradually to create depth and dimension on the pink areas.
▶ watch this step (25:30)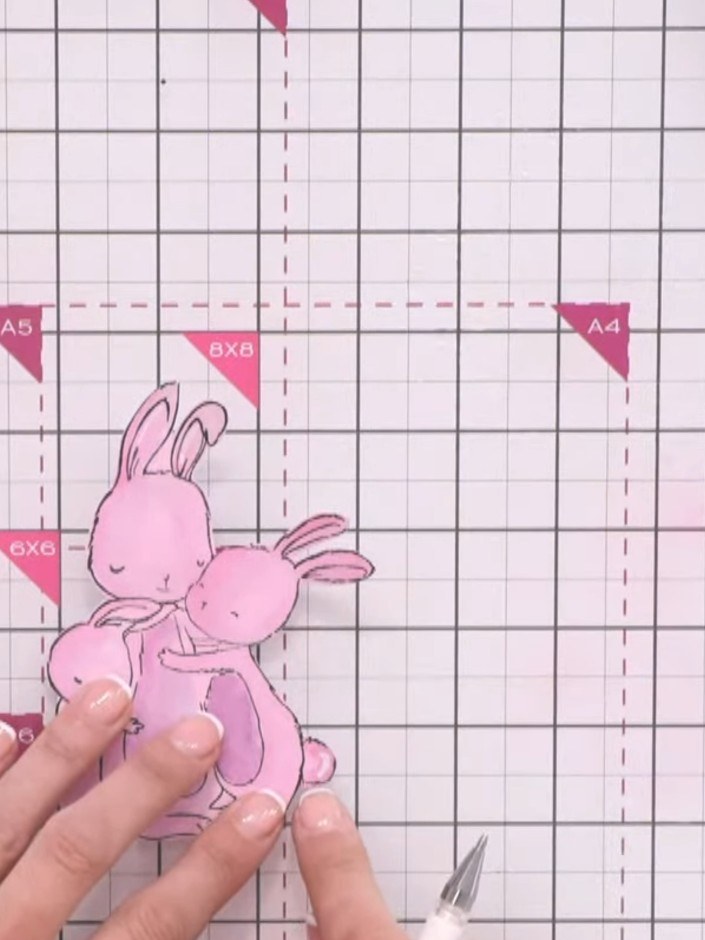
Use a white gel pen to add highlights to the bunnies. Focus on the ears, tail, and tummy areas where light would naturally catch to create dimension.
▶ watch this step (28:00)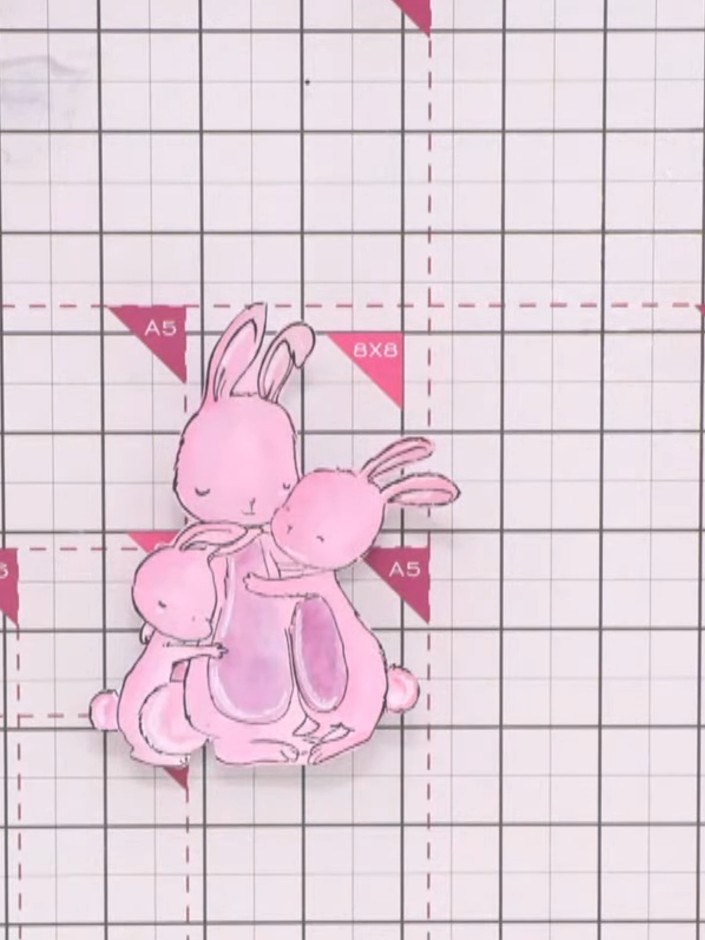
Apply adhesive to the back of the pink patterned paper piece and attach it to the white card mat, ensuring it is centred and aligned properly.
▶ watch this step (30:45)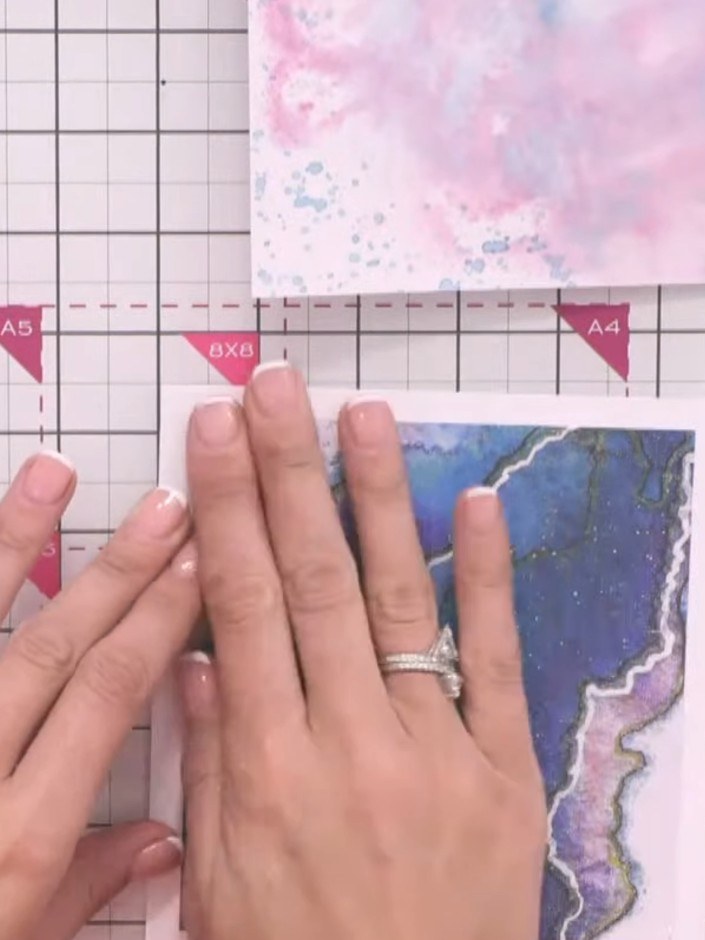
Apply glue to the back of the fussy-cut pink bunny topper and adhere it onto the patterned paper mat, positioning it carefully.
▶ watch this step (33:45)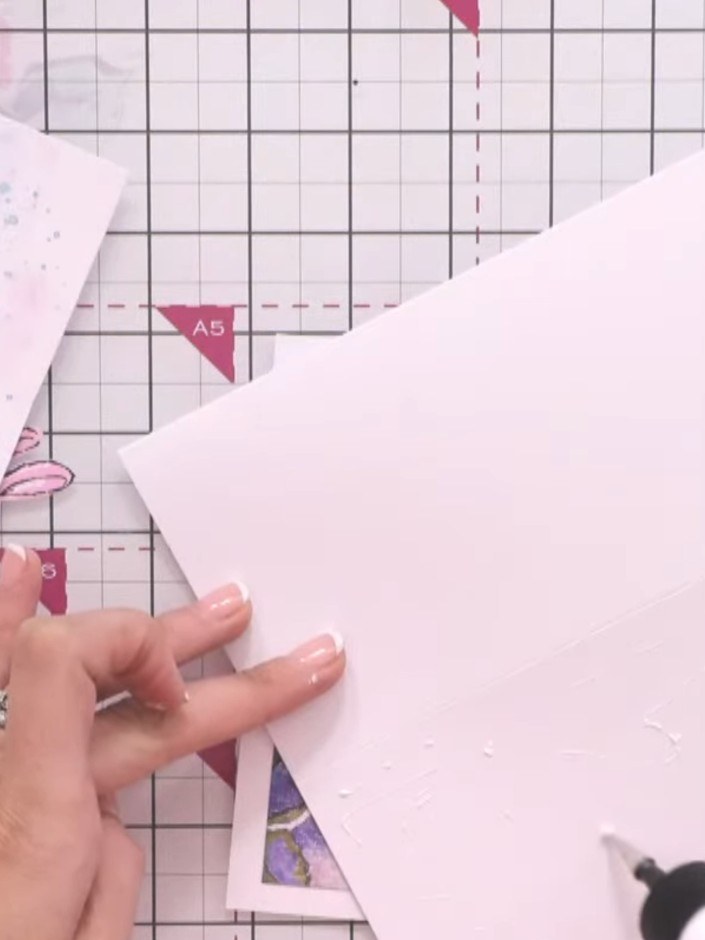
Apply glue to the bottom section only of your easel card base. This will secure the card in its easel position when the stopper is in place.
▶ watch this step (34:00)Written up from the show itself. See every guide from our shows · free how-to guides · watch live on My Telly