Give your friends $10 off their first order!
Refer a FRIEND








A project from our live show BRAND SHOWCASE - UNIKO - Join us for this much loved event where the SMALL brands get to shout LOUDEST - Broadcast 20TH JAN 23 · 01/20/2023 · watch it from 13:30
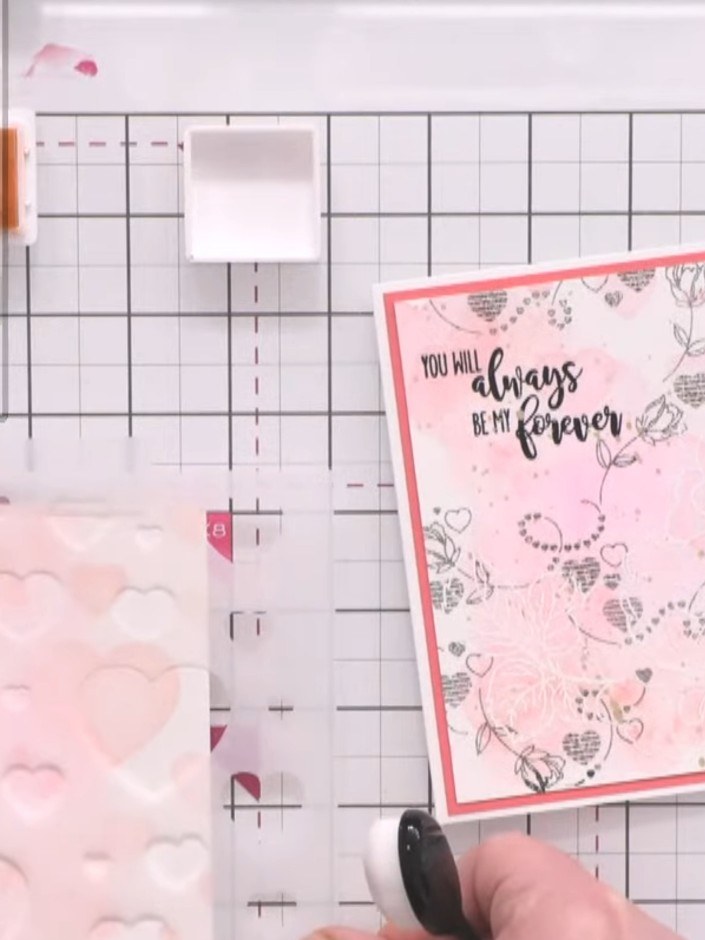
Create a beautiful card featuring layered stencilled hearts in soft pink and red tones that create a lovely bokeh depth effect. Using a cascading heart stencil positioned multiple times with varying ink colours, you'll build dimension and achieve a soft, romantic blurred aesthetic. This elegant design is perfect for Valentine's Day, anniversaries, or any occasion celebrating love.
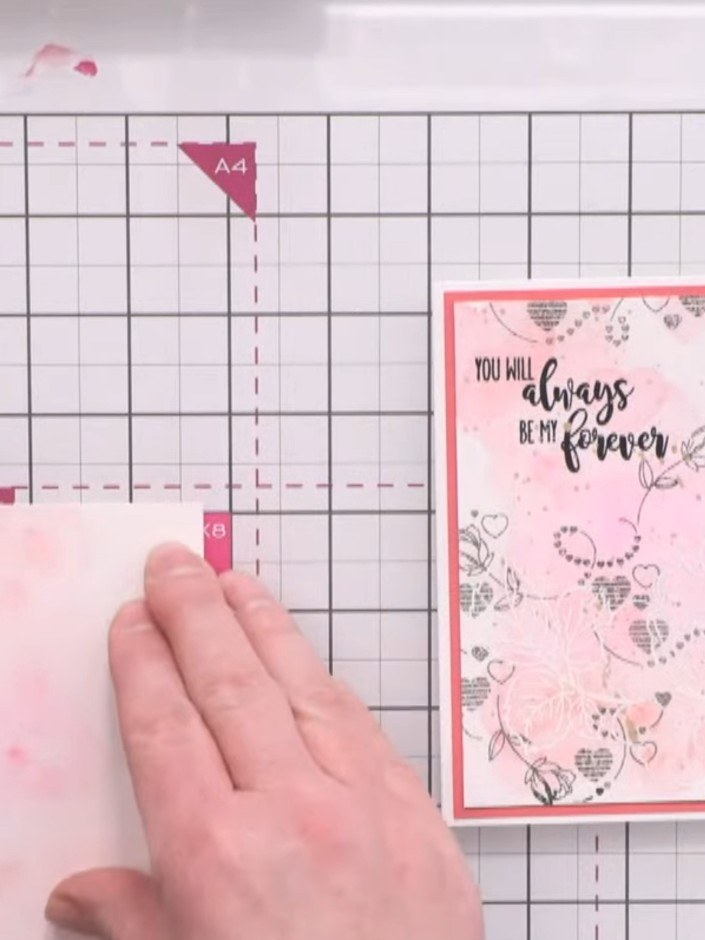
Position the cascading heart stencil on your white card base. Using a Funky Fossil blending brush, apply light pink ink over the stencil with a soft dabbing motion to create a subtle background pattern.
▶ watch this step (13:45)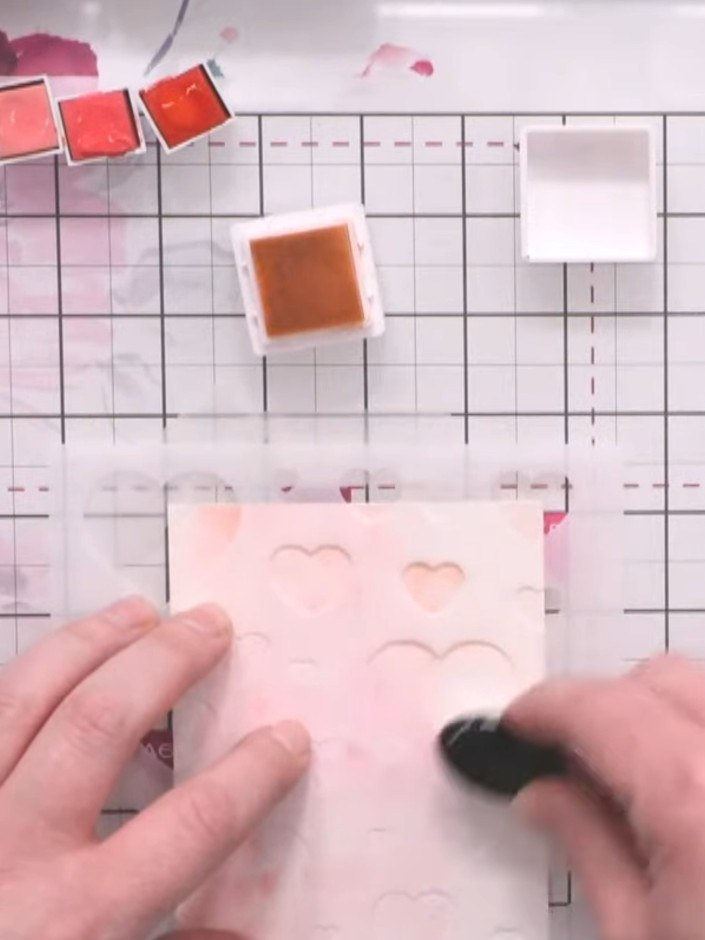
Reposition the stencil slightly and apply a darker shade of pink ink using a blending brush to create overlapping hearts and build the bokeh effect.
▶ watch this step (15:15)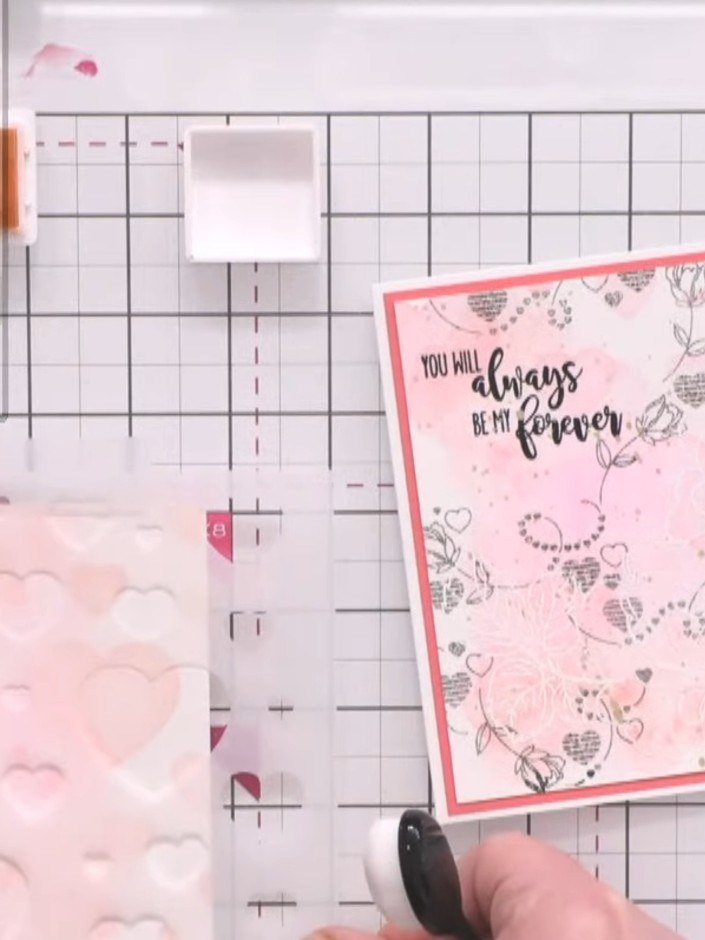
Using a blending brush, apply a darker poppy red shade through the scattered hearts stencil in selected areas to create further depth and dimension on your background.
▶ watch this step (16:30)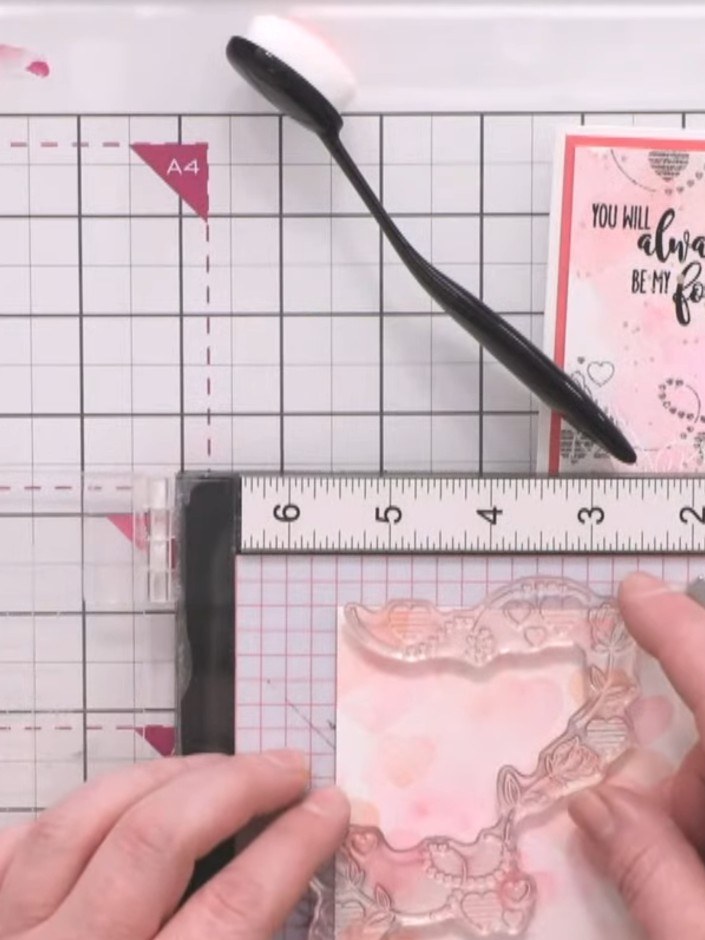
Stamp the love word stamp inside one of the heart shapes using black ink to create a focal point on your card.
▶ watch this step (18:30)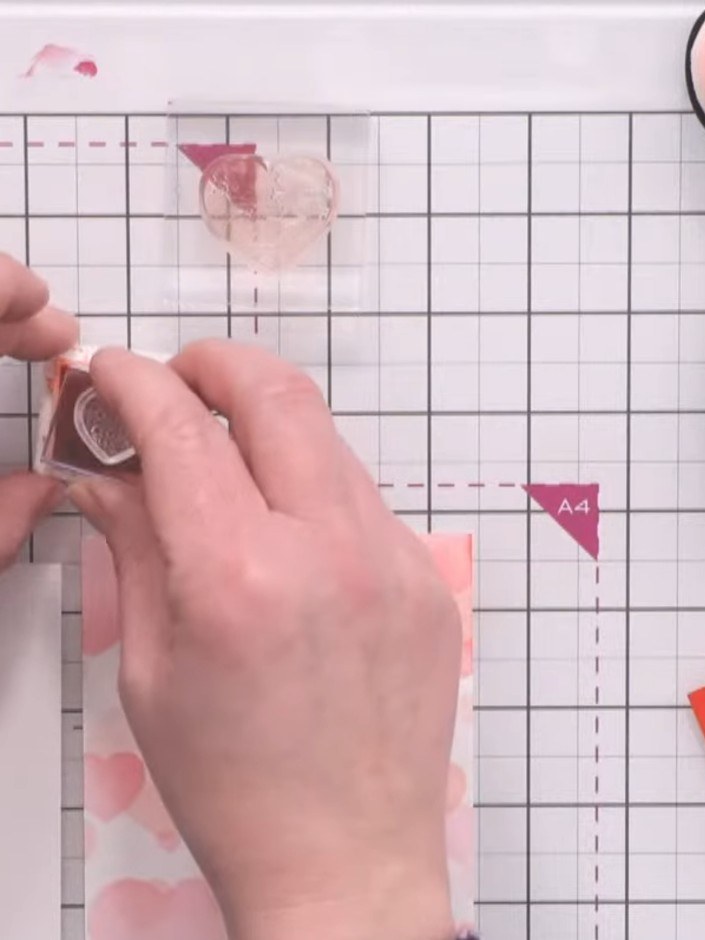
Layer your finished stencilled background onto a card base using foam adhesive to create dimension.
▶ watch this step (42:00)Written up from the show itself. See every guide from our shows · free how-to guides · watch live on My Telly