Give your friends $10 off their first order!
Refer a FRIEND








Prices change straight away. Every language is our own translation, not Google.
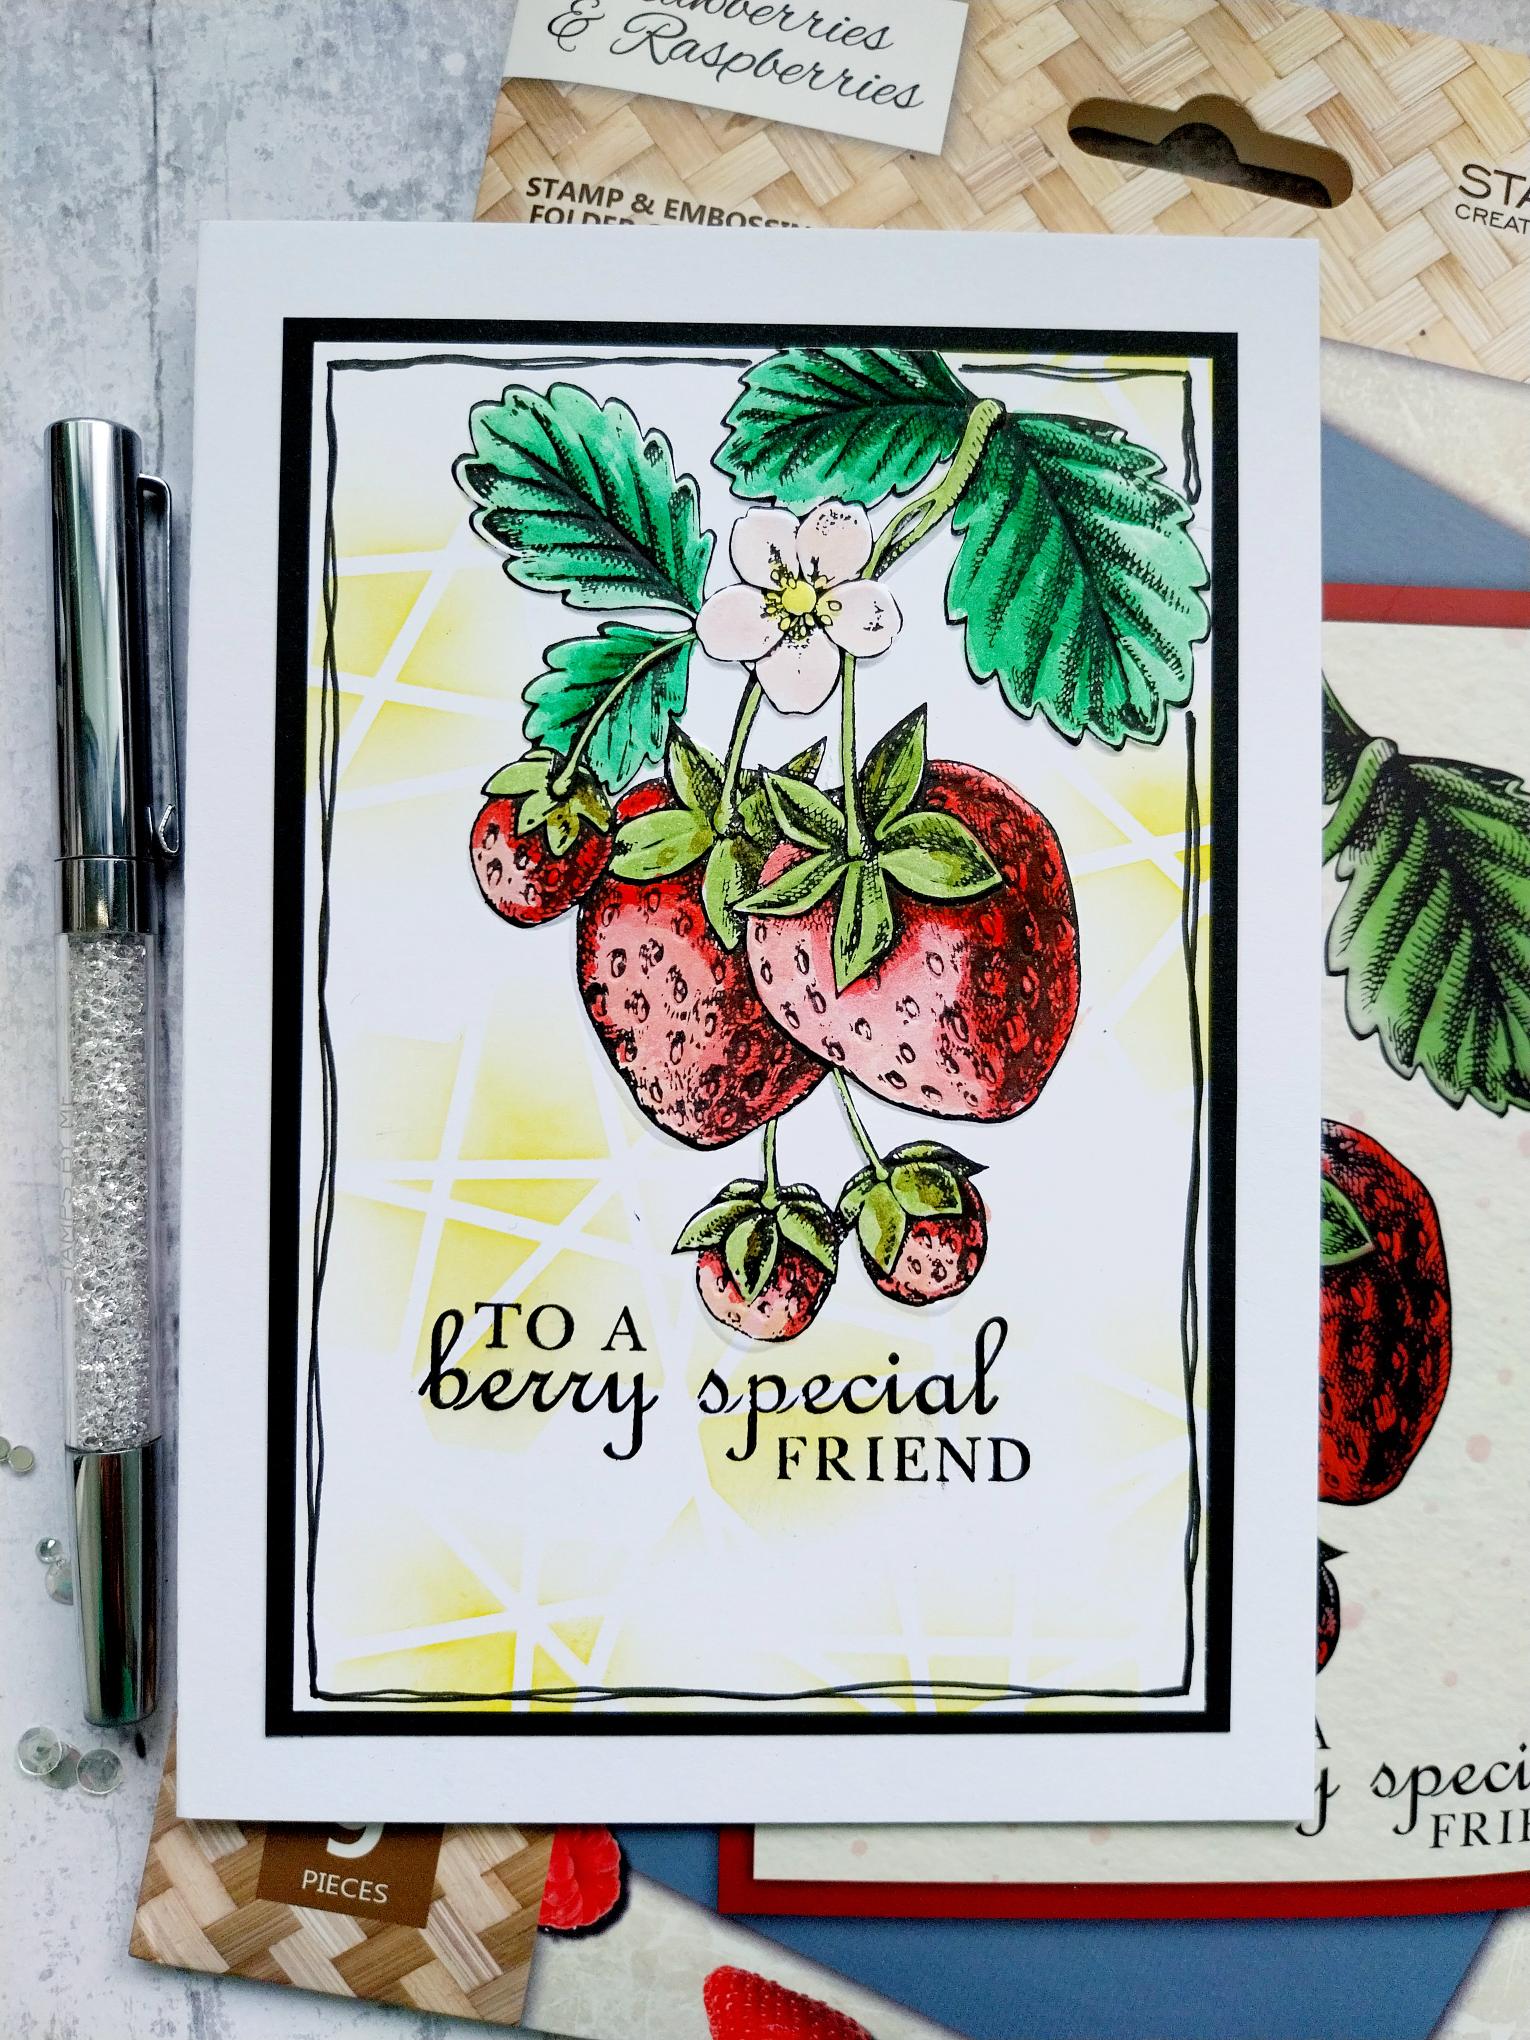
WHAT YOU WILL NEED:
White Card blank 5 x 7"
Black/white cardstock
Strawberries & Raspberries Stamps & Embossing Folders
SBM Honeycomb Stencil 7 x 7"
SBM Hybrid Ink Pad: Midnight
SBM Dye Ink Pad: Sherbet
Watercolour paints
Paint brush
Blending brush
Black pen
Eureka 101 Watercolour Tablet
SBM A3 Magnetic glass mat
Paper Trimmer
Glue
Die Cutting machine
[click image to enlarge] 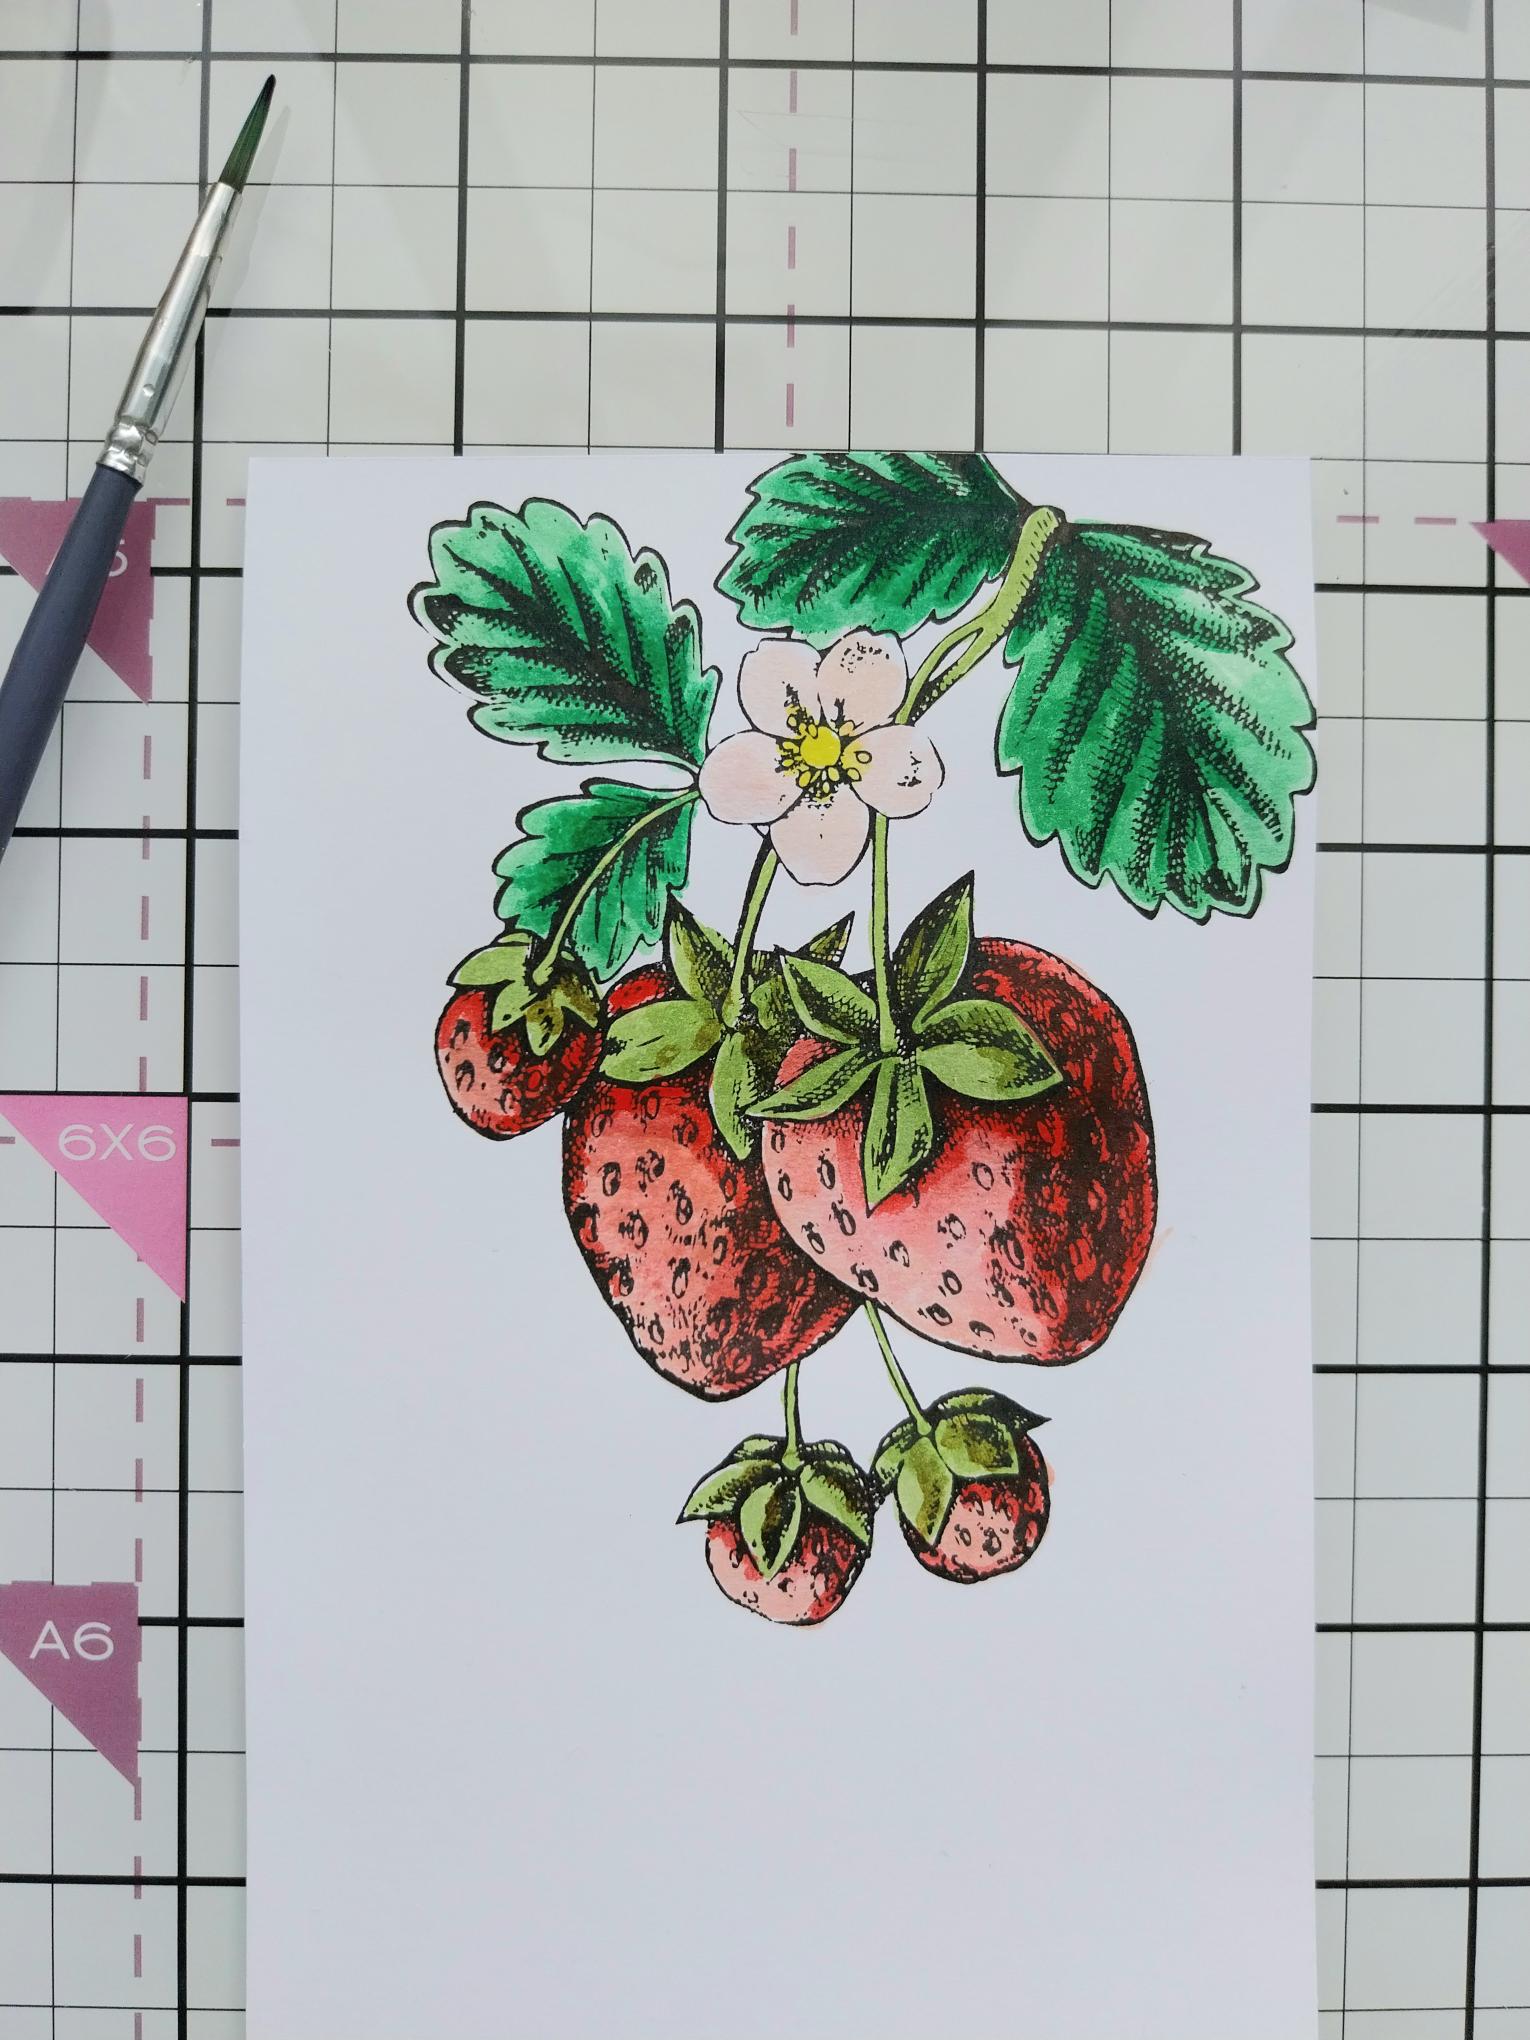
|
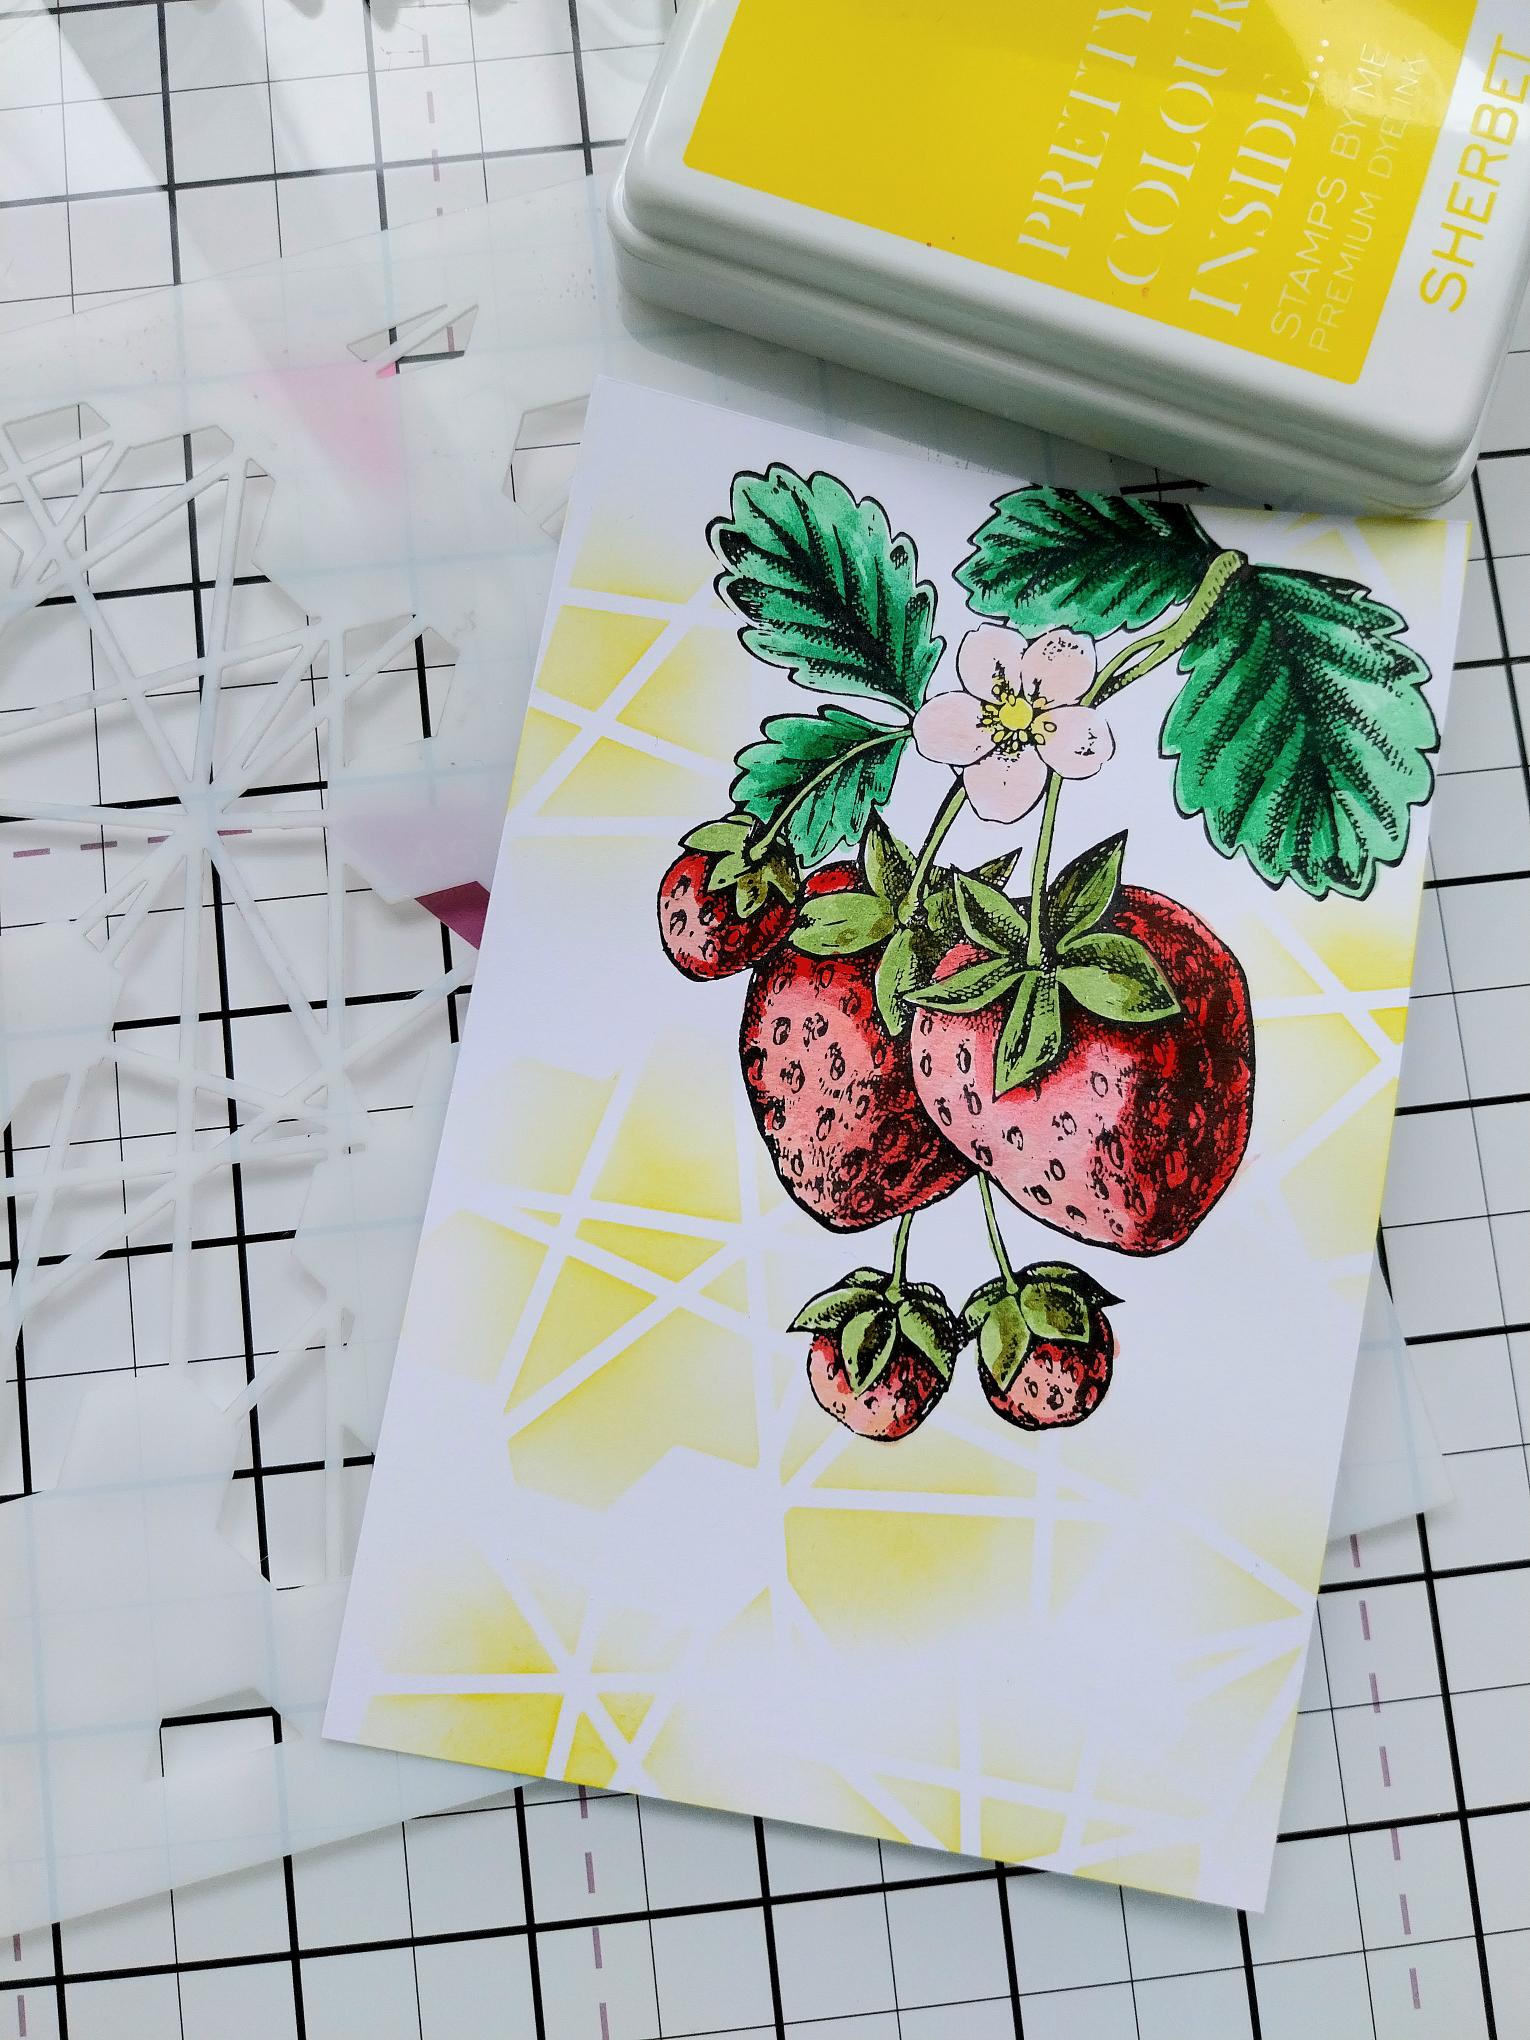
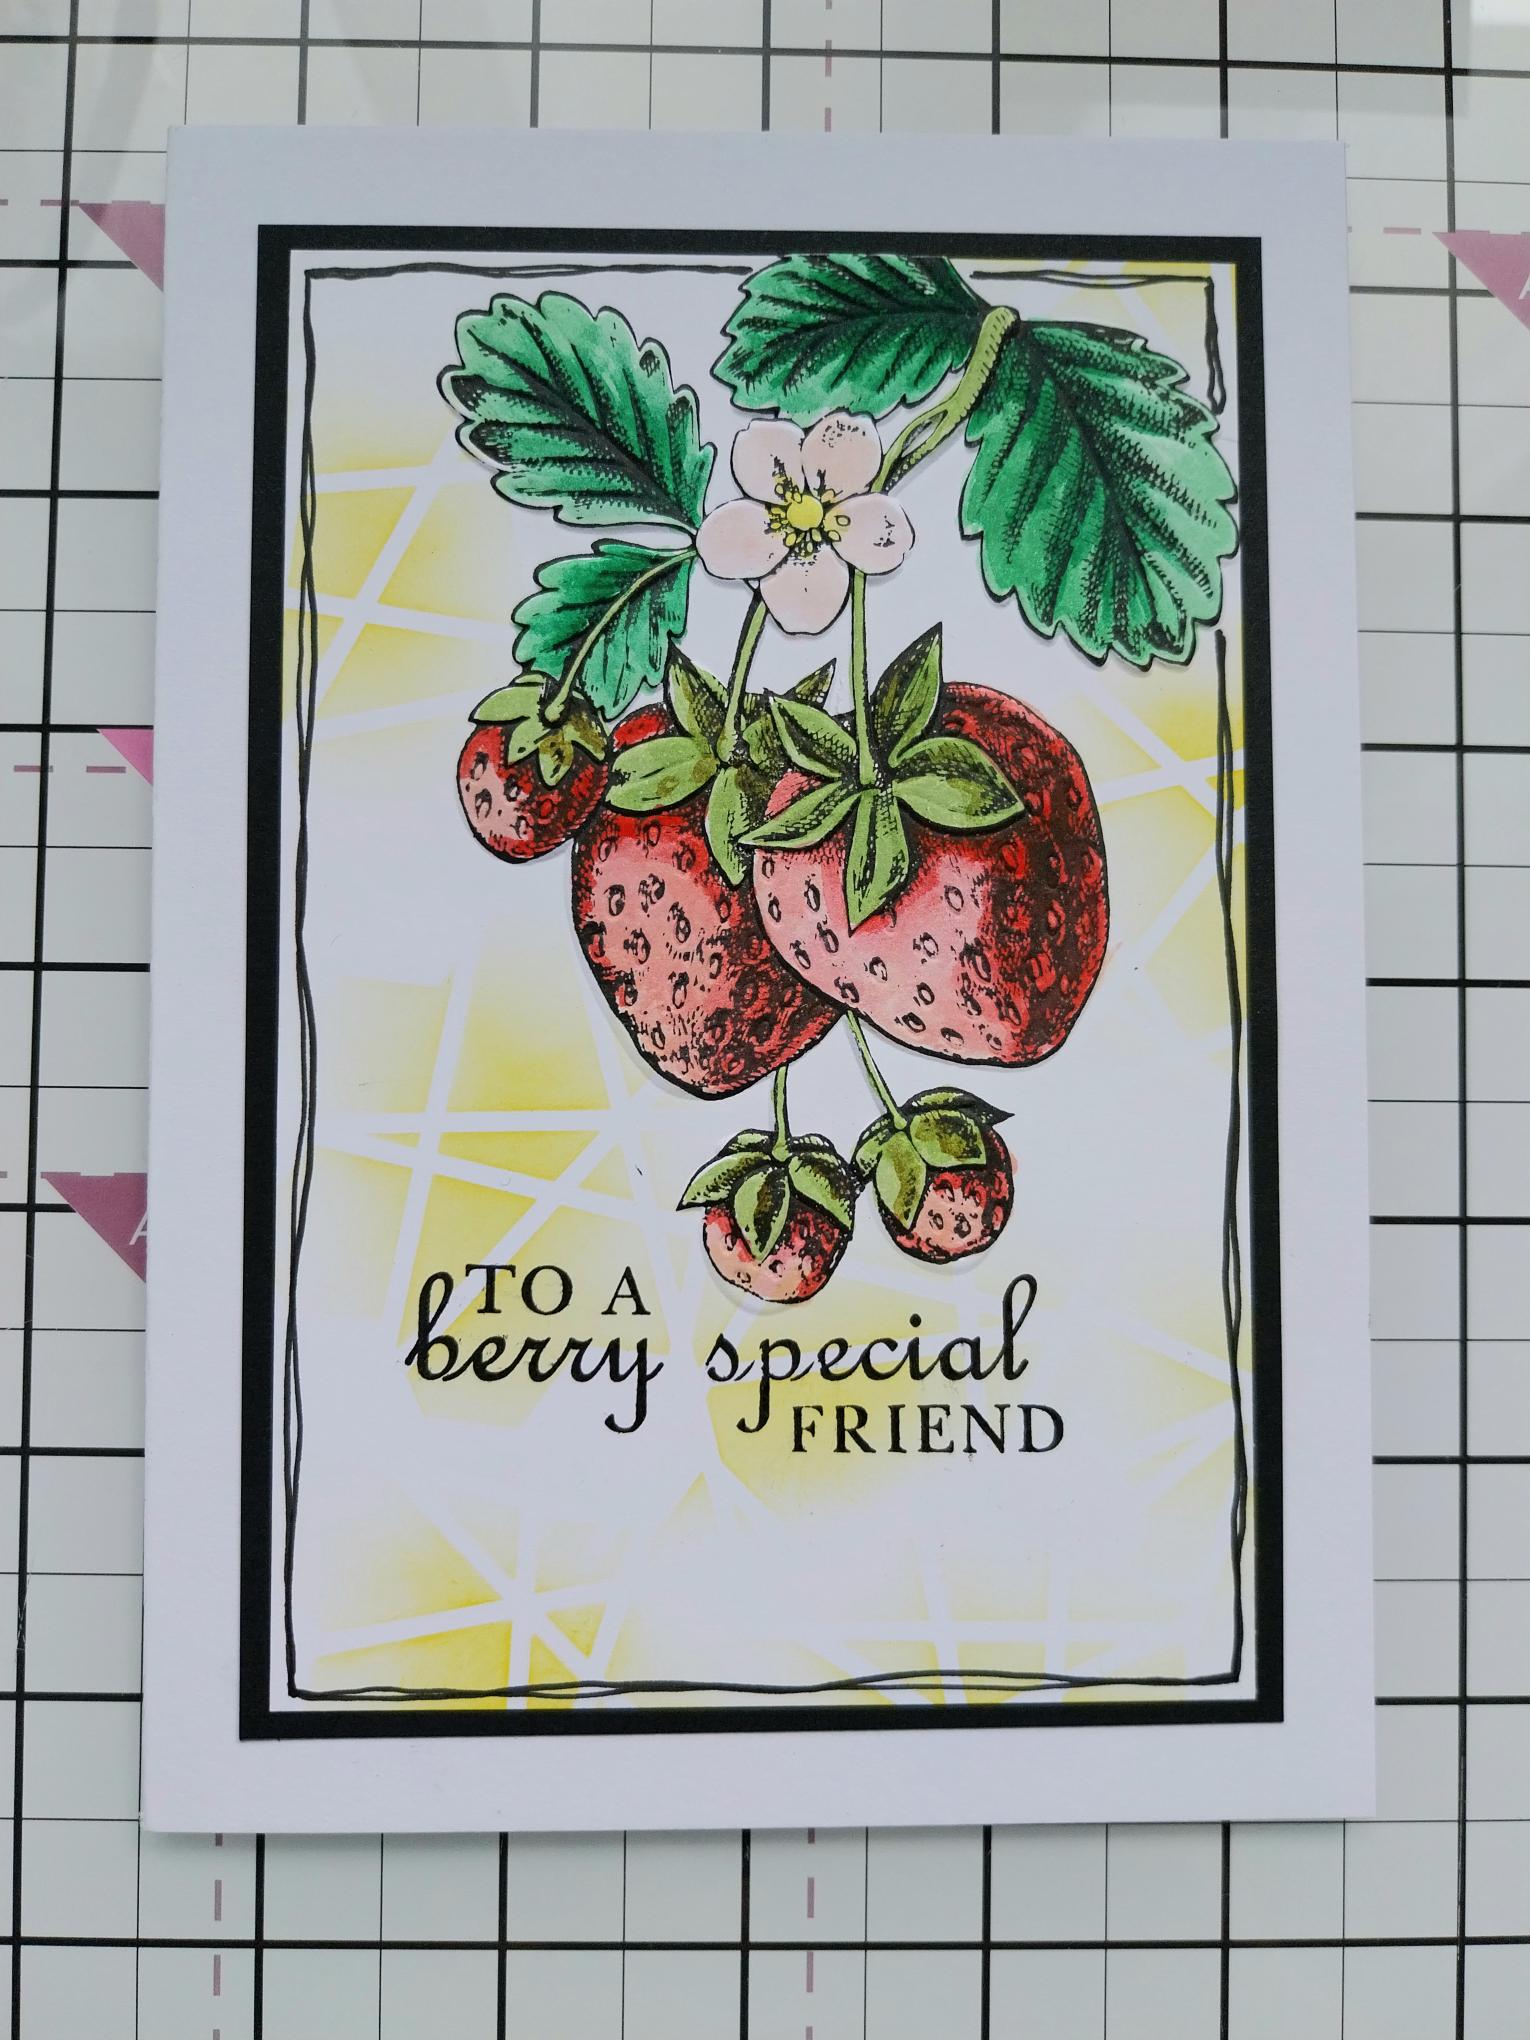
Using the embossing folder as a positional guide, stamp your strawberries in the Midnight ink, onto white card trimmed to 4 x 6". Use your watercolour paints to colour in your stamped design. |
|
Blend Sherbet randomly through your Honeycomb stencil to create a background around your image. |
|
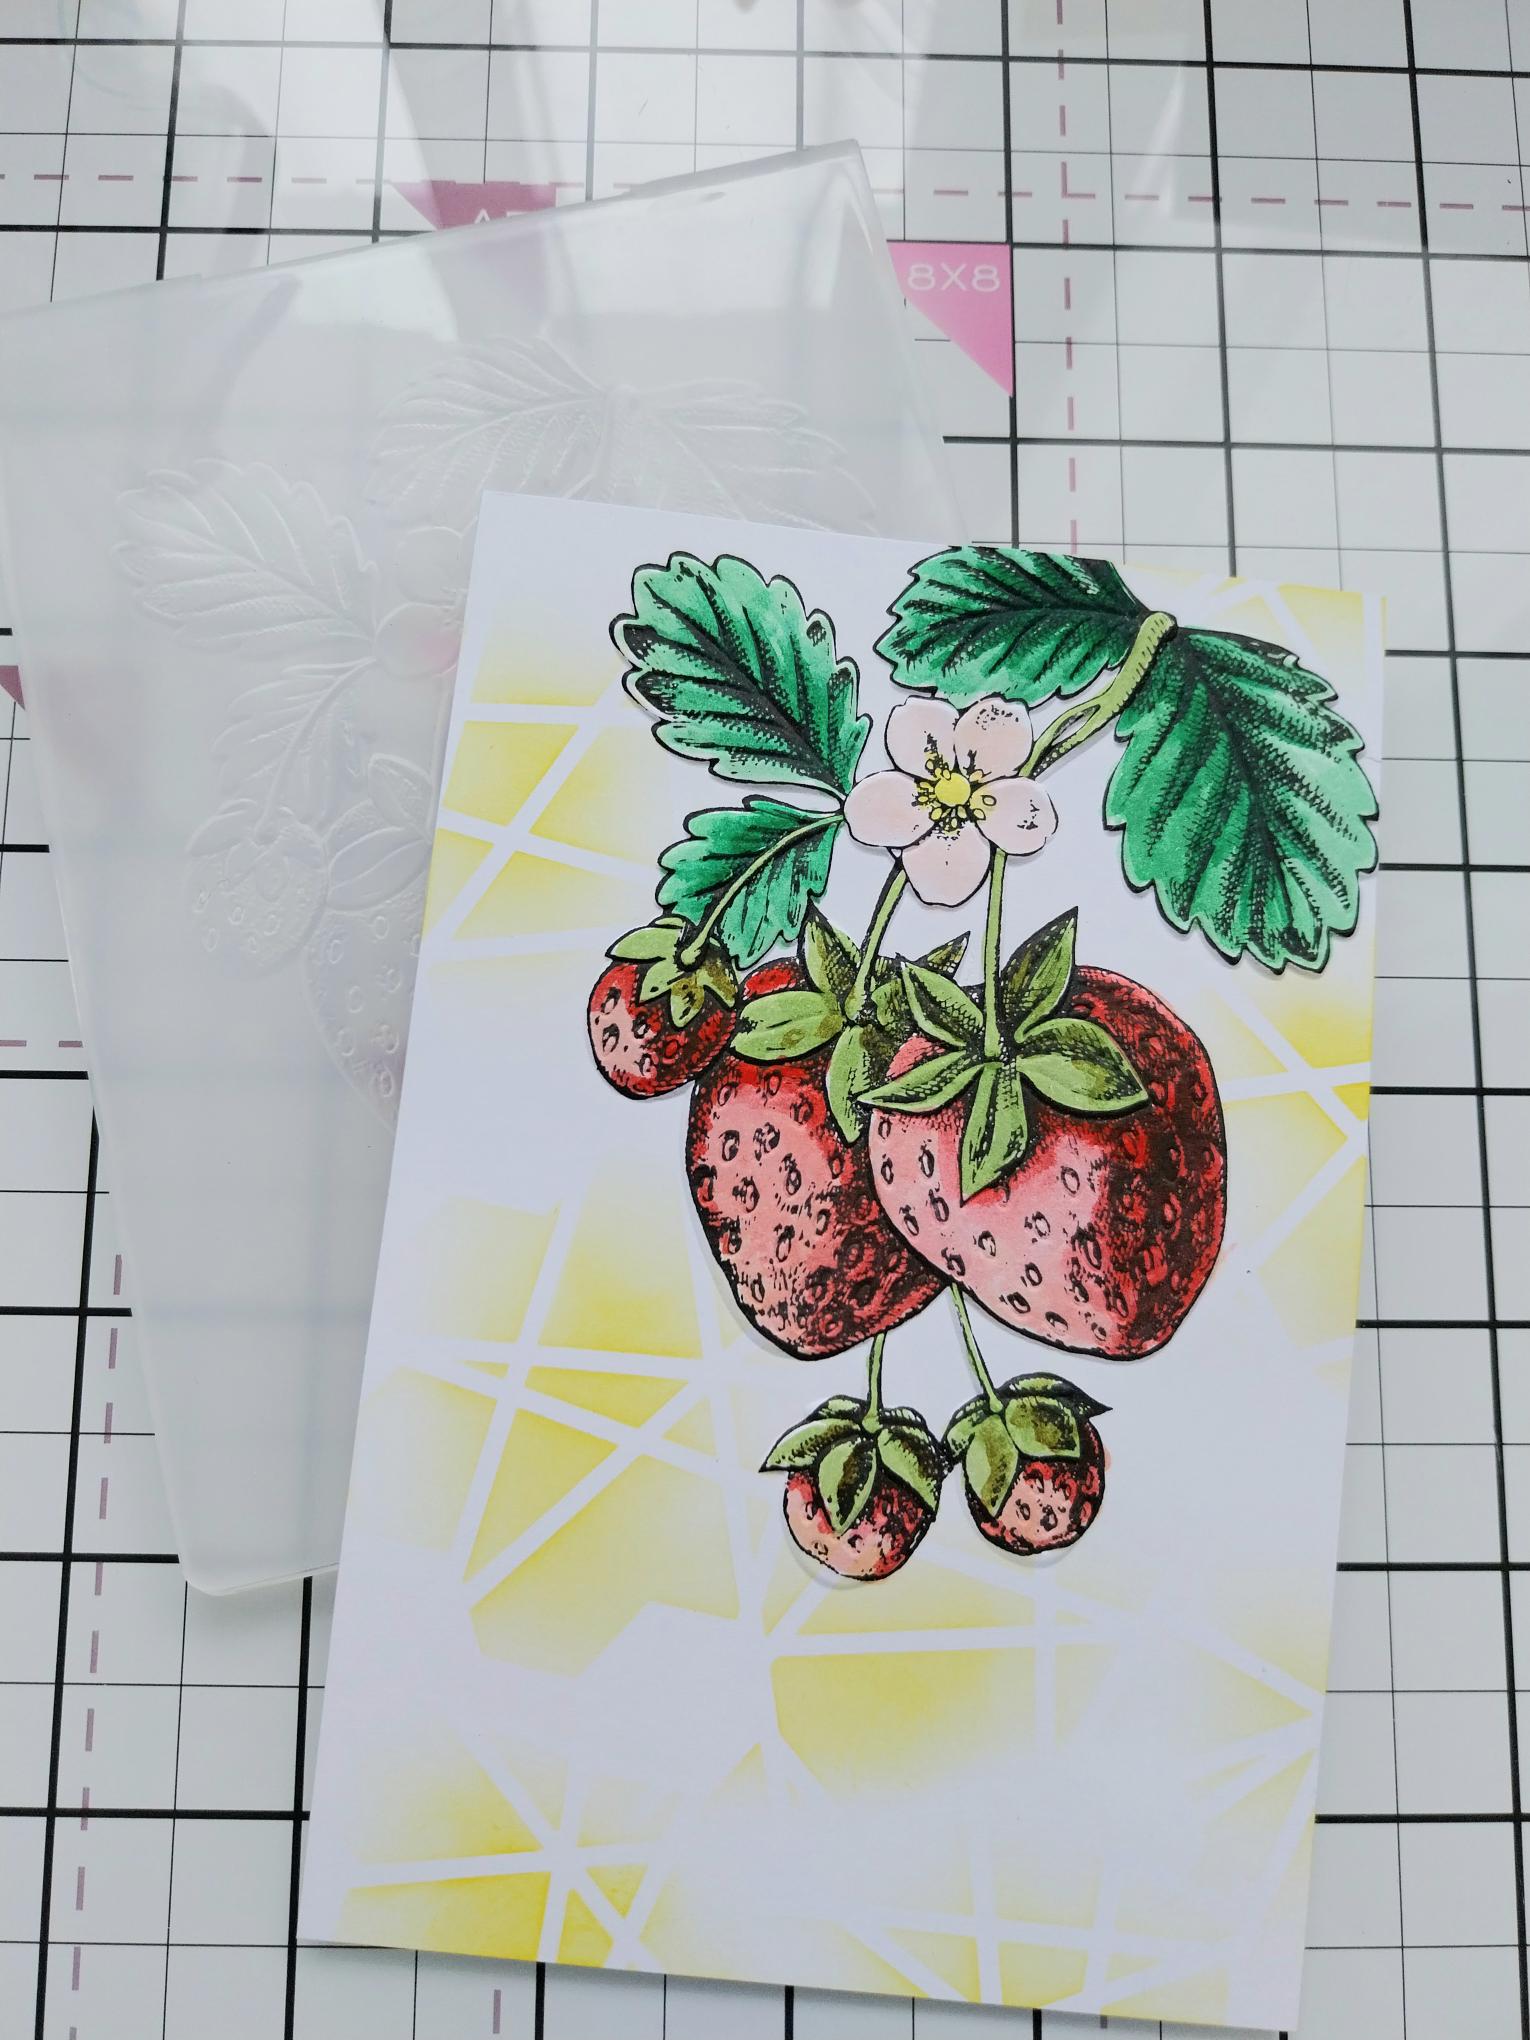
Line up the embossing folder with your image and run it through your machine. TIP: If you prefer, you can emboss the image first and then stamp over the top. Whichever you find the easiest. |
|
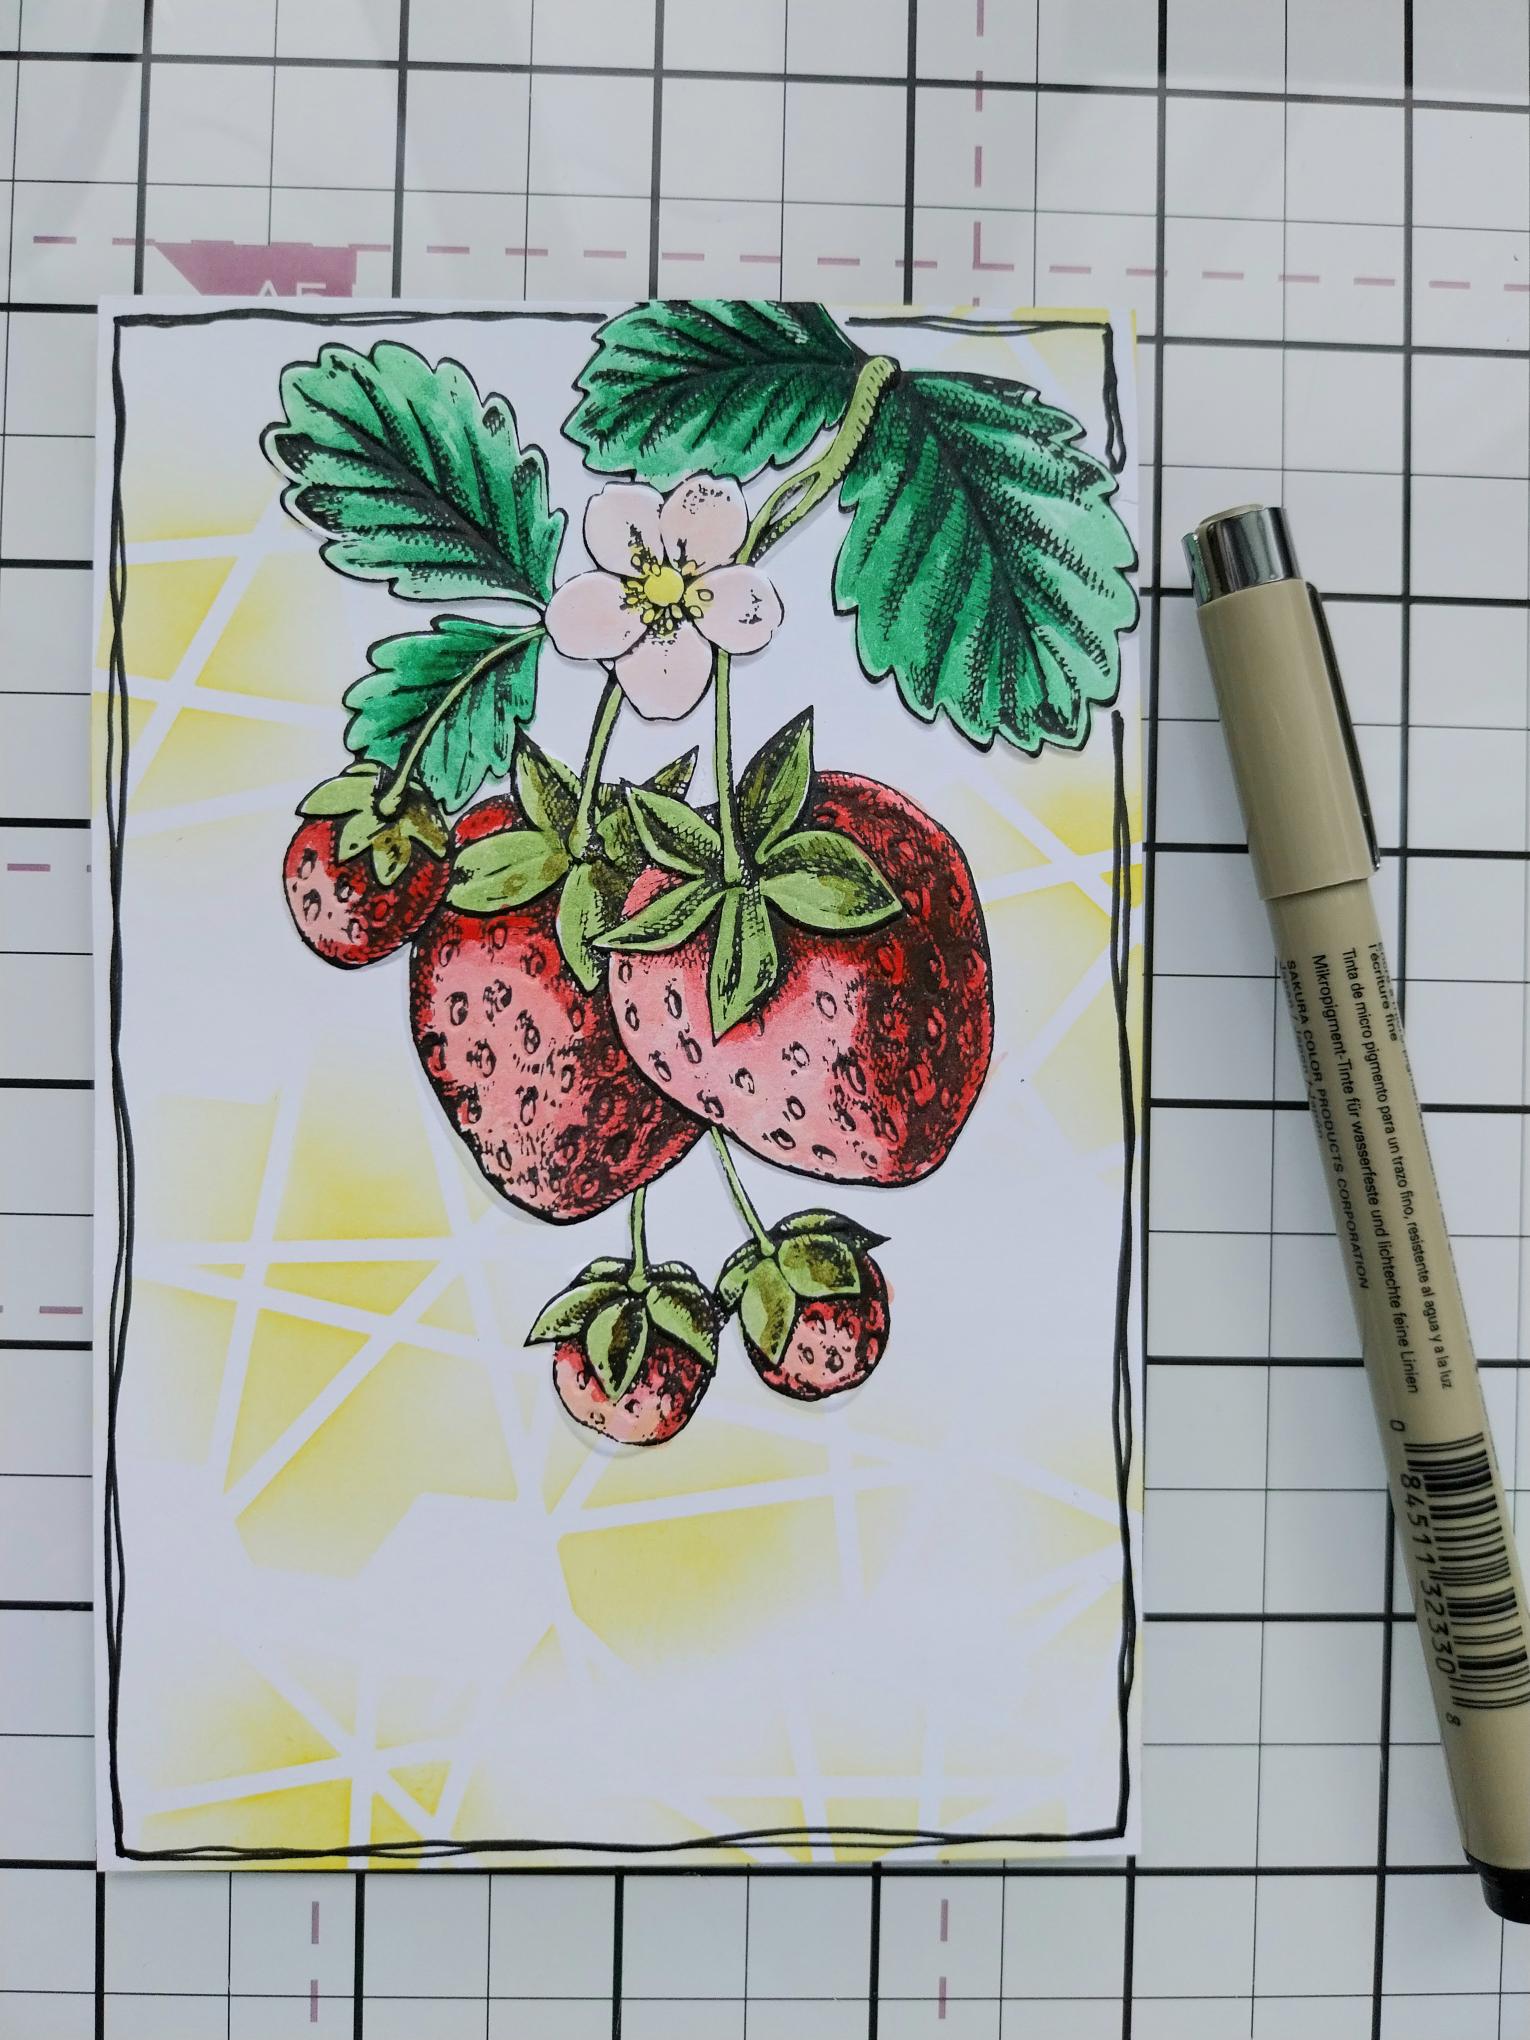
Use a black pen to create a decorative frame around the card. |
|
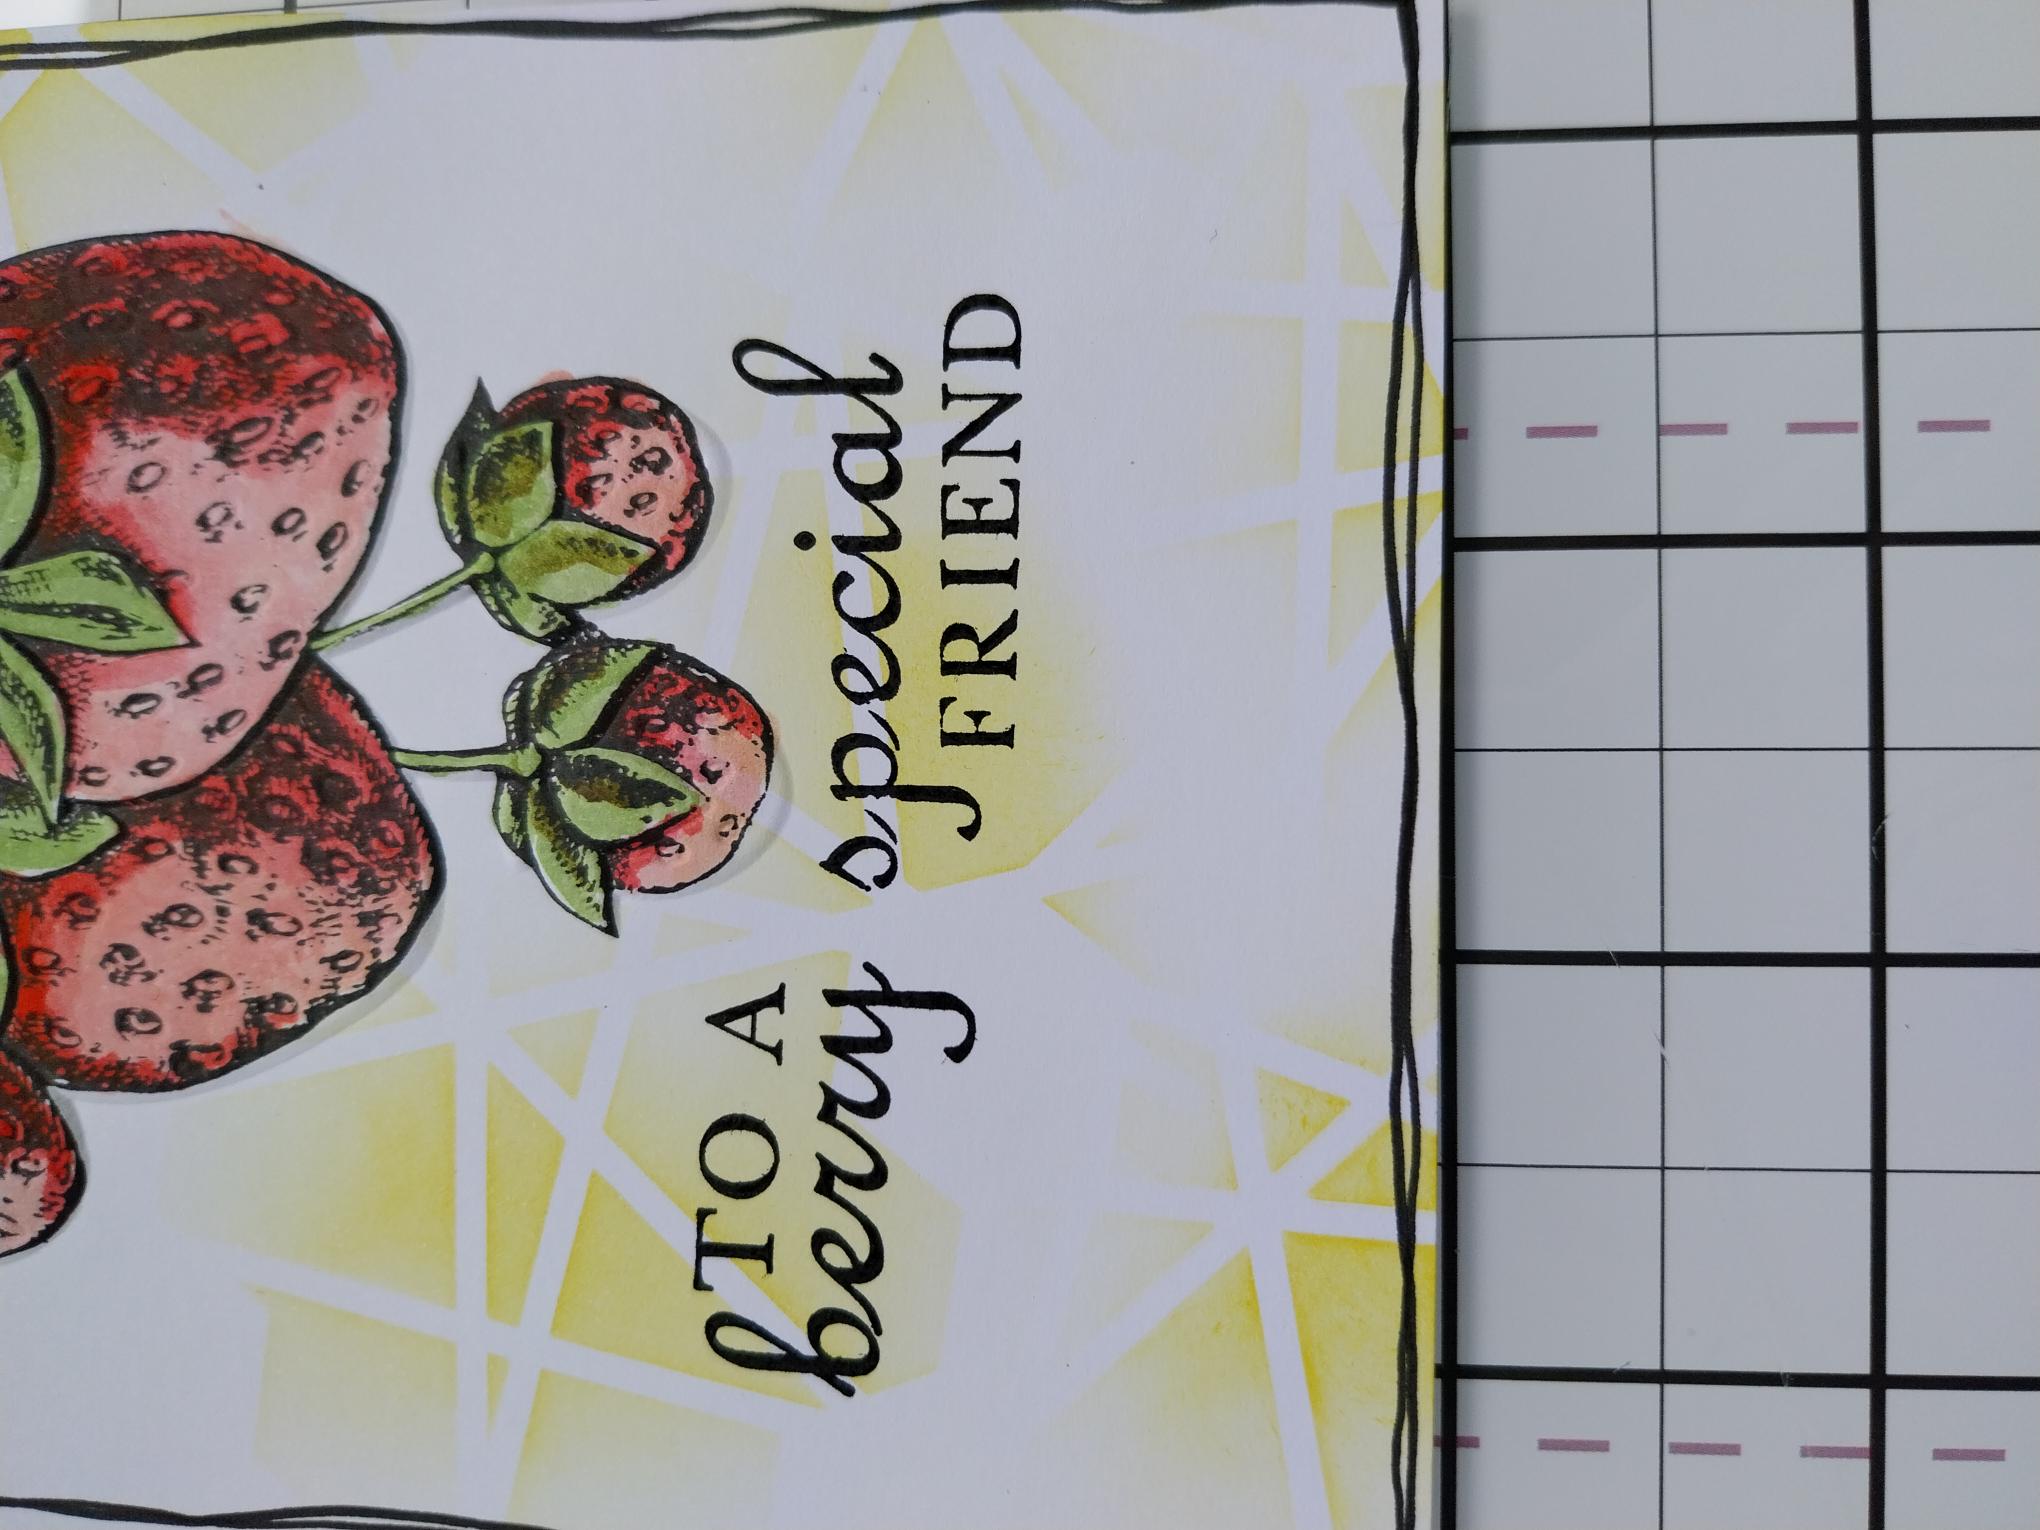
Stamp the sentiment with the Midnight ink. |
|
Mat your artwork onto black card cut to 4 1/4 x 6 1/4" and then onto your card blank. |