Give your friends $10 off their first order!
Refer a FRIEND








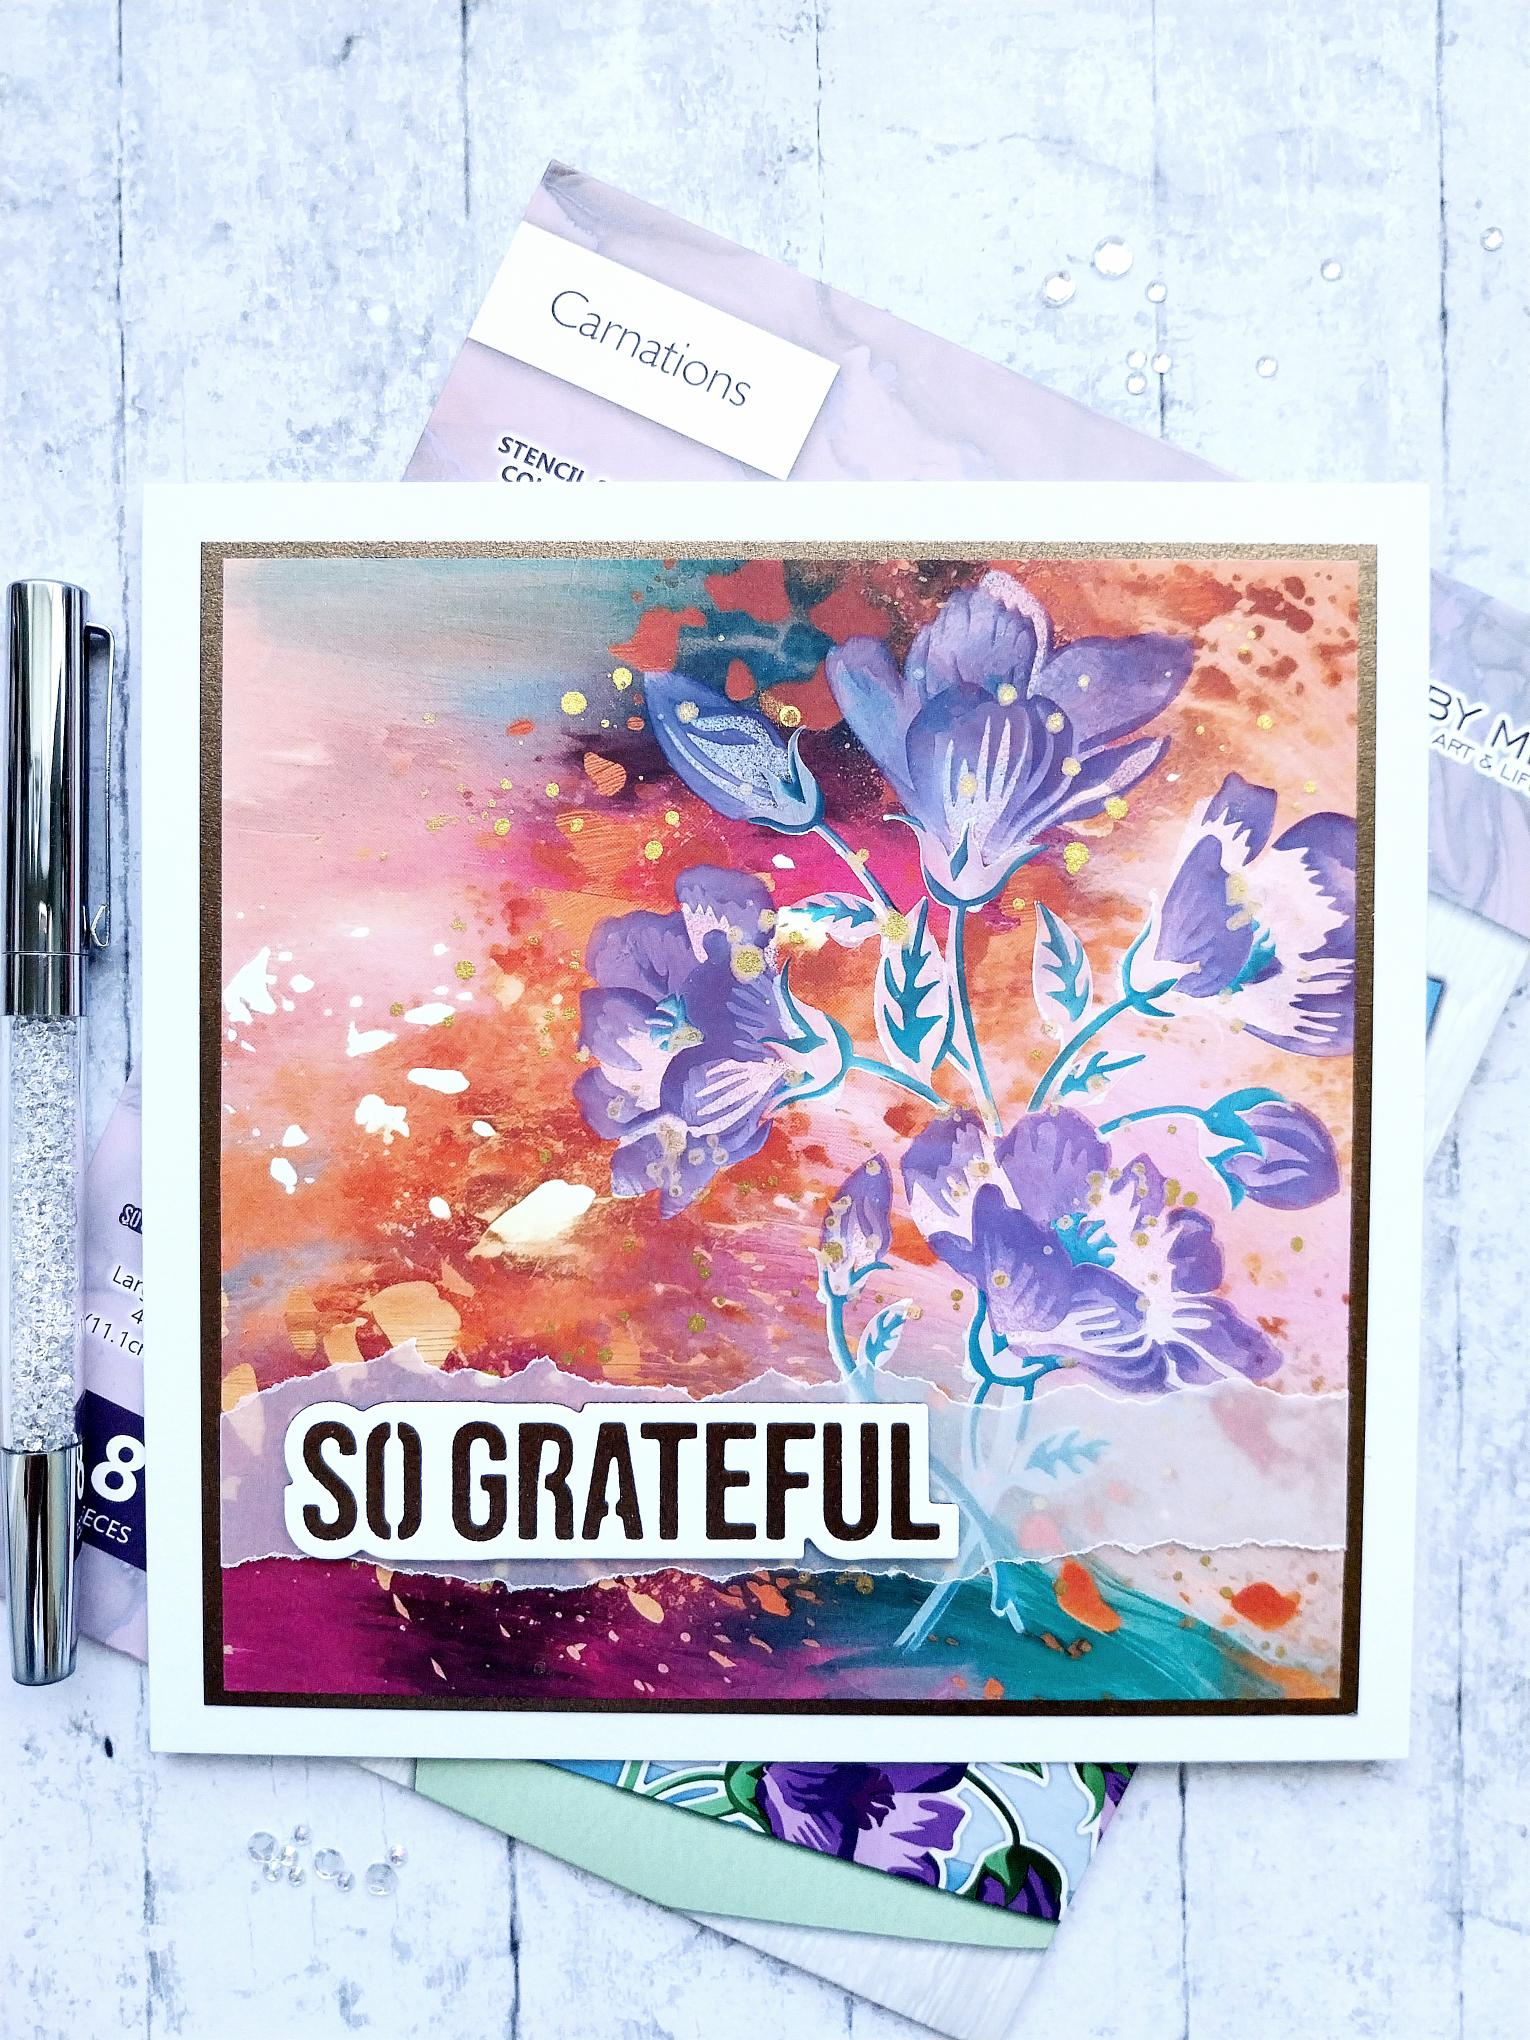
WHAT YOU WILL NEED:
White 7 x 7" card blank
Gold satin cardstock
White cardstock
Vellum
Carnations Stencil & Die Collection
Marbled Elegance 6 x 6" Paper Pad
SBM Pigment Ink Pad: Cotton
SBM Dye Ink Pad: Indigo, Tiffany
Pearlywinks Pearl Mist Golden Shimmer
Paint brush
Eureka 101 Watercolour Tablet
SBM A3 Magnetic glass mat
Paper Trimmer
Glue
Double-sided tape
Die Cutting machine
[click image to enlarge] 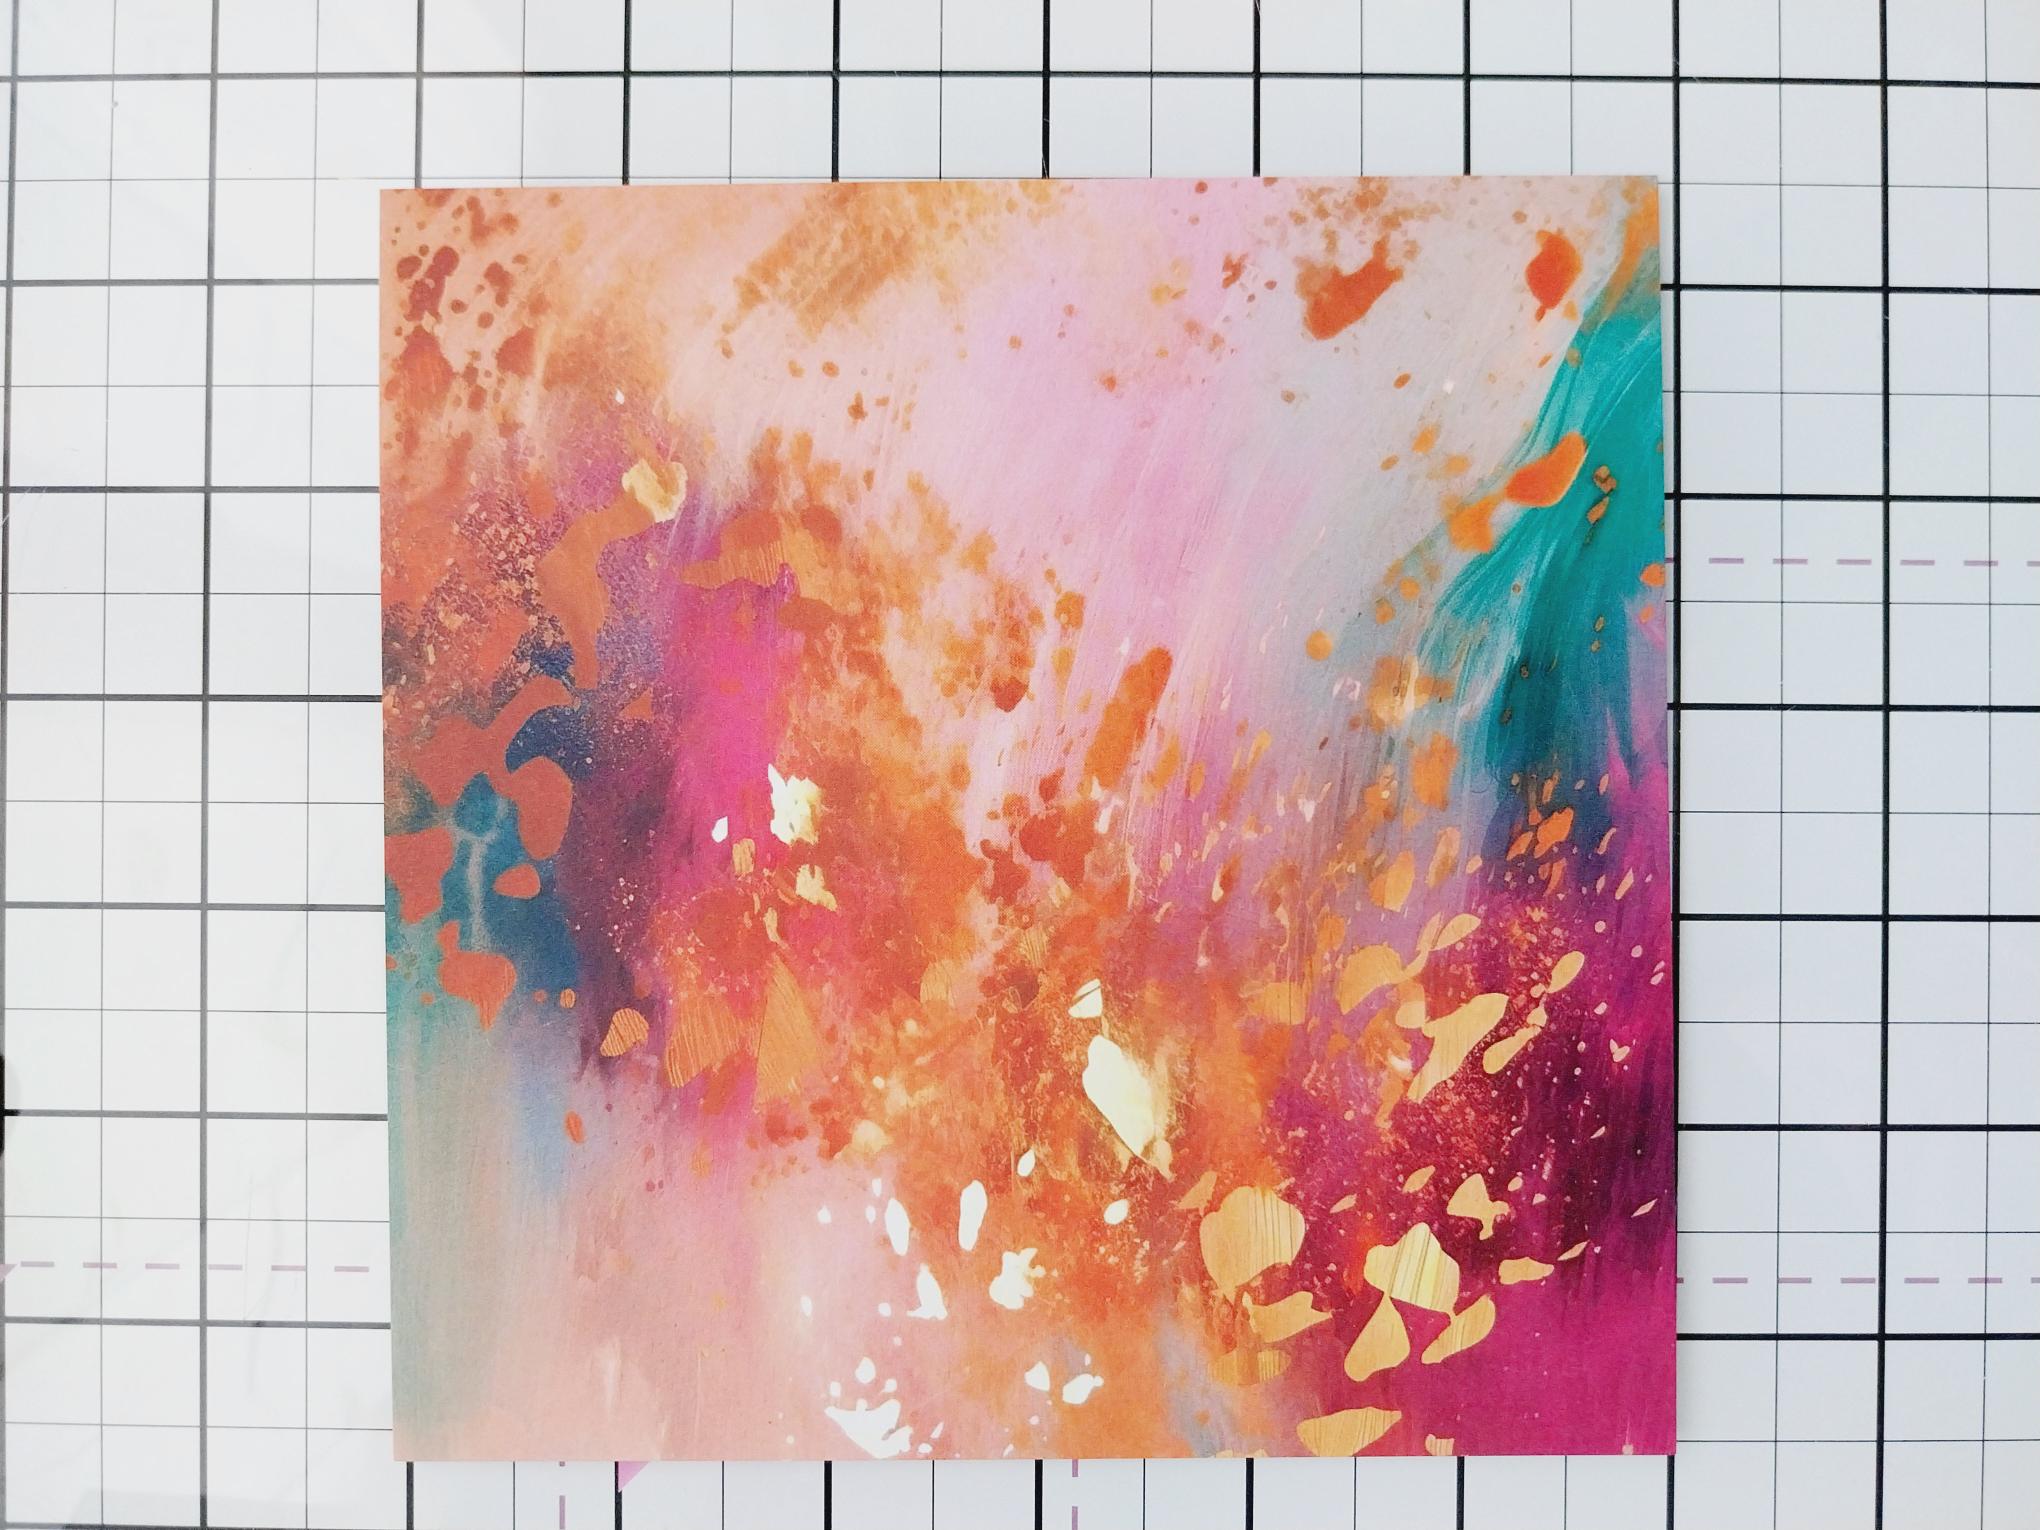
|
Choose your paper from the Marbled Elegance paper pad. |
|
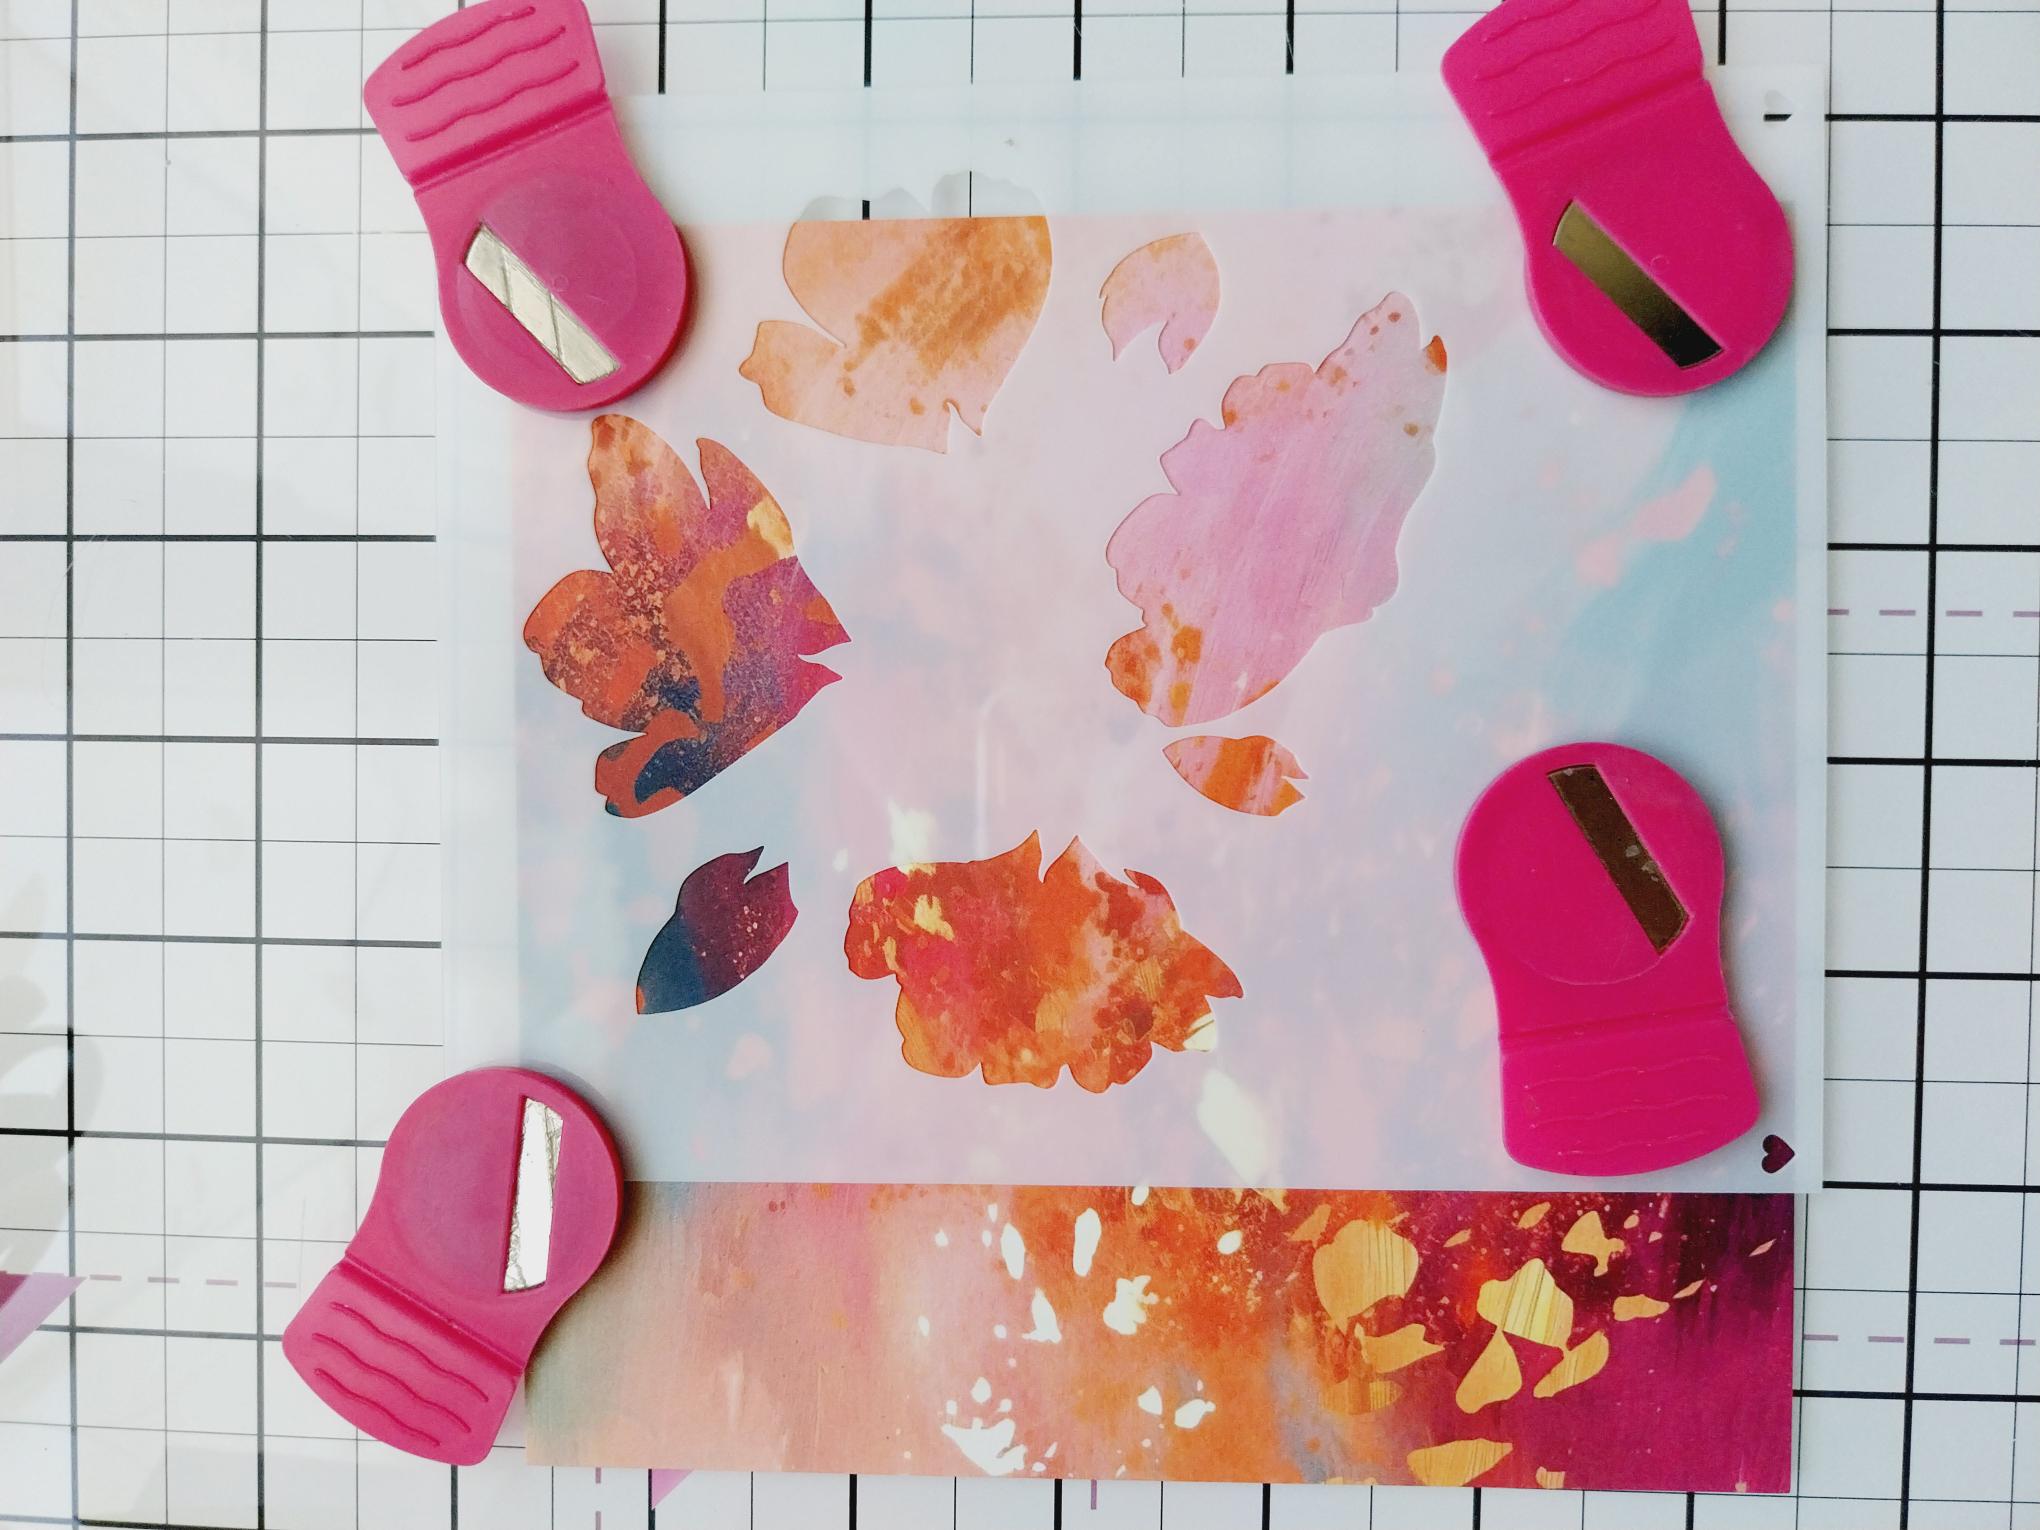
Secure stencil 1 just off the right edge of the paper. |
|
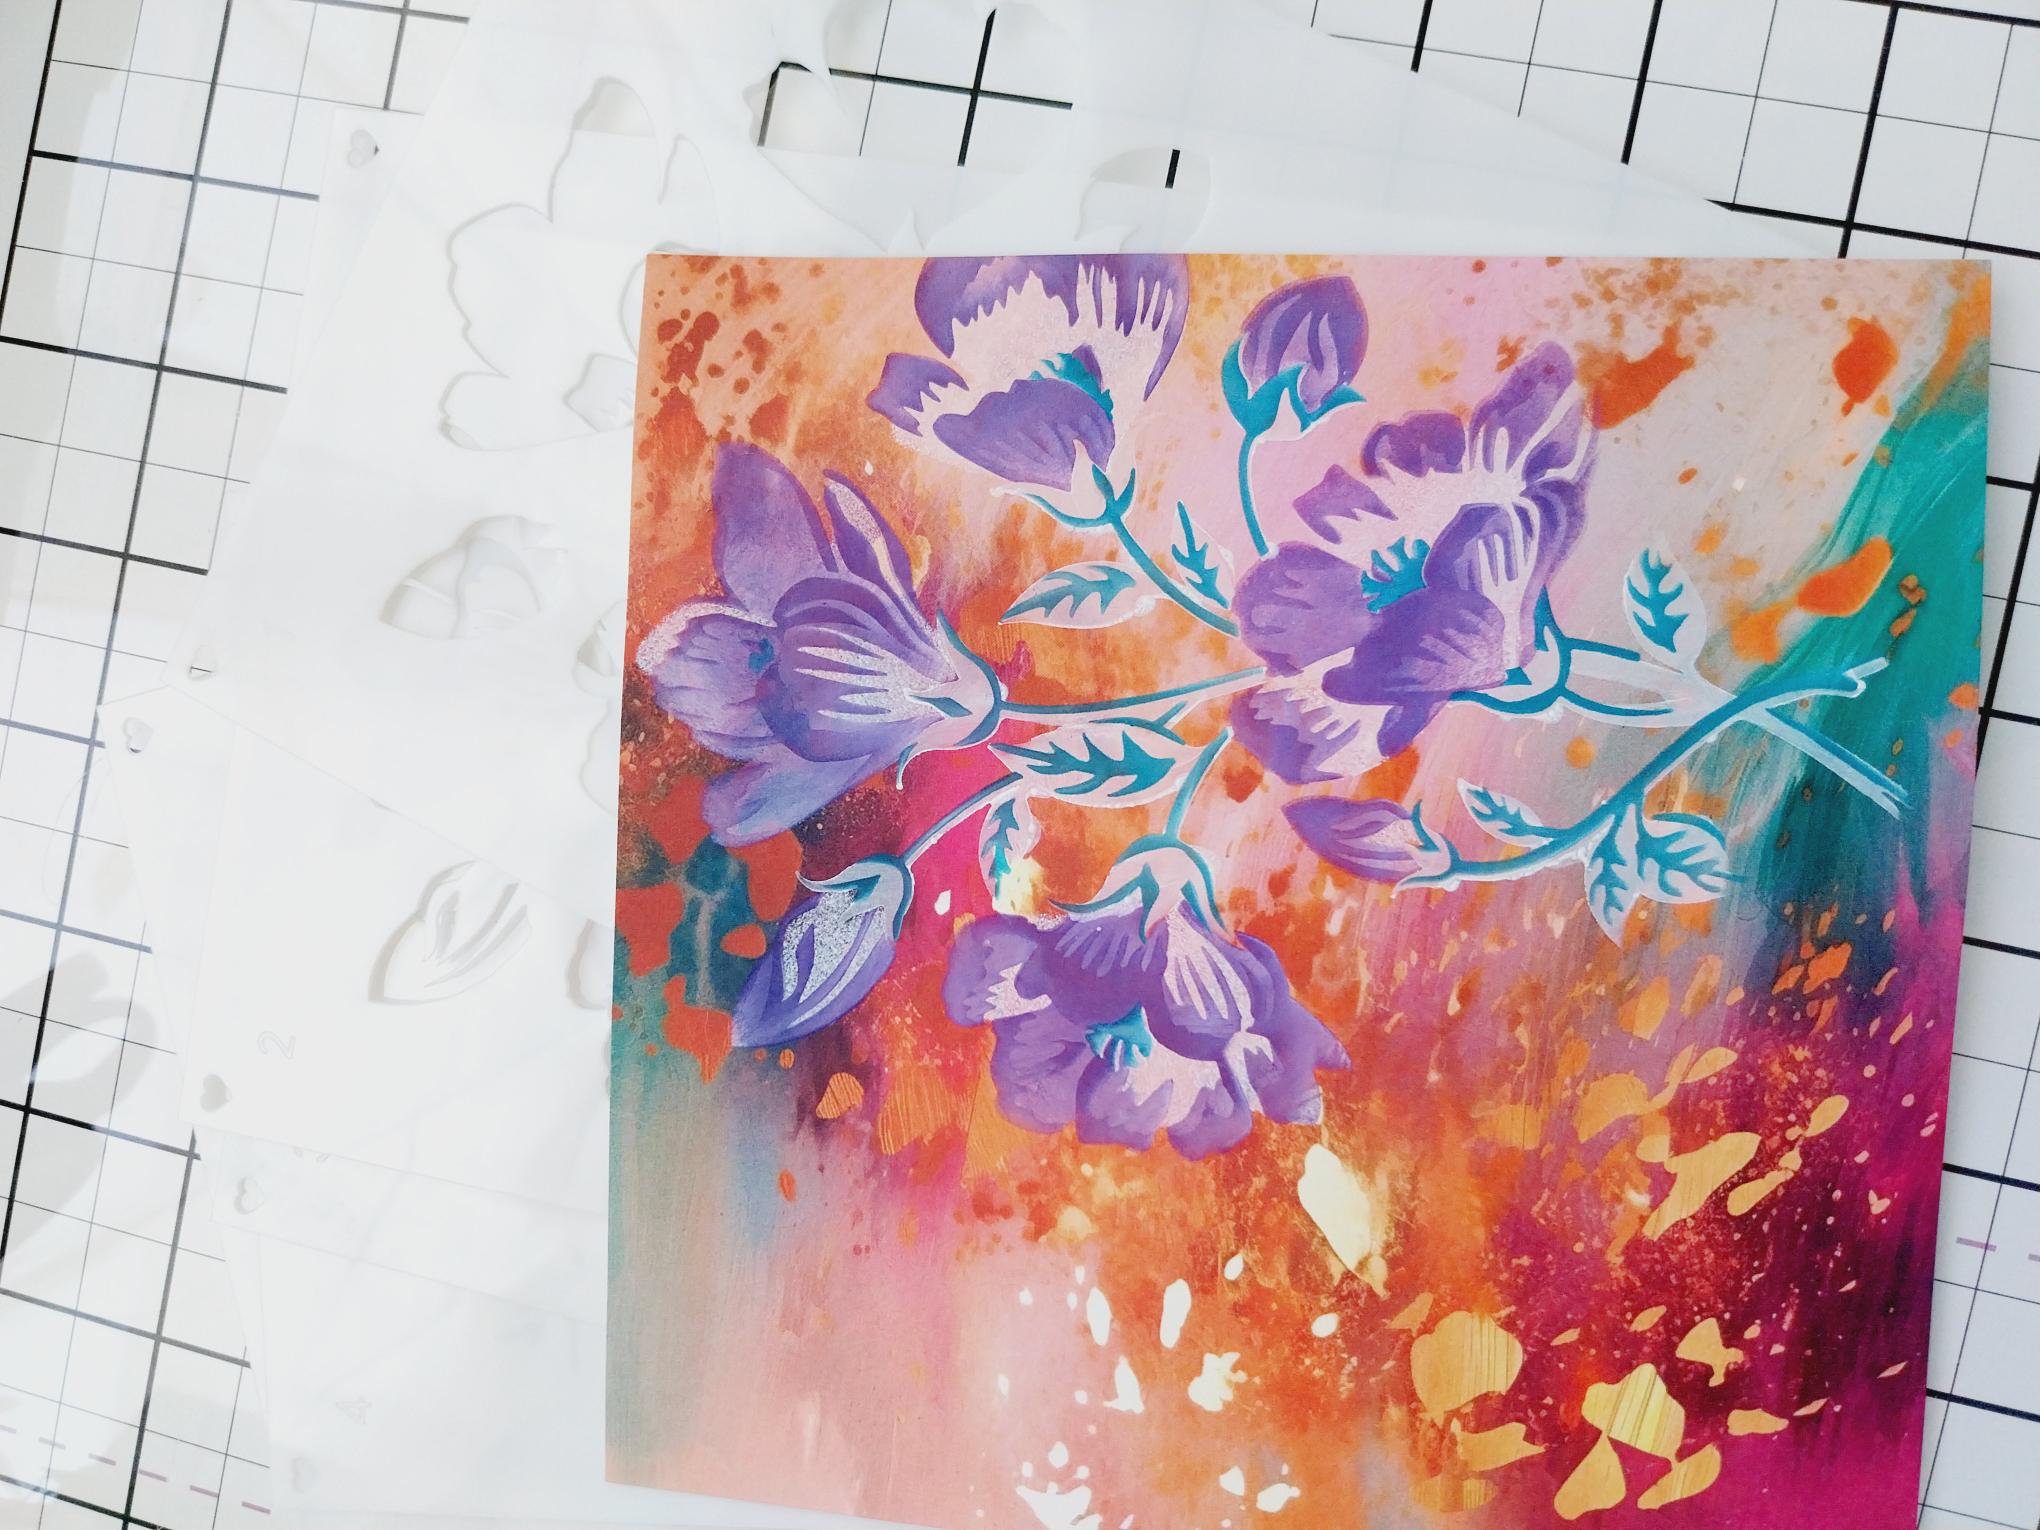
Blend Cotton through stencil 1 and blast dry with your heat tool. Line up stencil 2 and blend with Indigo. Line up stencil 3 and apply Indigo but this time with more pressure. Line up stencil 4 and blend with Cotton. Line up stencil 5 and blend with Tiffany. Dry with your heat tool. |
|
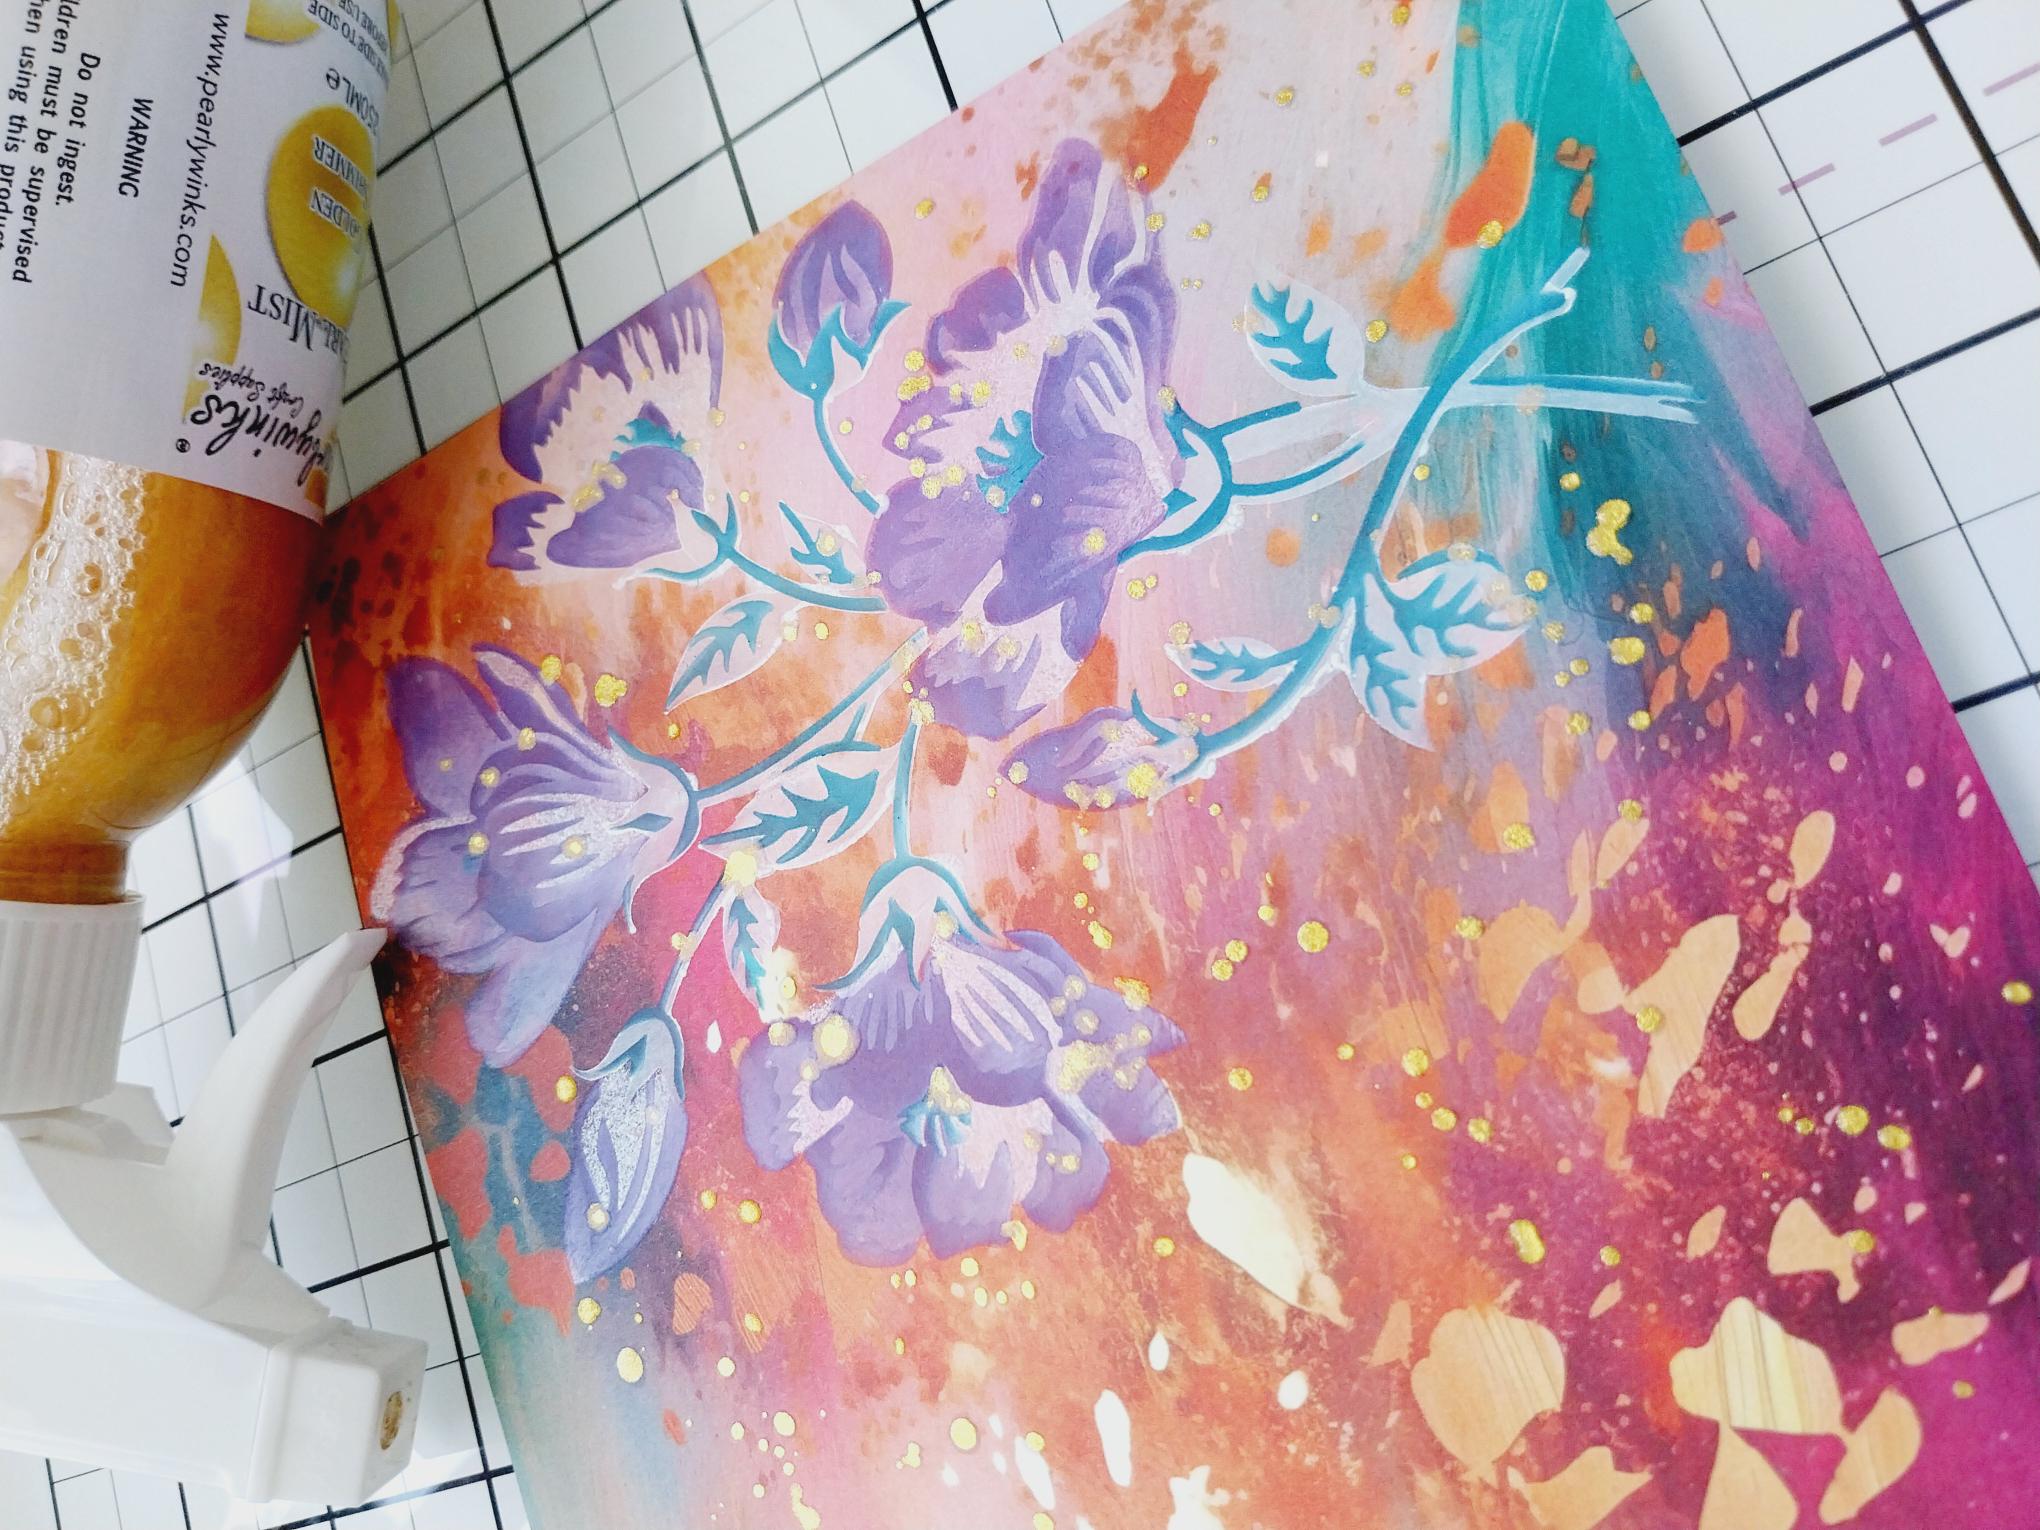
Swirl your Pearlywinks Pearl Mist to activate the mica, spray onto your glass mat then splatter over artwork as required. |
|
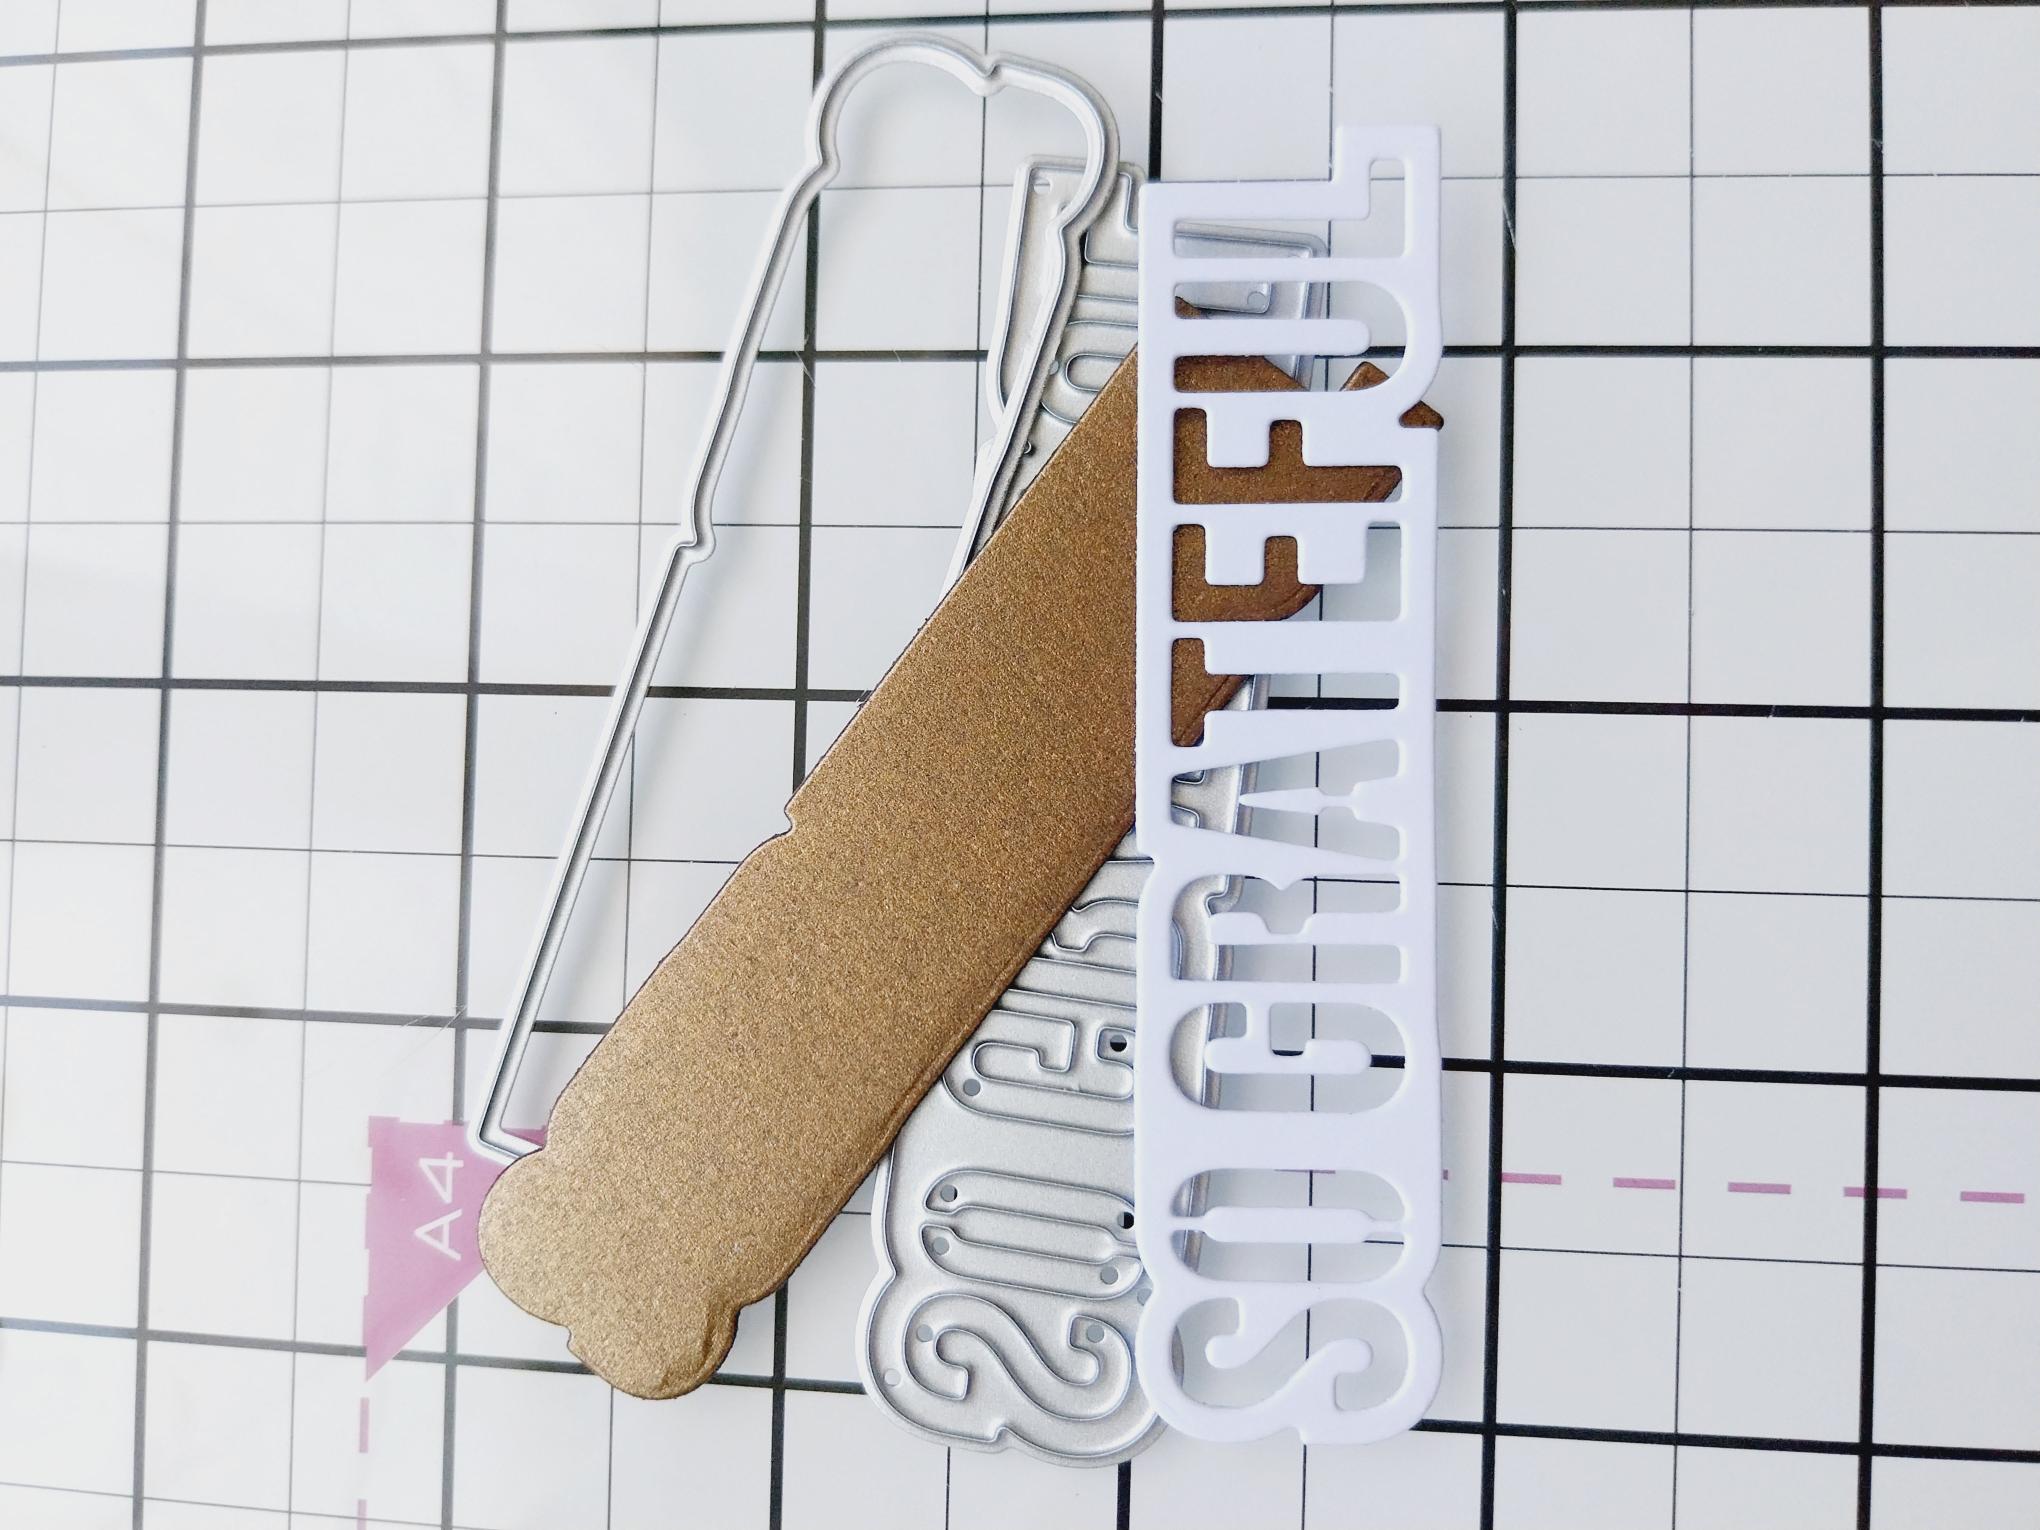
Die cut the sentiment die from white card and the coordinating mat from Gold satin card. |
|
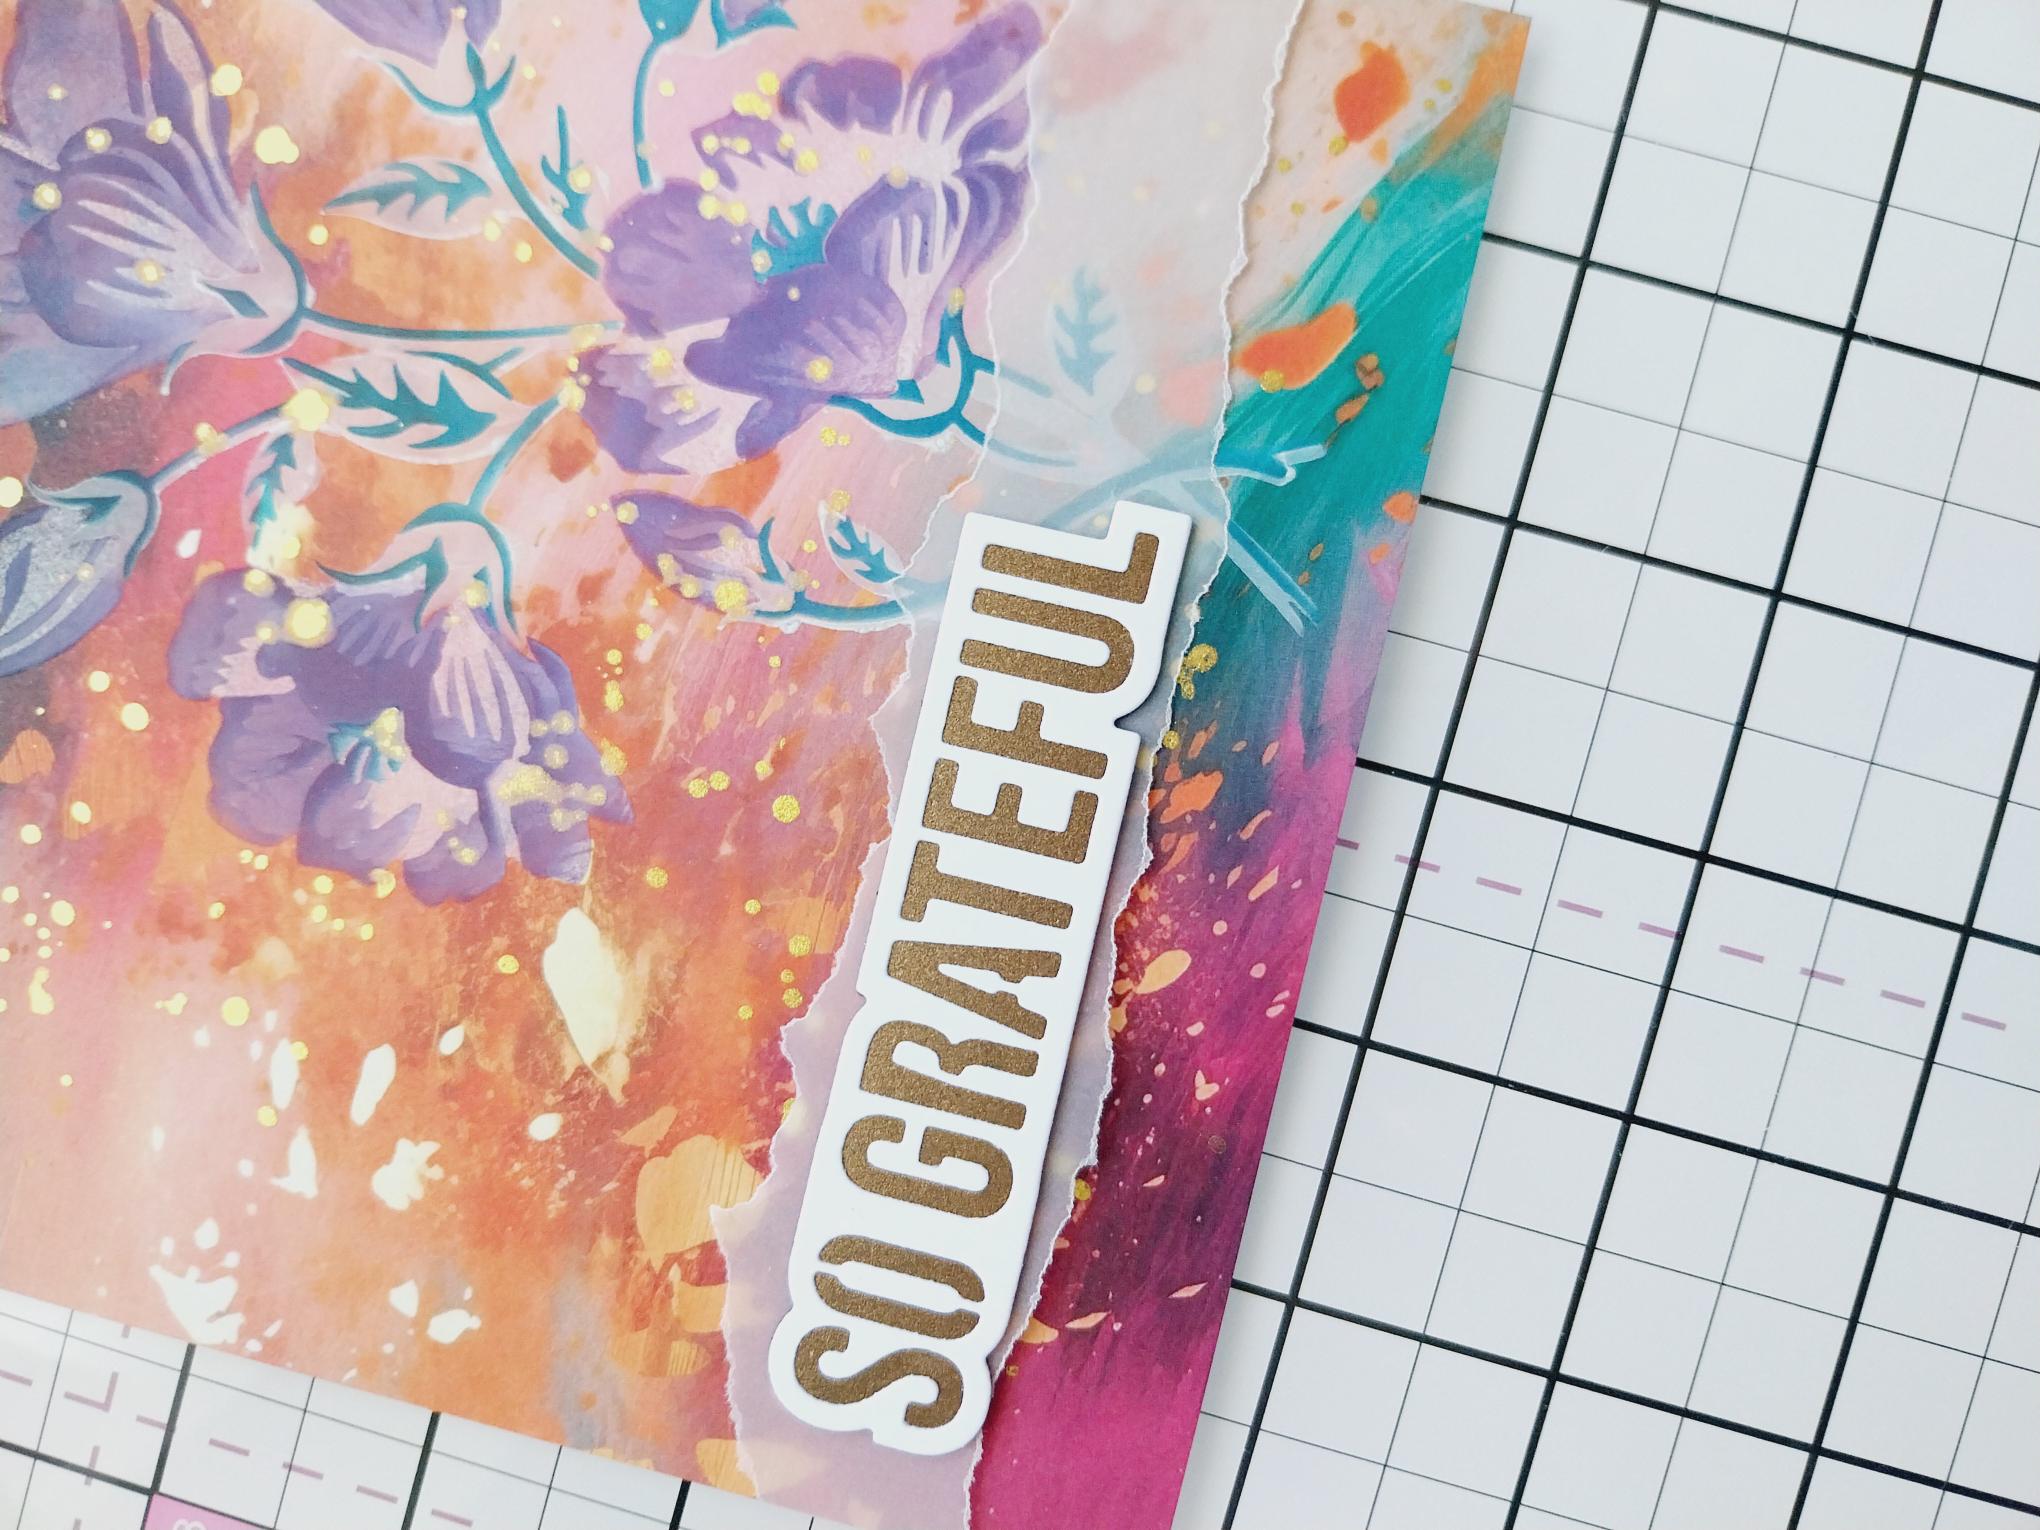
Glue your die-cut sentiment together. Tear a strip of vellum and lay across the bottom of your paper. Secure on the reverse with double-sided tape before adhering the sentiment on top and to the left. |
|
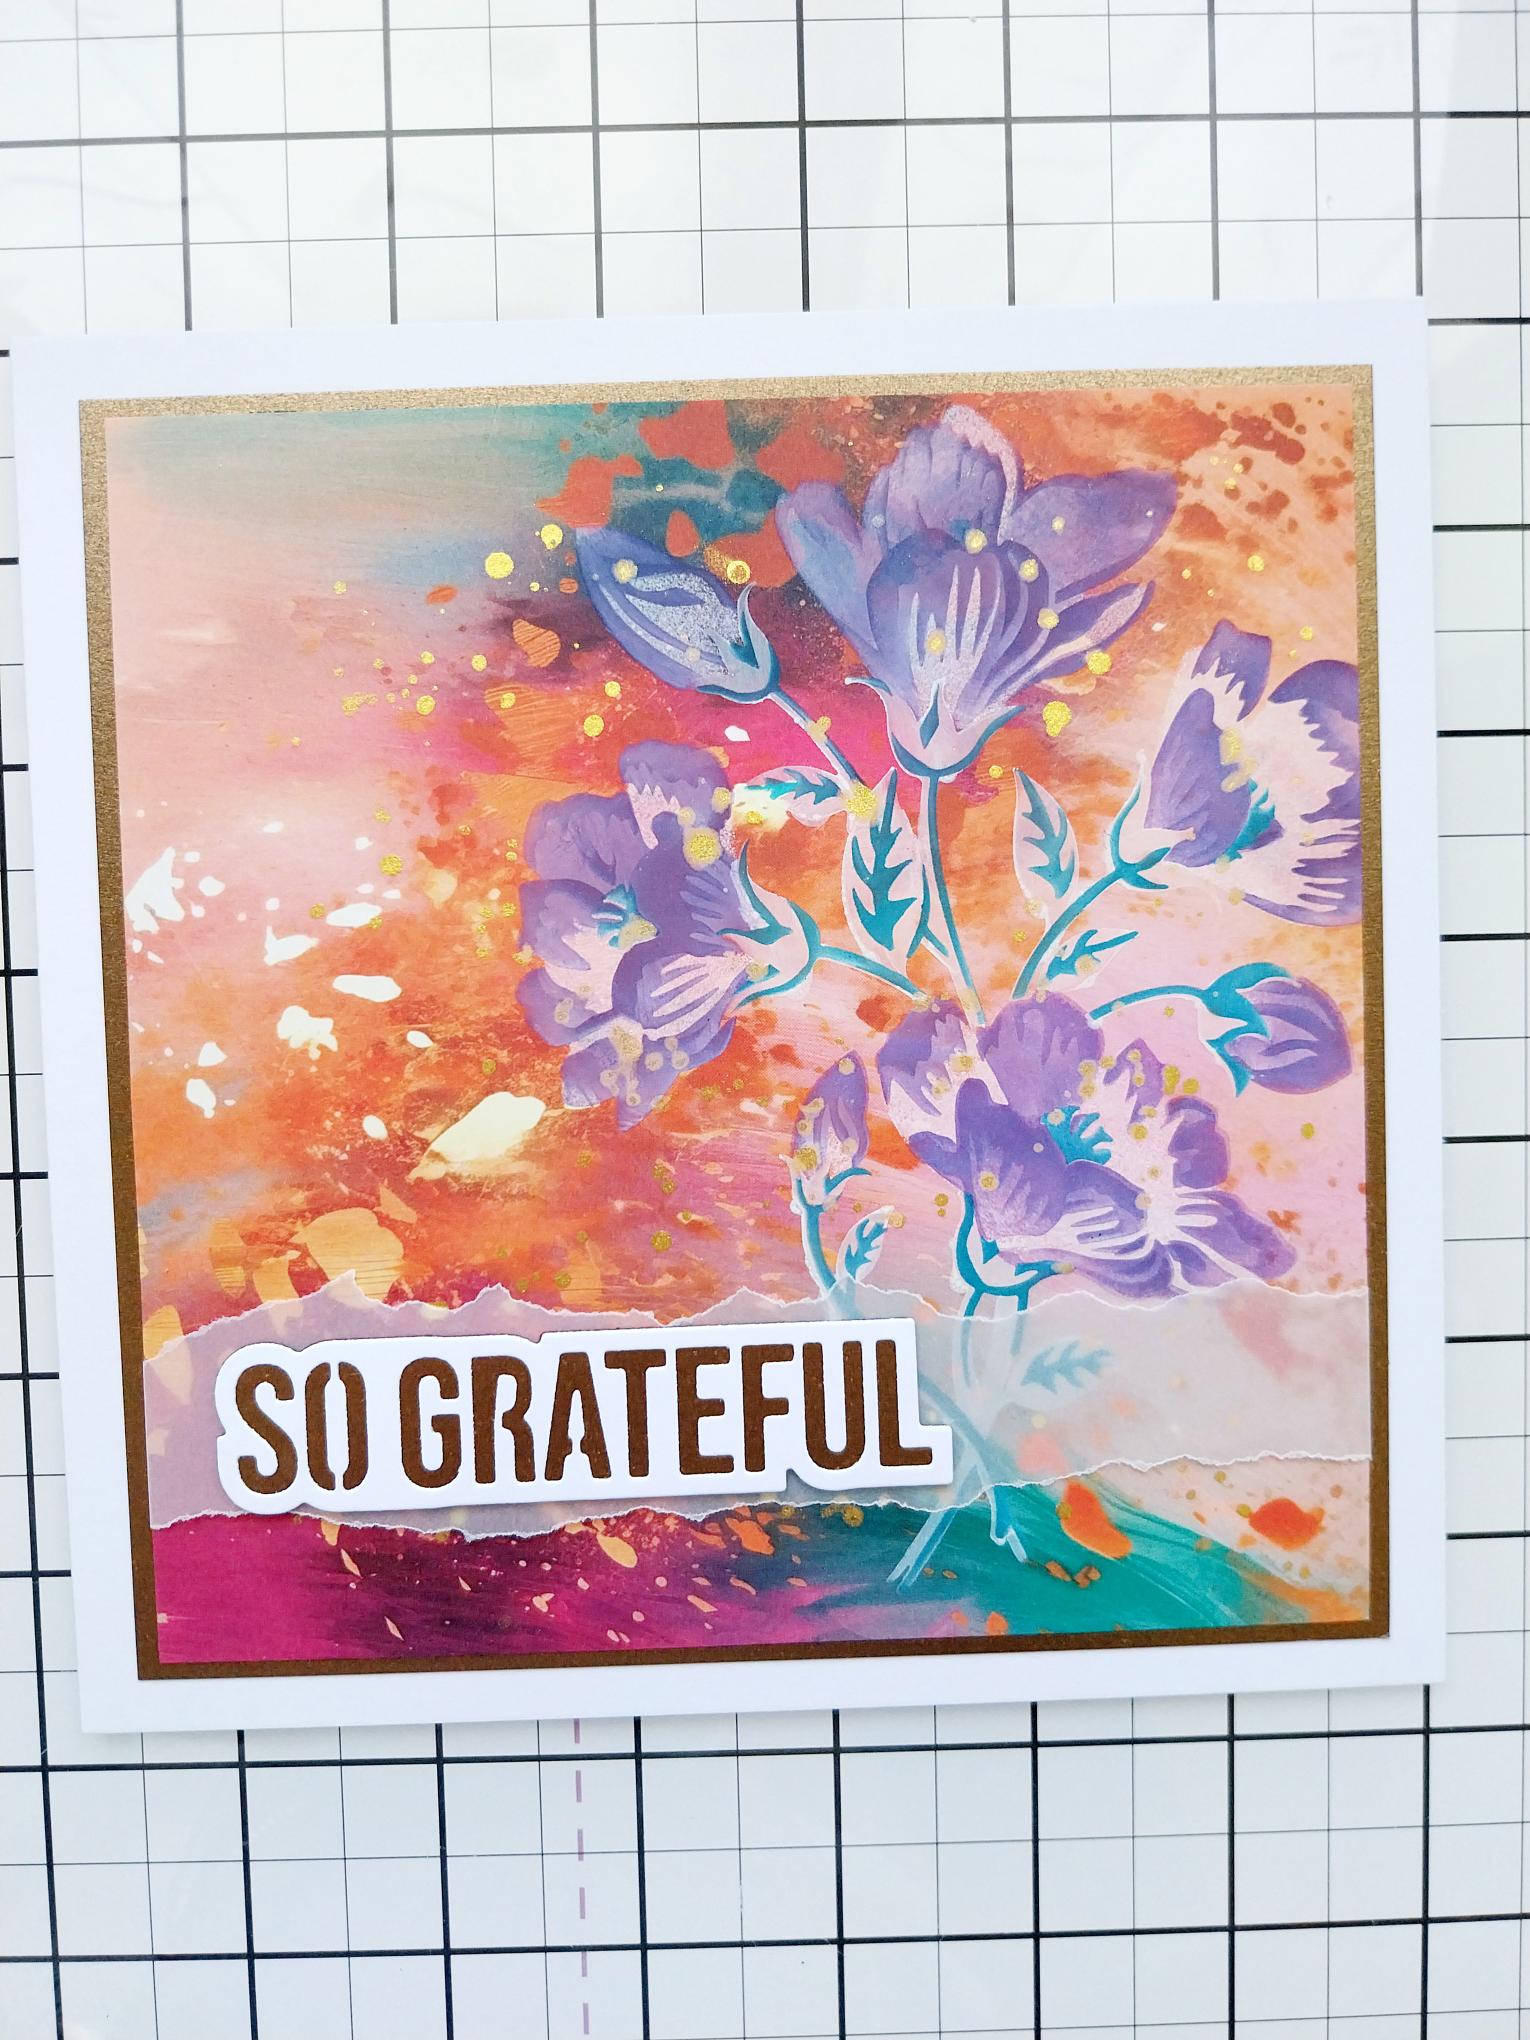
To finish, mat your artwork onto Gold satin card measuring 6 1/4" square and then onto your white card blank. |