Give your friends $10 off their first order!
Refer a FRIEND








Prices change straight away. Every language is our own translation, not Google.

WHAT YOU WILL NEED:
DL white card blank (8 x 3 3/4")
Stamps from Smile Everyday Lamination Stamp Collection
Stamps from Love You Stamp Collection
Thirsty Brush Secret Garden Stencil
Izink Dye ink pads: Verveine, Menthe, Emeraude, The, Outremer
Blending Brushes
Water spray bottle
Eureka 101
[click image to enlarge] 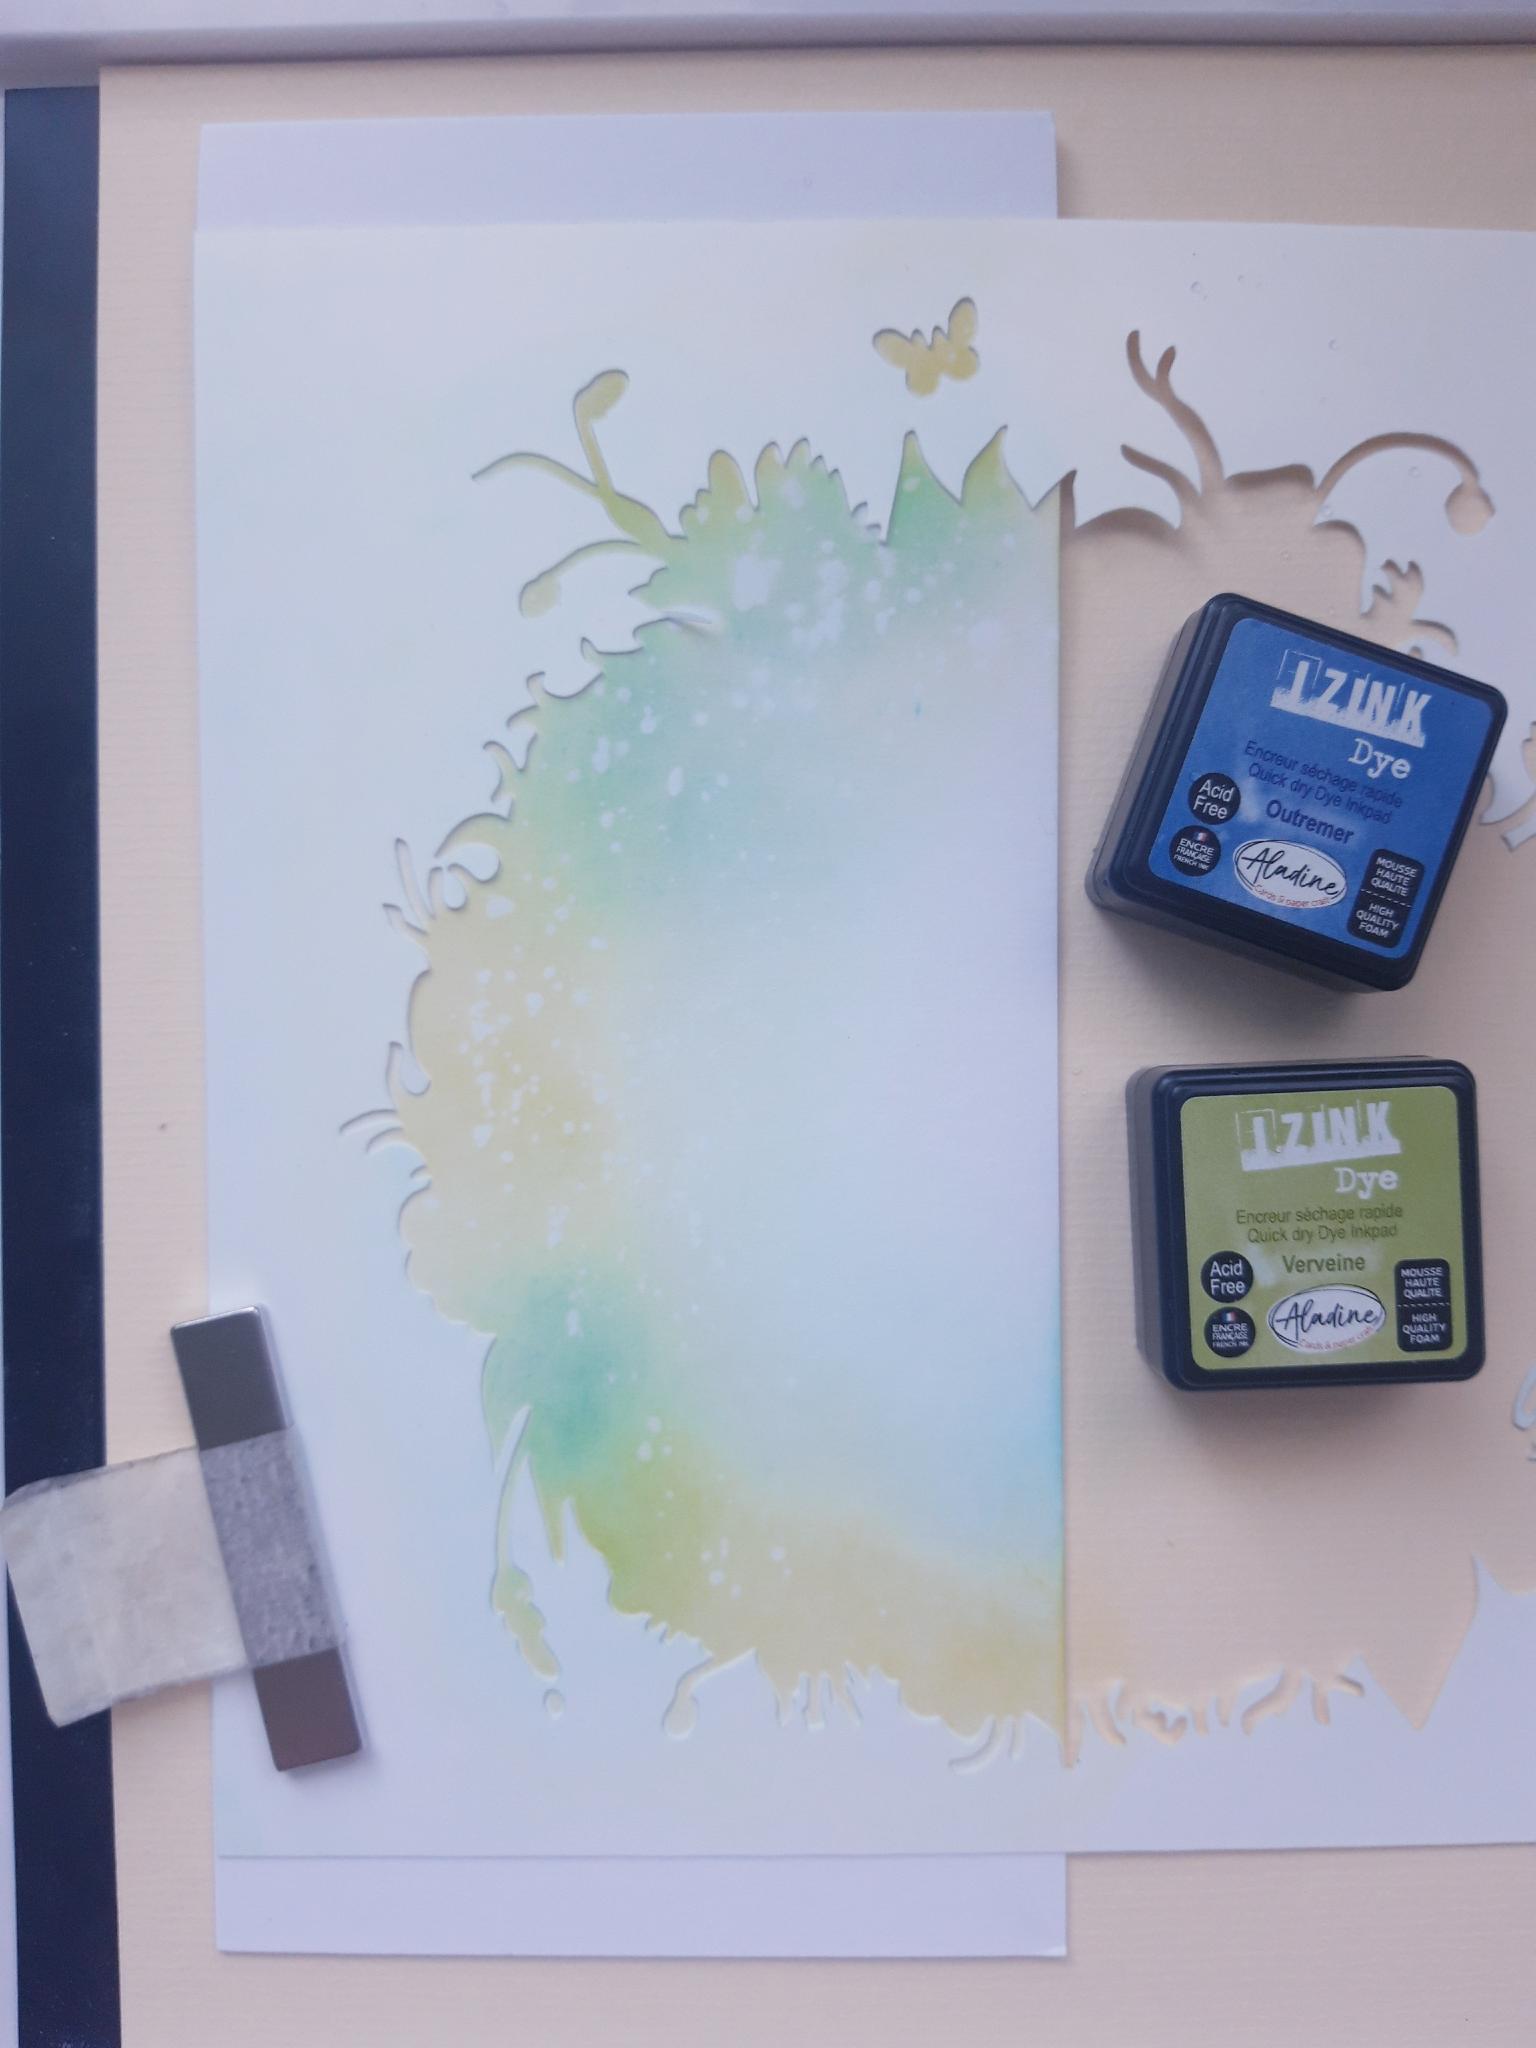
|
Lay the Secret Garden stencil off the right hand edge of your DL card blank. Use your blending brushes to blend the Outremer and Vervaine inks through the stencil, creating a darker colour around the edge and blending out to nothing, towards the centre. Splatter some water on to the ink, wait a few seconds, then mop up the excess water with a paper towel. Remove the stencil and dry off your work. |
|
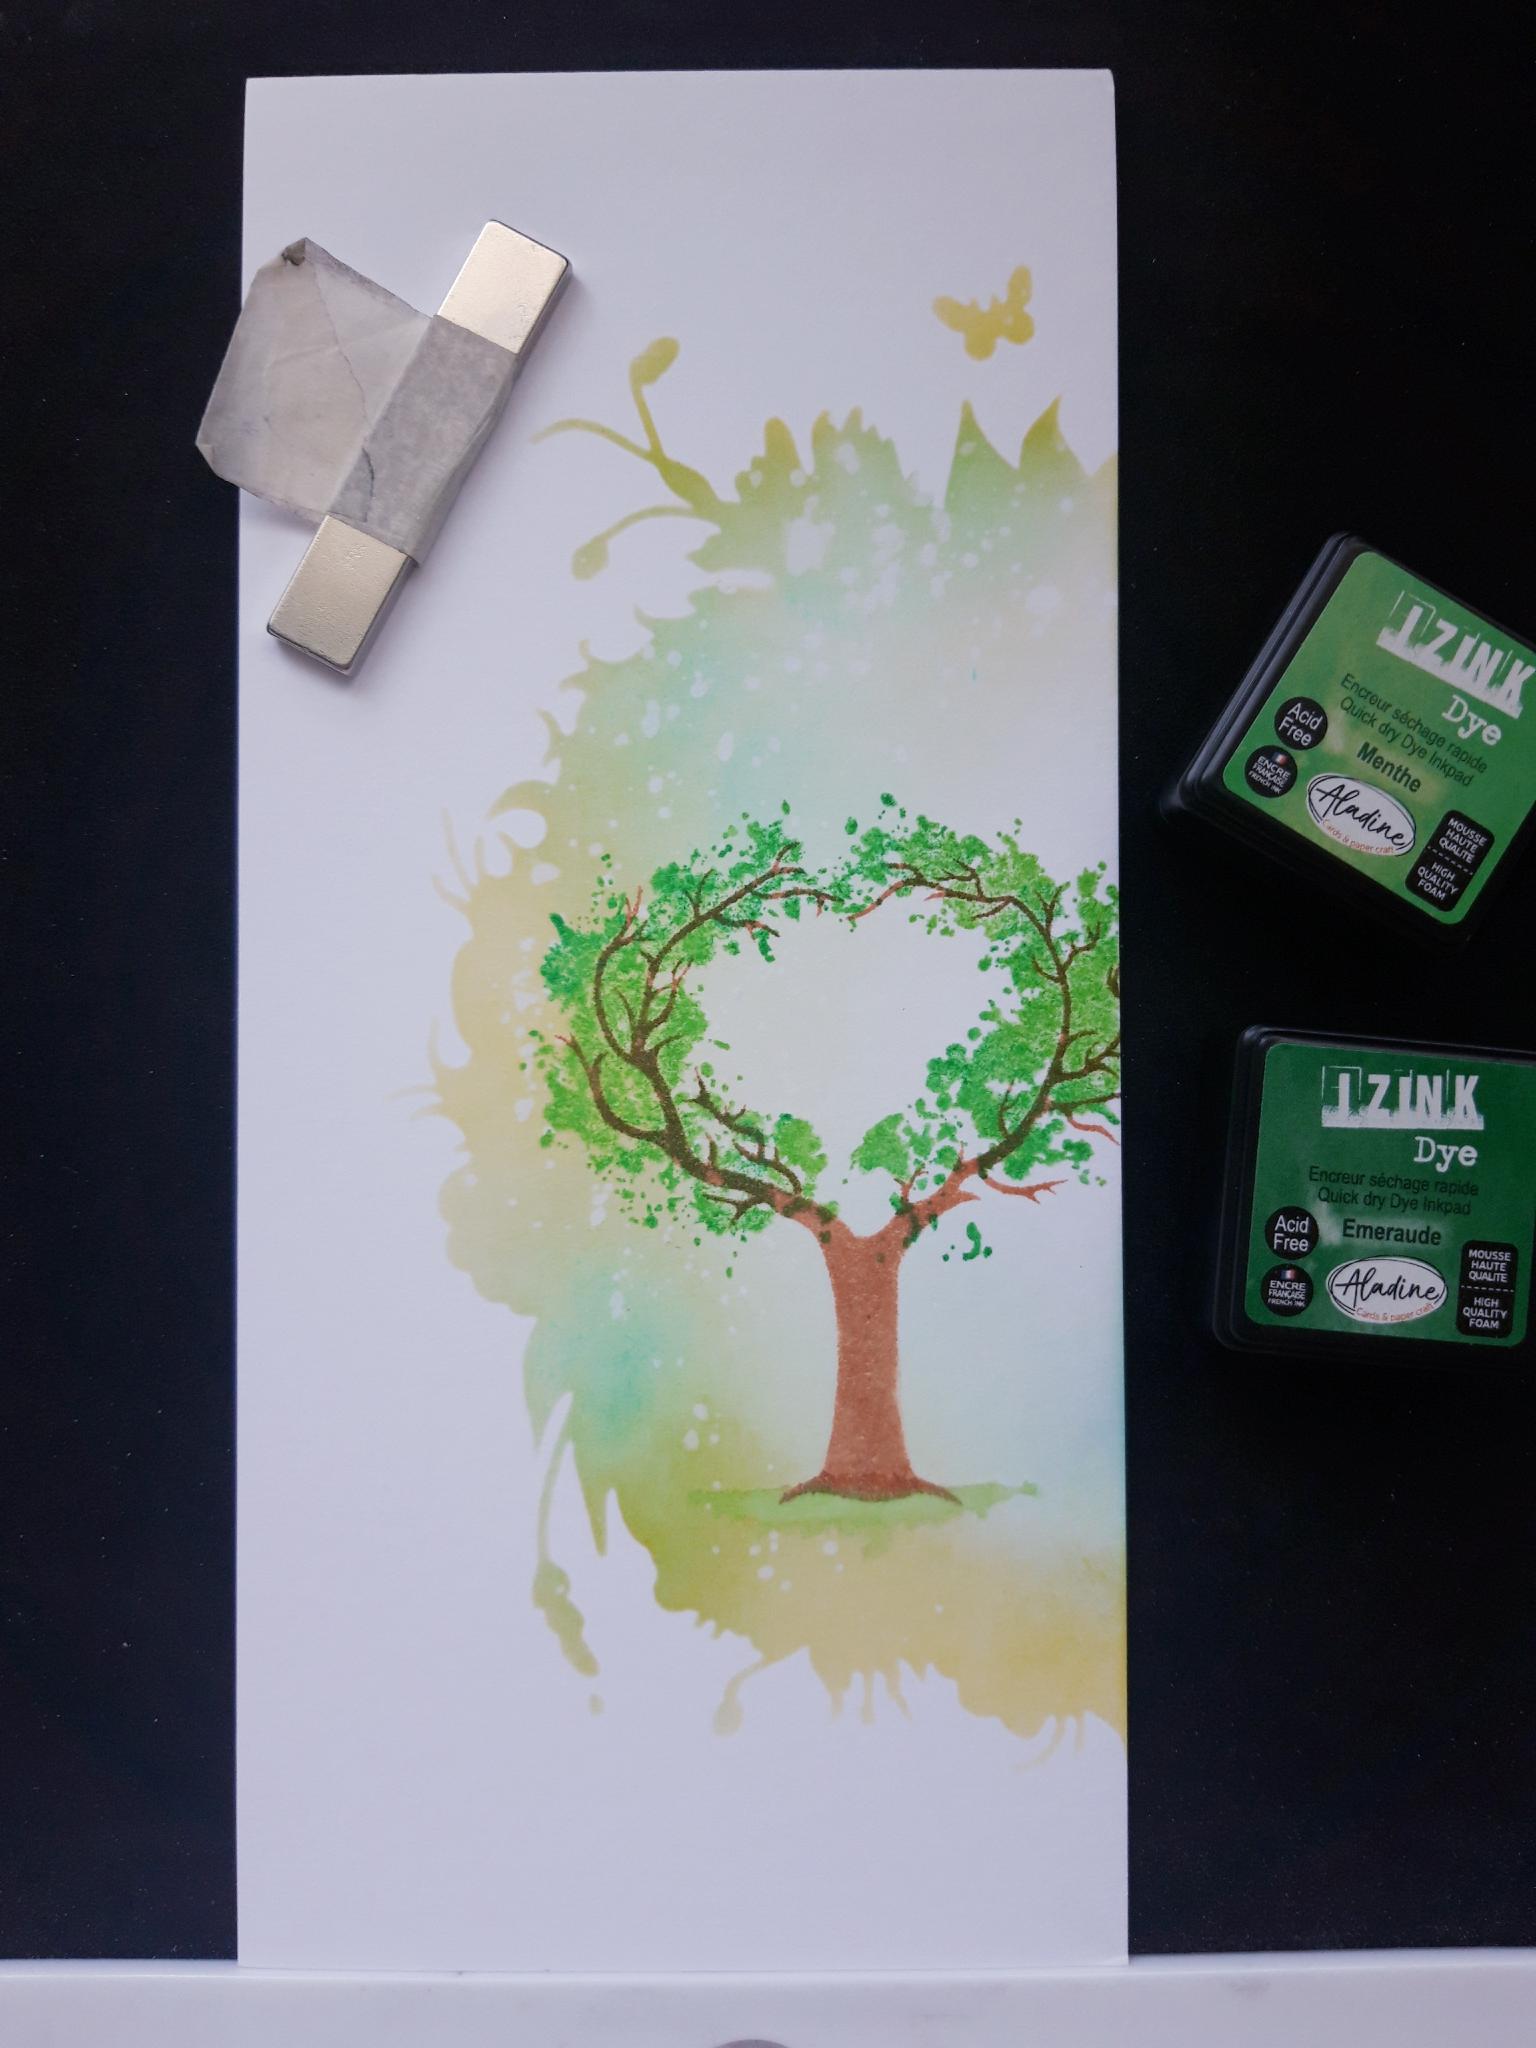
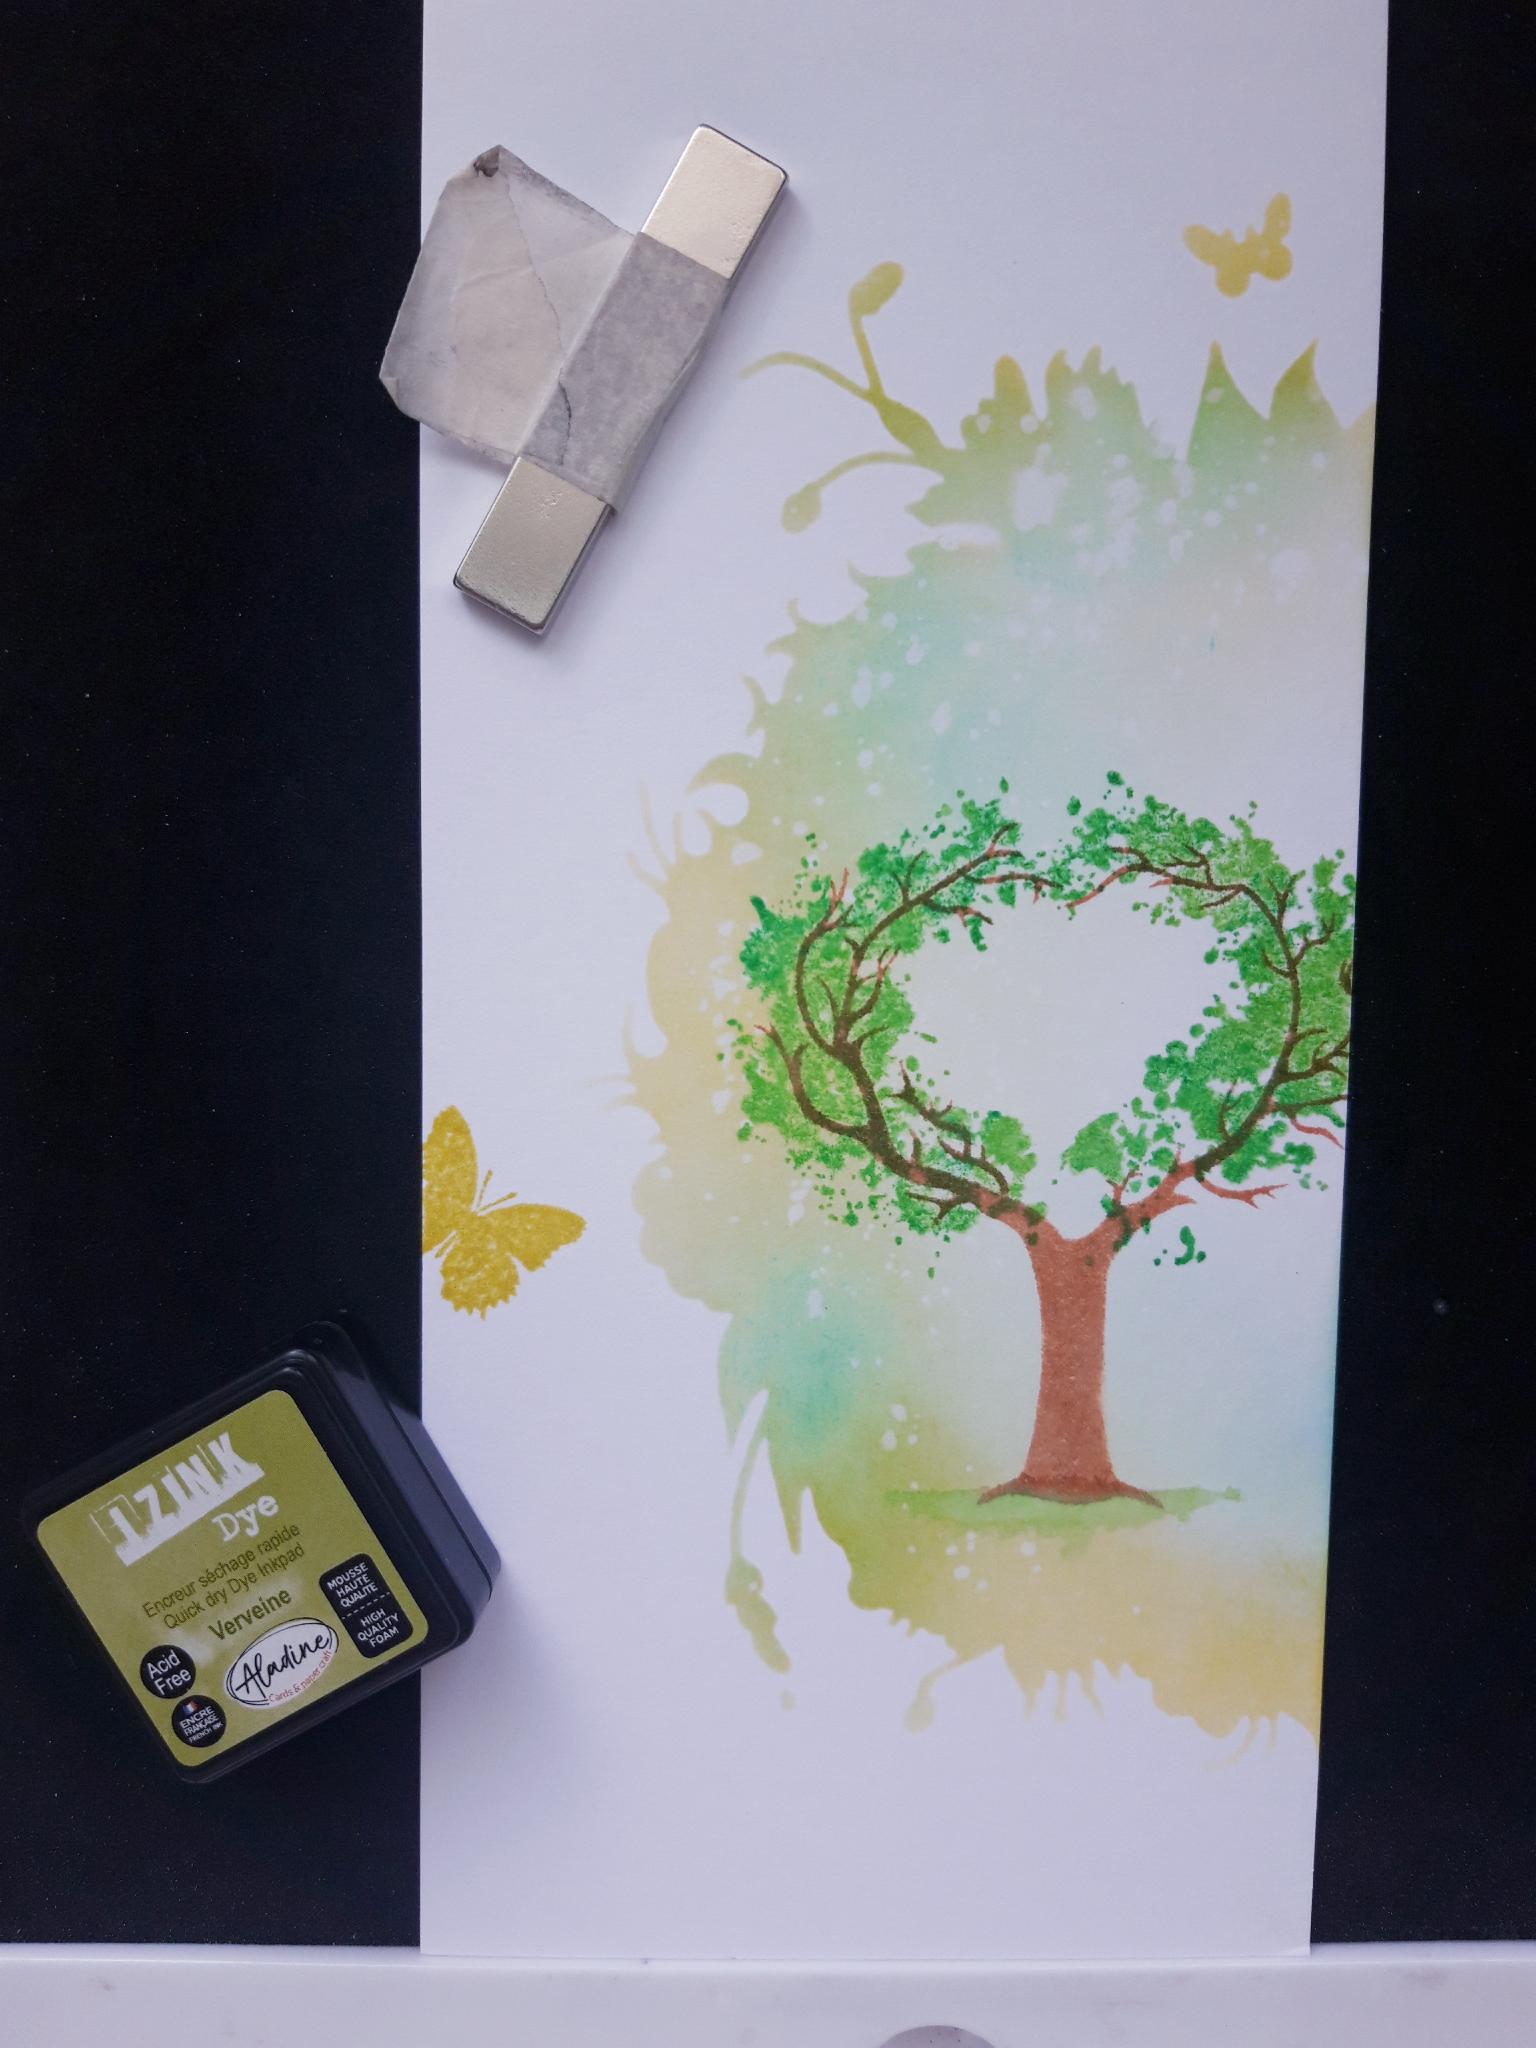
Ink up the tree trunk stamp, from the Smile Everday Lamination Stamp set, with the Izink The Dye ink pad. Spritz with a little water and stamp within the inked panel. Ink up the tree foliage stamp with the Izink Menthe and Emeraude Dye ink pads, spritz with water and stamp in place, on your tree. |
|
Ink up a butterfly stamp, from the Love You Stamp Collection, with the Izink Vervaine Dye ink pad, and stamp off the left hand edge off your card blank. You can add more butterflies if desired. |
|
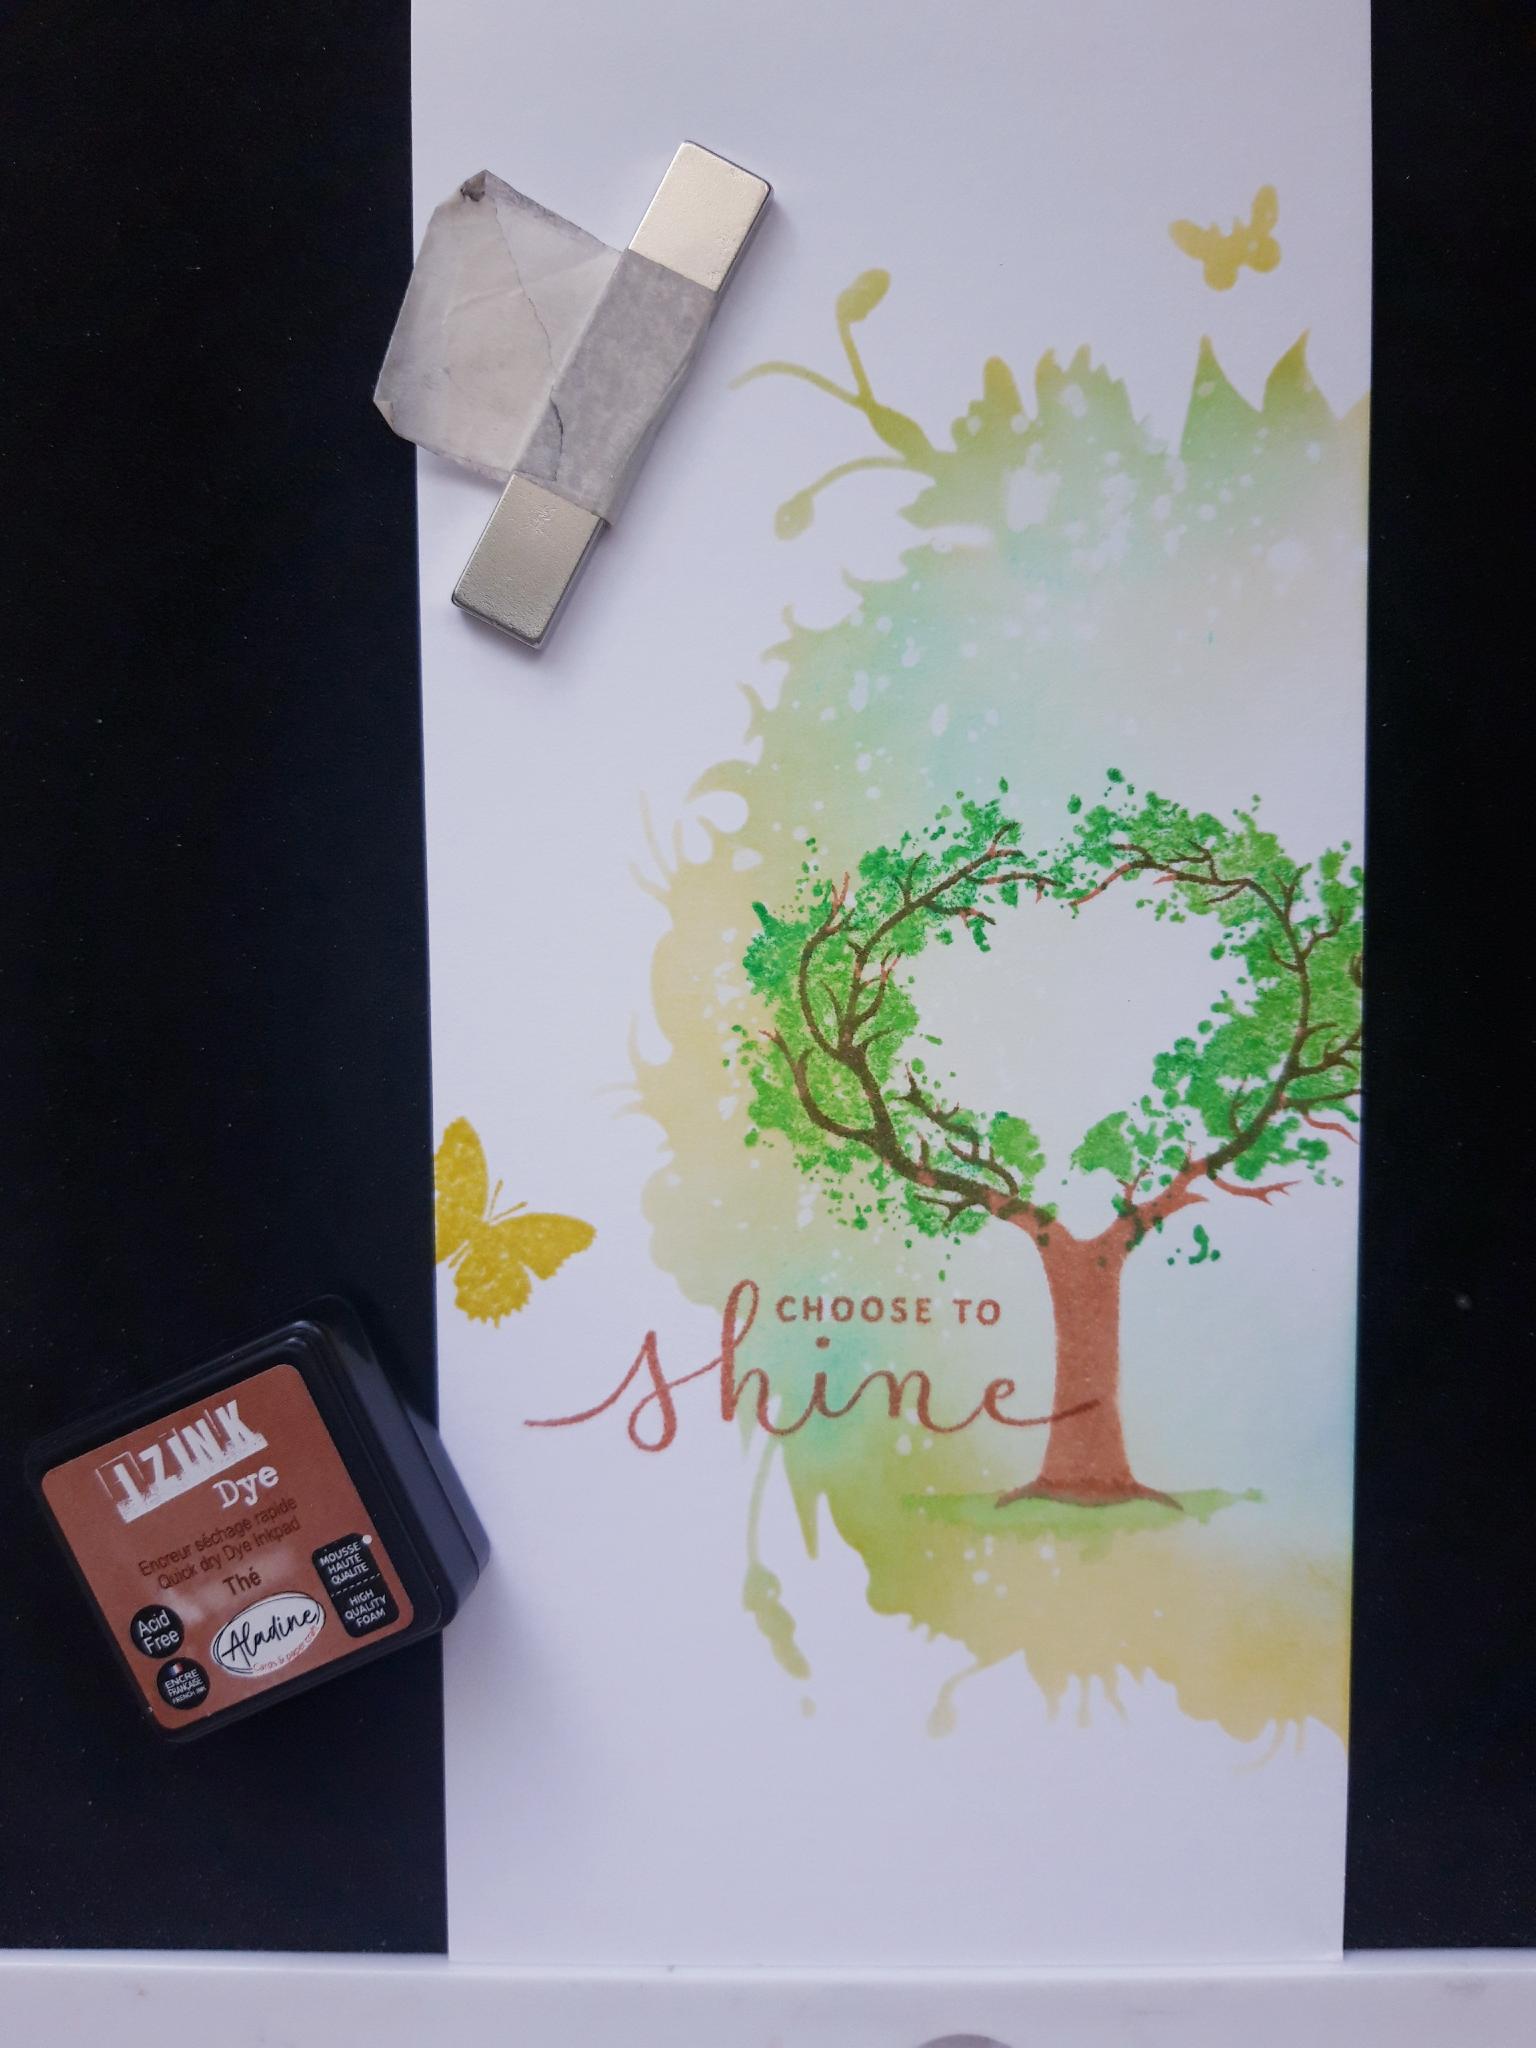
Ink up the sentiment stamp, from the Smile Everyday Stamp Collection, with the Izink The ink pad, and stamp to the bottom left of your tree. |