Give your friends $10 off their first order!
Refer a FRIEND








Prices change straight away. Every language is our own translation, not Google.

White DL card blank 8 1/4 x 4"
Black card 8 x 3 3/4"
White card 7 3/4 x 3 1/2"
Imala Little Things Stamp Collection
Versafine Ink Pad: Smoky Gray, Onyx Black
Confetti Ink: Graphite, Grasshopper, Mushroom, White Lace
Paint brush
Pencil or grey fine line pen
Funky Fossil clear enamel dots
Eureka 101
Paper Trimmer
Perfect Together Glue
[click image to enlarge] 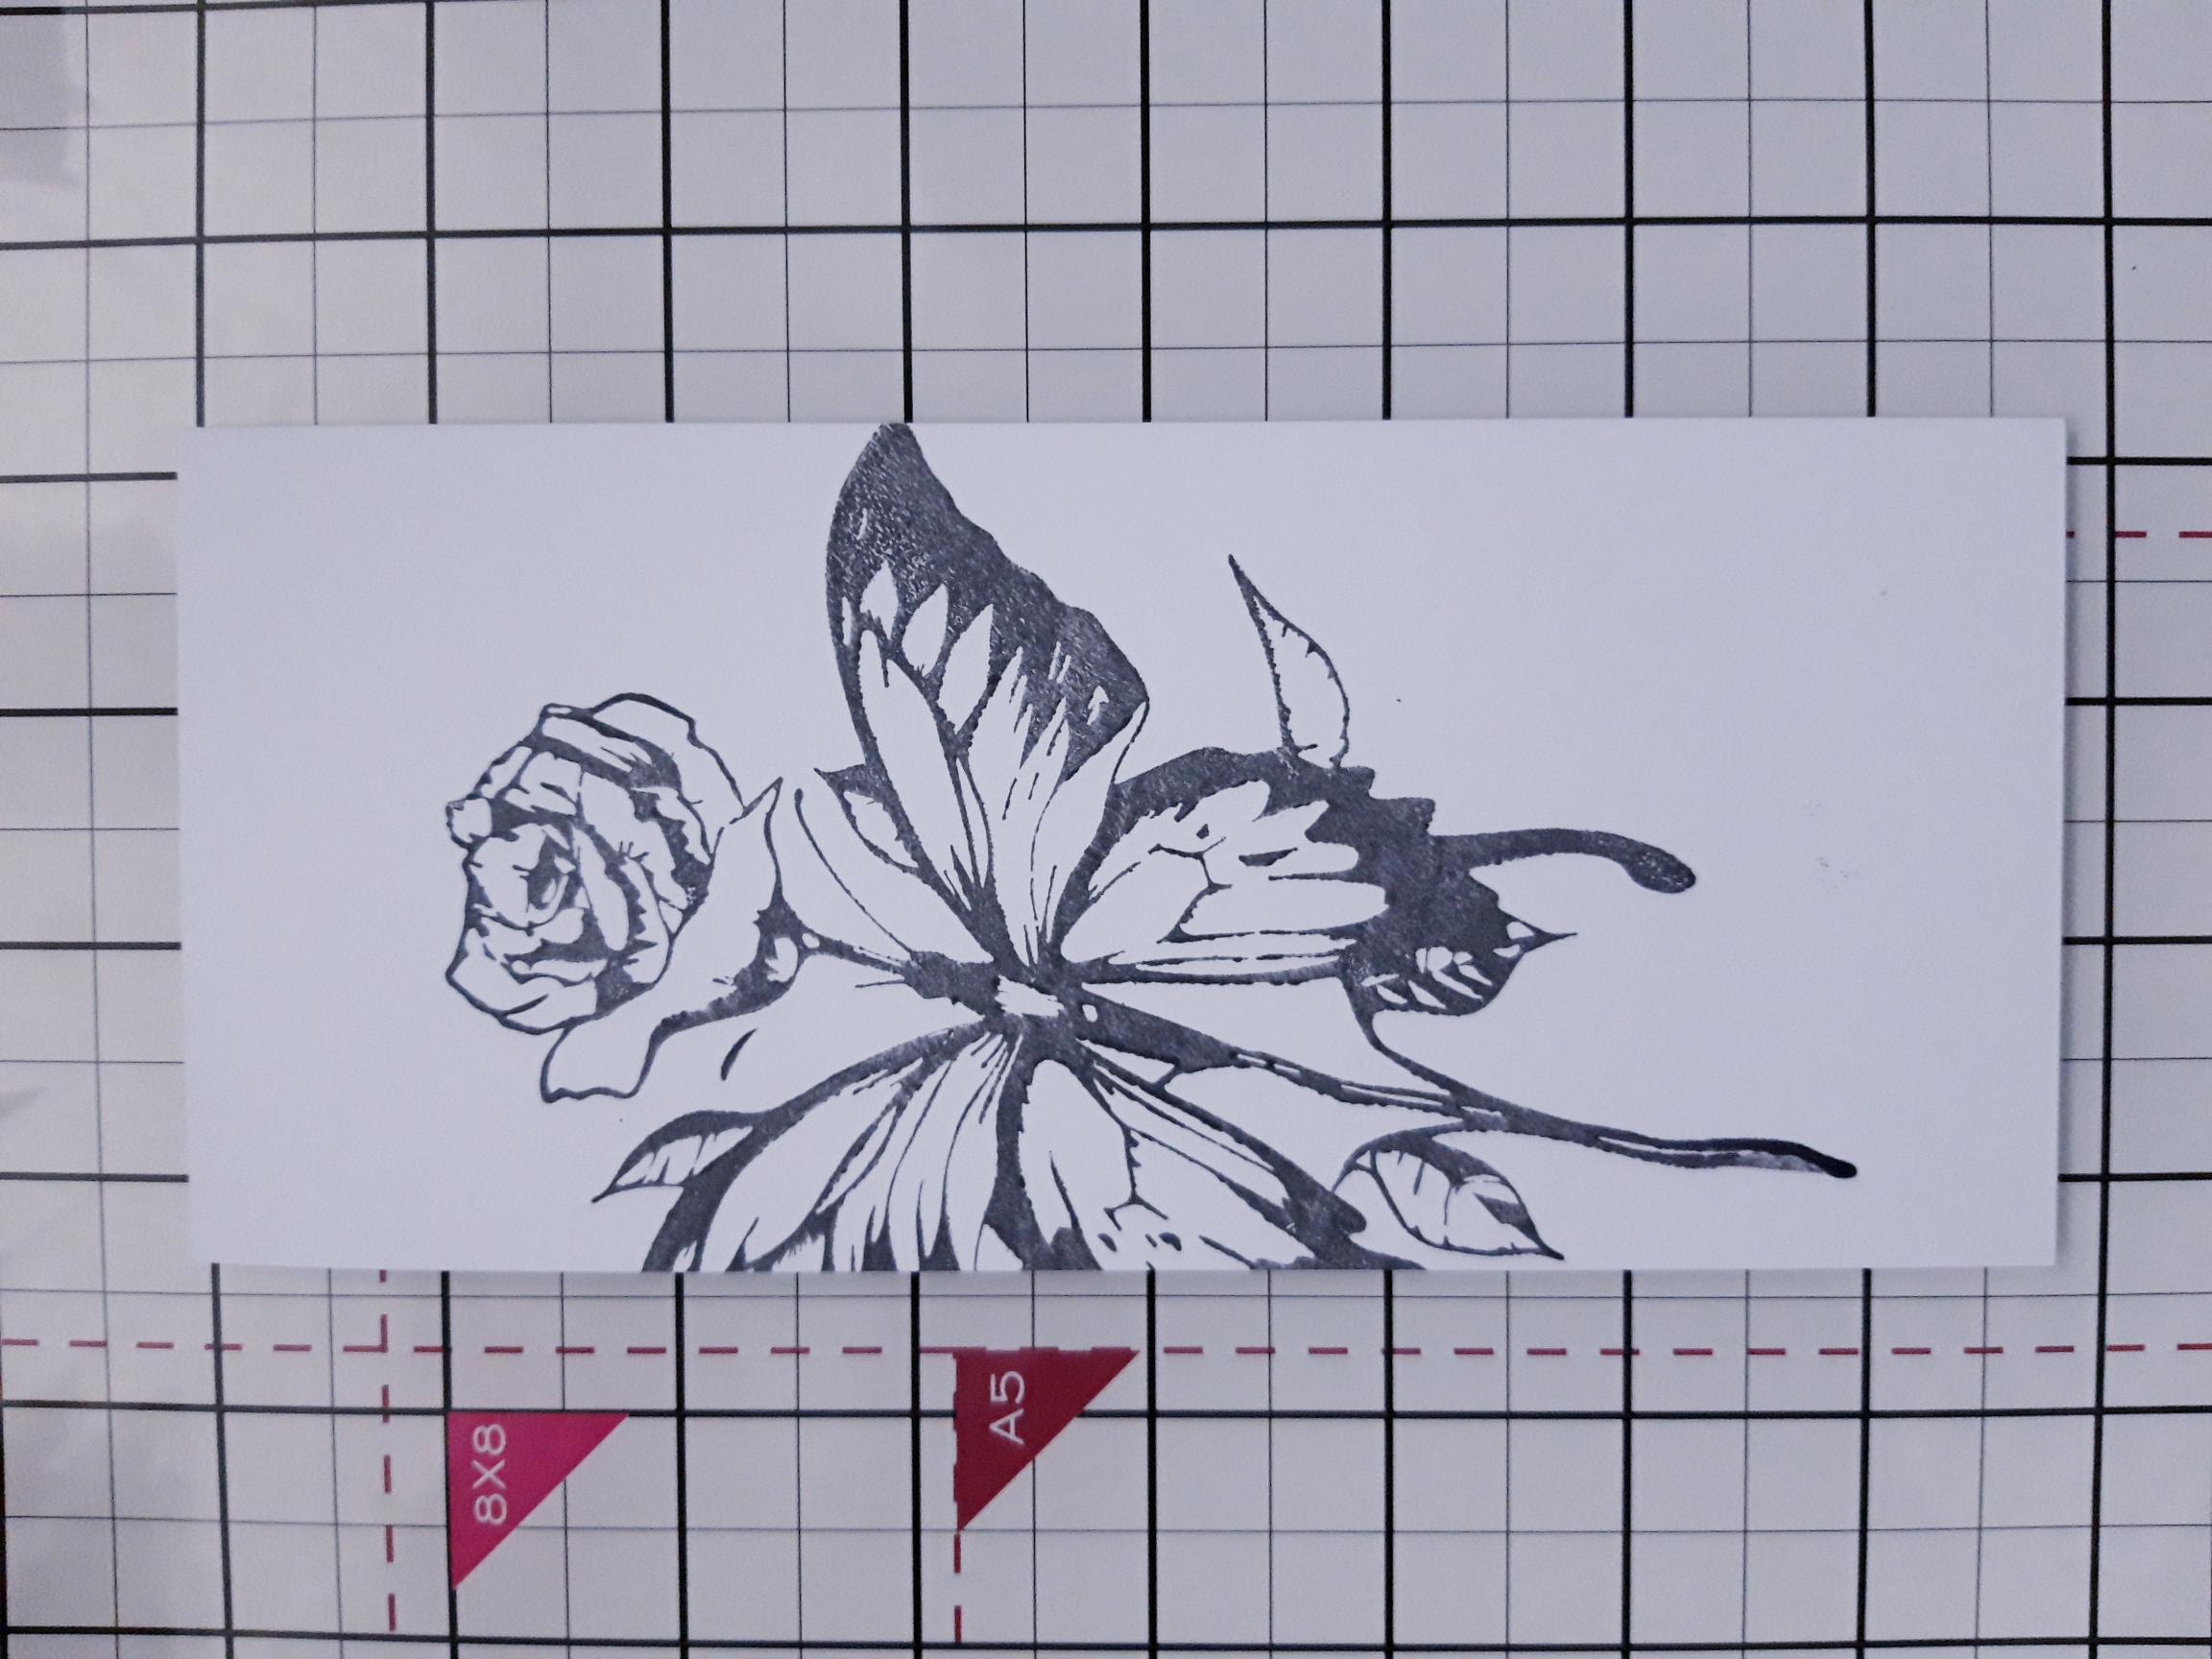
|
Ink up the stamp from Imala Little Things, with the Smoky Gray Versafine and stamp coming on to the left side of the white card (7 3/4 x 3 1/2") |
|
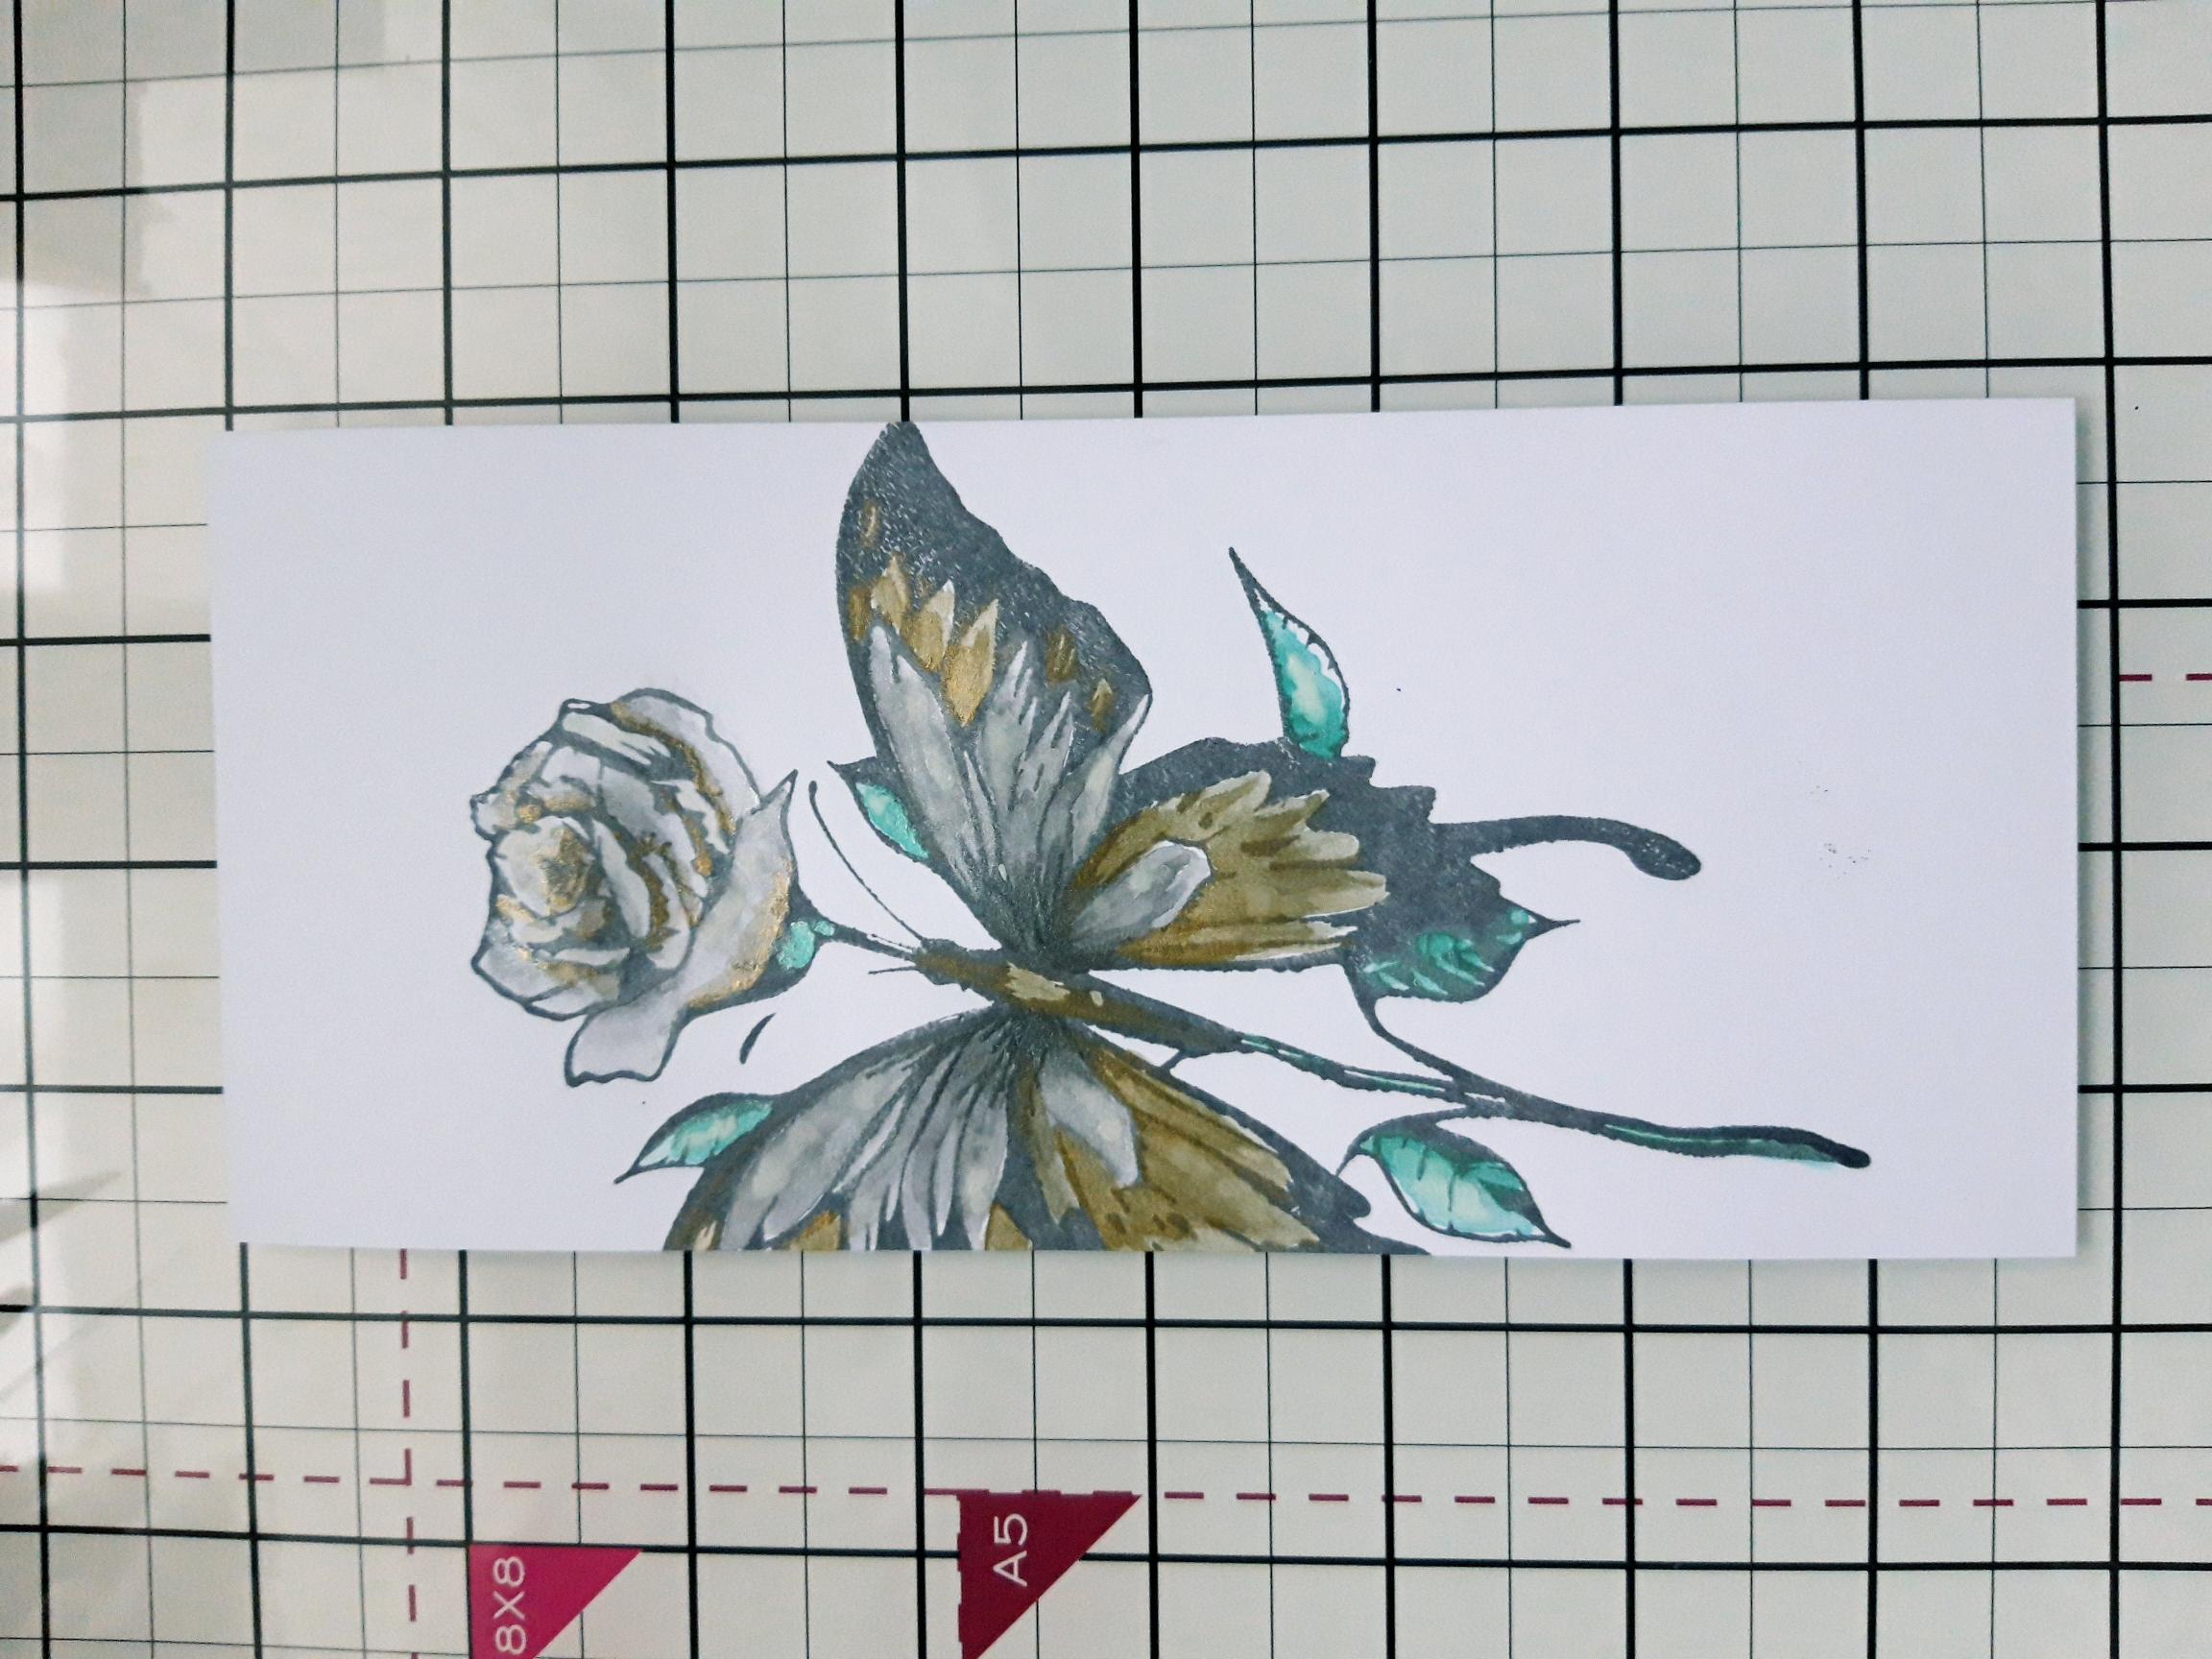
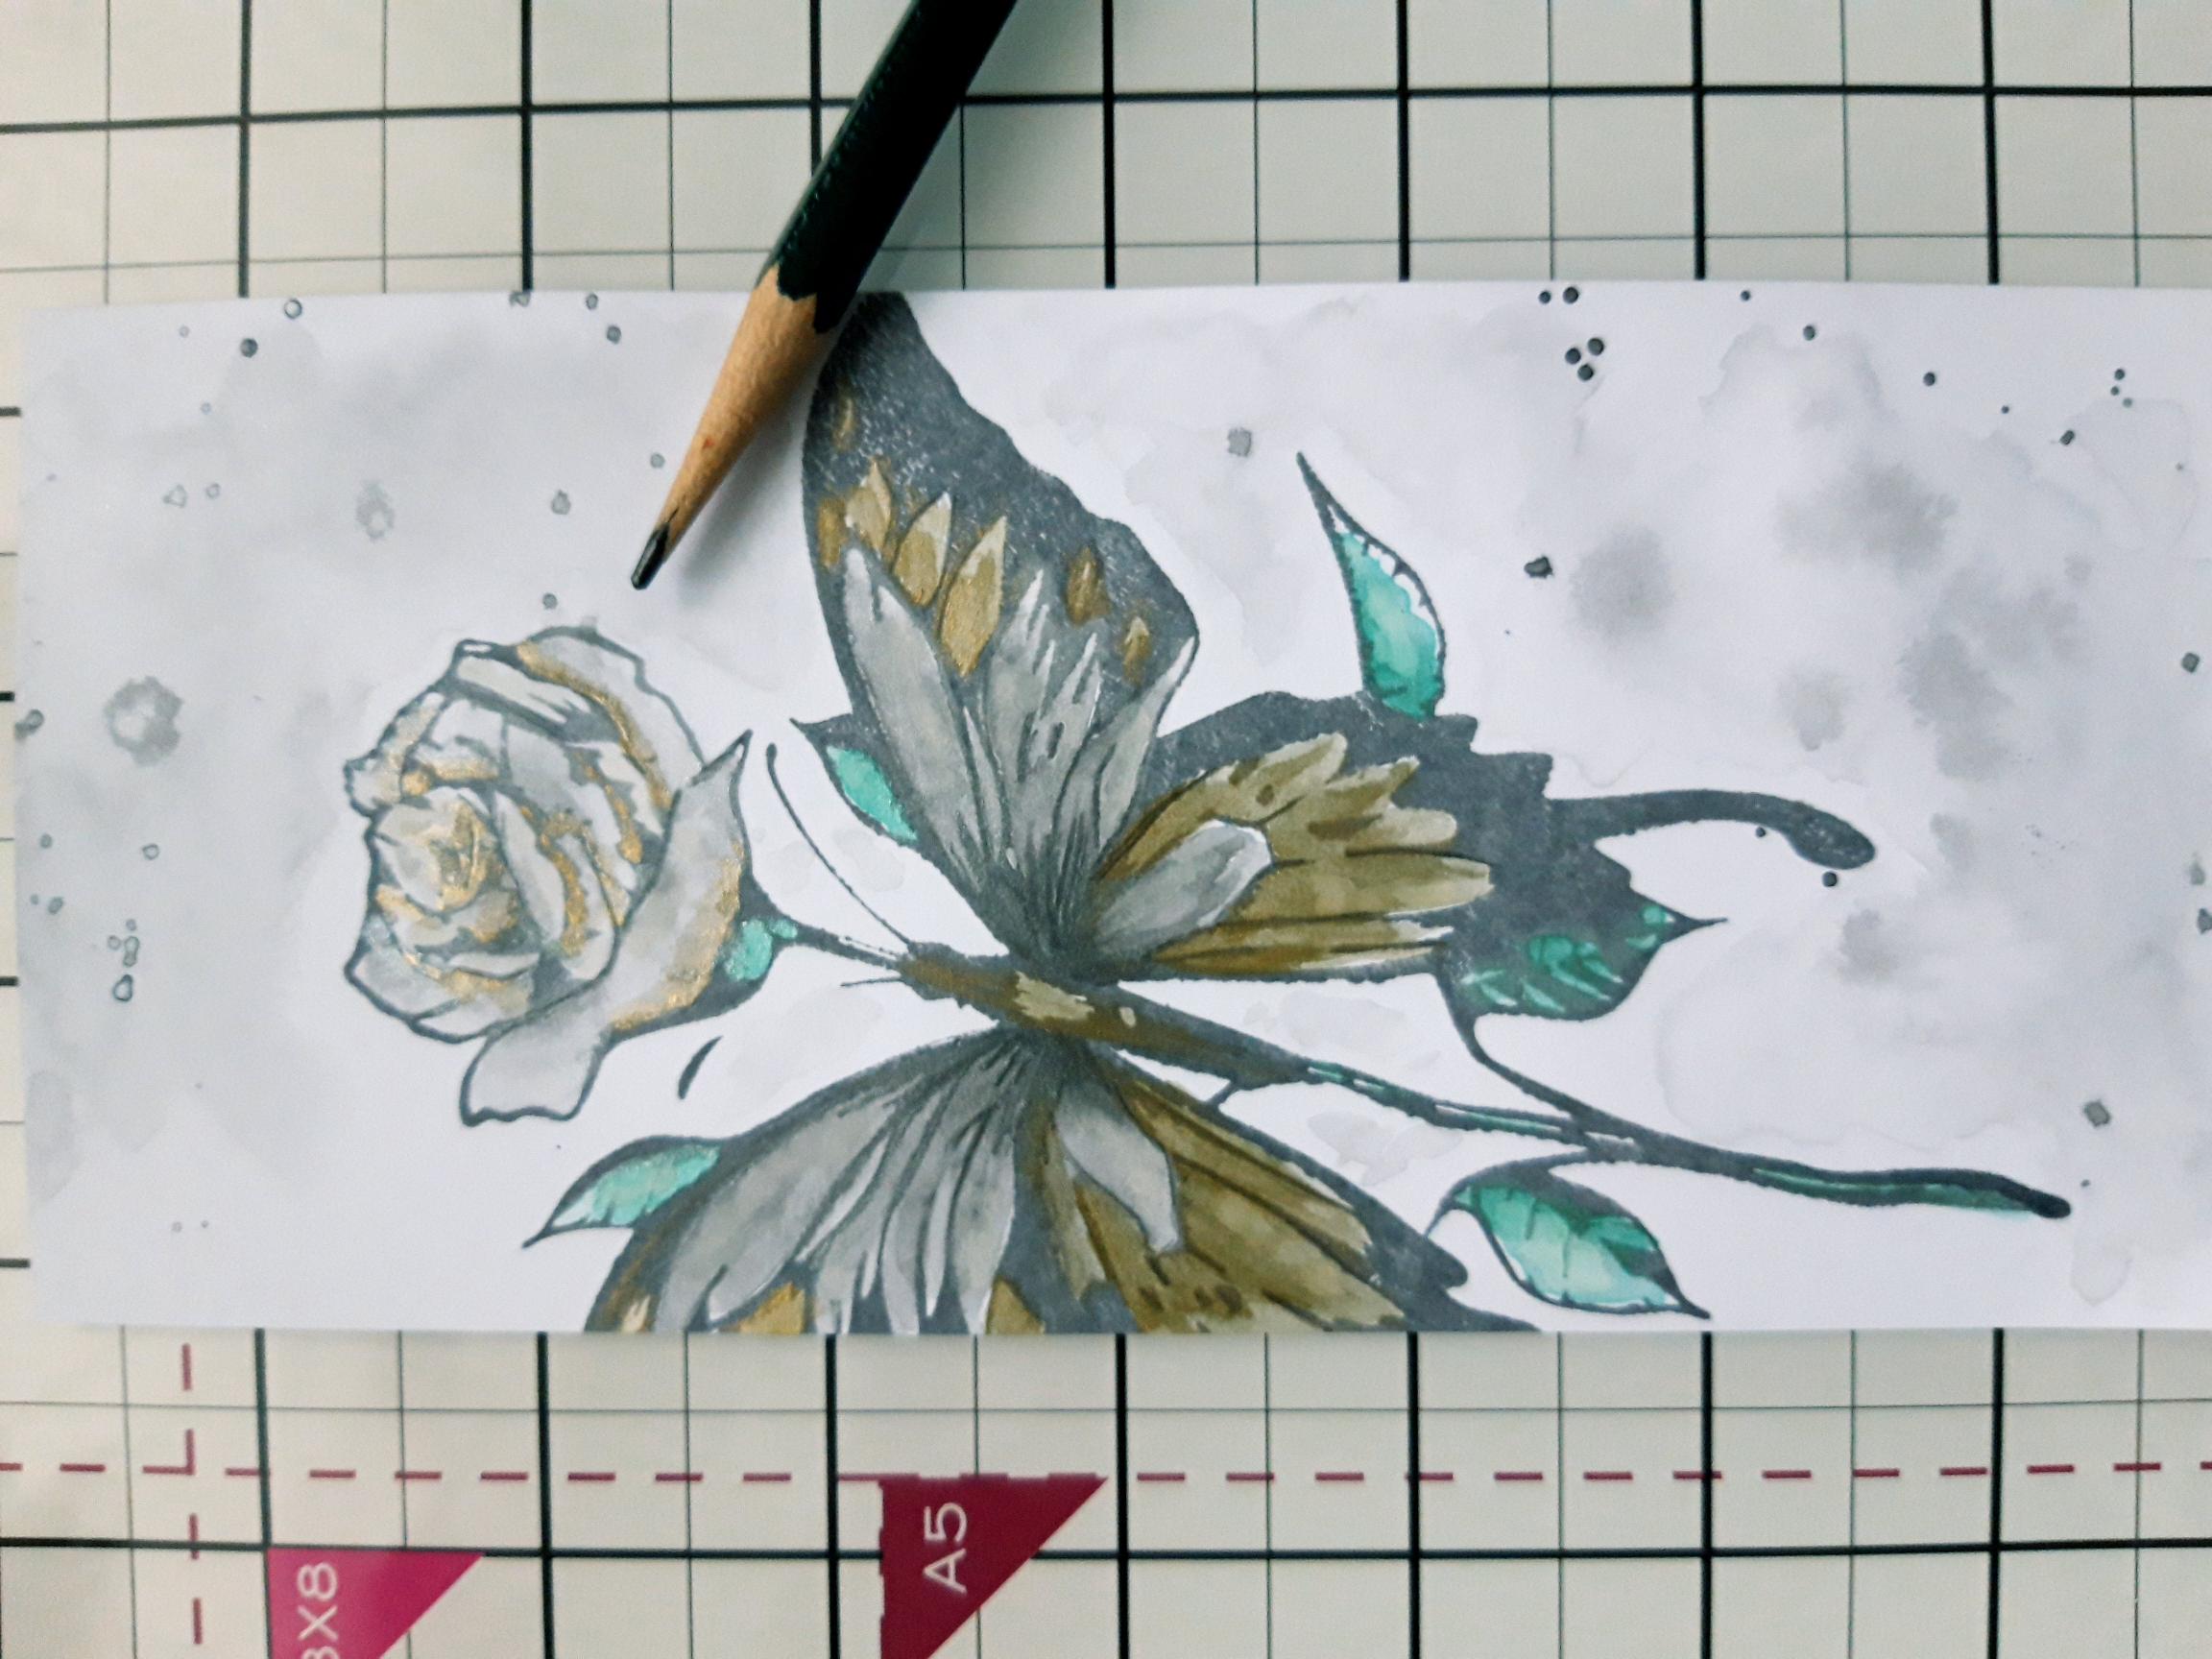
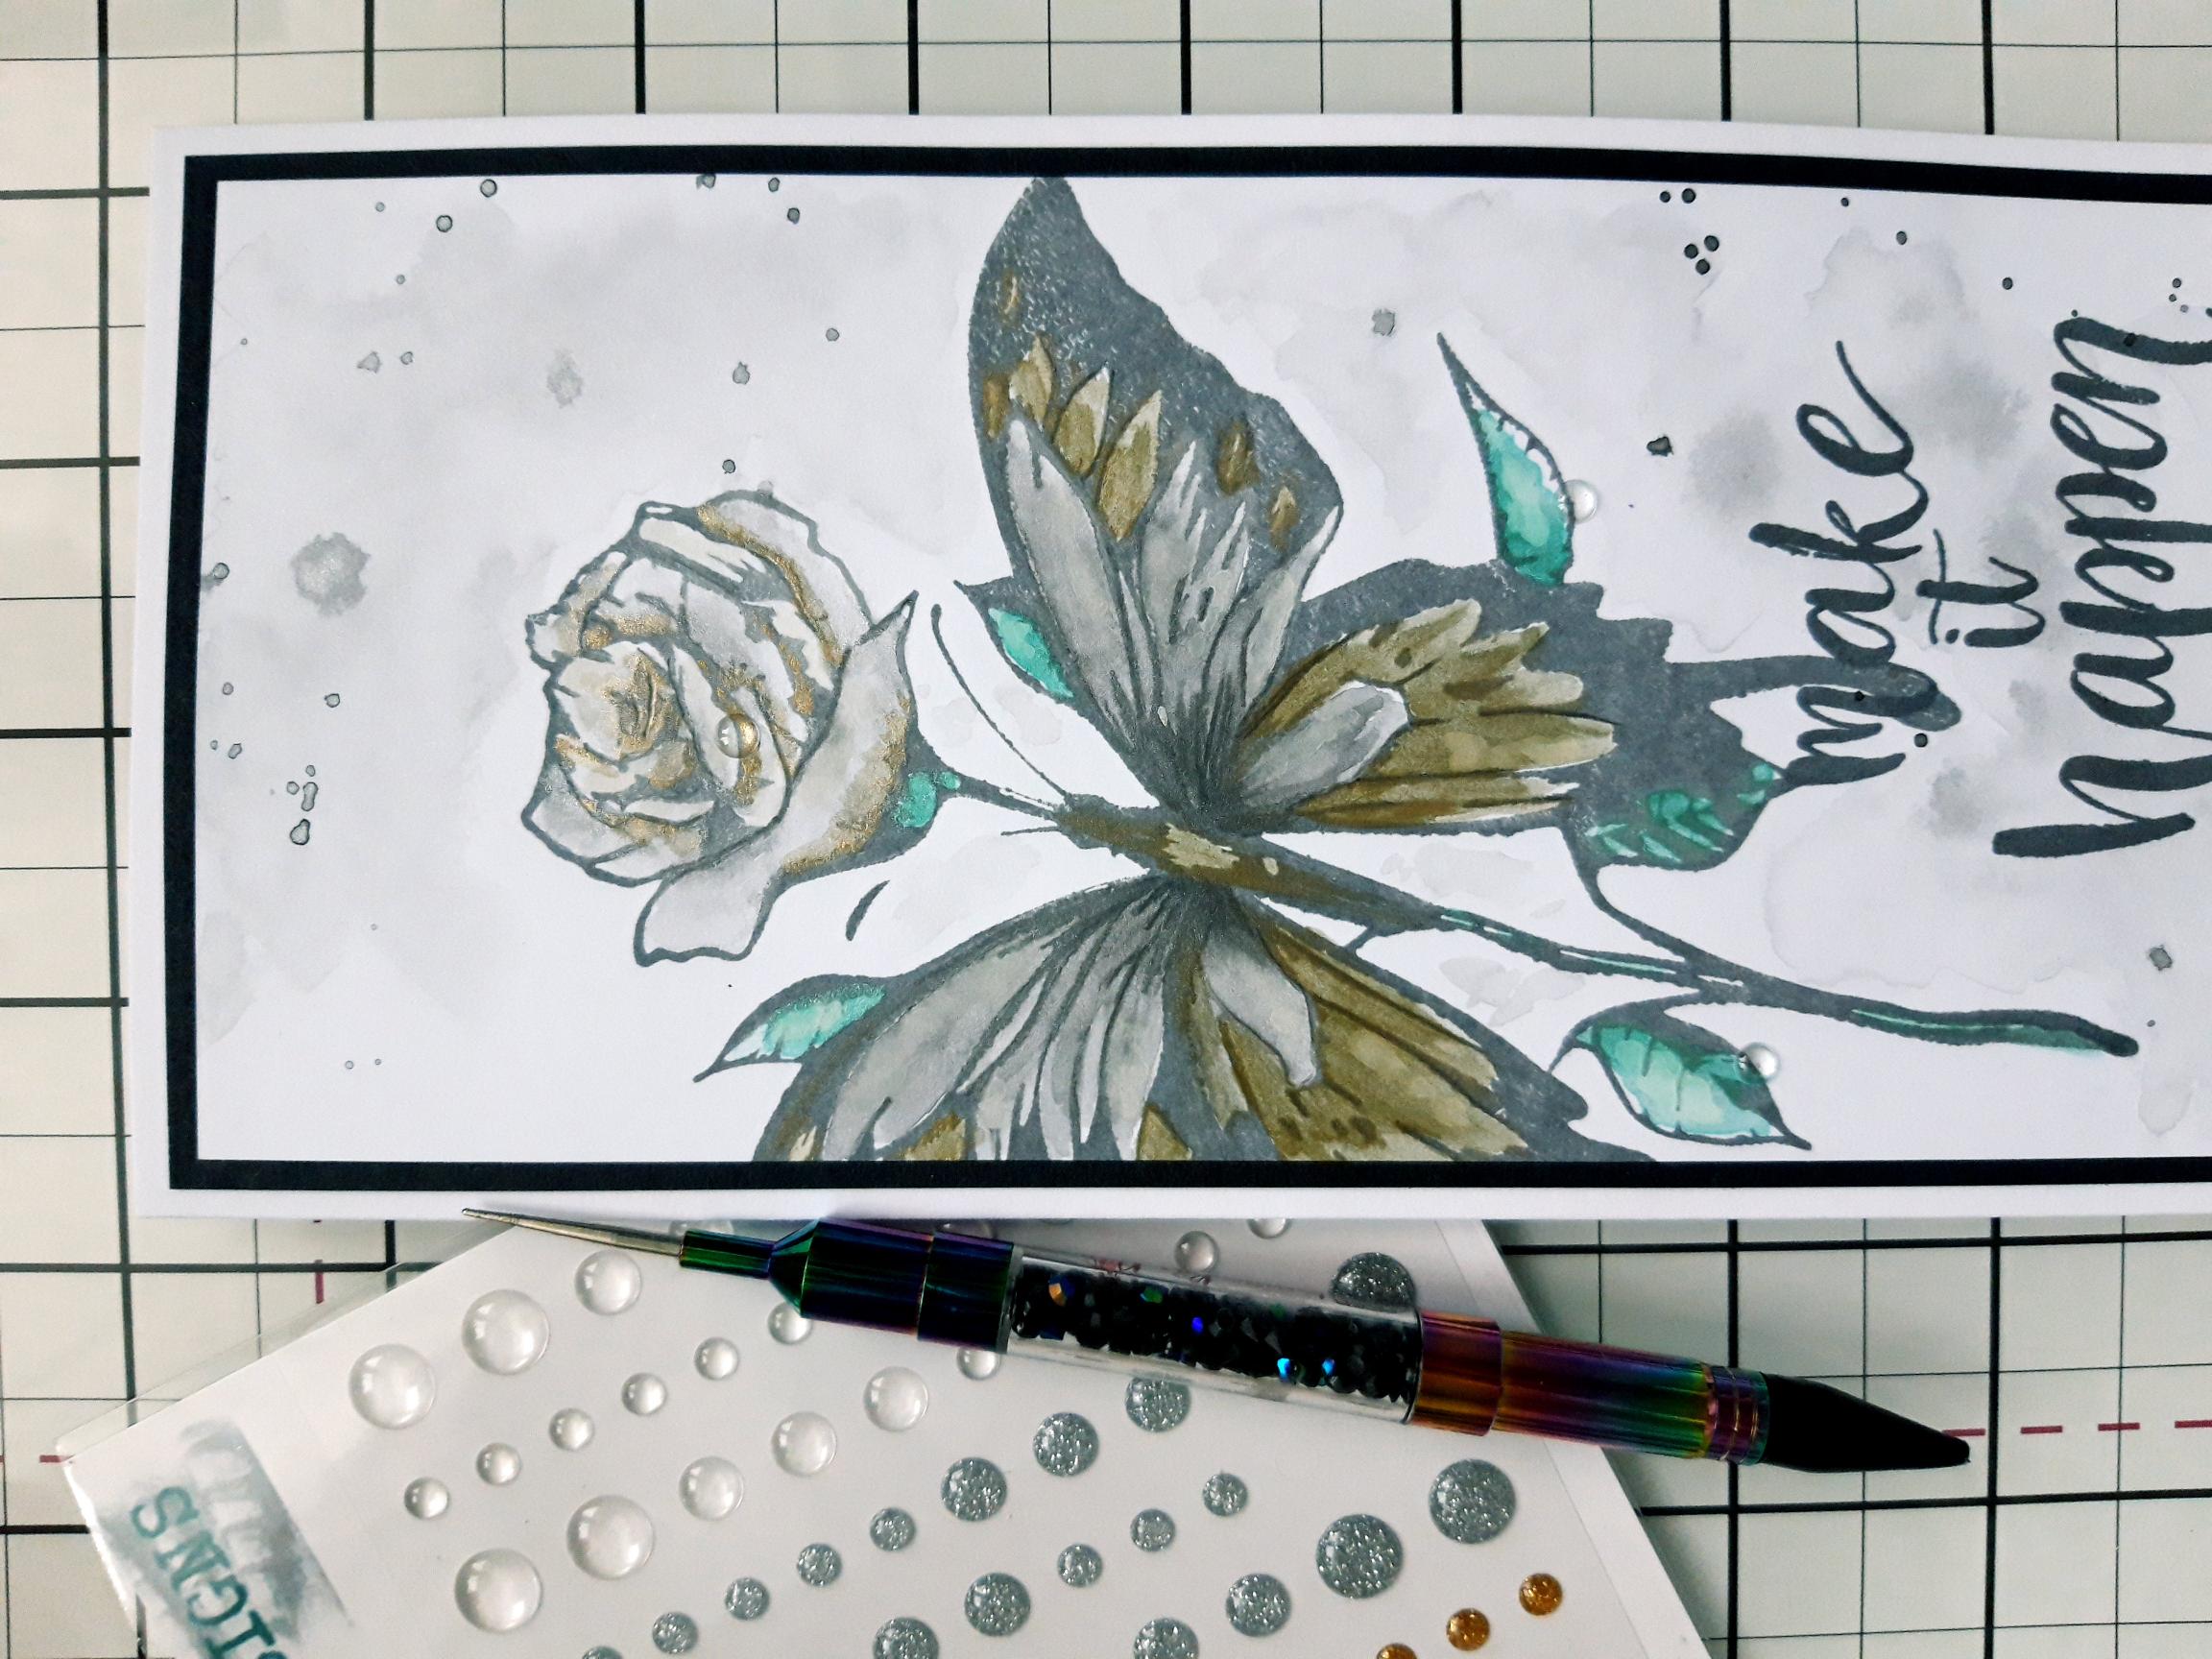
Use your Confetti Inks, mixed with a little water, to paint your stamped image, as required. |
|
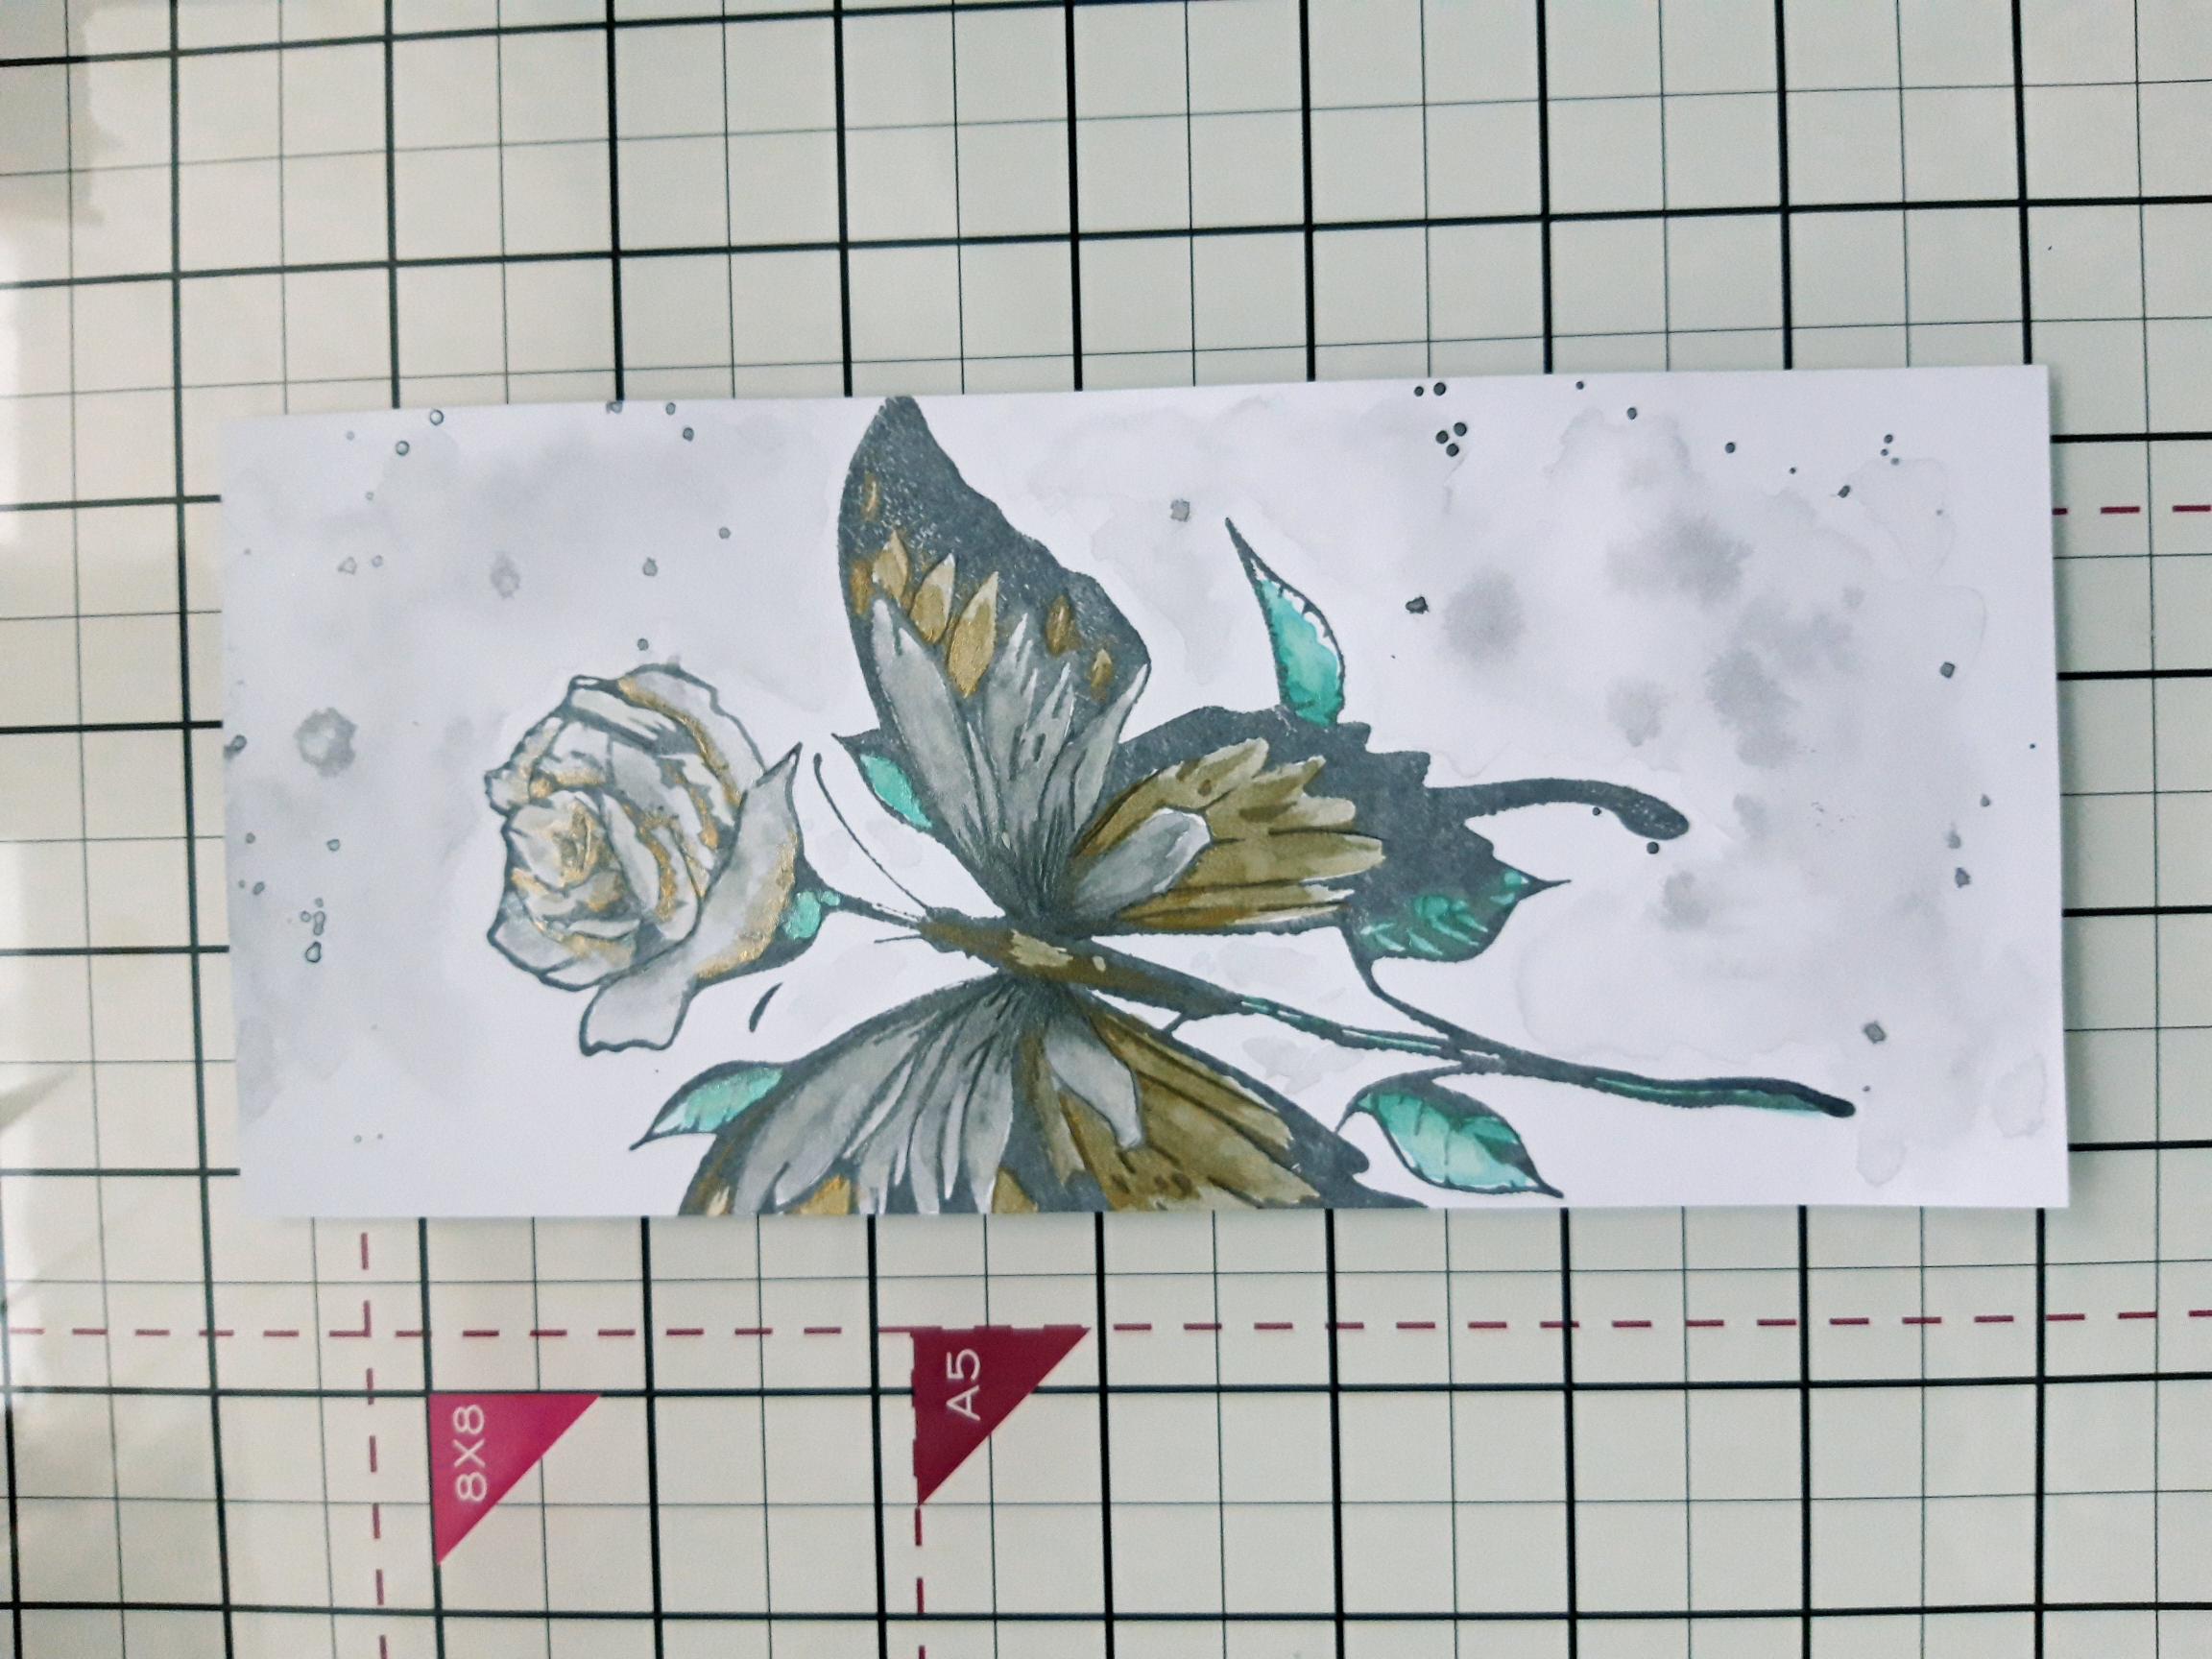
Apply a little of the Graphite Confetti on to your glass mat and water it right down. Pop water around the stamped image, with your paint brush, then drop the diluted paint in to the water and let it do its own thing, thus creating a smooshed background around your artwork. Dry the background, then add splatters of the Graphite Confetti over your artwork, as required. |
|
Go back in with a pencil and fill in any of the detailed lines, that may have been muted by the mica in the Confetti paints. |
|
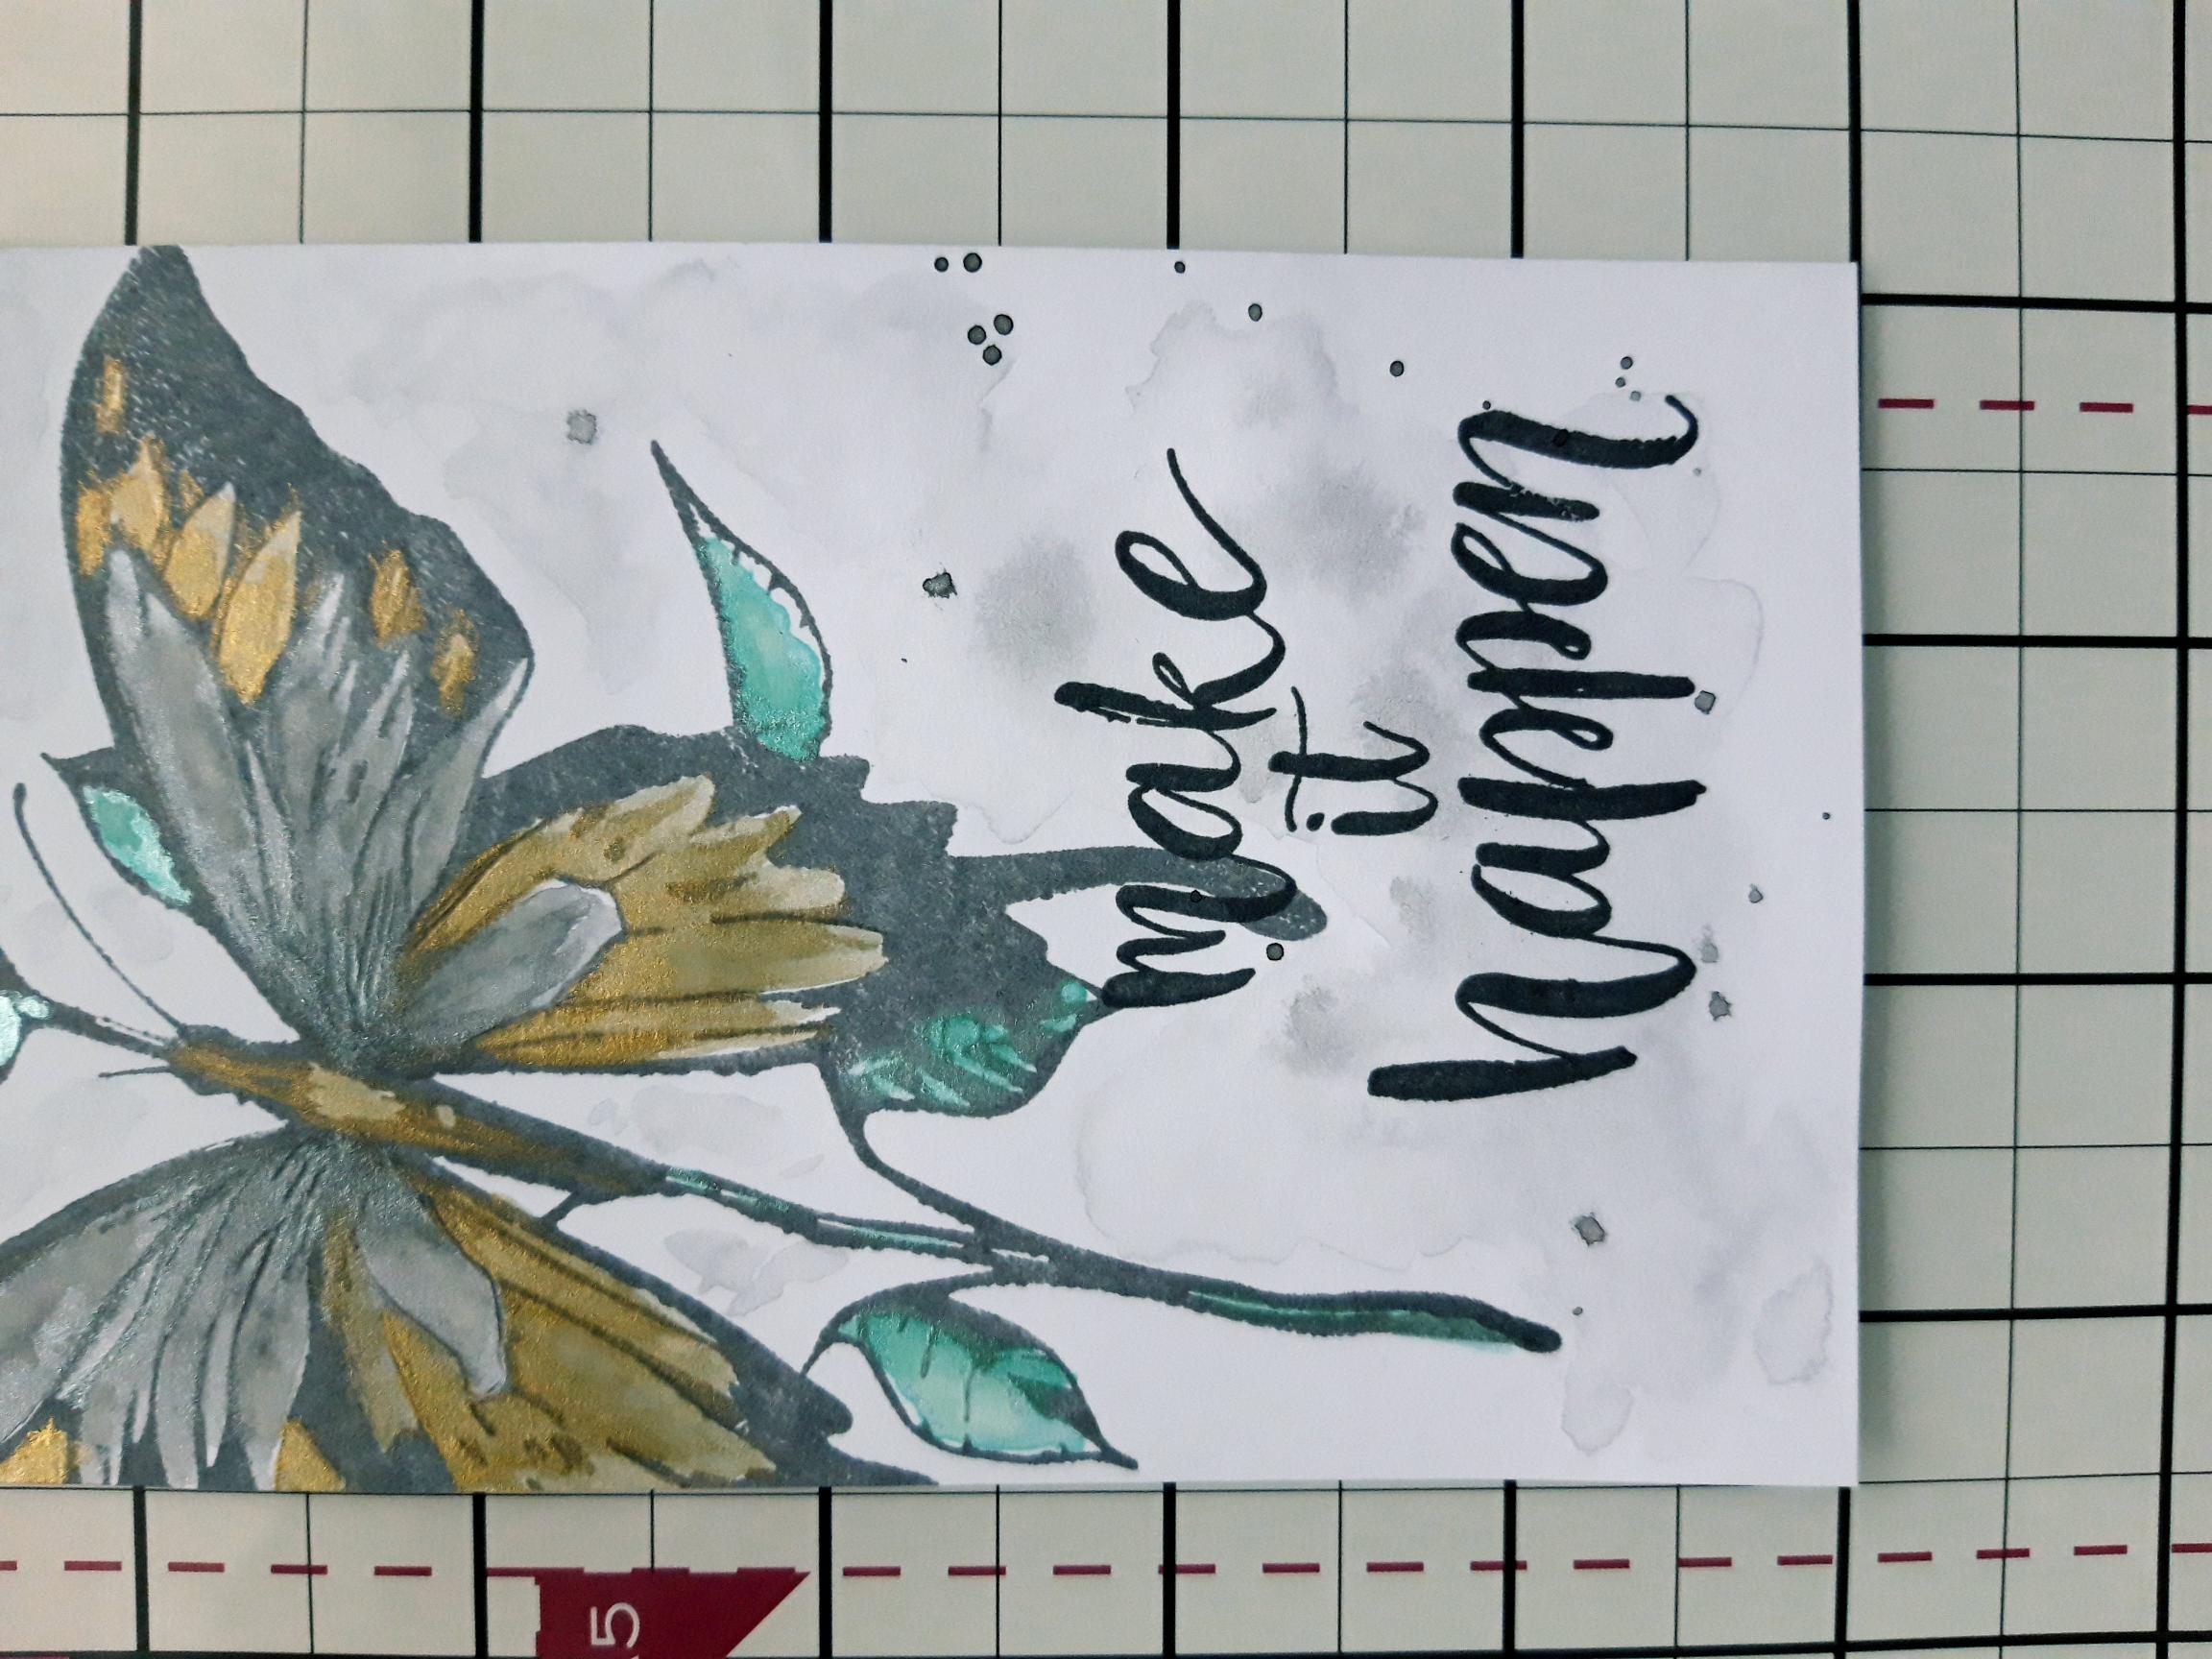
Ink up the sentiment, from the same set, with the Onyx Black Versafine and stamp across the bottom right of your artwork. |
|
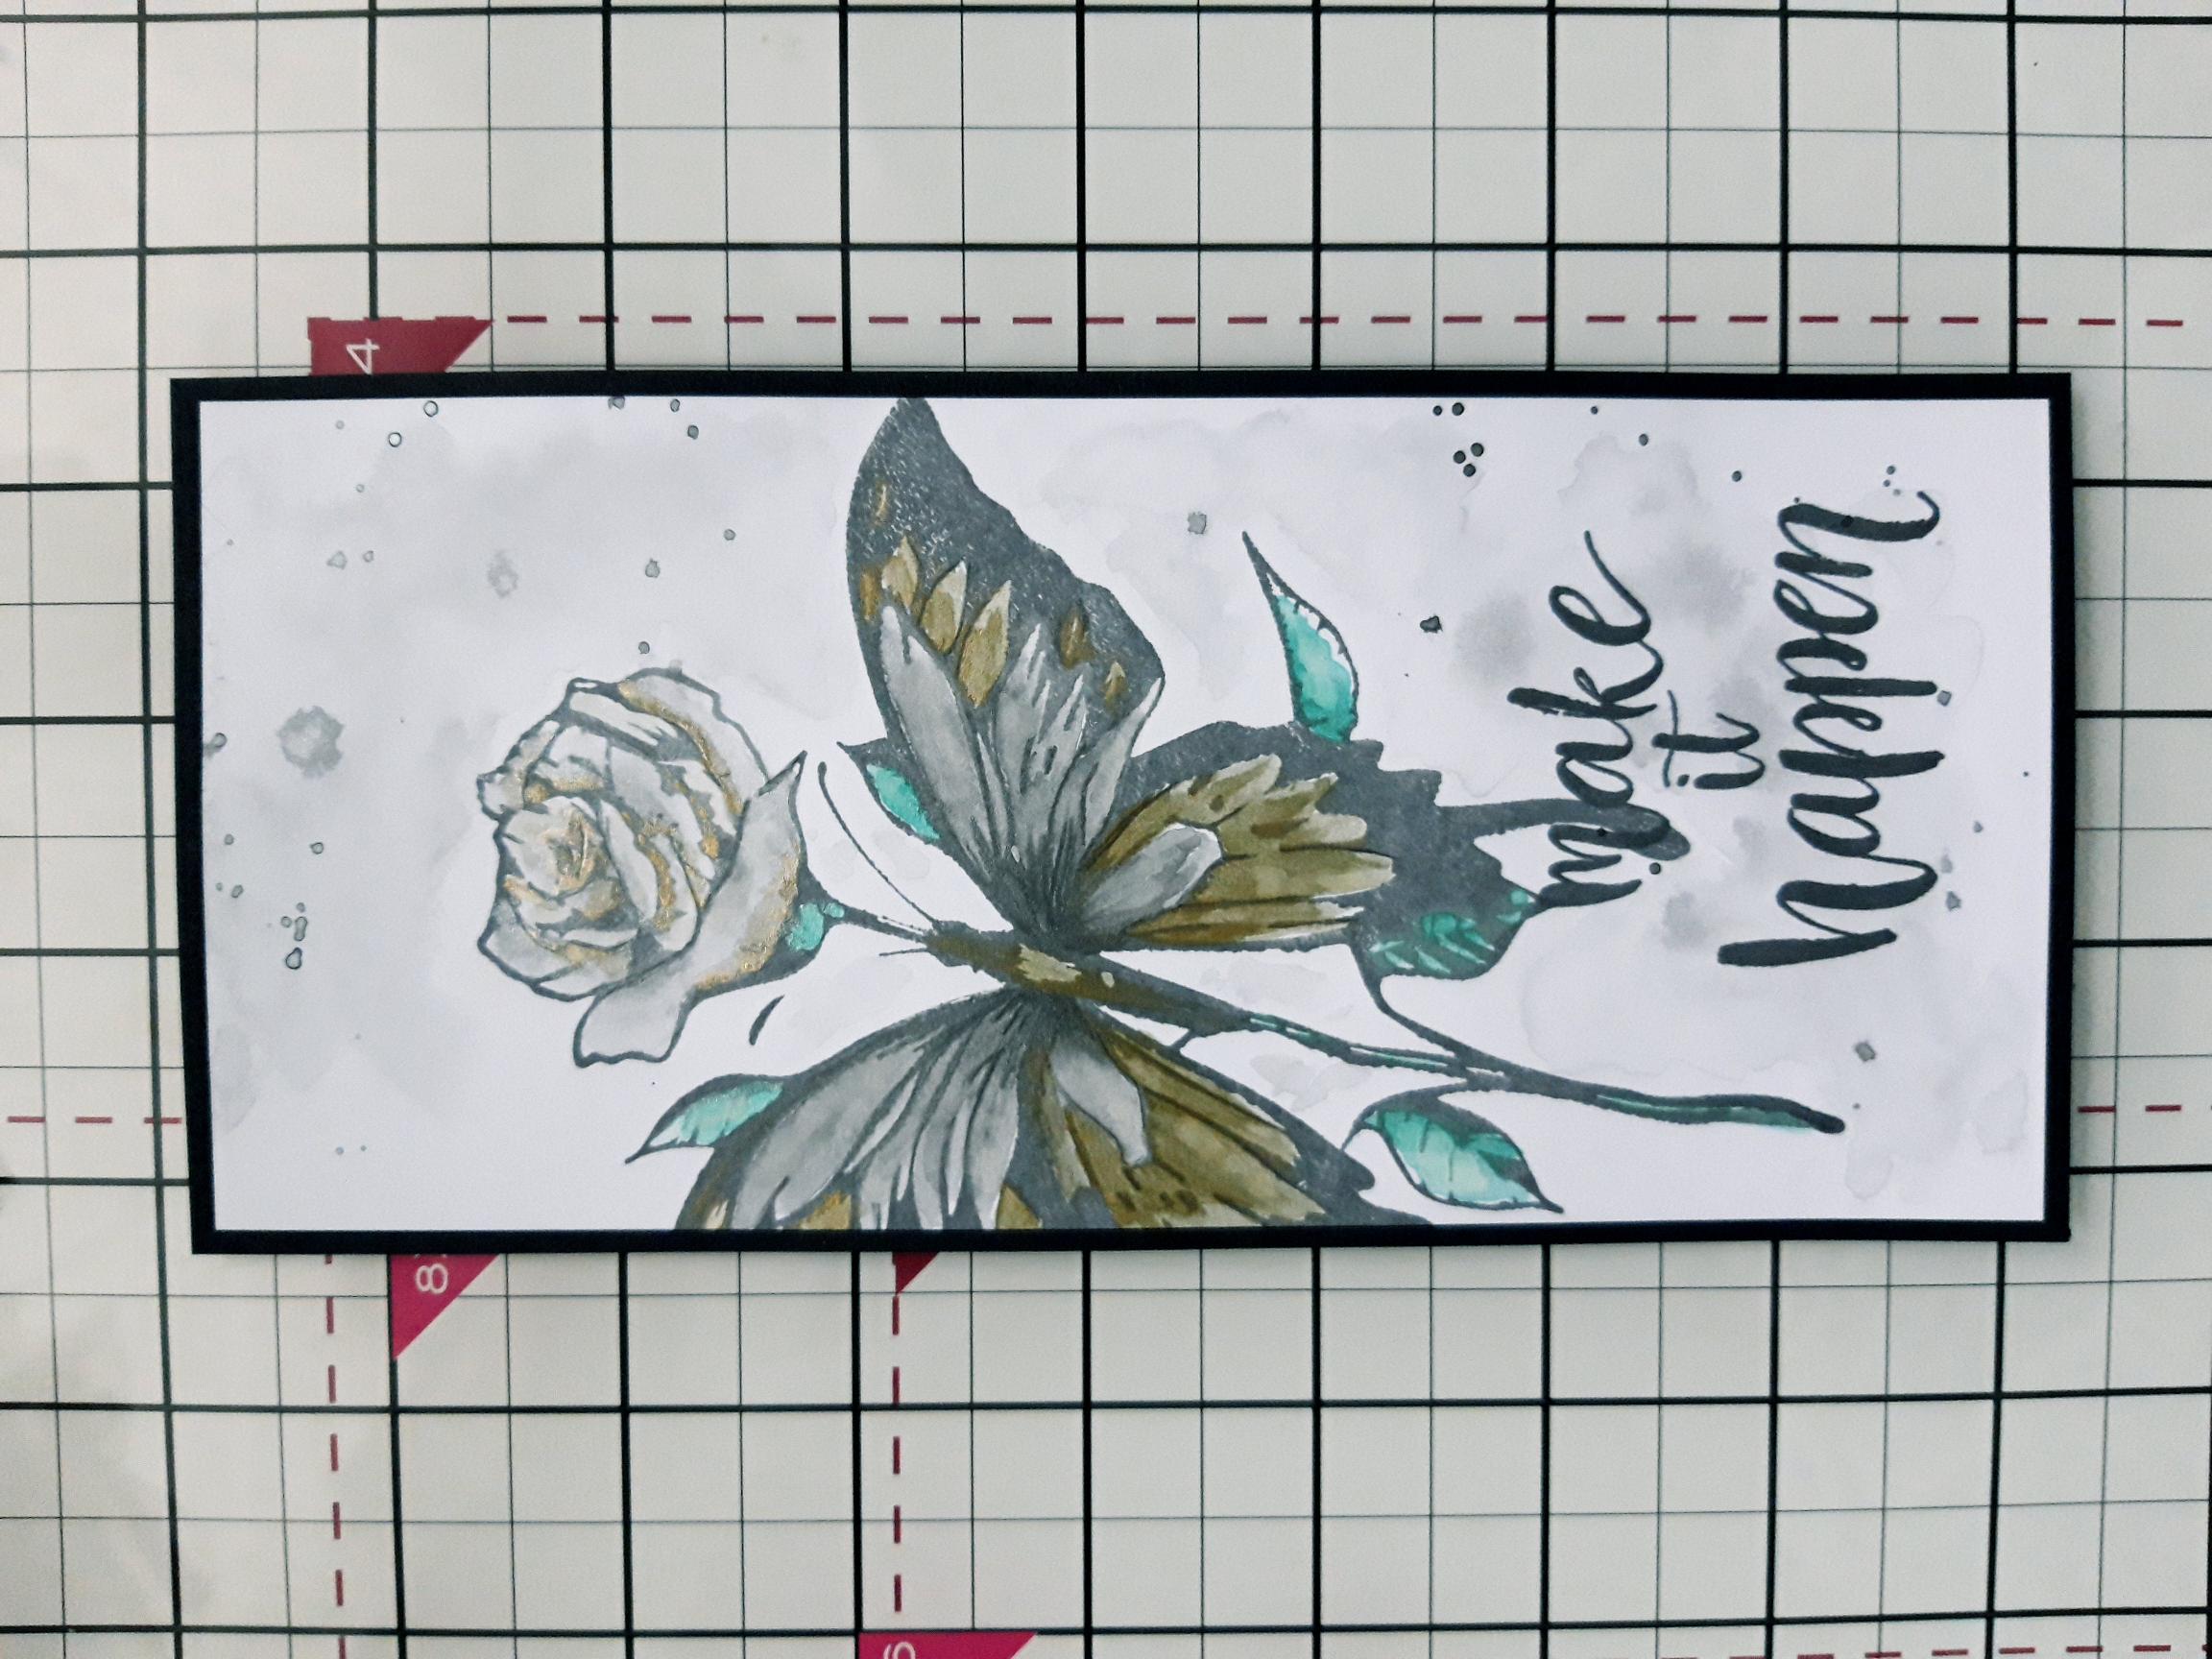
Adhere your artwork on to the black card, cut to 8 x 3 3/4" |
|
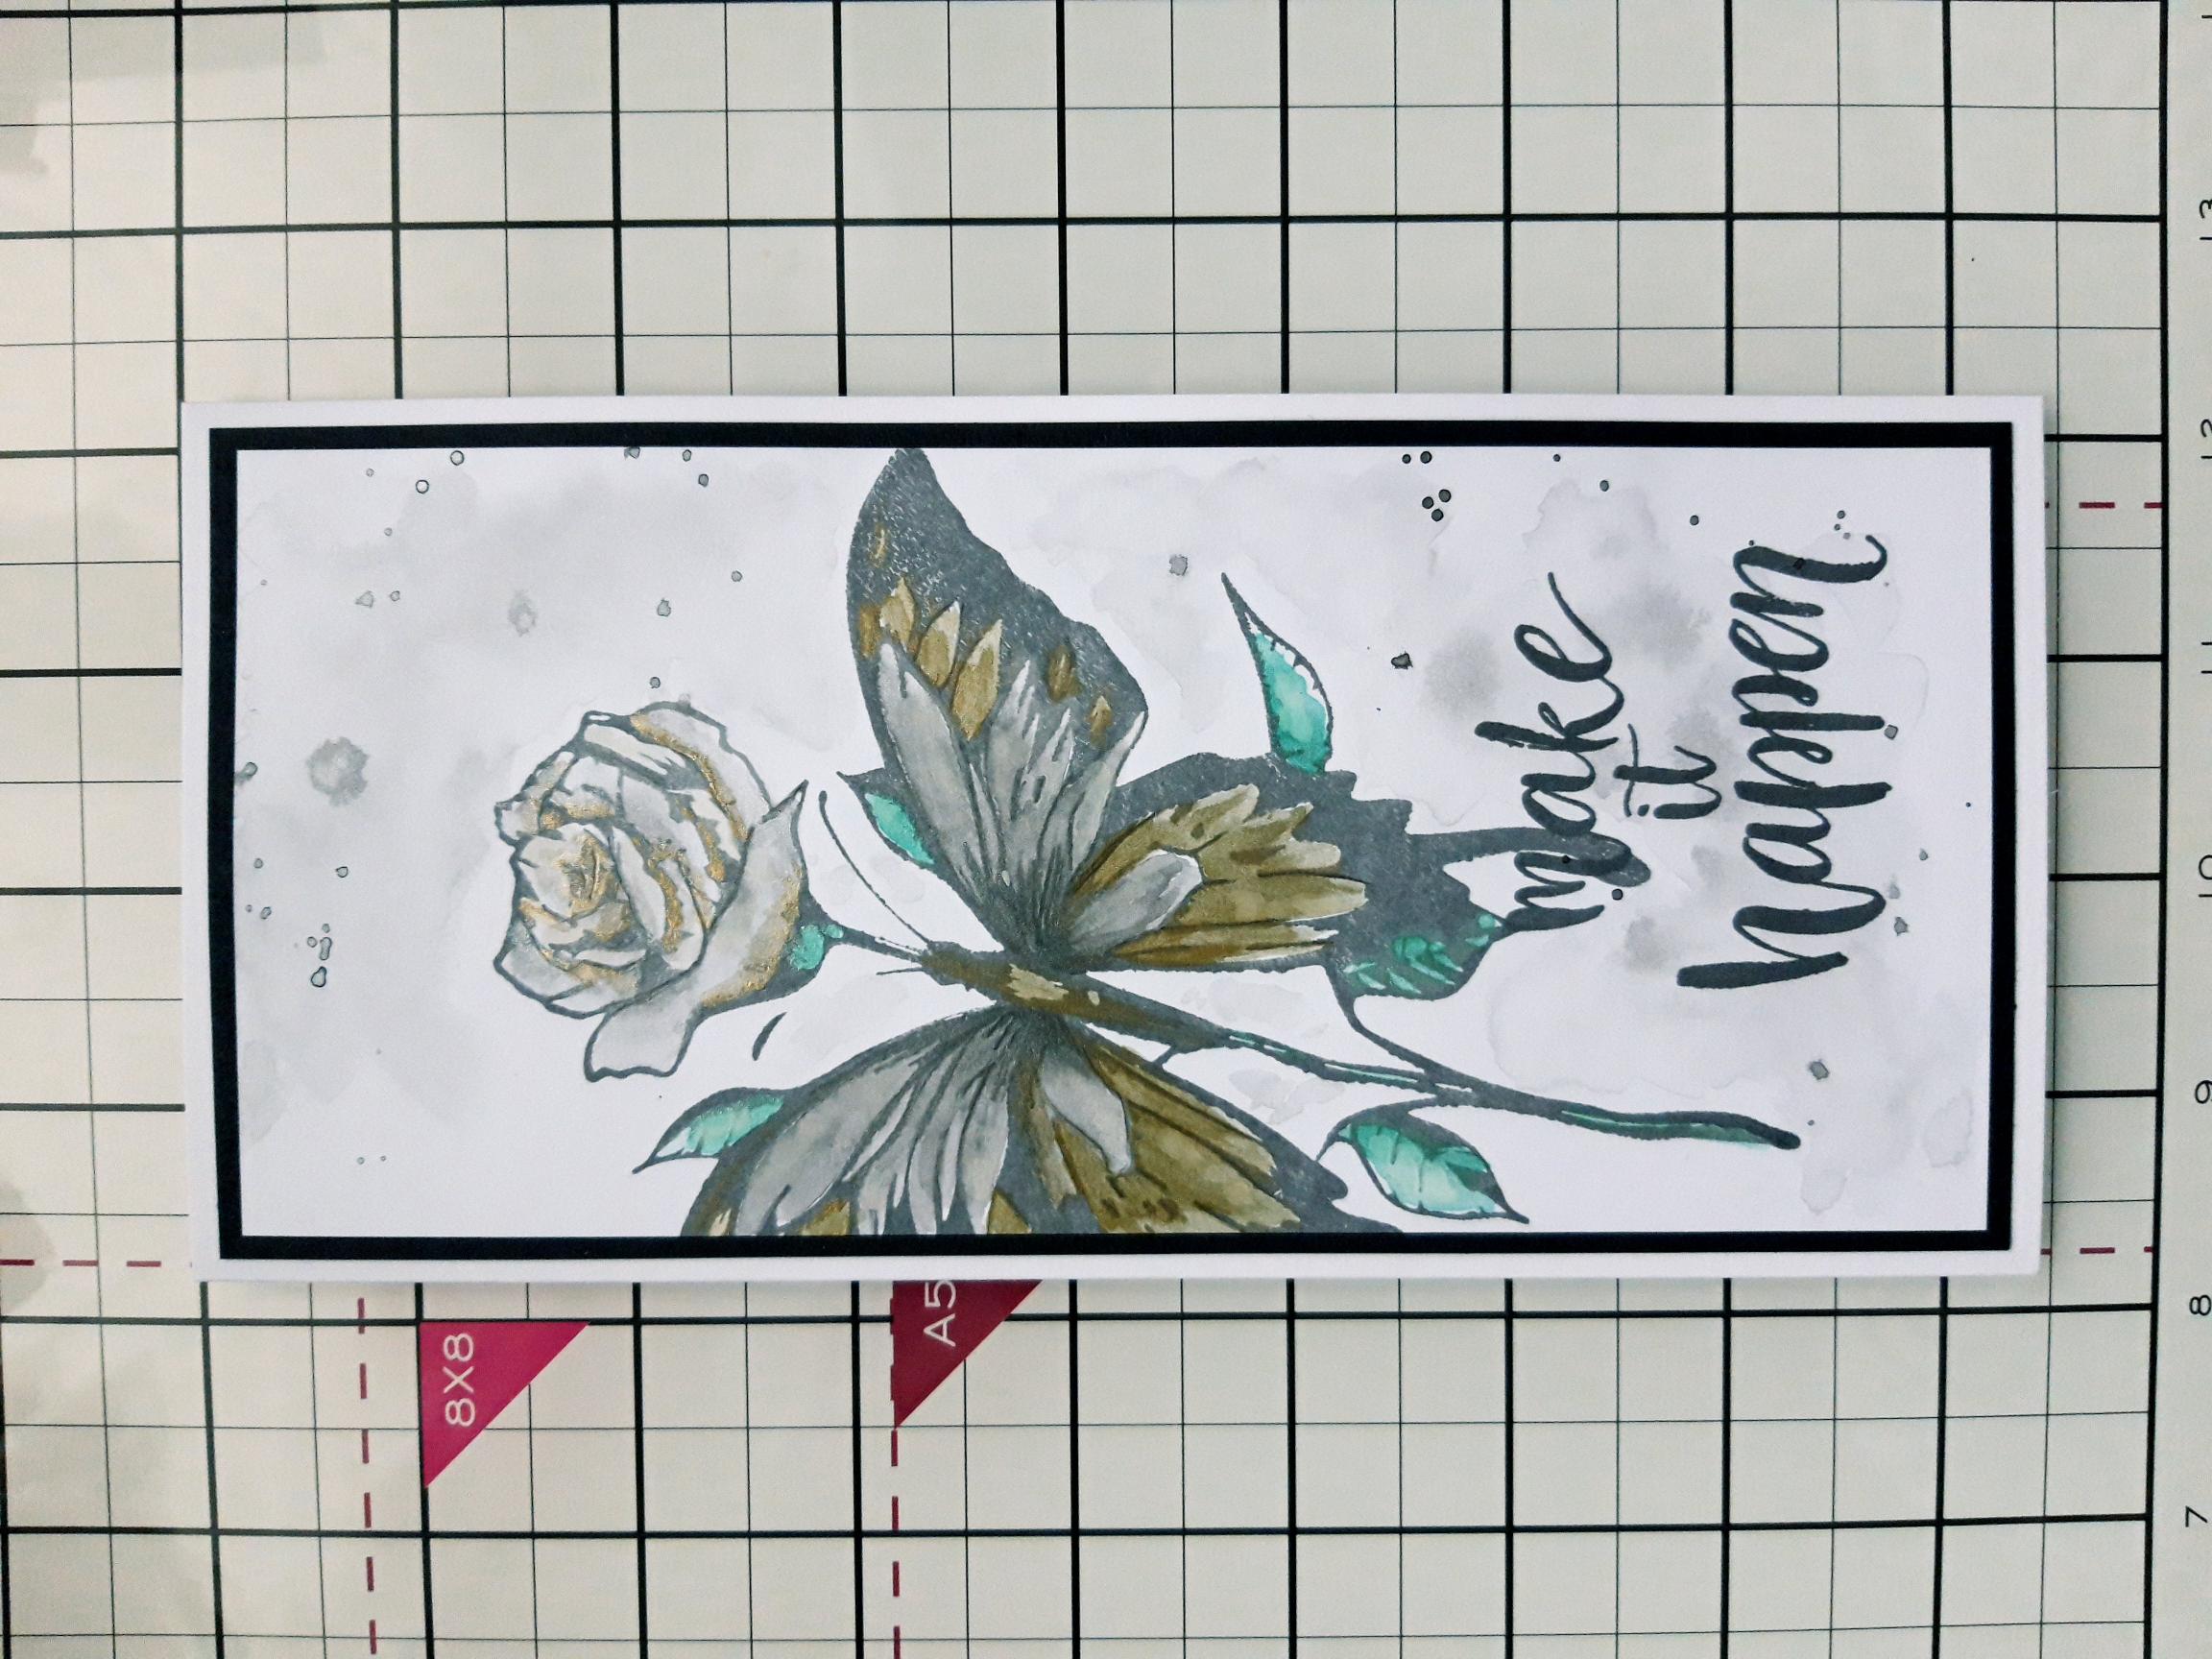
Adhere this to the front of your white DL card blank. |
|
Finish off by adding clear adhesive enamel dots, as required. |