Give your friends $10 off their first order!
Refer a FRIEND









WHAT YOU WILL NEED:
White envelope (7 x 7")
Time To Grow 4 x 4" Paper Pack
Time To Grow 6 x 6" Paper Pack
Stamps from Retro Stamp Collection
Versafine Ink Pad: Onyx Black
Izink Shiny Spray: Bleu Ciel
Water spray bottle
Eureka 101
Paper Trimmer
Perfect Together Glue
[click image to enlarge] 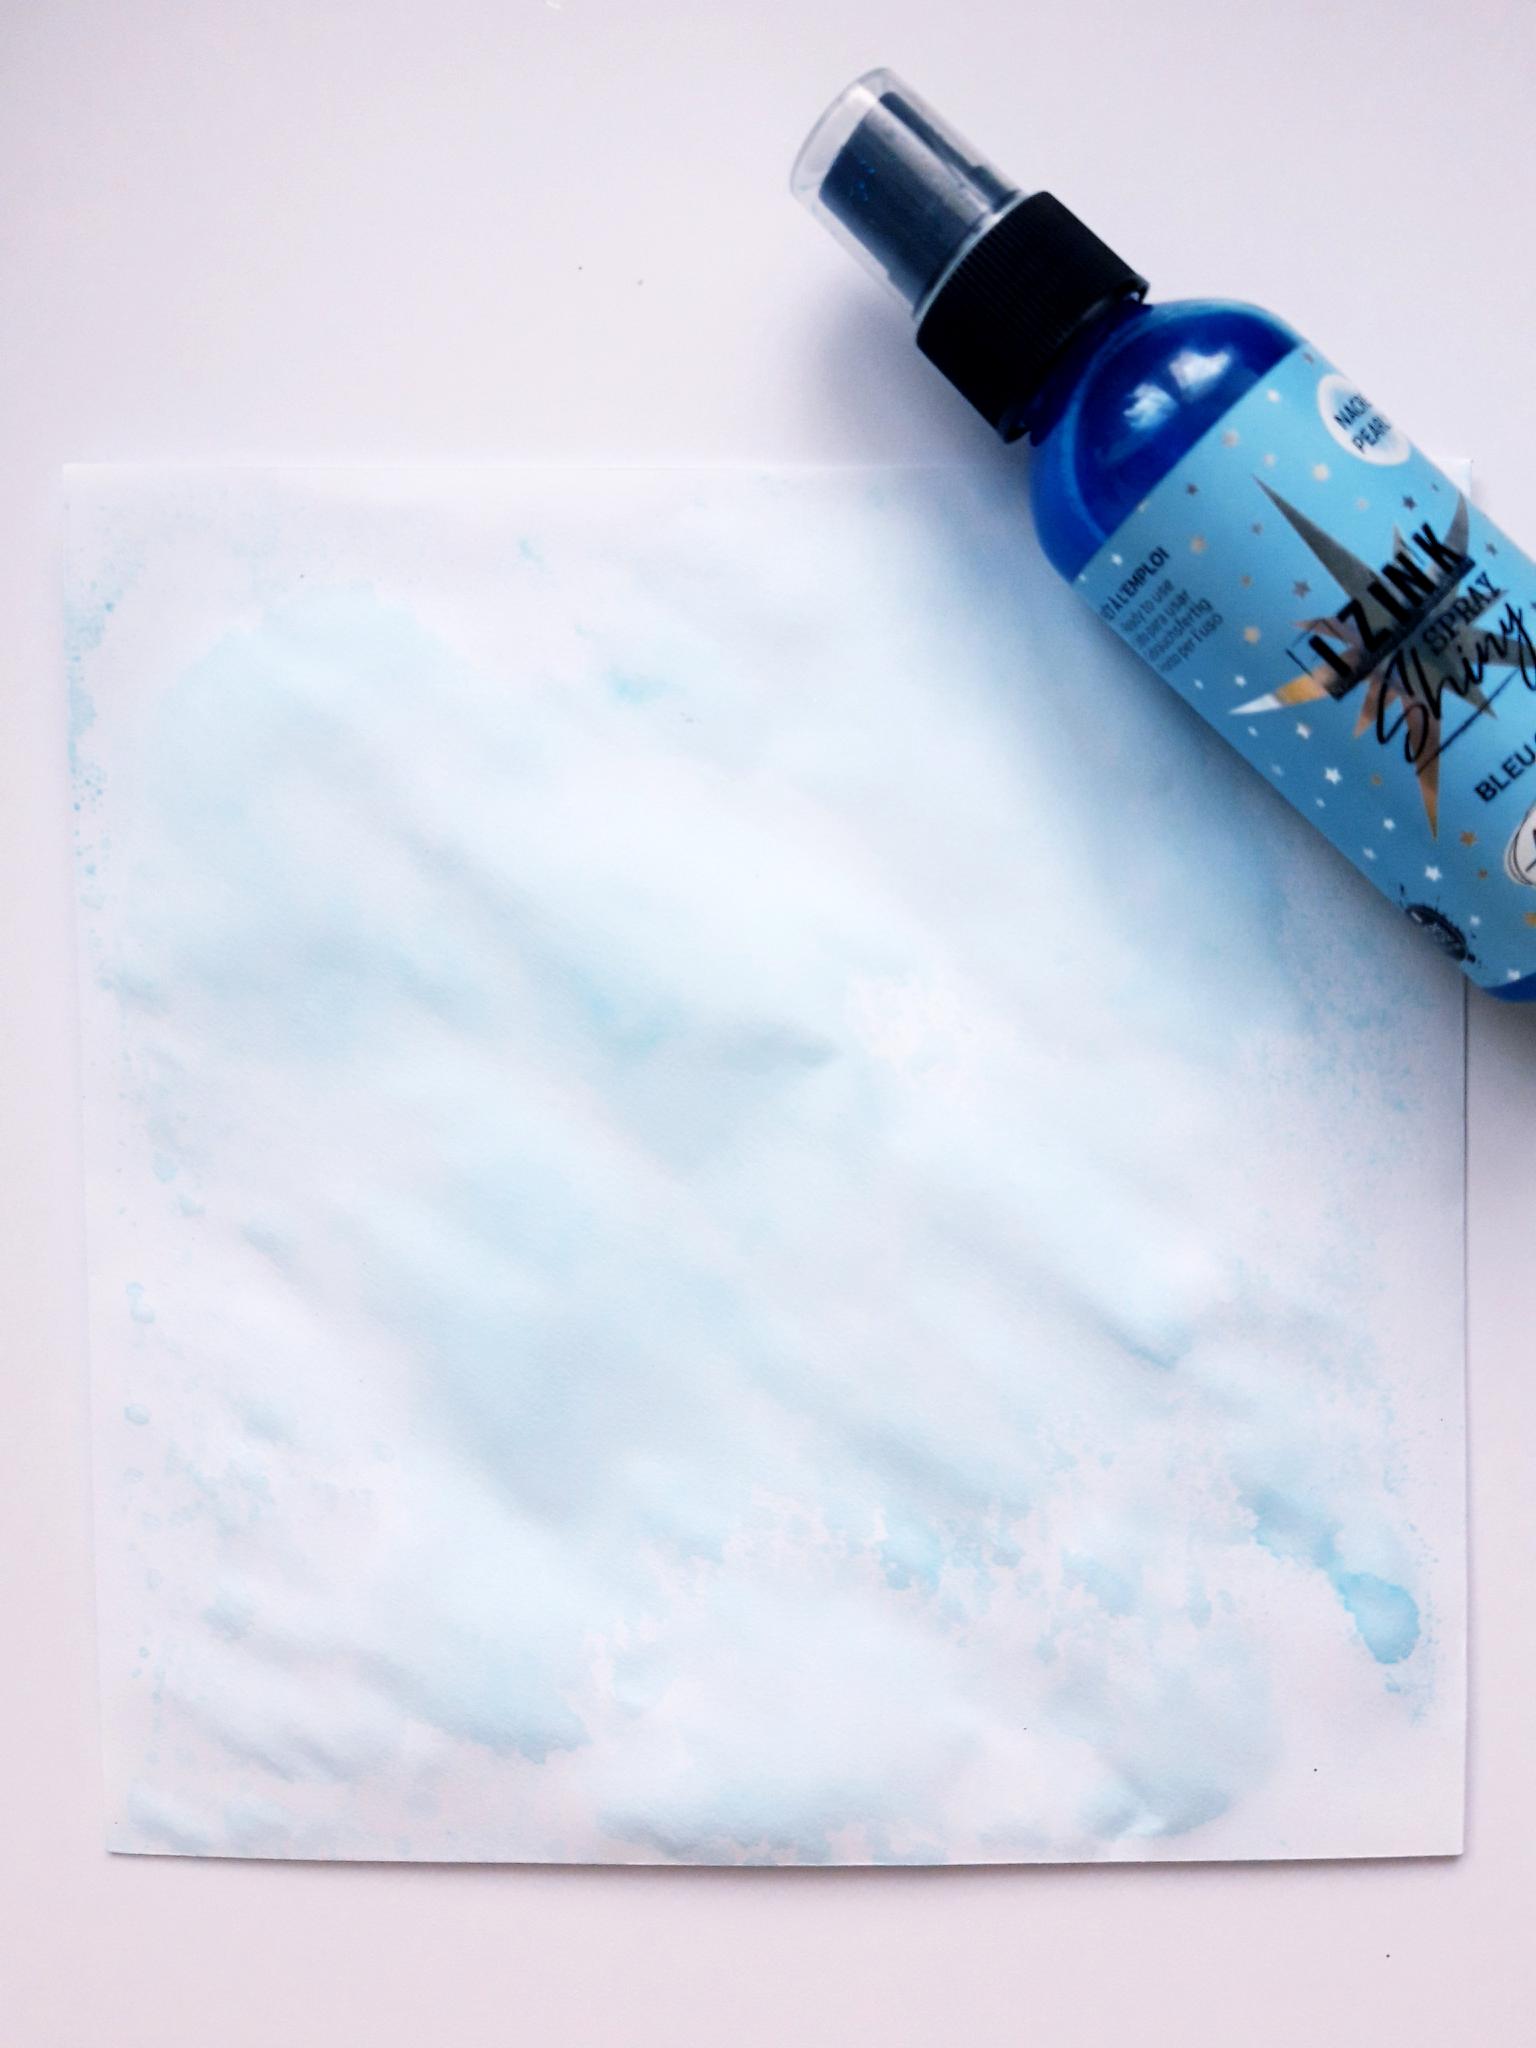
|
Spray the Izink Bleu Ciel on to a craft or glass mat, spritz with water, and pick up the ink on to the front of your white envelope.You can add more ink, until you are happy with the effect. |
|
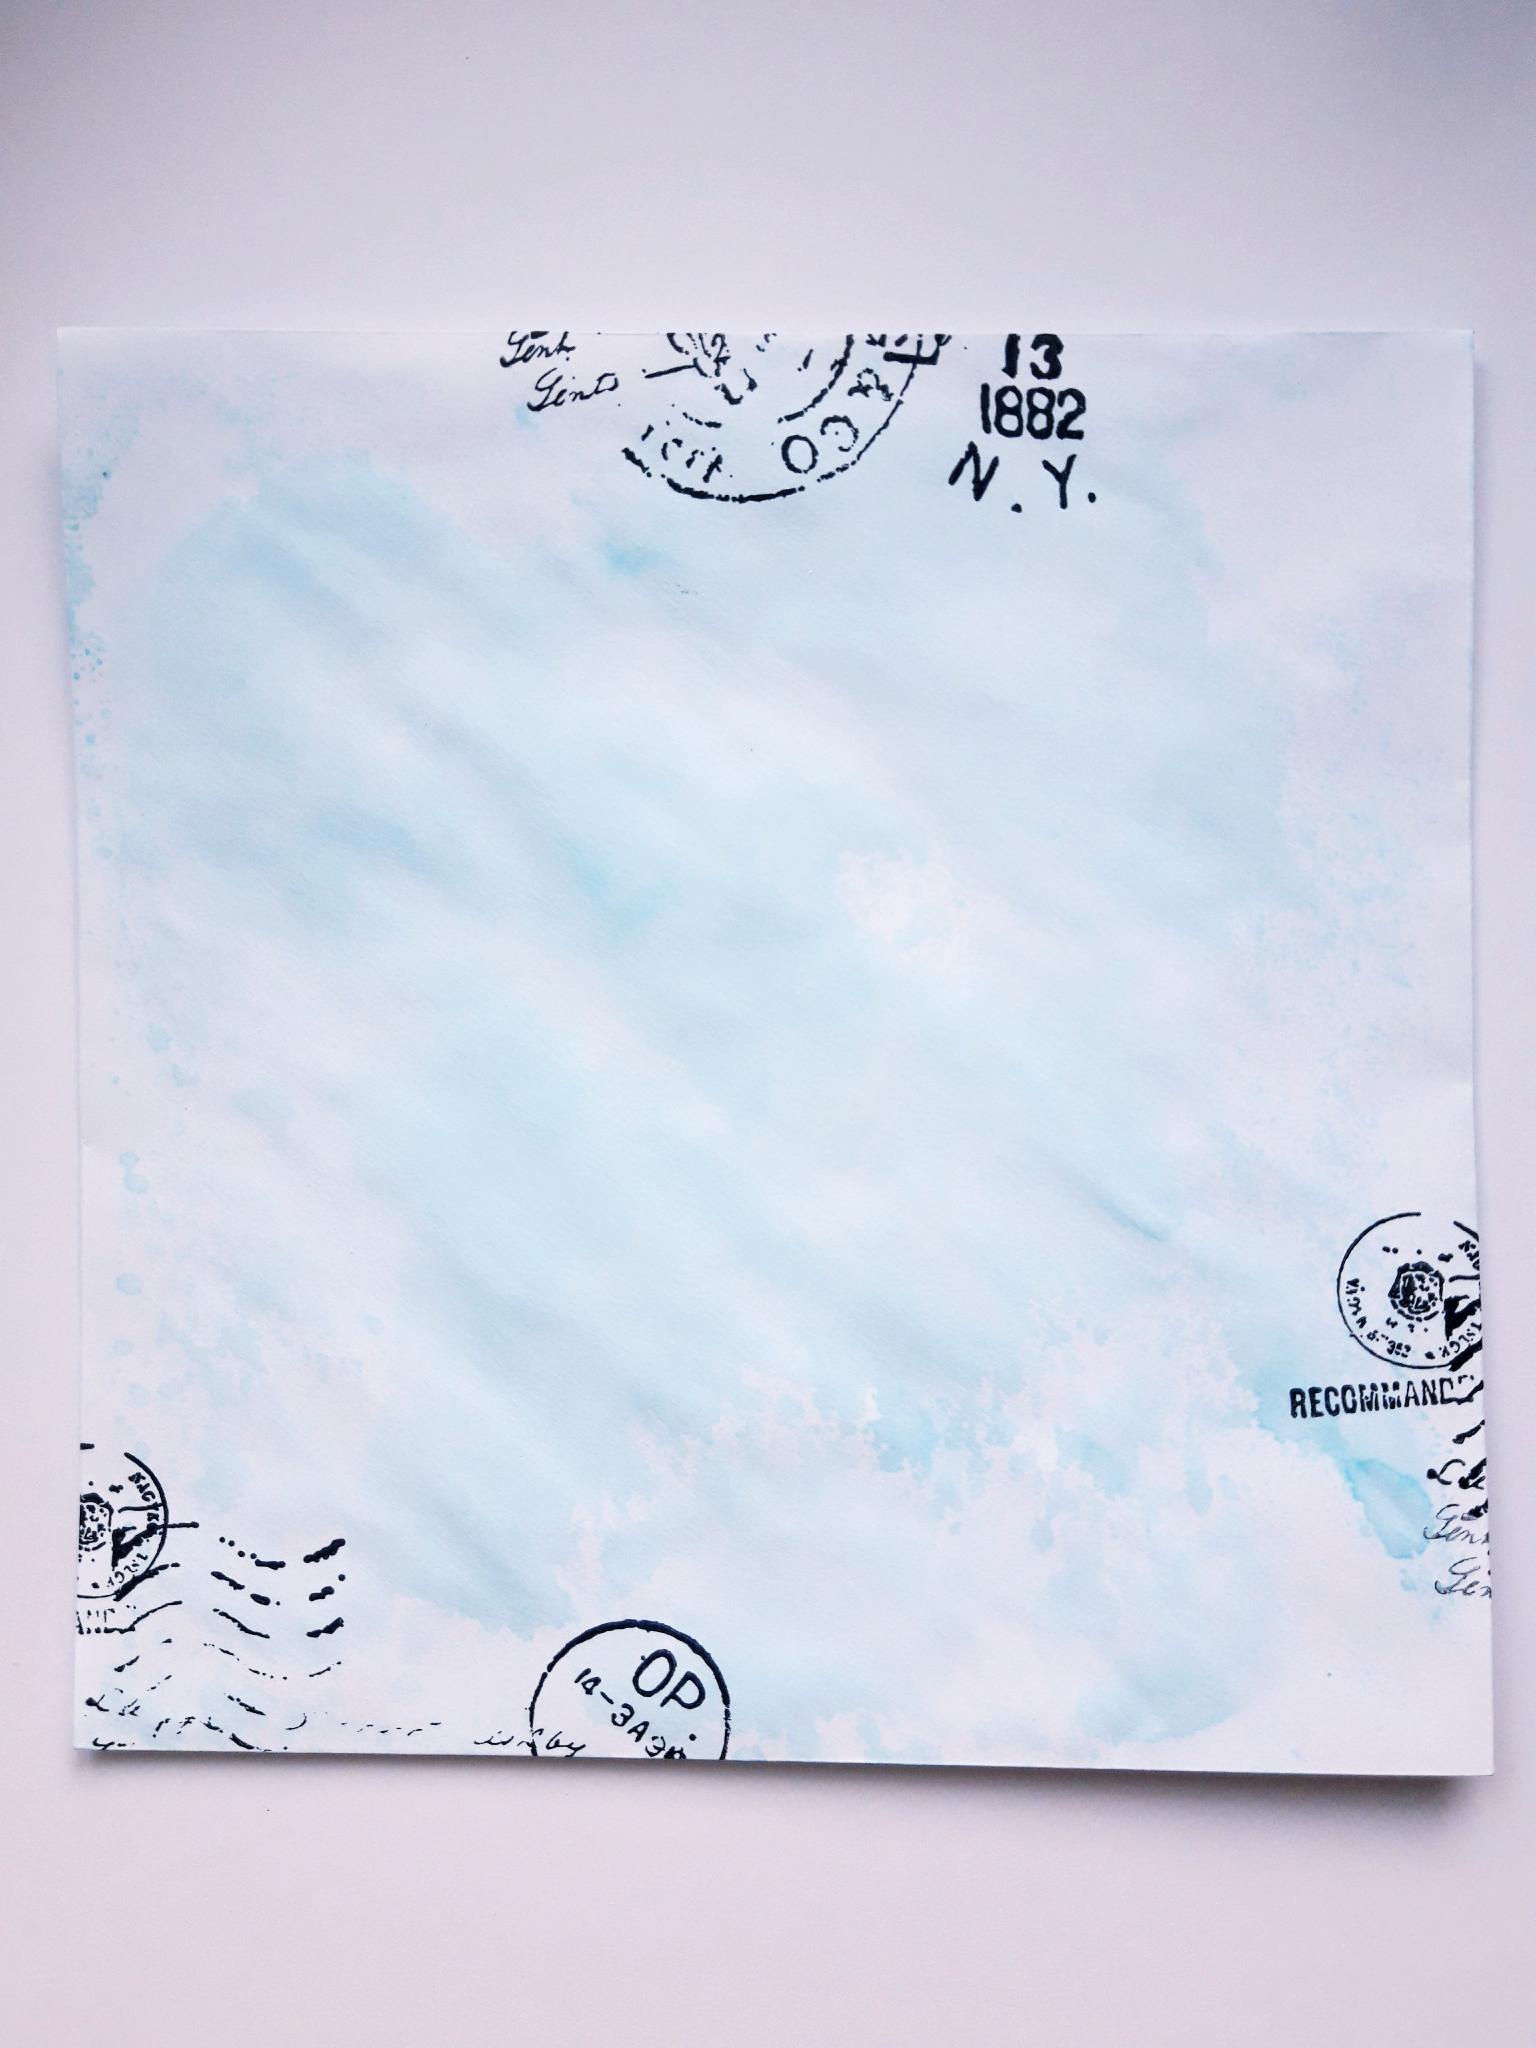
Ink up one of the stamps from the Retro Stamp Collection, with the Onyx Black Versafine. Stamp randomly around the edges of your inked envelope. |
|
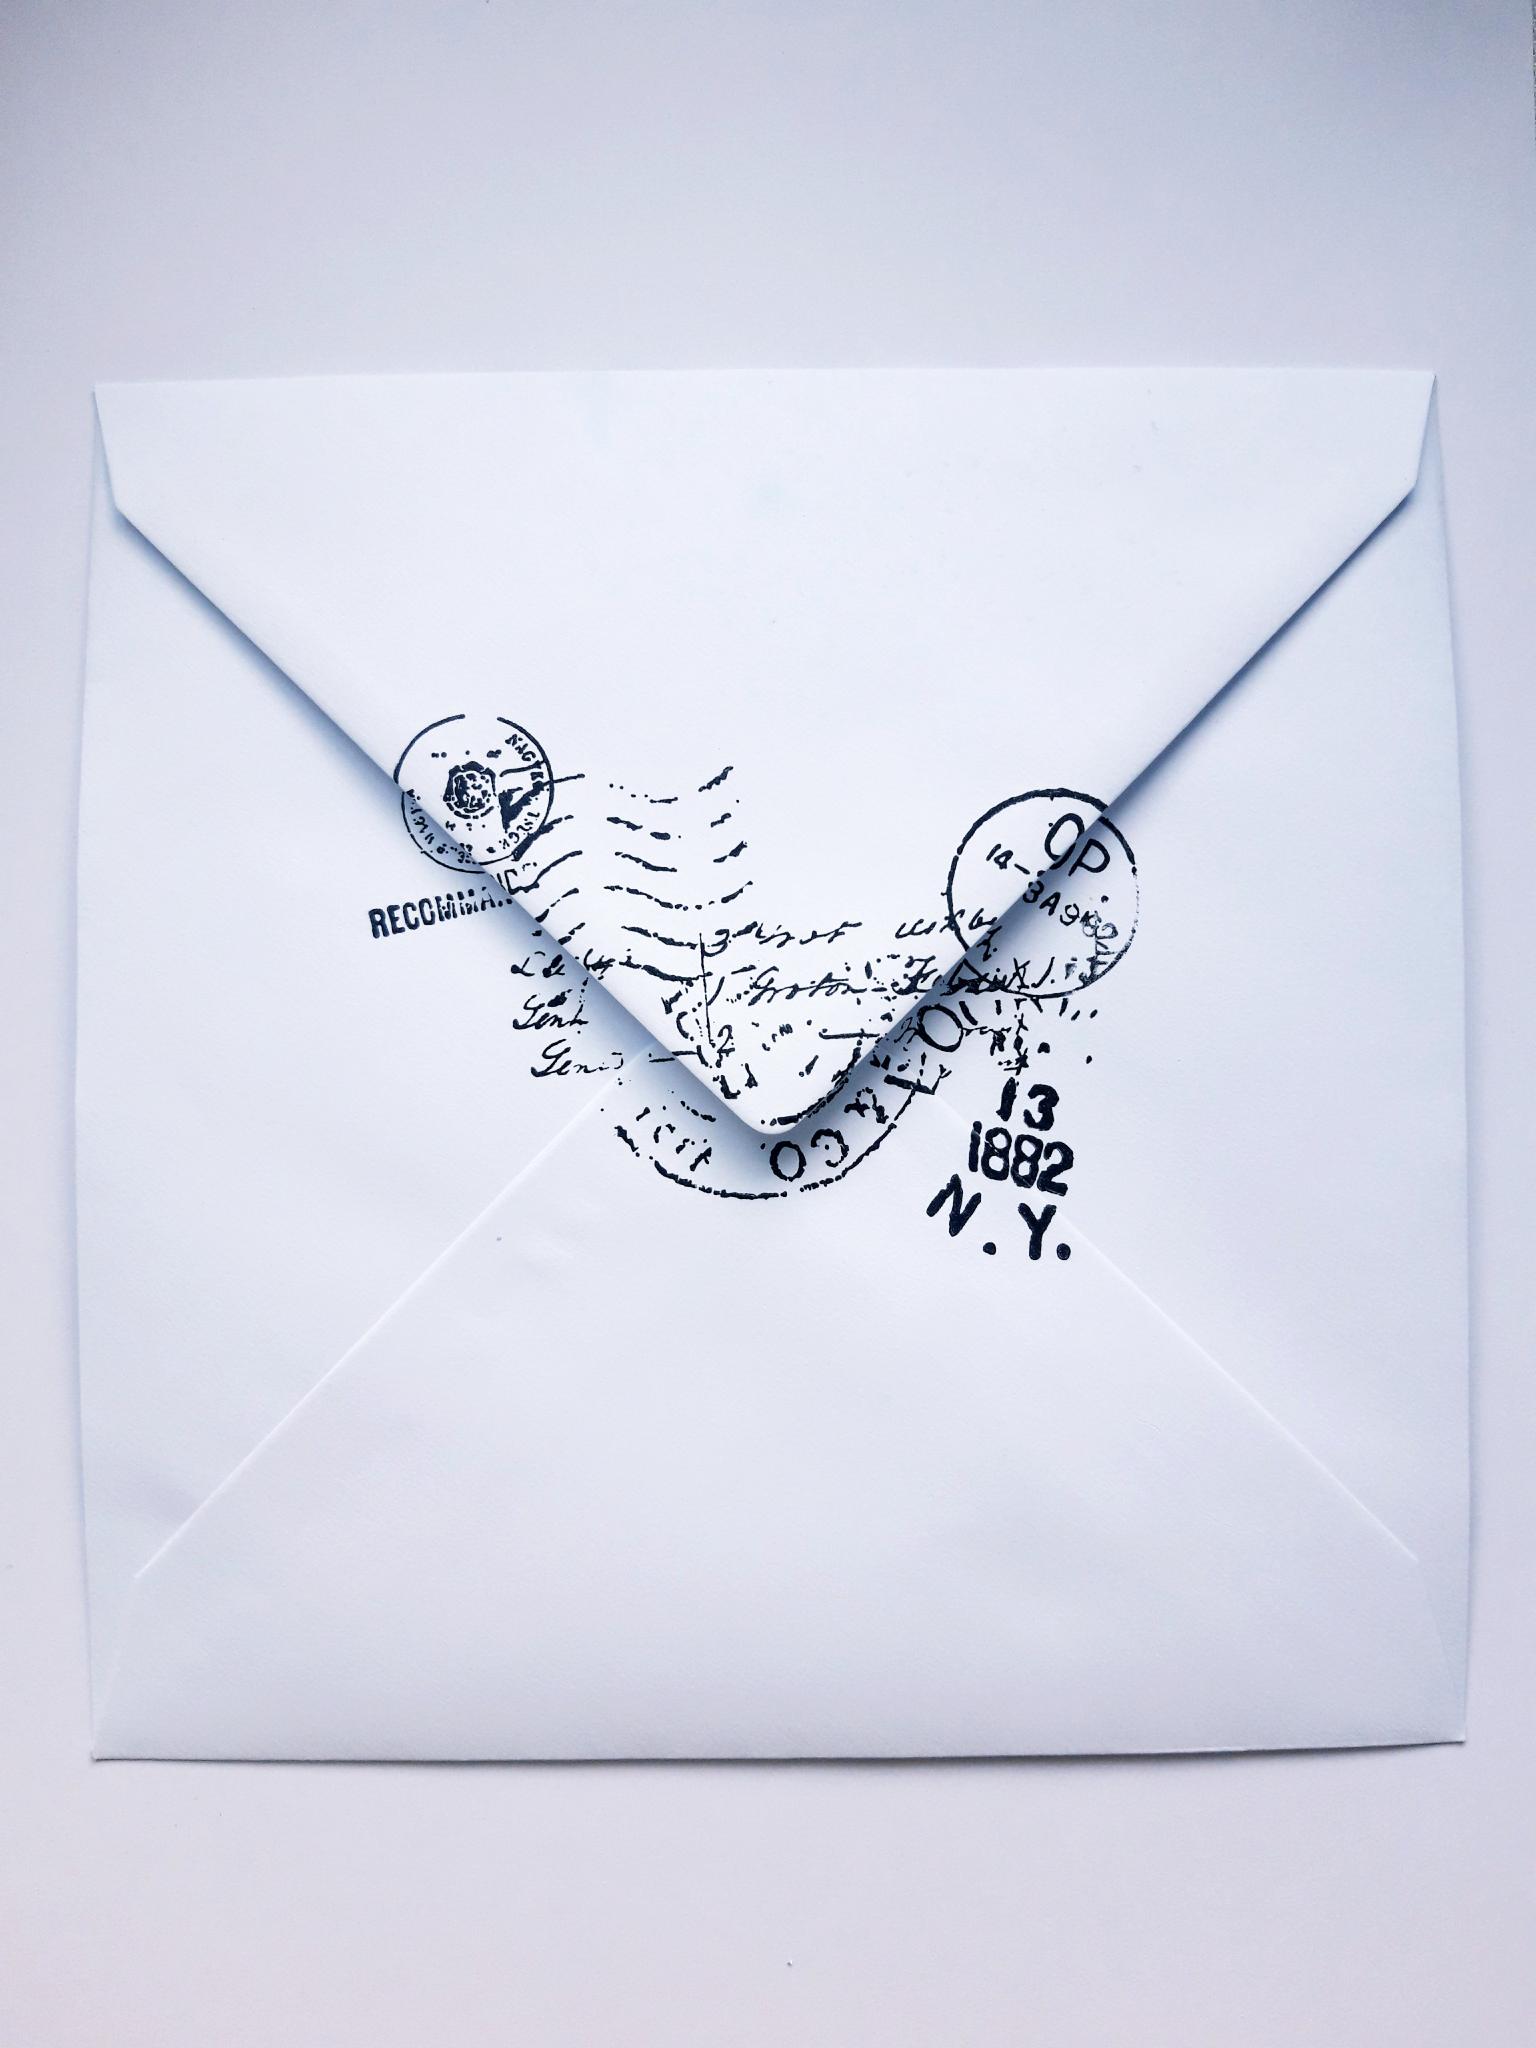
Ink up the same stamp again, or another from the same collection, and stamp across the flap, on the reverse of the envelope. |
|
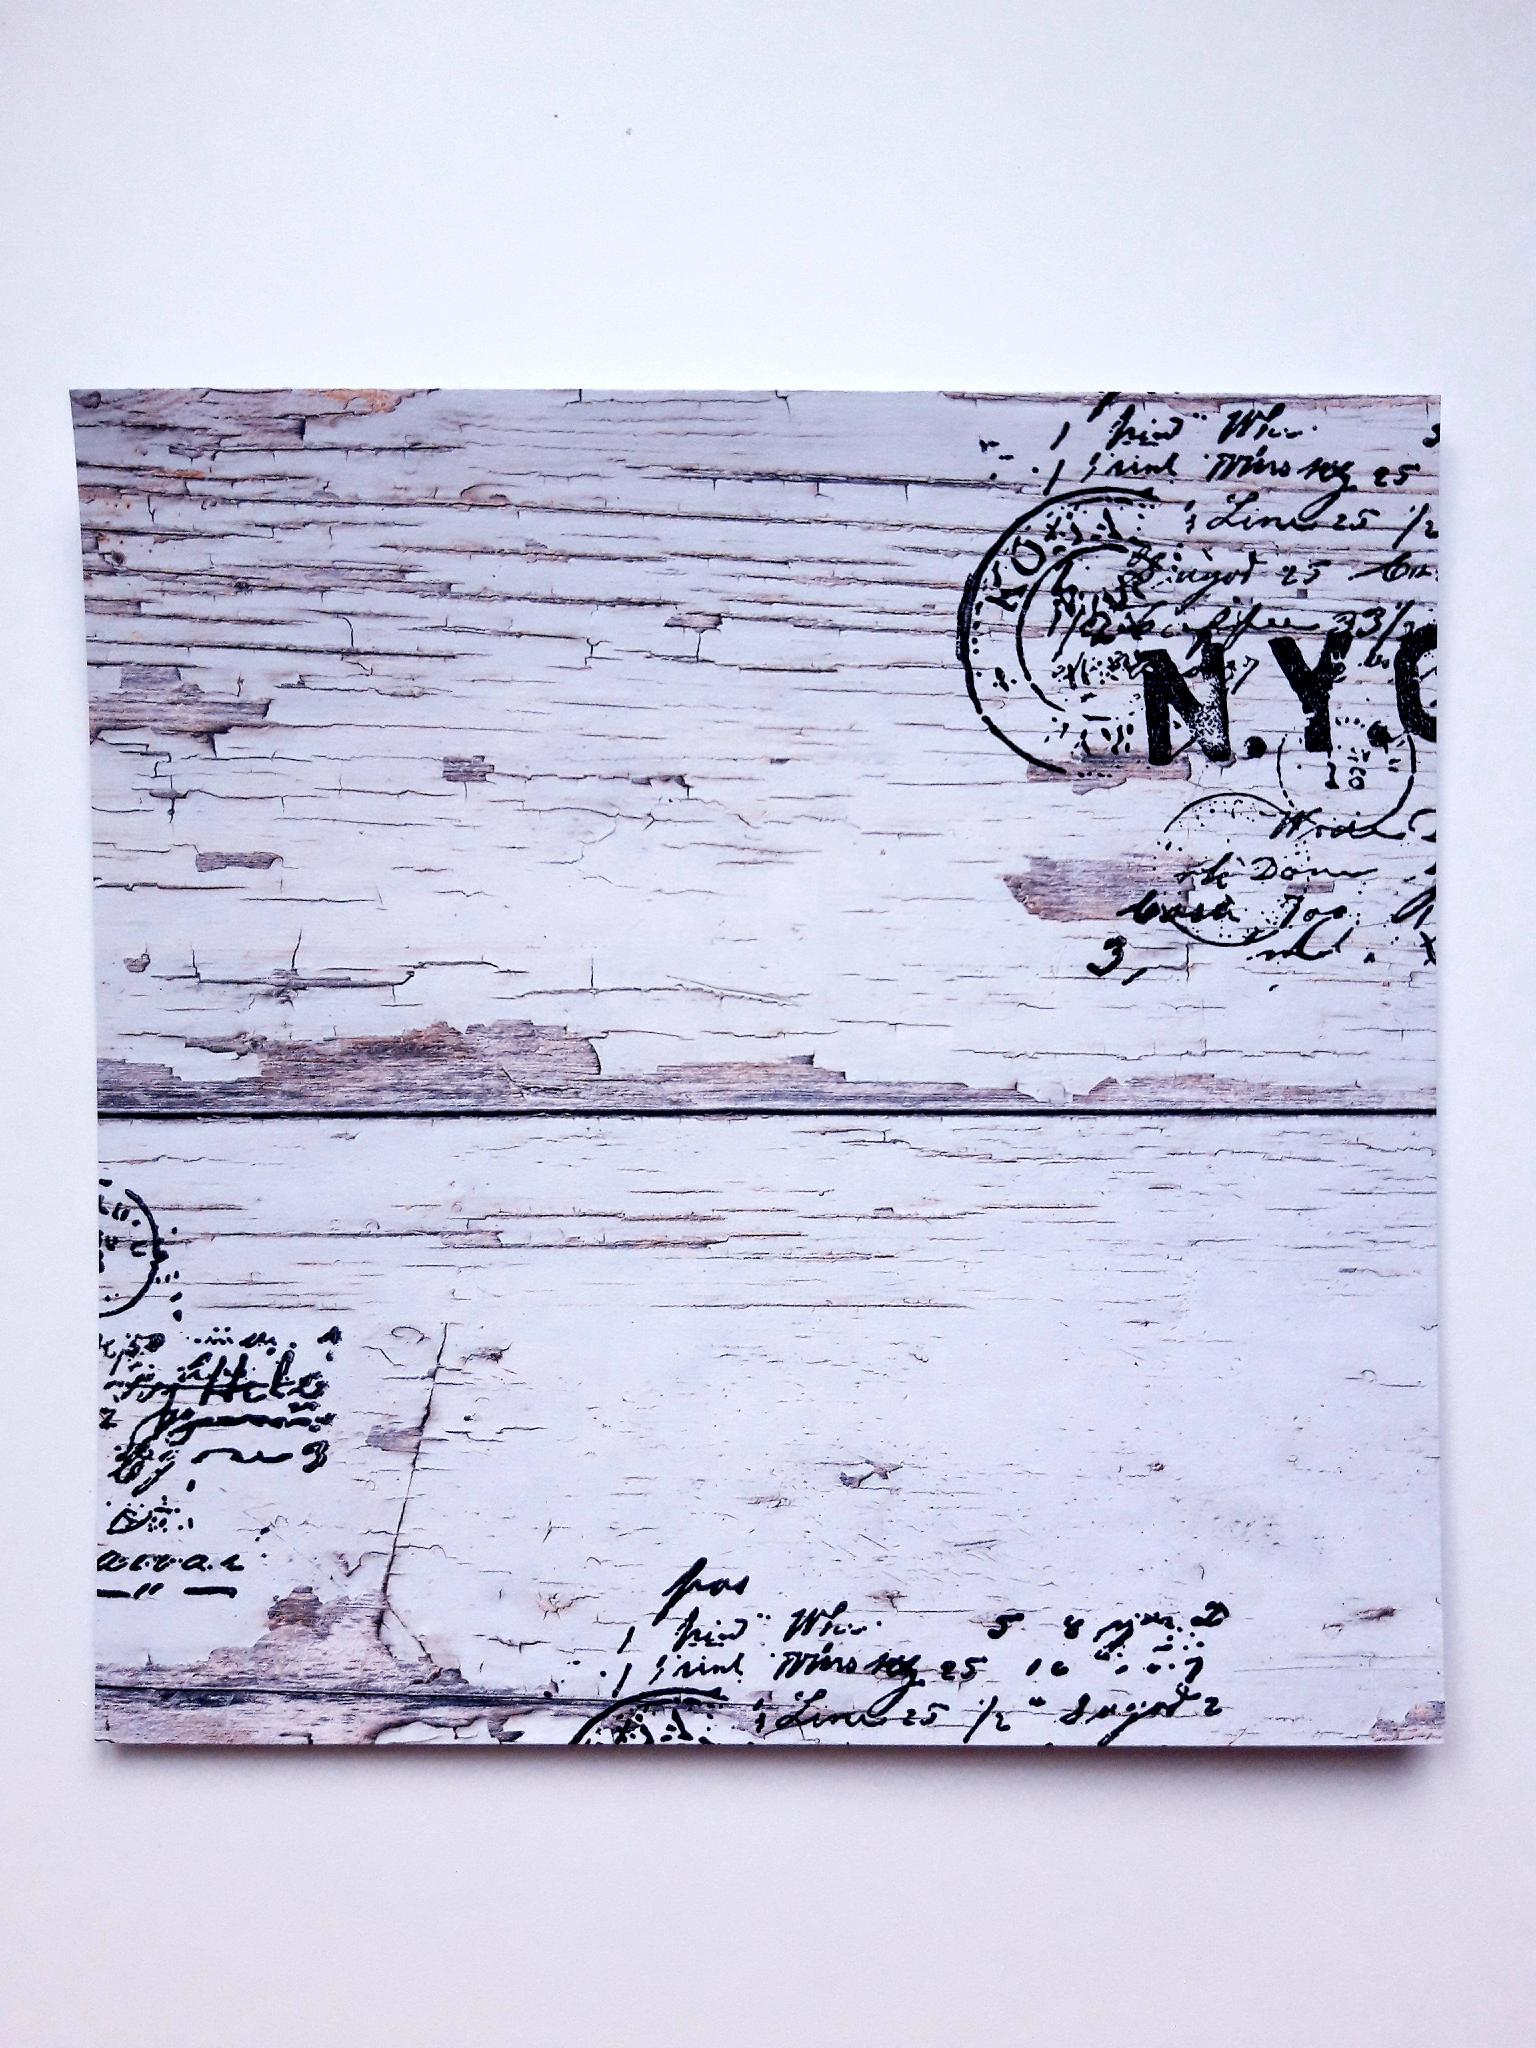
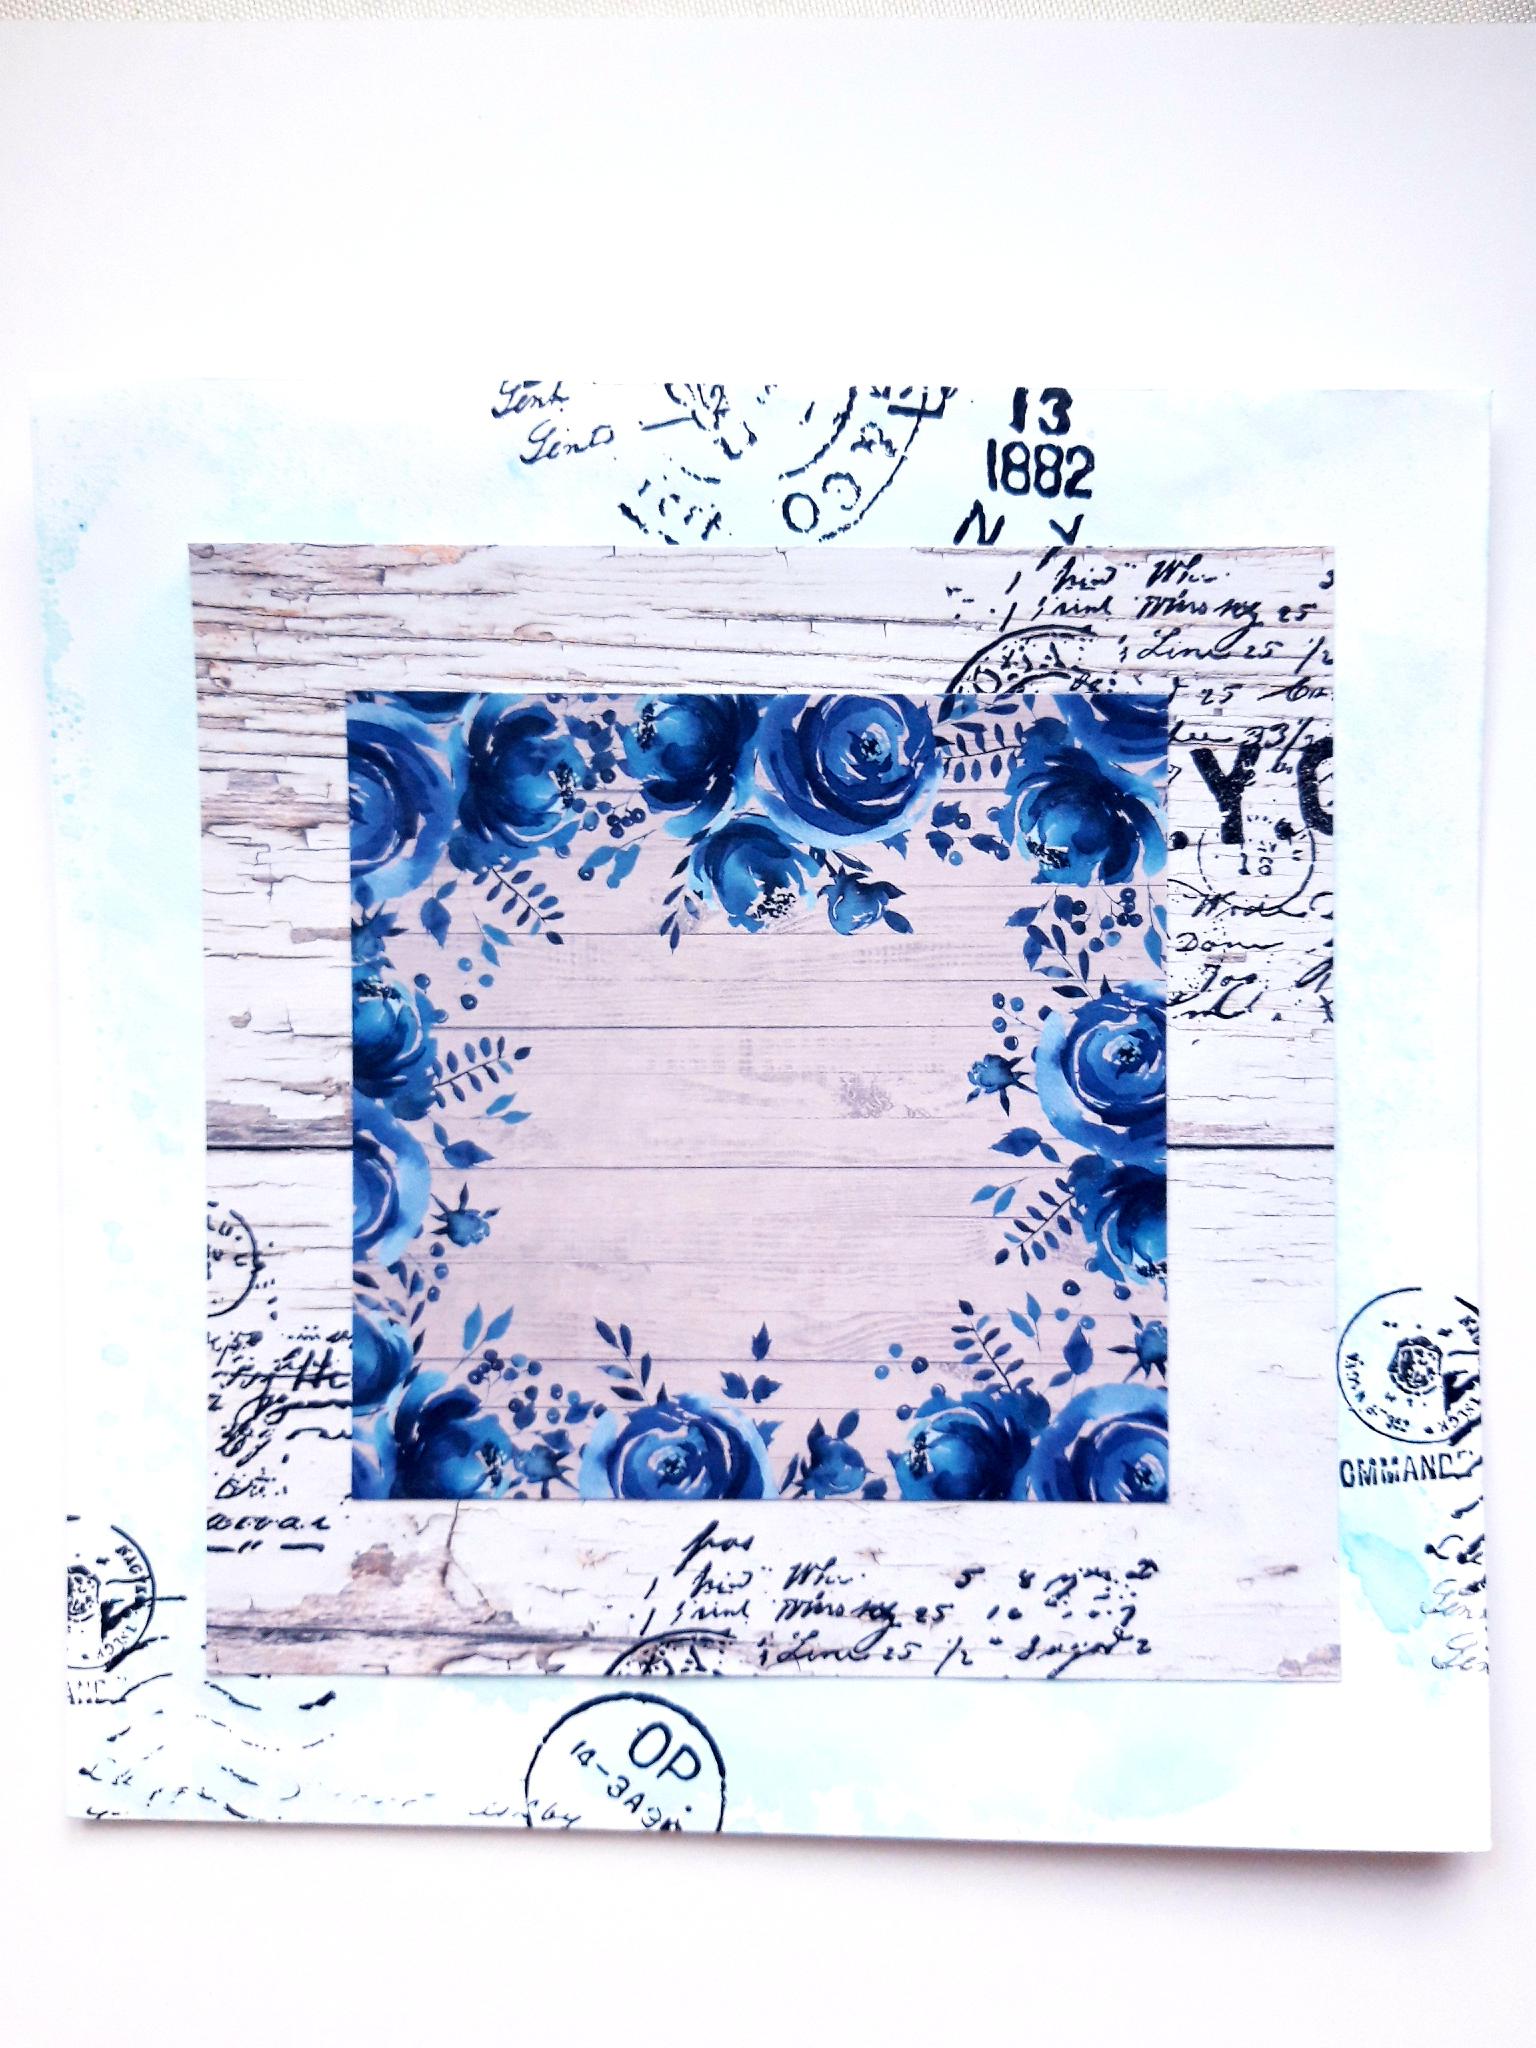
Tear out this decorative paper, from the Time To Grow 6 x 6" Paper Pack, and trim to 5 1/2 x 5 1/2". Ink up one of the Retro stamps, with the Versafine, and randomly stamp around the edges of the decorative paper. |
|
Adhere the stamped woodgrain paper on to the front of your envelope. Tear out this decorative paper, from the Time To Grow 4 x 4" Paper Pack. Adhere on to the centre of the woodgrain paper. |
|
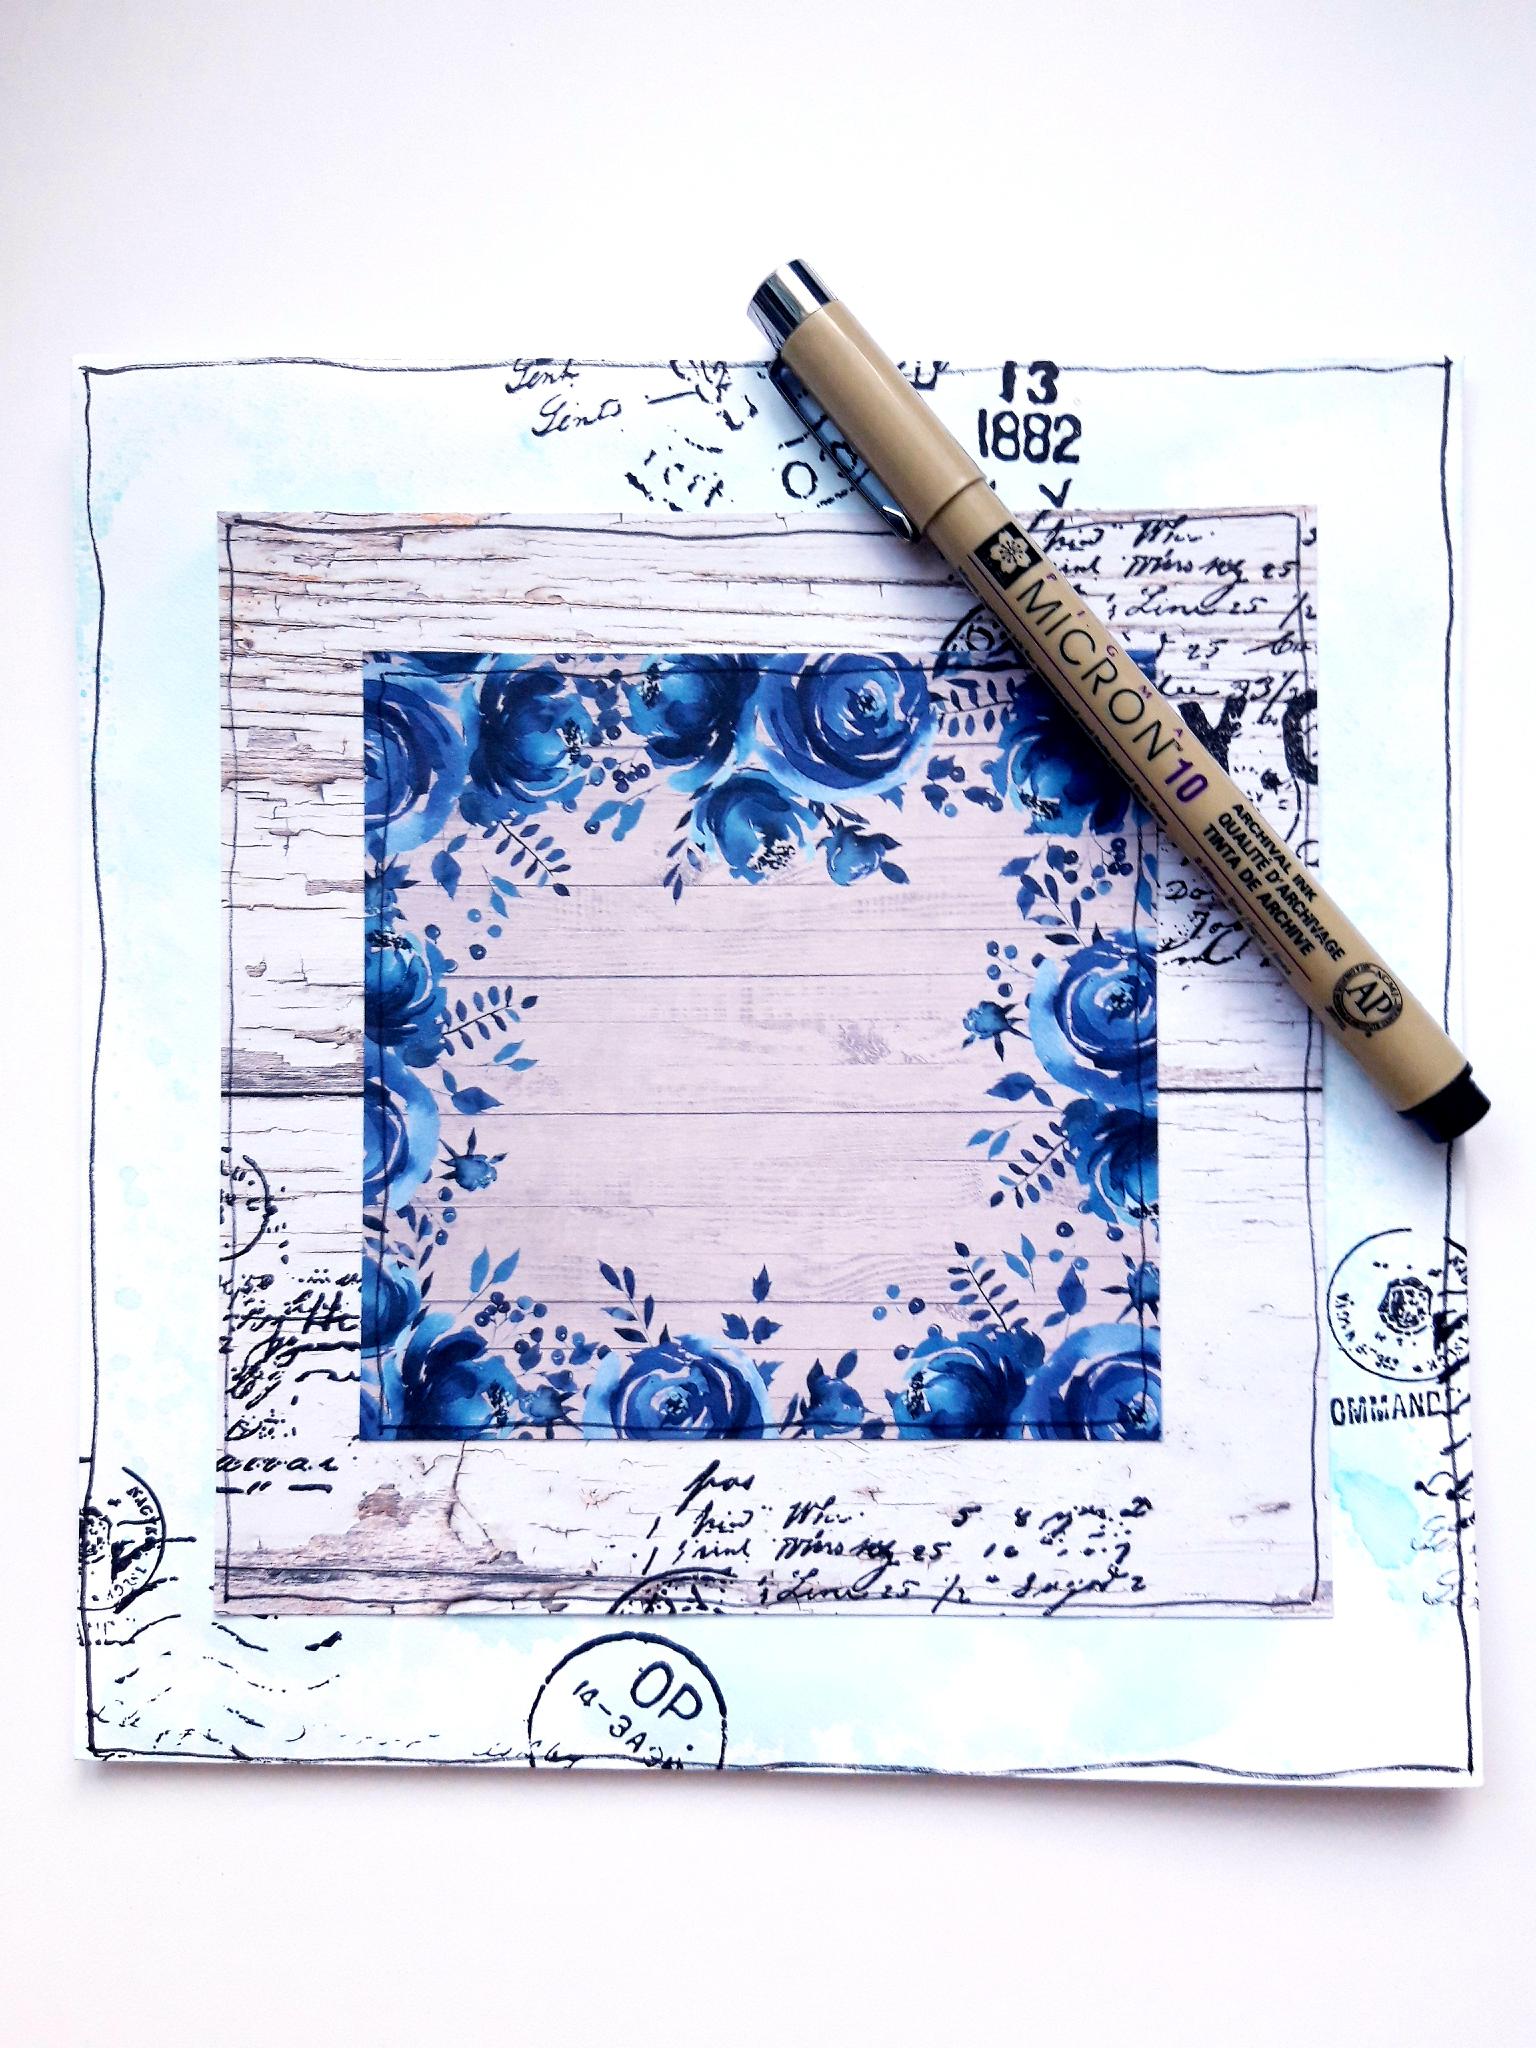
To finish, use a black pen to draw a decorative, wiggly frame, around the edges of the envelope, woodgrain paper and blue floral paper. |