Geef je vrienden $ 10 korting op hun eerste bestelling!
Nodig een VRIEND uit








 HSN InspirationMorgen 13:00 uur
 Hidden Gemswo 11 nov 5:00 uur
 The Thursday Dropdo 12 nov 13:00 uur
Prijzen worden meteen aangepast. Elke taal is onze eigen vertaling, niet Google.
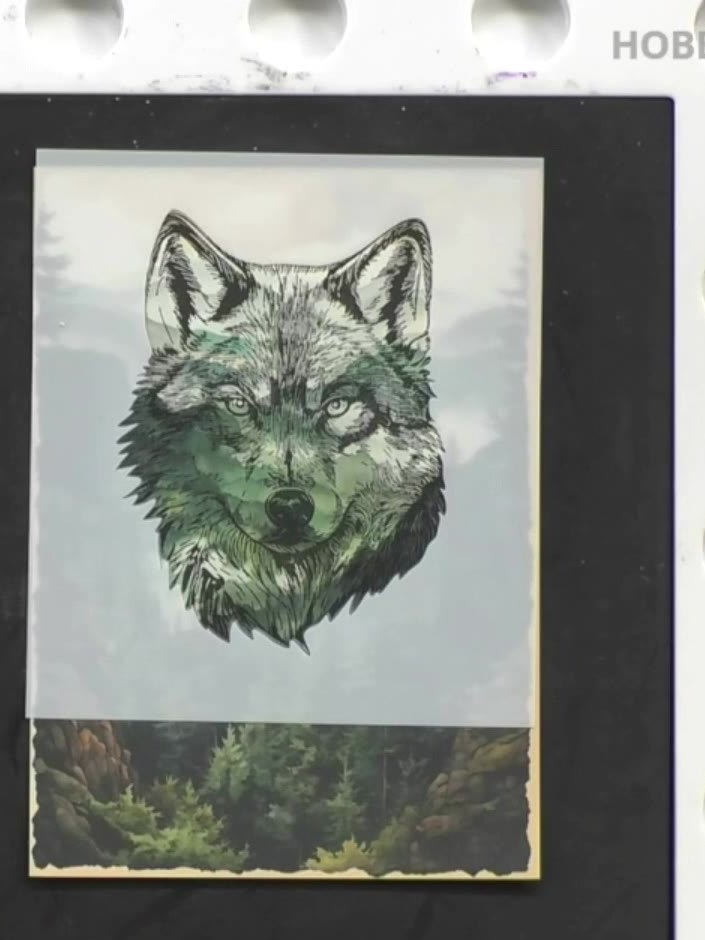
Een project uit onze liveshow HOBBYMAKER TV - Uitzending van 9 november 2026 · 11/09/2026
Create a stunning woodland wildlife card featuring a majestic wolf against a forest backdrop. This project uses stencilling and stamping techniques to build a layered scene with an ombré sky in soft peachy tones, deep green pine trees, and a detailed wolf focal point. The finished card combines ink blending, embossing, and dimensional stamping for a dramatic nature-inspired design.
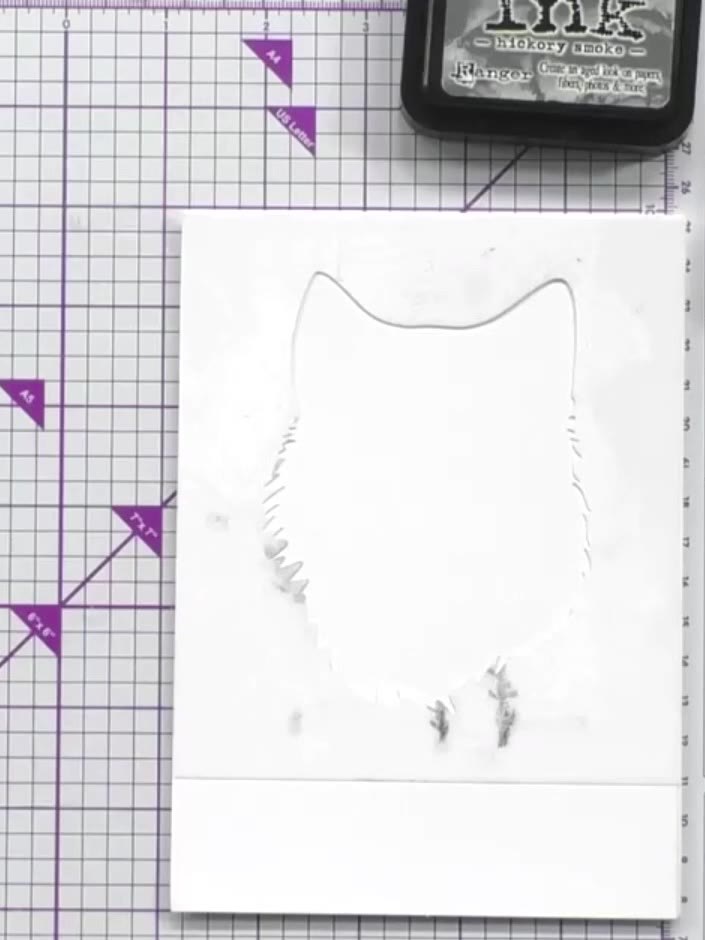 1
Place the outer stencil mask over your white cardstock. Using a blending brush, apply Distress Ink to the bottom portion of the card, working the colour through the stencil opening.
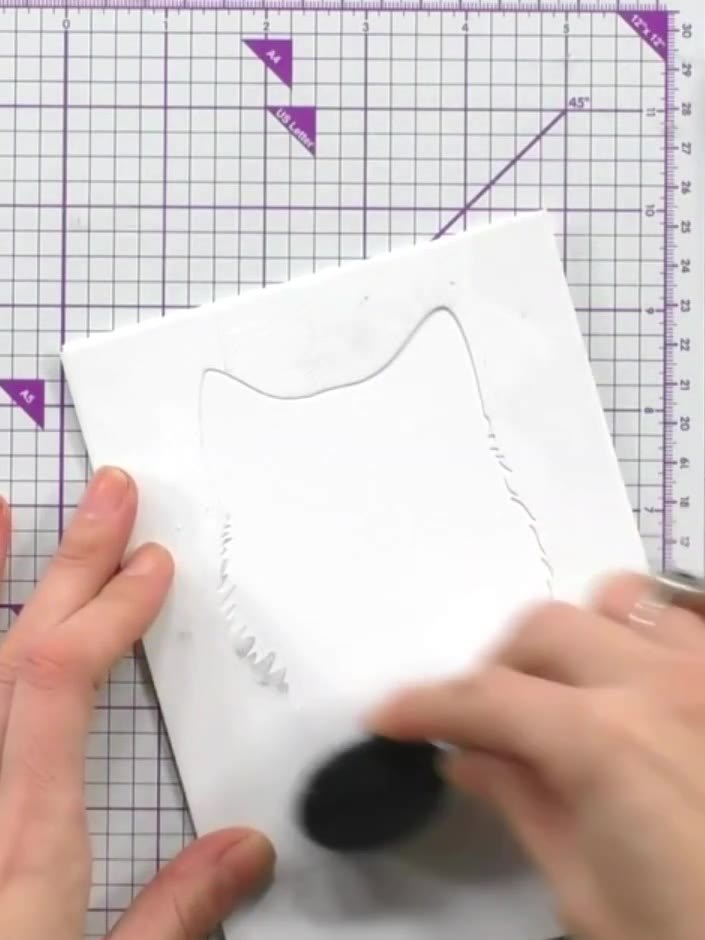 2
Blend Distress Ink in a second colour over the first ink, working upwards from the bottom of the card to create an ombré or gradient effect.
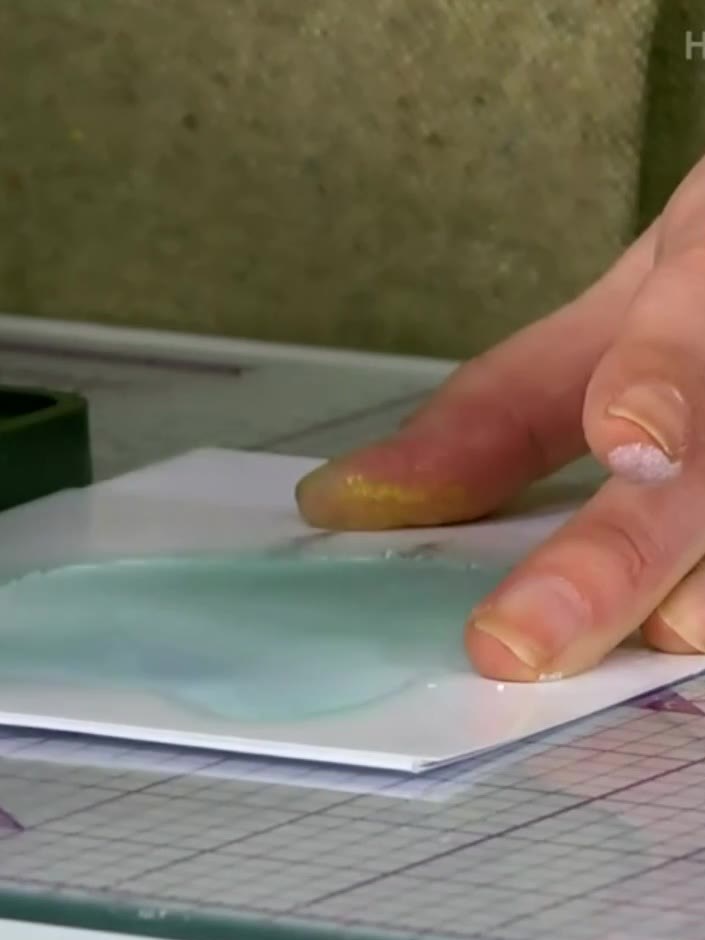 3
Carefully lift and remove the stencil from the card to reveal the mint green owl shape underneath.
 4
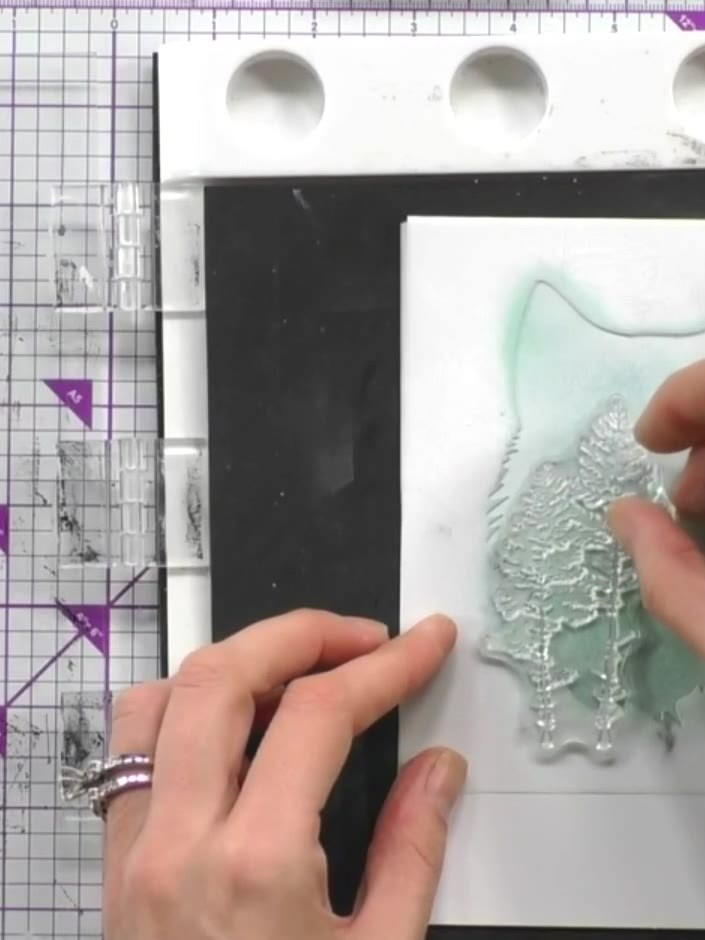
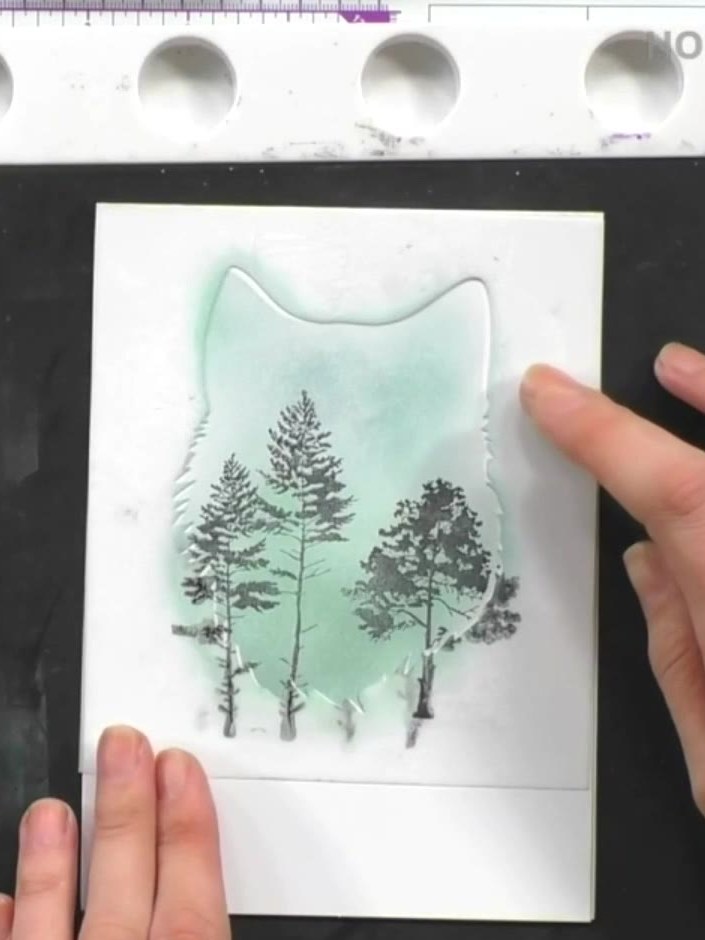
Ink up the tree stamp using black or dark ink. Stamp multiple trees within the stencilled outline, varying their placement and size to create a woodland scene.
 5
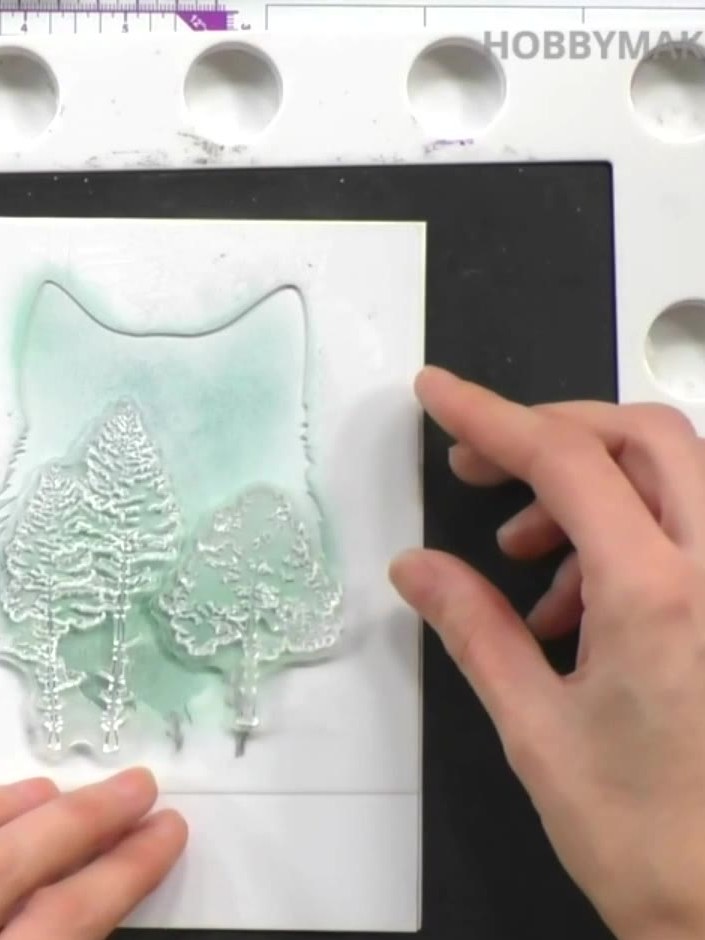
Stamp the tree images onto the turquoise gel press background using white embossing ink, pressing firmly to ensure good coverage. Position the trees in the foreground area of your scene.
 6
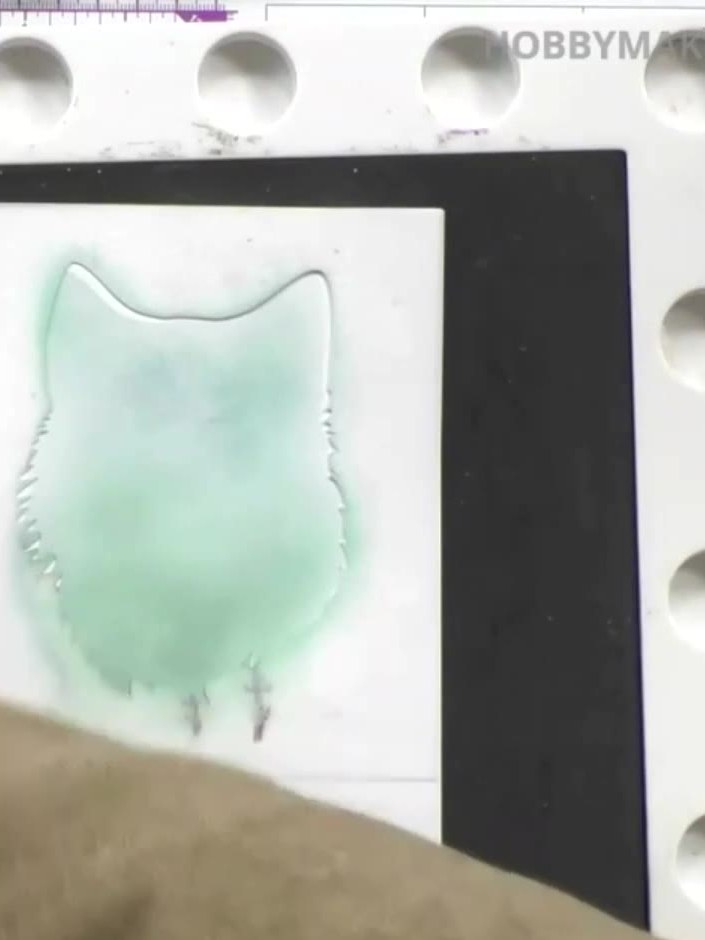
Stamp the owl image again onto the same area to deepen the mint green colour and ensure all the embossed details are clearly visible.
 7
Add highlights or details to your stamped scene using a white gel pen. Work around the edges and focal points to create dimension and interest on your finished card.
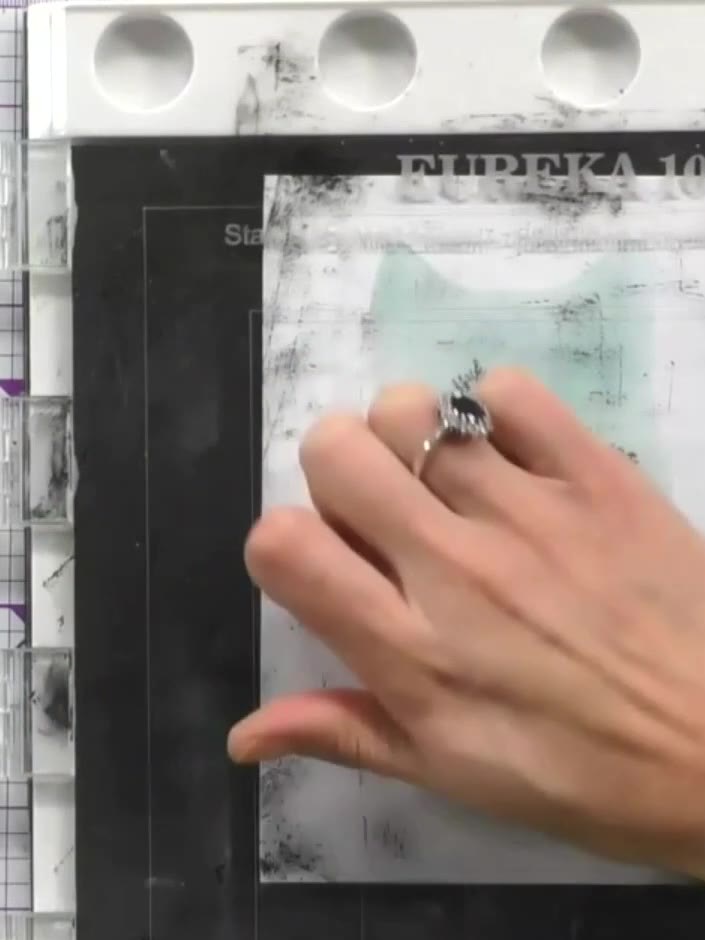 8
Mount your finished stamped and stencilled scene onto your card base. Alternatively, add a sentiment inside to complete your woodland wildlife card.
Deel je project met de Stamps By Me community - en bewaar deze handleiding voor de volgende keer.
 Circular Wreath Card with Stamped Leaves and Berries3 stappenLetterpress Embossed Birthday Card with Die-Cut Happy Birthday10 stappen
 Nesting Balloon Die-Cut Birthday Card3 stappen
 Festive Wreath Card with Poinsettia Dies and Layered Florals5 stappen
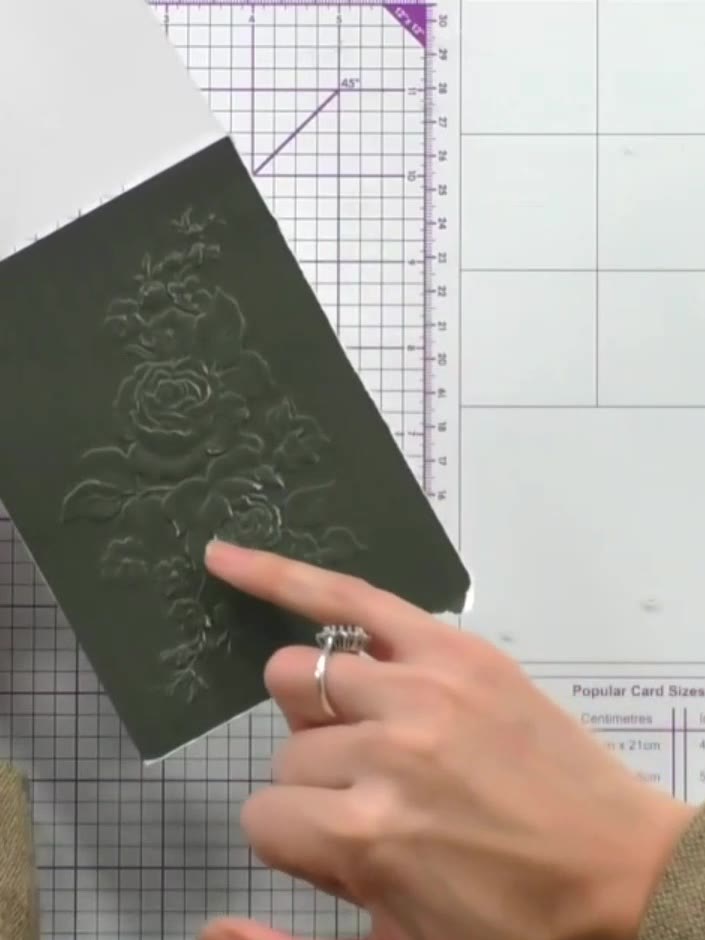 Embossed Heritage Paper Card with White Ink Highlight6 stappen
Rechtstreeks uit de show uitgeschreven. Bekijk alle handleidingen uit onze shows · gratis handleidingen · kijk live op My Telly · de vorige weergave