Schenke deinen Freundinnen und Freunden 10 $ Rabatt auf ihre erste Bestellung!
Freunde WERBEN








 HSN InspirationMorgen 13:00 Uhr
 Hidden GemsMi., 11. Nov. 5:00 Uhr
 The Thursday DropDo., 12. Nov. 13:00 Uhr
Preise ändern sich sofort. Jede Sprache ist unsere eigene Übersetzung, nicht Google.
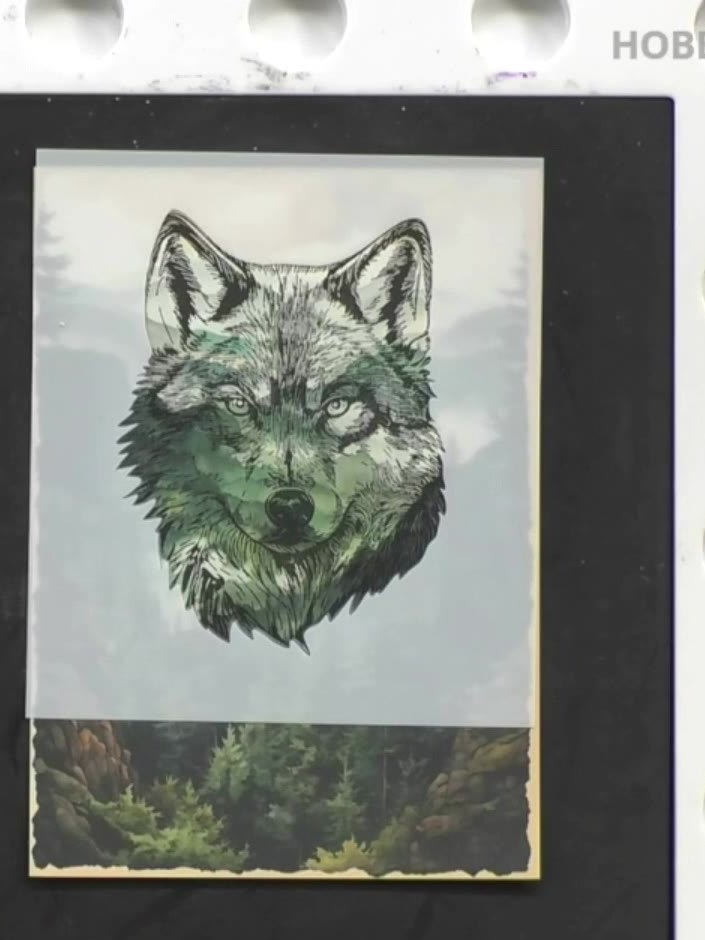
Ein Projekt aus unserer Live-Show HOBBYMAKER TV - Sendung vom 9. November 2026 · 11.09.2026
Create a stunning woodland wildlife card featuring a majestic wolf against a forest backdrop. This project uses stencilling and stamping techniques to build a layered scene with an ombré sky in soft peachy tones, deep green pine trees, and a detailed wolf focal point. The finished card combines ink blending, embossing, and dimensional stamping for a dramatic nature-inspired design.
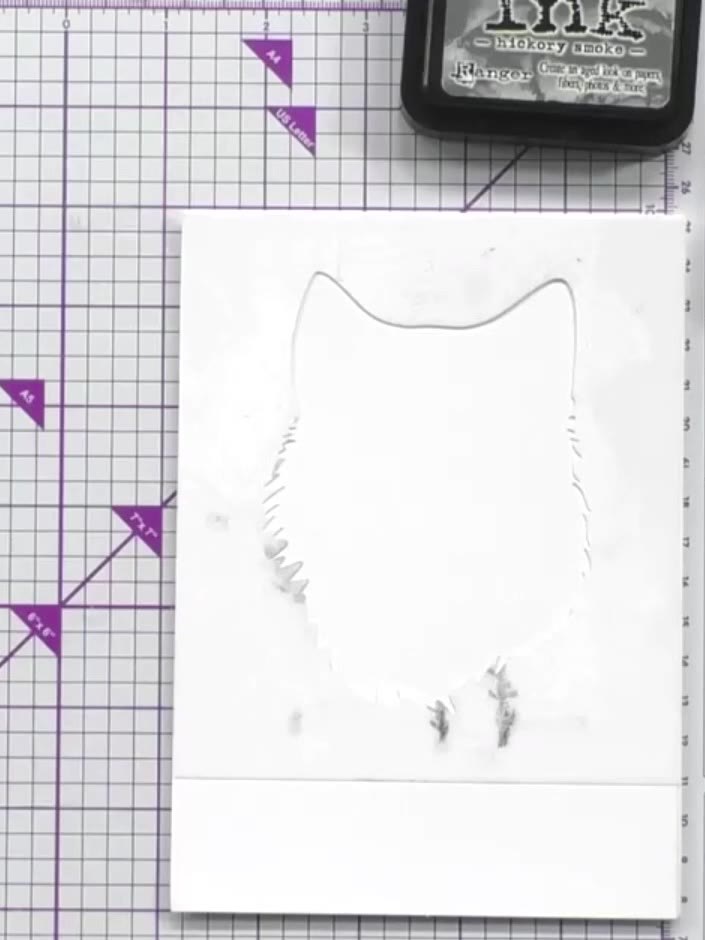 1
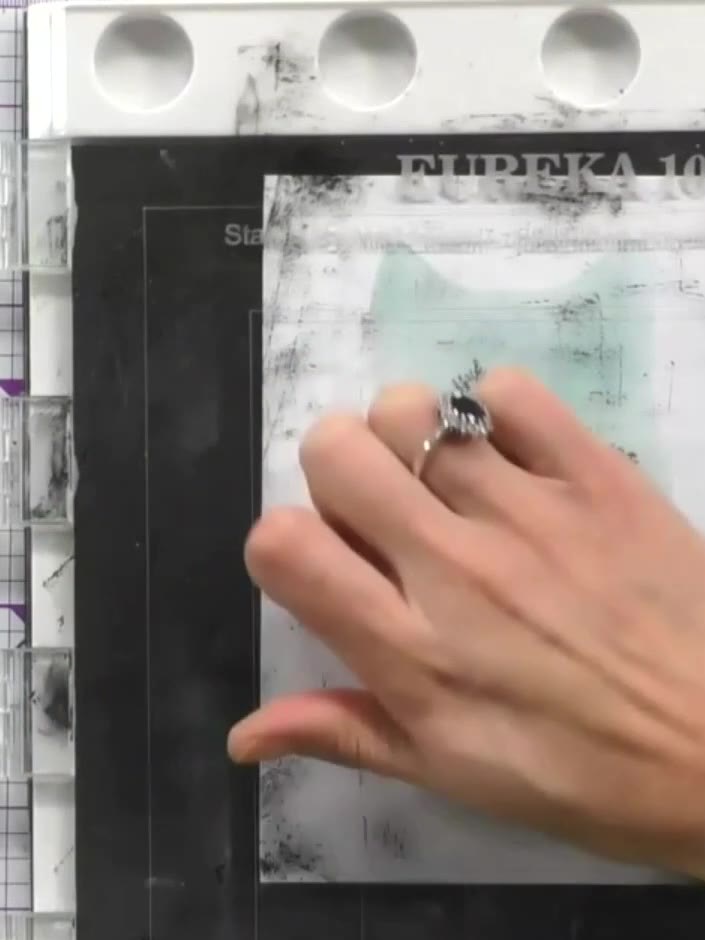
Place the outer stencil mask over your white cardstock. Using a blending brush, apply Distress Ink to the bottom portion of the card, working the colour through the stencil opening.
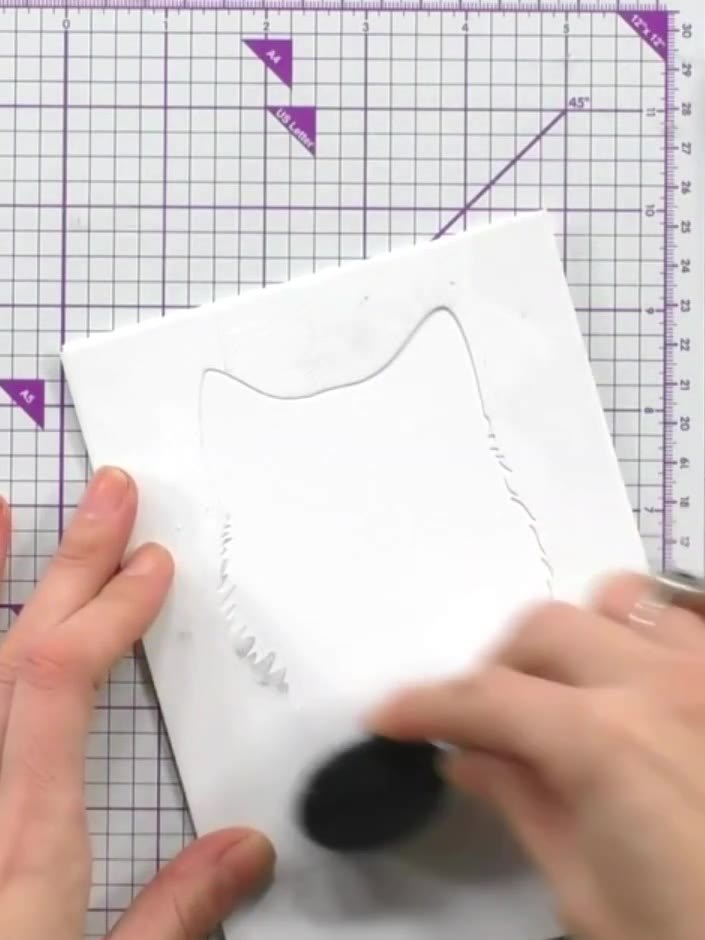 2
Blend Distress Ink in a second colour over the first ink, working upwards from the bottom of the card to create an ombré or gradient effect.
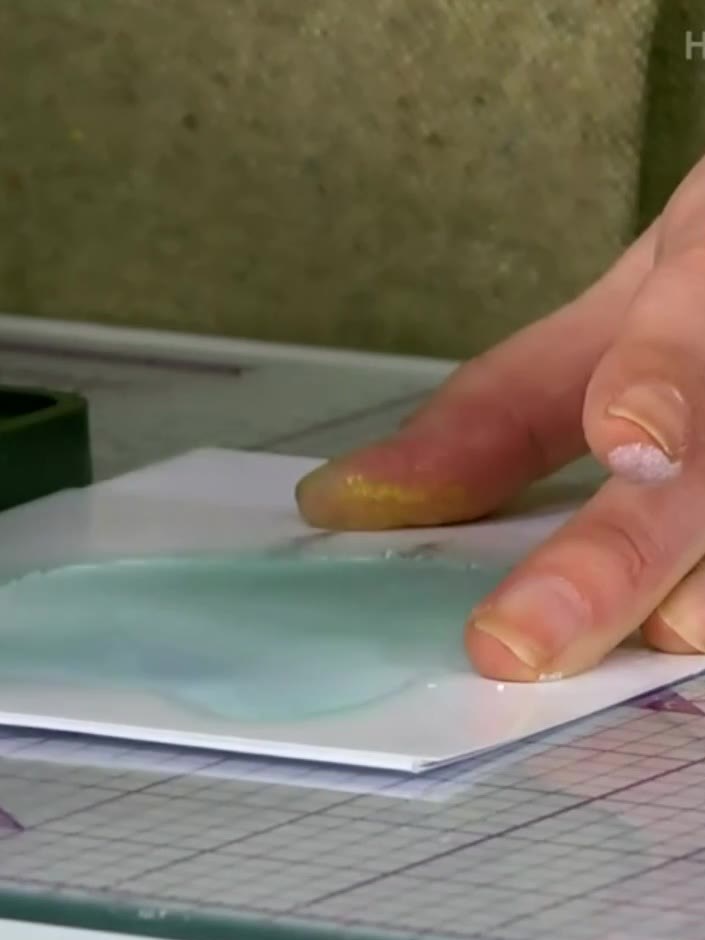 3
Carefully lift and remove the stencil from the card to reveal the mint green owl shape underneath.
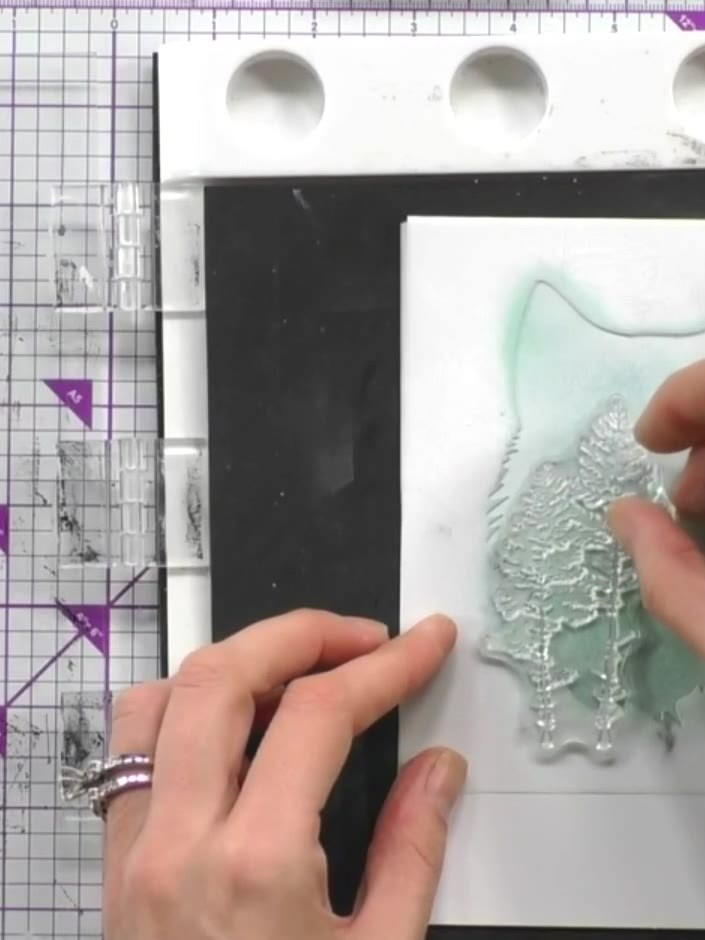 4
Ink up the tree stamp using black or dark ink. Stamp multiple trees within the stencilled outline, varying their placement and size to create a woodland scene.
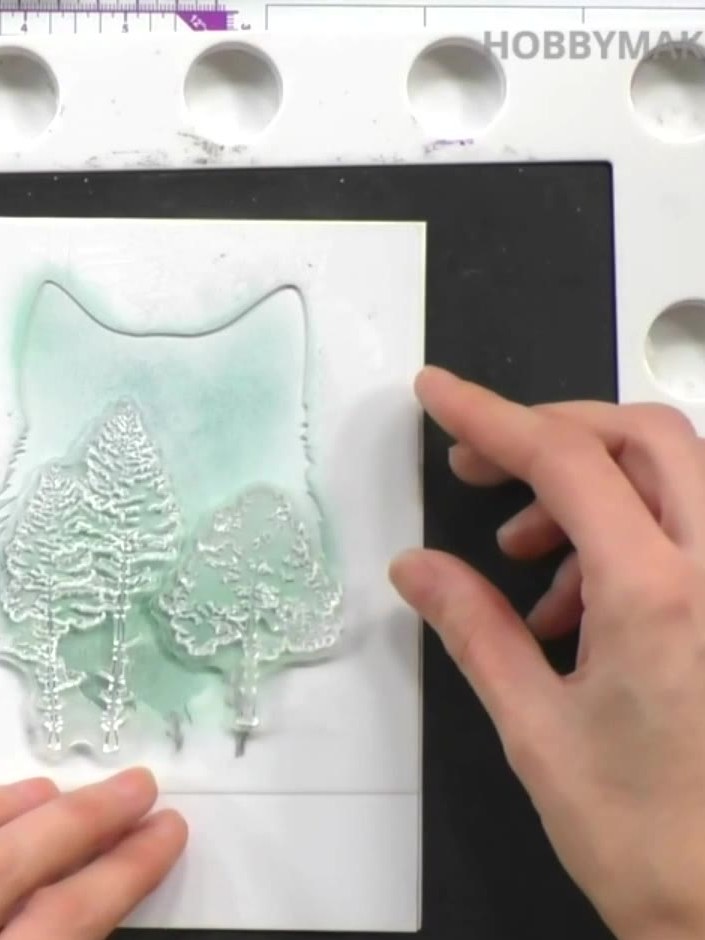 5
Stamp the tree images onto the turquoise gel press background using white embossing ink, pressing firmly to ensure good coverage. Position the trees in the foreground area of your scene.
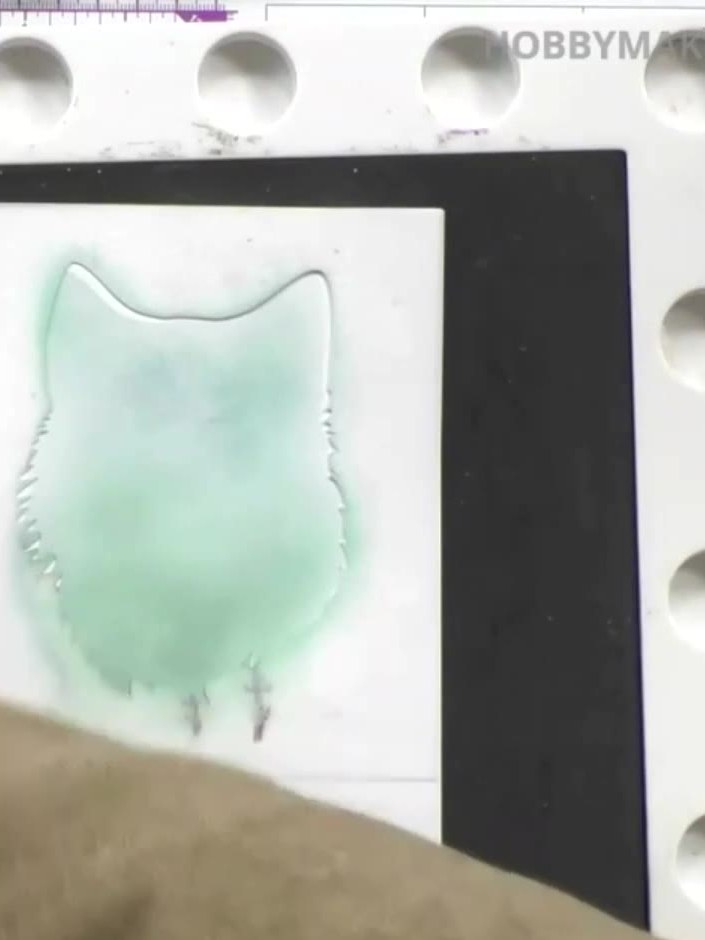 6
Stamp the owl image again onto the same area to deepen the mint green colour and ensure all the embossed details are clearly visible.
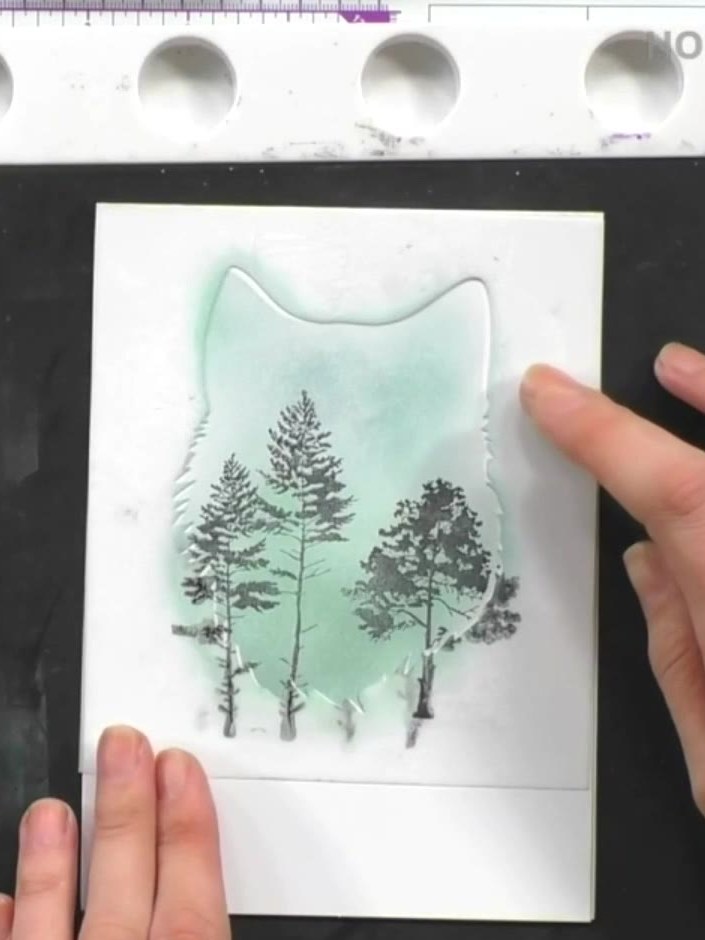 7
Add highlights or details to your stamped scene using a white gel pen. Work around the edges and focal points to create dimension and interest on your finished card.
 8
Mount your finished stamped and stencilled scene onto your card base. Alternatively, add a sentiment inside to complete your woodland wildlife card.
Teile dein Projekt mit der Stamps By Me Community - und behalte diese Anleitung für das nächste Mal.
 Circular Wreath Card with Stamped Leaves and Berries3 SchritteLetterpress Embossed Birthday Card with Die-Cut Happy Birthday10 Schritte
 Nesting Balloon Die-Cut Birthday Card3 Schritte
 Festive Wreath Card with Poinsettia Dies and Layered Florals5 Schritte
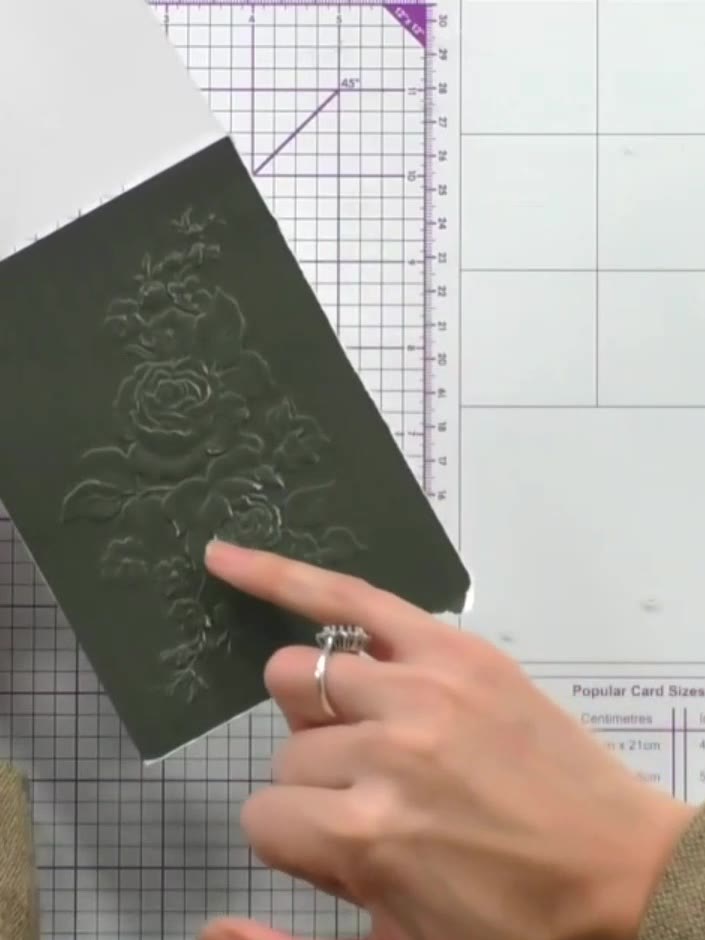 Embossed Heritage Paper Card with White Ink Highlight6 Schritte
Direkt aus der Show aufgeschrieben. Alle Anleitungen aus unseren Shows · kostenlose Anleitungen · live auf My Telly ansehen · die bisherige Ansicht