¡Regala a tus amigos 10 $ de descuento en su primer pedido!
Invita a una AMIGA








Los precios cambian al instante. Cada idioma es nuestra propia traducción, no Google.
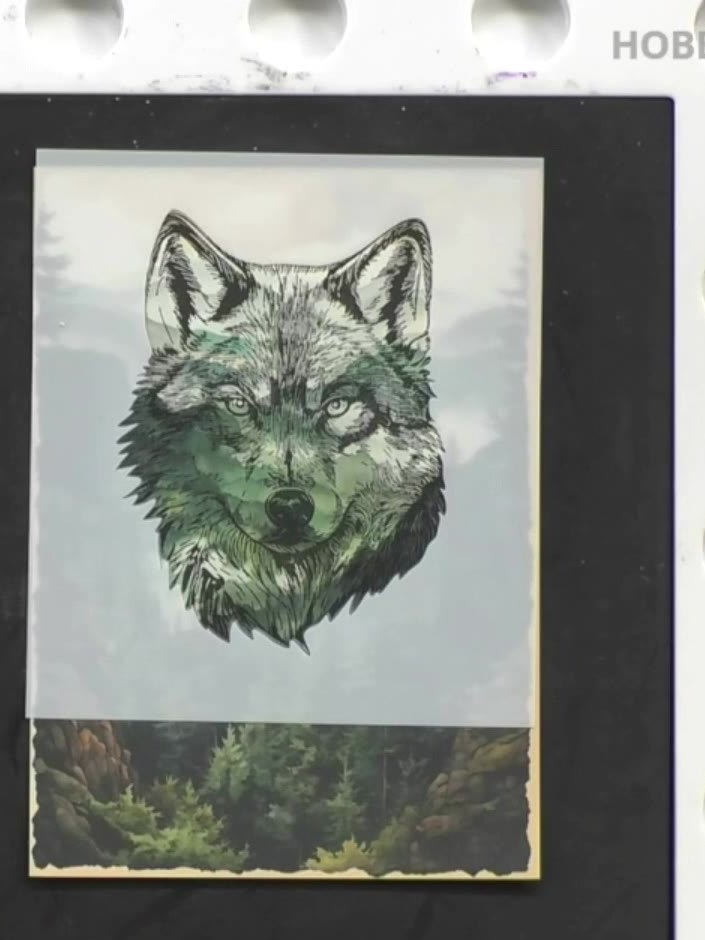
Un proyecto de nuestro programa en directo HOBBYMAKER TV - Emitido el 9 de noviembre de 2026 · 11/09/2026
Create a stunning woodland wildlife card featuring a majestic wolf against a forest backdrop. This project uses stencilling and stamping techniques to build a layered scene with an ombré sky in soft peachy tones, deep green pine trees, and a detailed wolf focal point. The finished card combines ink blending, embossing, and dimensional stamping for a dramatic nature-inspired design.
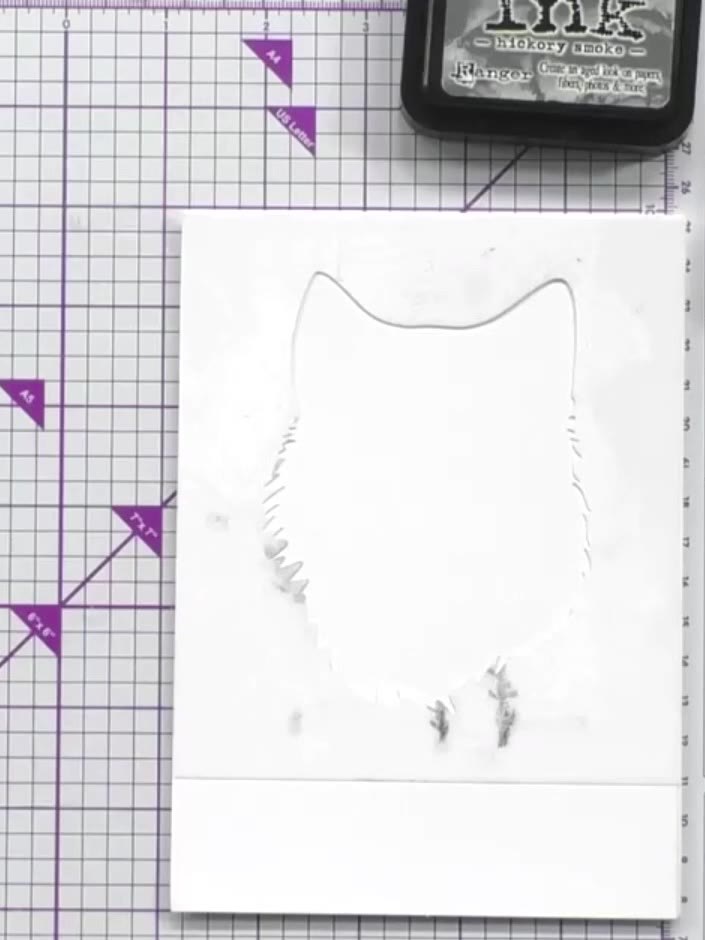 1
Place the outer stencil mask over your white cardstock. Using a blending brush, apply Distress Ink to the bottom portion of the card, working the colour through the stencil opening.
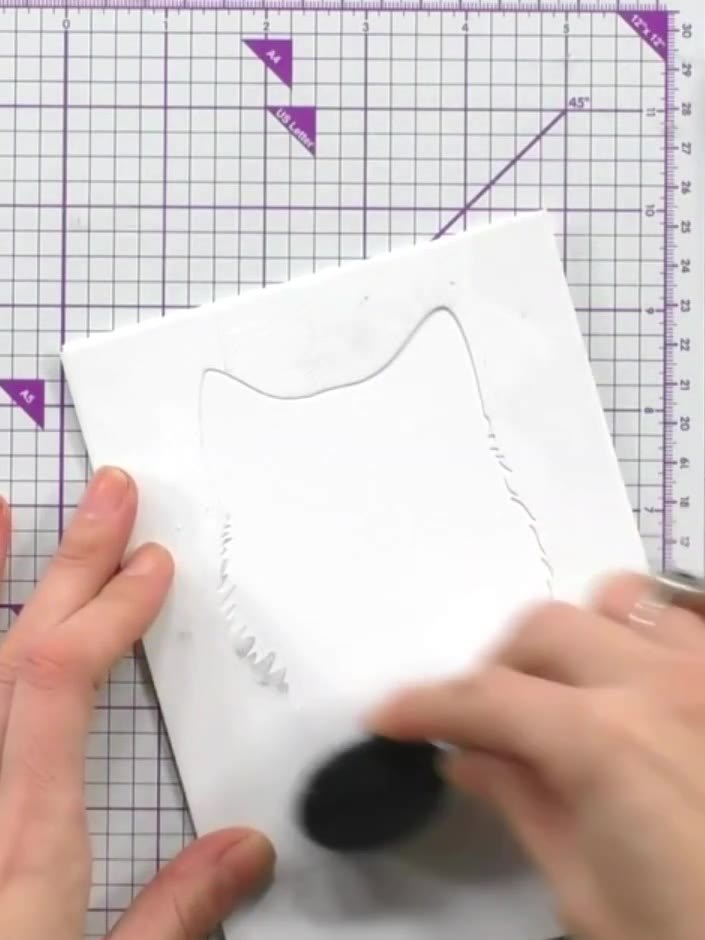 2
Blend Distress Ink in a second colour over the first ink, working upwards from the bottom of the card to create an ombré or gradient effect.
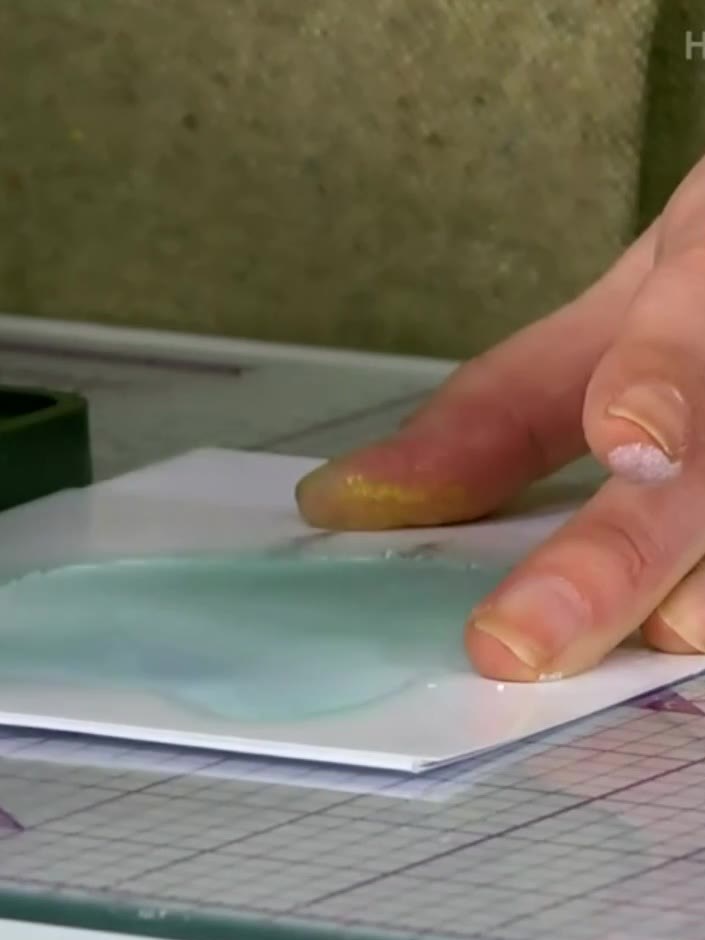 3
Carefully lift and remove the stencil from the card to reveal the mint green owl shape underneath.
 4
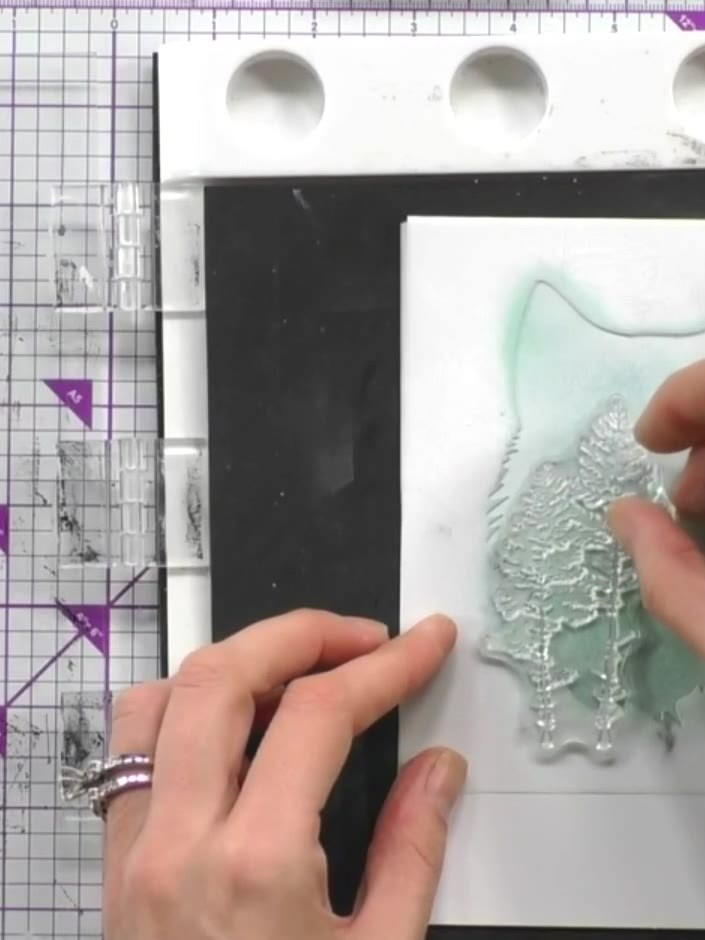
Ink up the tree stamp using black or dark ink. Stamp multiple trees within the stencilled outline, varying their placement and size to create a woodland scene.
 5
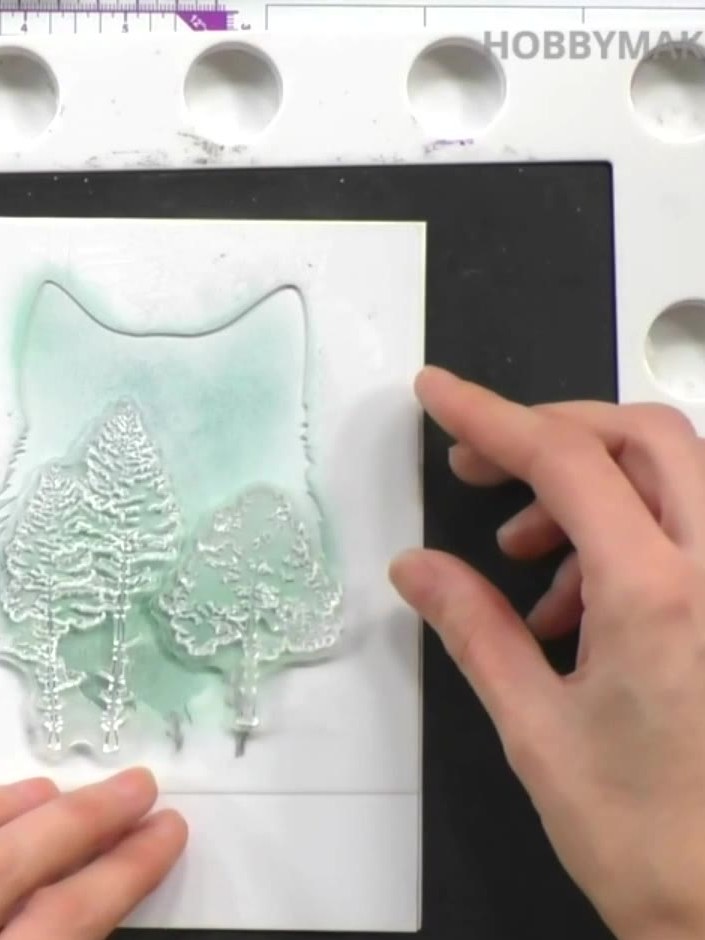
Stamp the tree images onto the turquoise gel press background using white embossing ink, pressing firmly to ensure good coverage. Position the trees in the foreground area of your scene.
 6
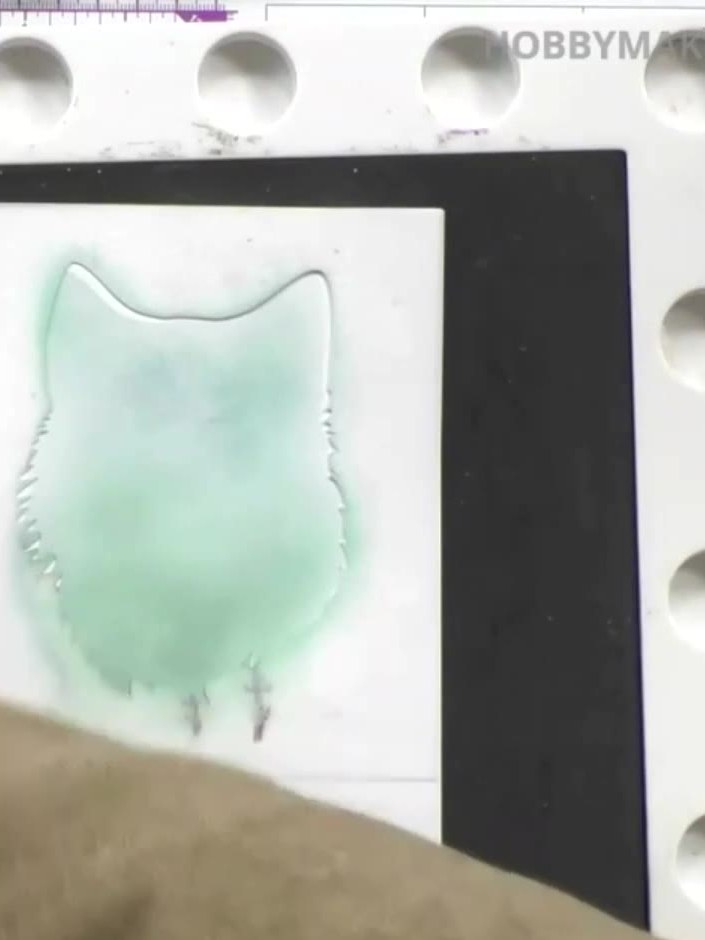
Stamp the owl image again onto the same area to deepen the mint green colour and ensure all the embossed details are clearly visible.
 7
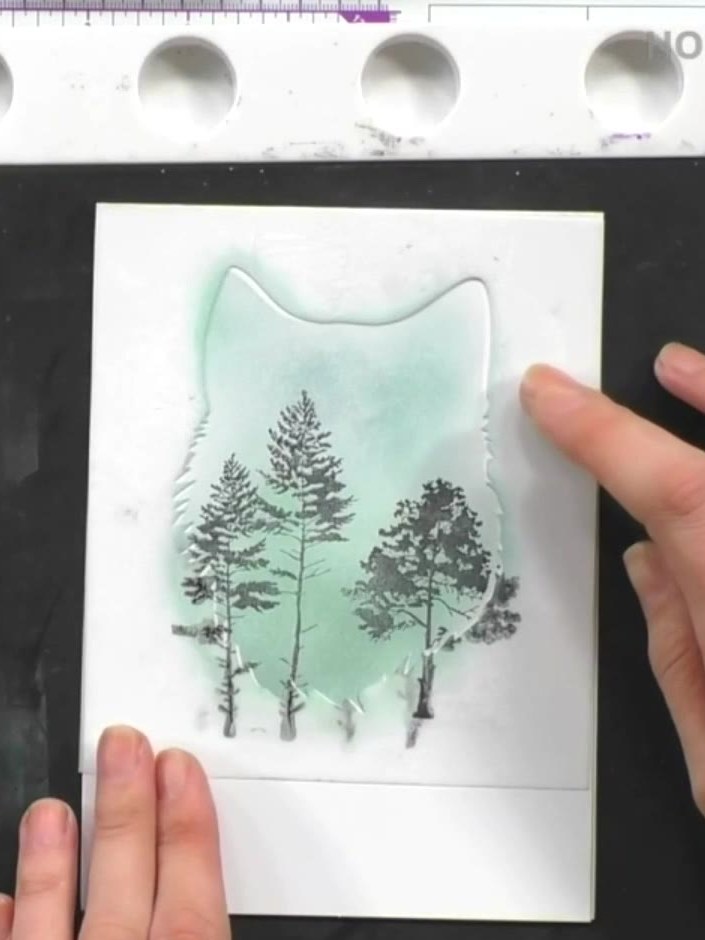
Add highlights or details to your stamped scene using a white gel pen. Work around the edges and focal points to create dimension and interest on your finished card.
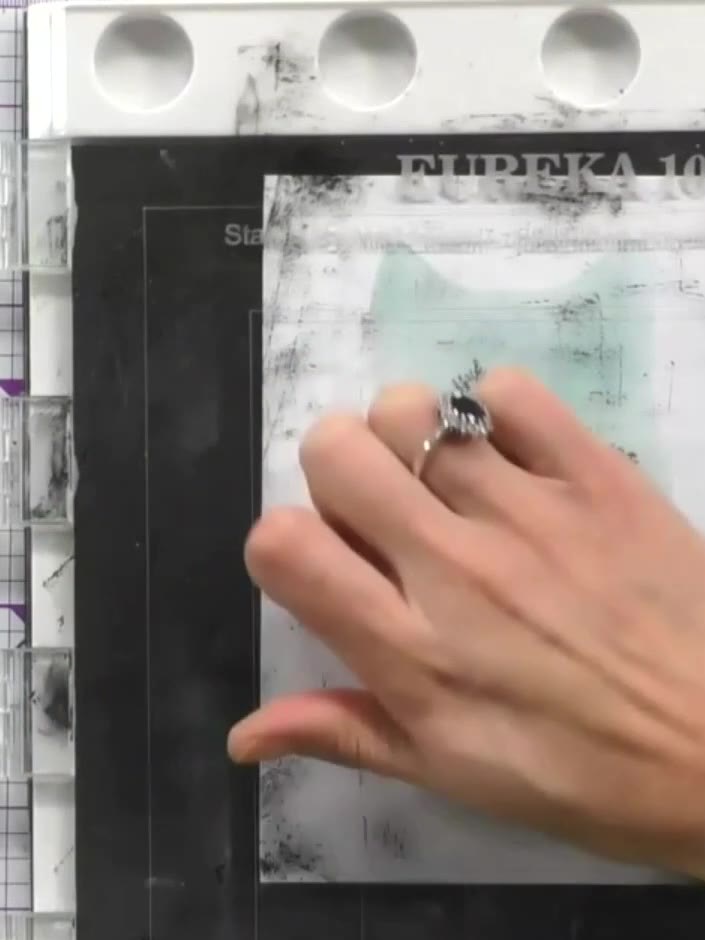 8
Mount your finished stamped and stencilled scene onto your card base. Alternatively, add a sentiment inside to complete your woodland wildlife card.
Comparte tu proyecto con la comunidad de Stamps By Me - y guarda esta guía para la próxima vez.
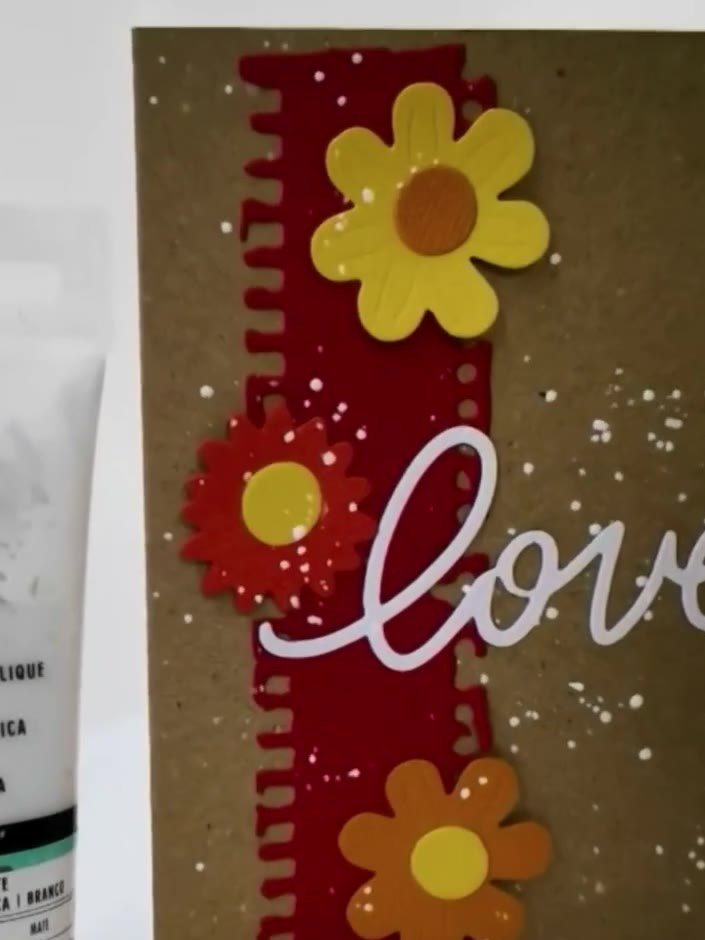 Circular Wreath Card with Stamped Leaves and Berries3 pasosLetterpress Embossed Birthday Card with Die-Cut Happy Birthday10 pasos
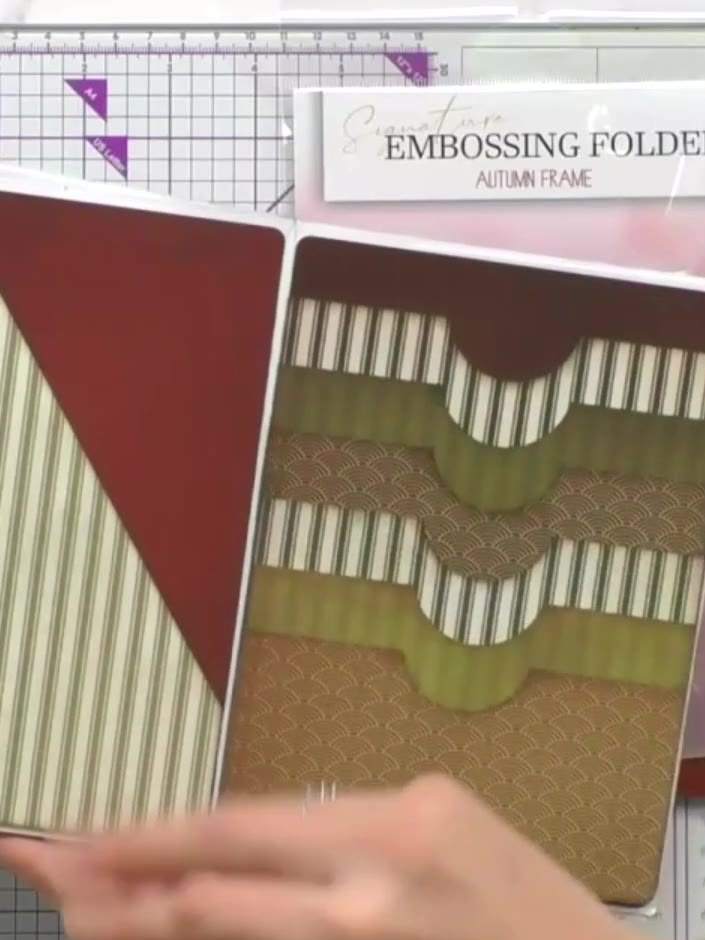 Nesting Balloon Die-Cut Birthday Card3 pasos
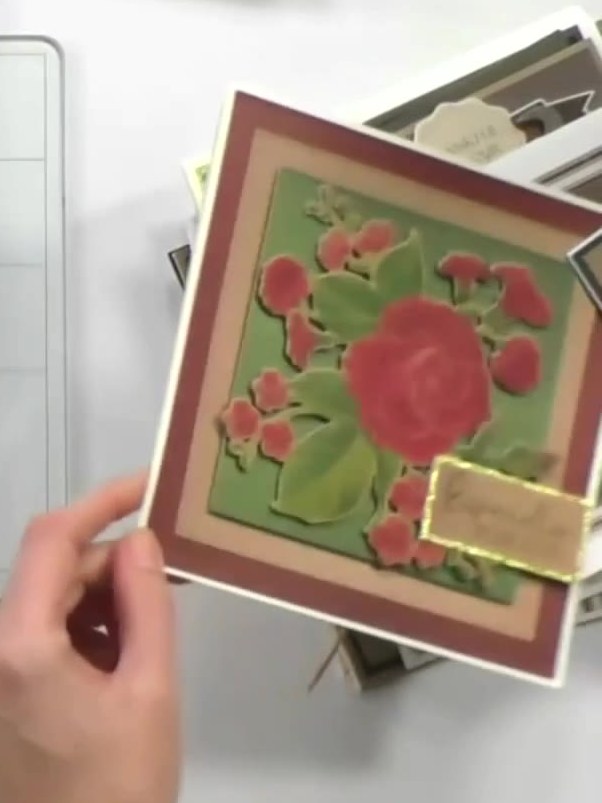 Festive Wreath Card with Poinsettia Dies and Layered Florals5 pasos
 Embossed Heritage Paper Card with White Ink Highlight6 pasos
Escrito a partir del propio programa. Todas las guías de nuestros programas · guías gratis · en directo en My Telly · el diseño anterior


