Geef je vrienden $ 10 korting op hun eerste bestelling!
Nodig een VRIEND uit








 The Thursday Dropdo 5 nov 13:00 uur
 The Friday Final Cutvr 6 nov 5:00 uur
 Community Showcasema 9 nov 5:00 uur
Prijzen worden meteen aangepast. Elke taal is onze eigen vertaling, niet Google.
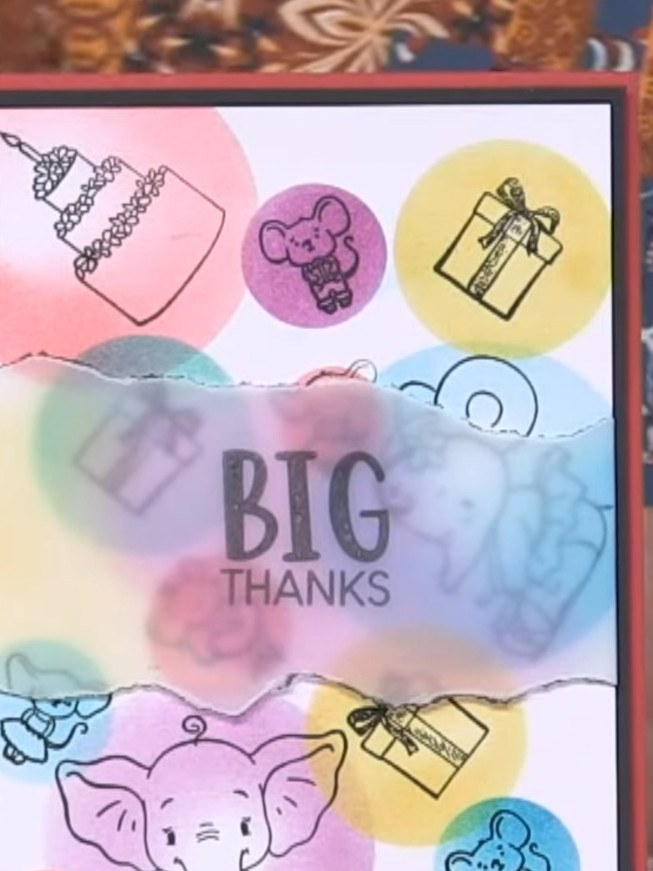
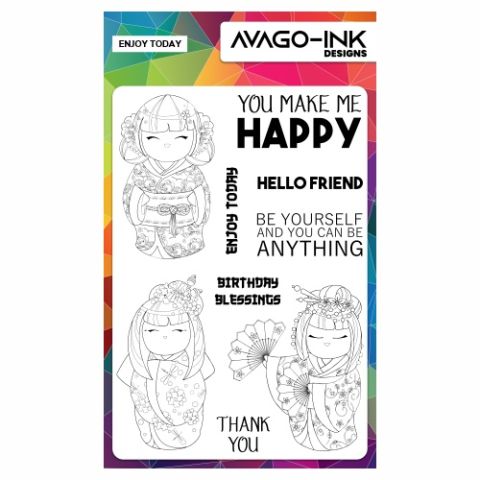
Een project uit onze liveshow MONDAY MADNESS - Kijk mee met Simon Williamson van AVAGO-INK voor zijn nieuwste producten en demo's - Uitgezonden op 16 mei 22 · 05/16/2022
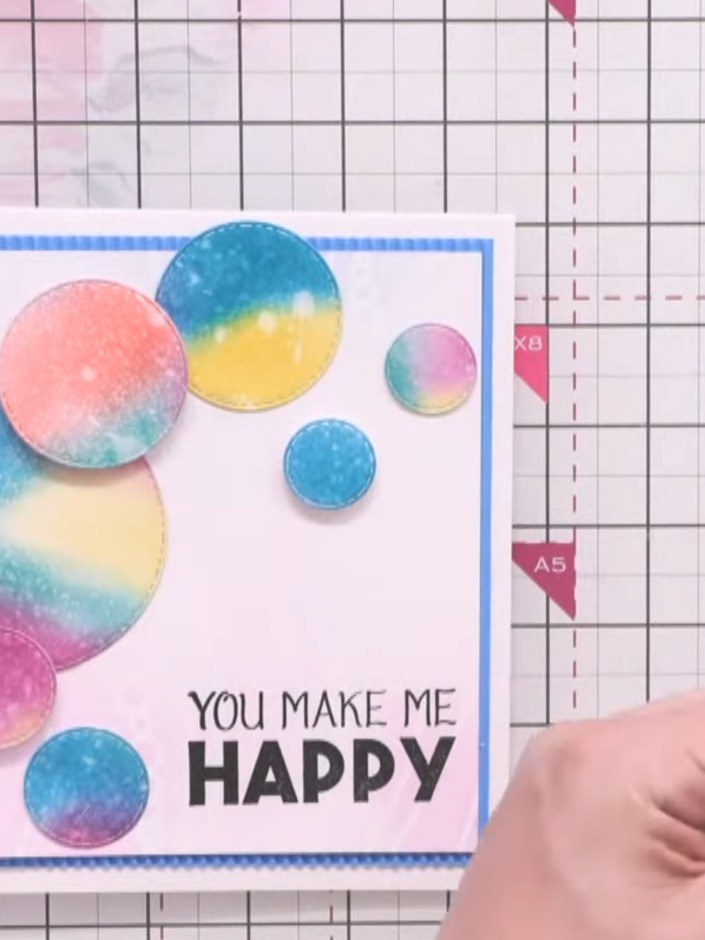
Create a cheerful card featuring adorable elephant characters surrounded by colourful circles. Using hand-made circle masks and layered ink blending, you'll build up a dreamy rainbow background in soft pastels. Stamp cute elephants and coordinating images within each circle, then add a vellum sentiment panel for a whimsical, dimensional finish.
 1
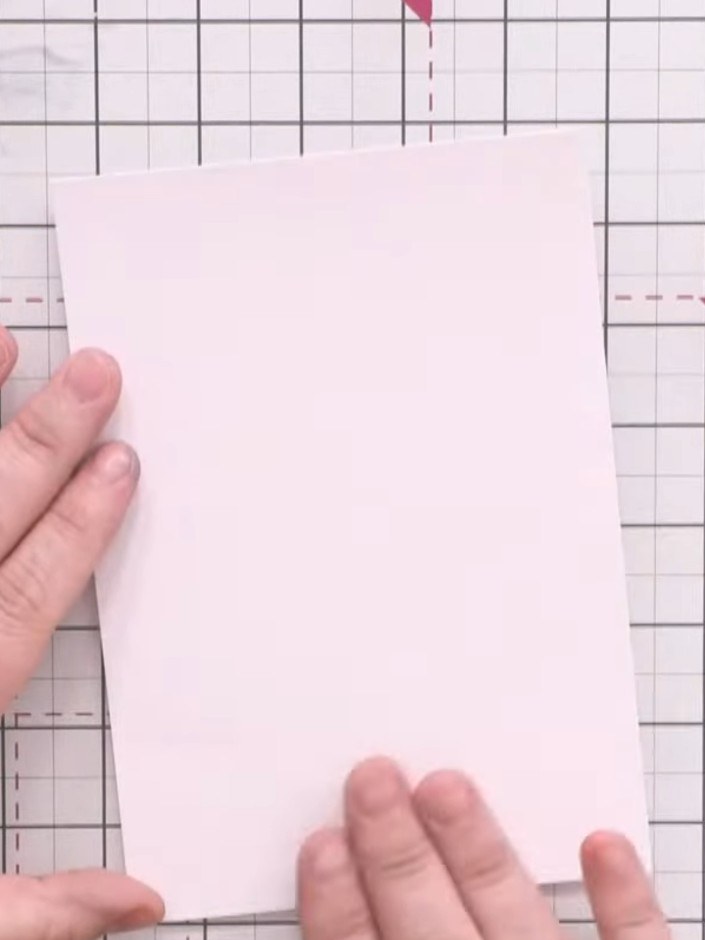
Begin met een stuk gestructureerd stempelkarton als basis. This will be used to create a stencil for the circular mask design.
 2
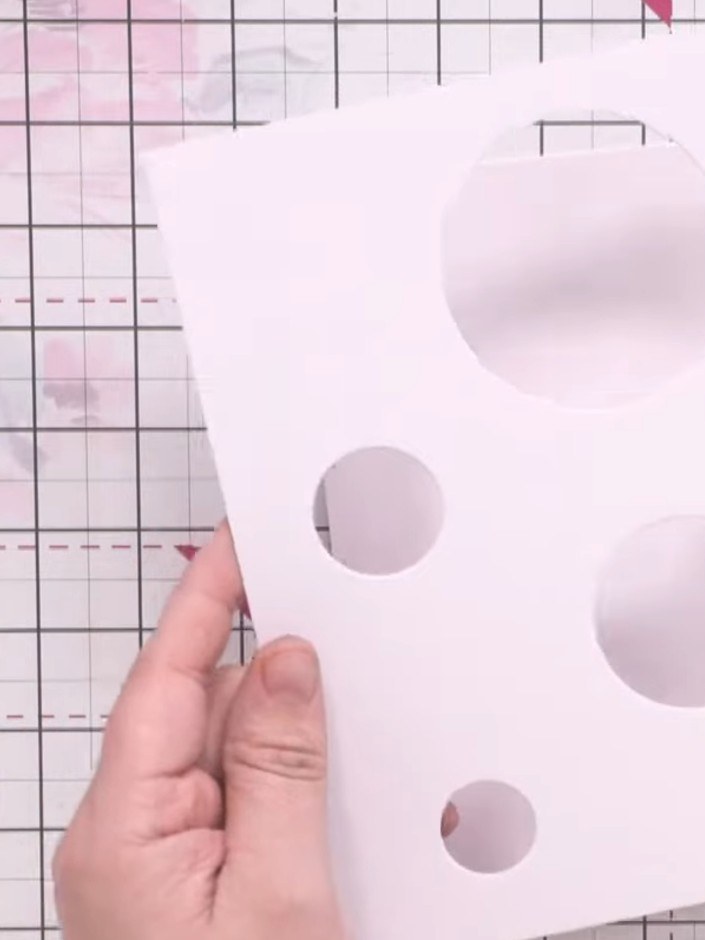
Create a stencil by cutting circles of various sizes from spare white card using circle dies from your stash. Trace the circles onto card to show the different sizes you'll be using.
 3
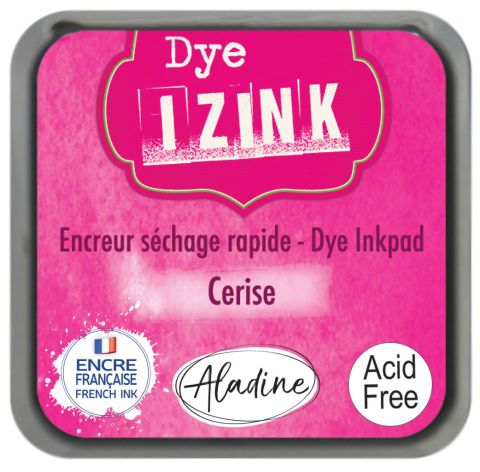
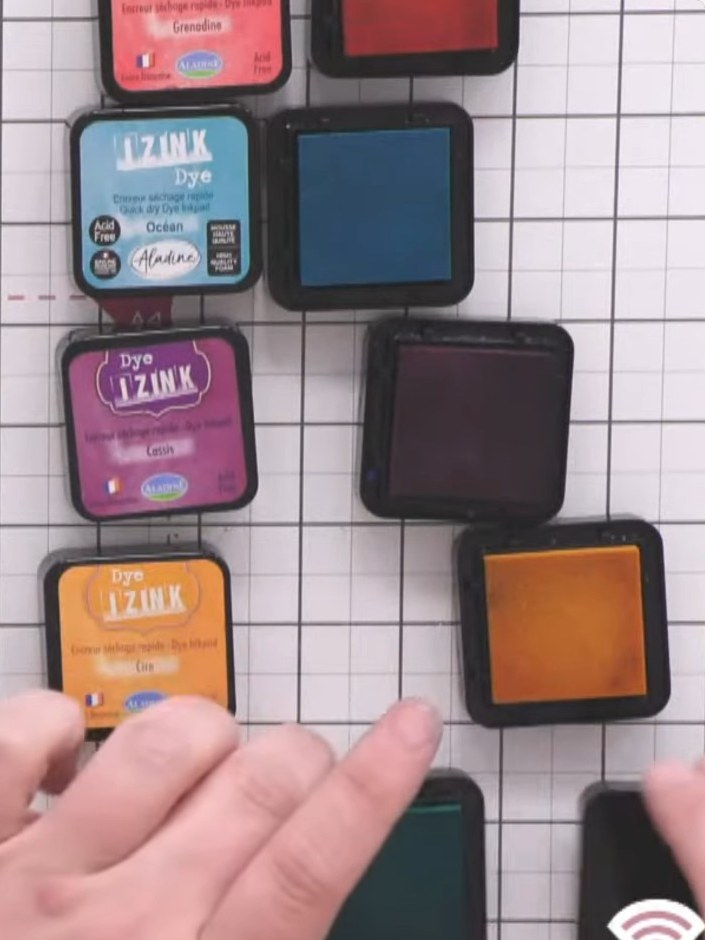
Select several coordinating Izink dye-based ink pads in colours such as ocean, cassis, orange and emerald. Arrange them on your work surface with their lids positioned nearby to use as holders for ink blenders.
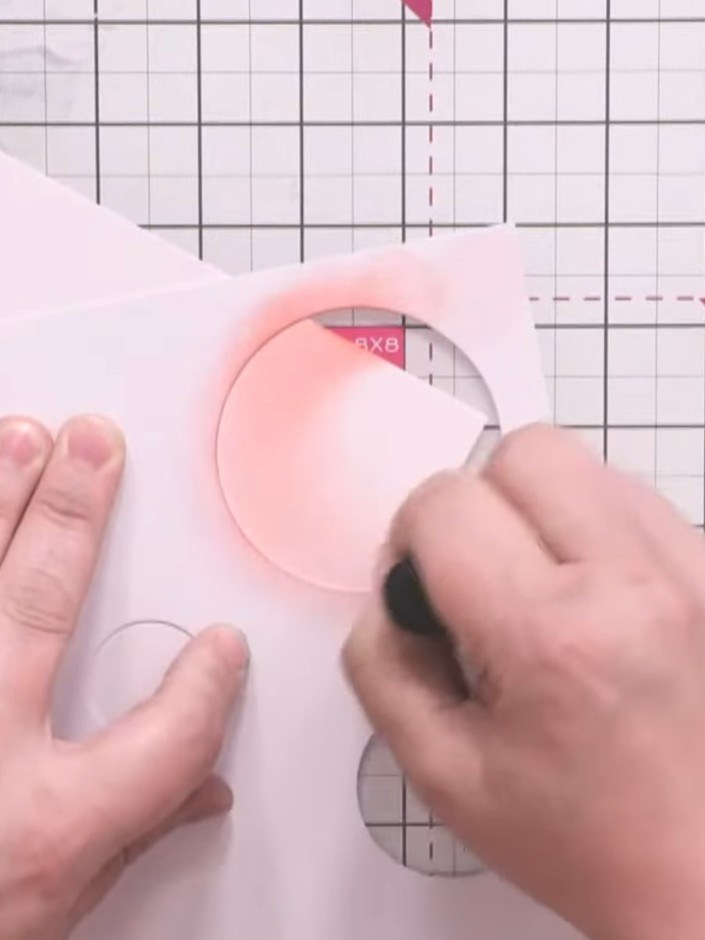 4
Using a blending tool with pink ink, work in circular motions from the outer edge of the largest circle towards the centre. Build up the colour gradually to create dimension and depth.
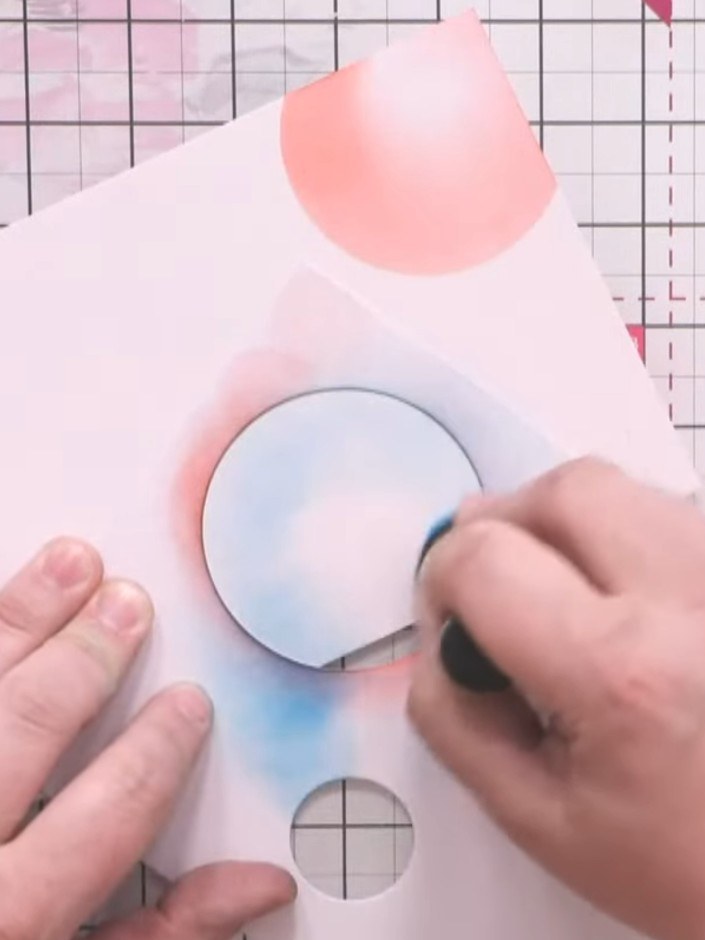 5
Leave the centre of each circle pale to create a dome effect. Blend a second colour around the edges of the circles, working the ink outwards from the centre.
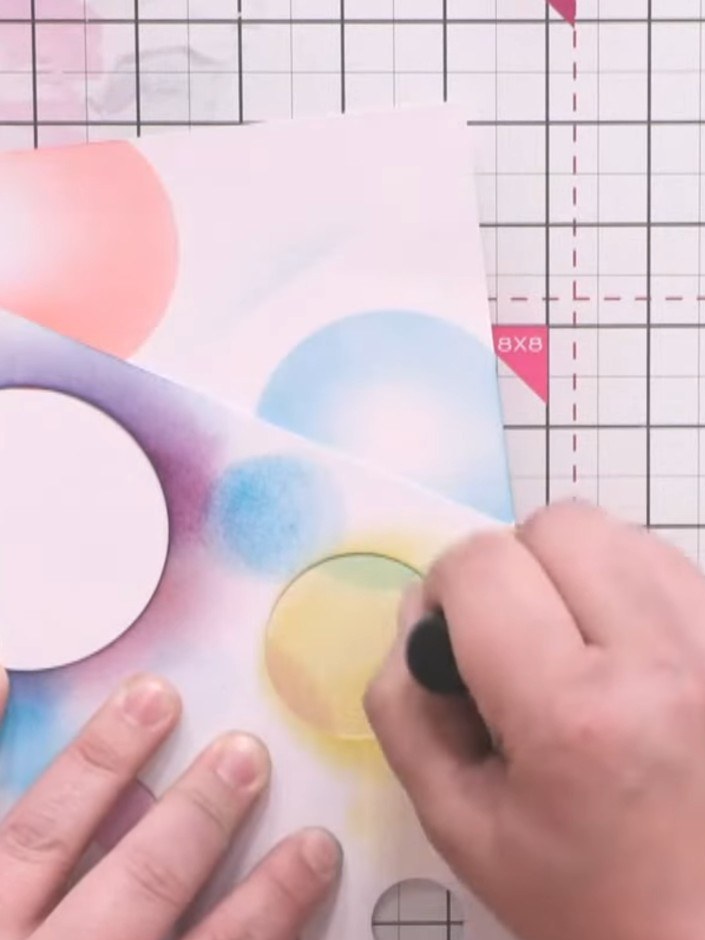 6
Continue adding smaller circles using different coloured ink pads, overlapping them slightly. Leave some white gaps between the circles for visual interest.
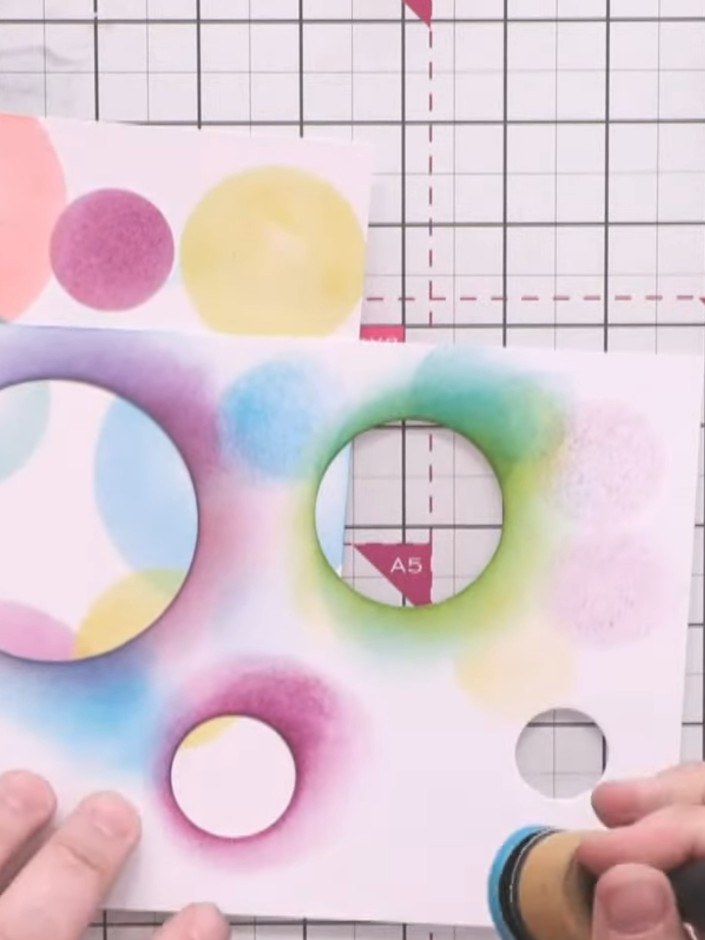 7
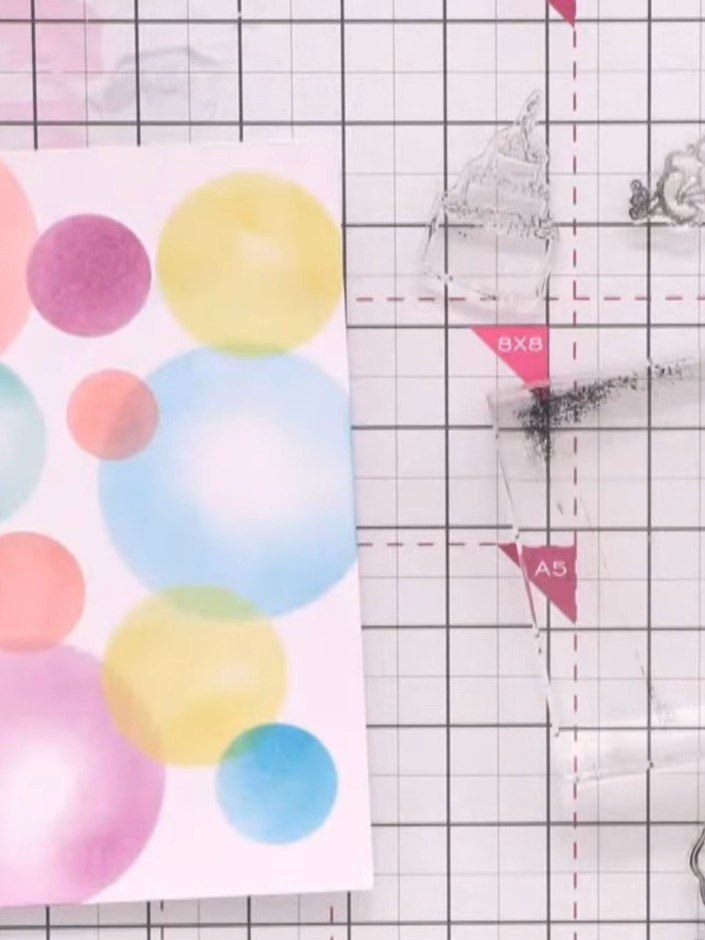
Continue adding circles in different sizes and colours across the card using the blending tool and various ink pads. Overlap some of the circles to create depth and build up a colourful composition.
 8
Using black ink, stamp the elephant characters and coordinating images (birthday cakes, mice, parcels, ballerinas) from the stamp sets within each circle on your card panel.
 9
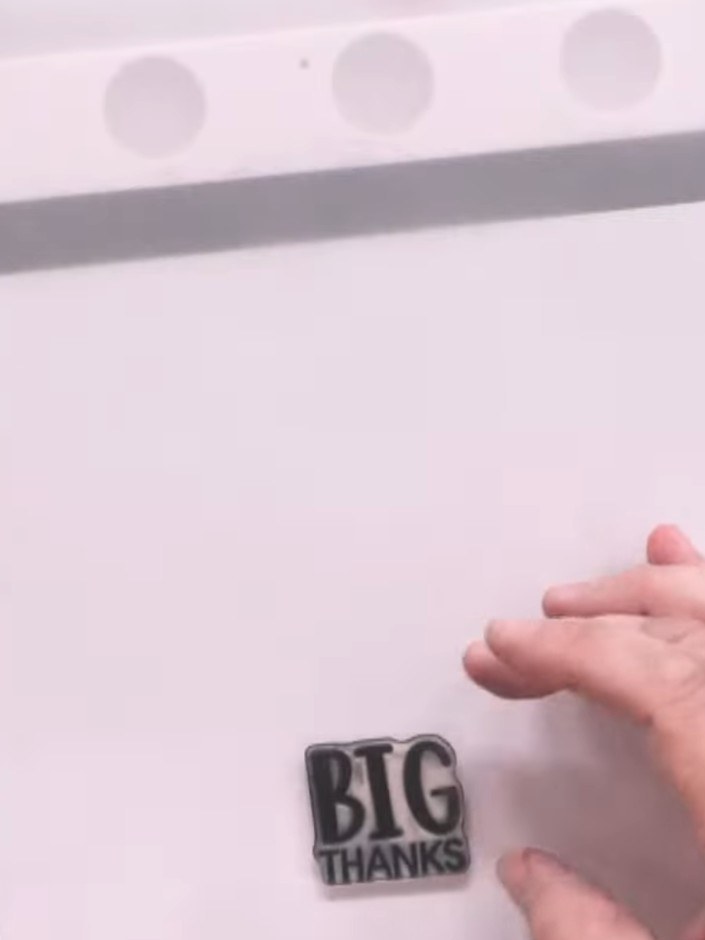
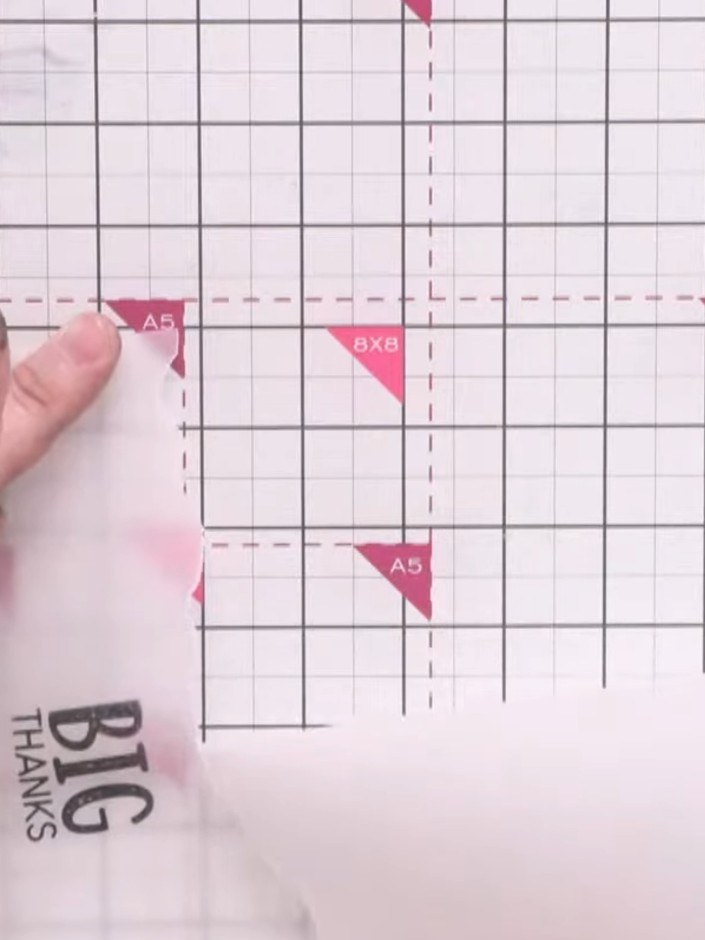
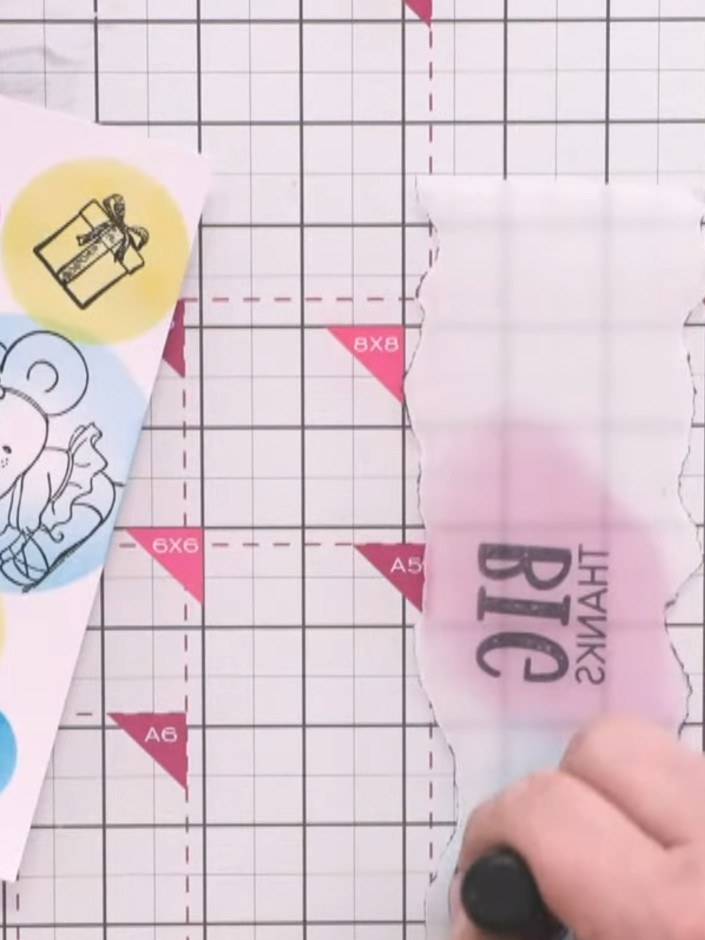
Cut a piece of plain vellum and stamp a sentiment such as 'Big Thanks' onto it using black Stazon ink. Position the stamp in the bottom corner of the vellum sheet.
 10
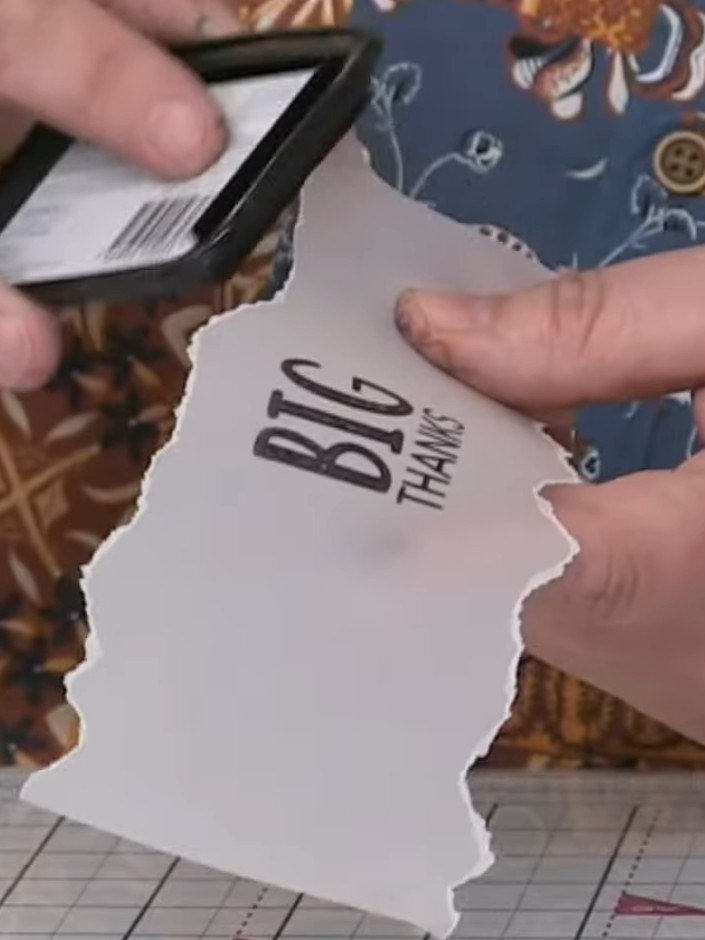
Tear the edges of the vellum piece by hand to create a quirky, jagged border all around.
 11
Brush the torn edges of the vellum panel with black Stazon ink to add definition and depth to the sentiment.
 12
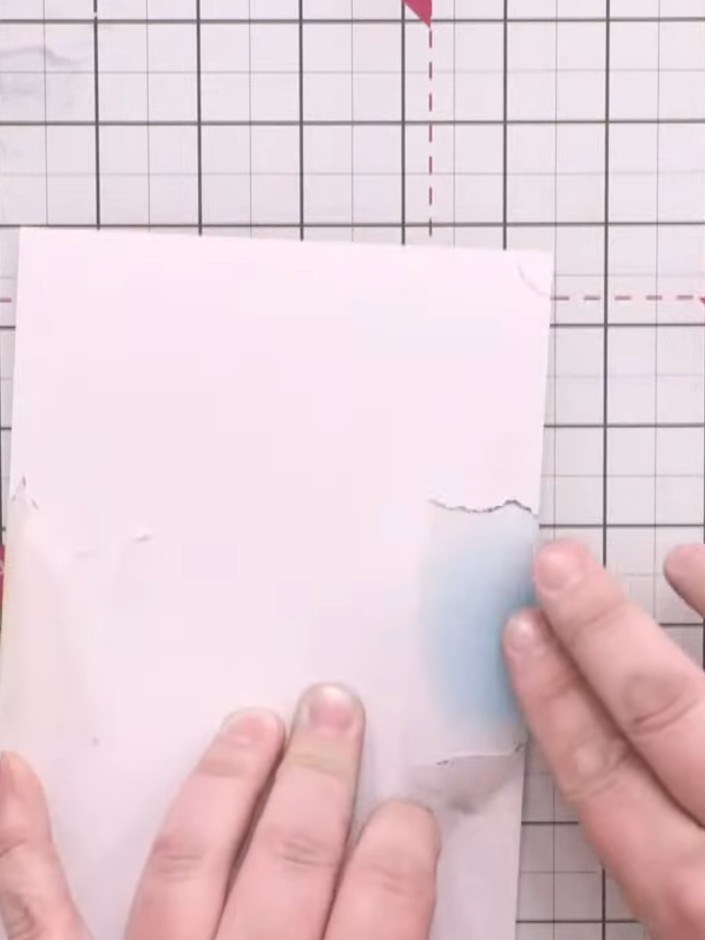
Turn the vellum piece over and colour the back with coordinating ink pads in purple, blue, and orange to add subtle colour that complements the stamped design.
 13
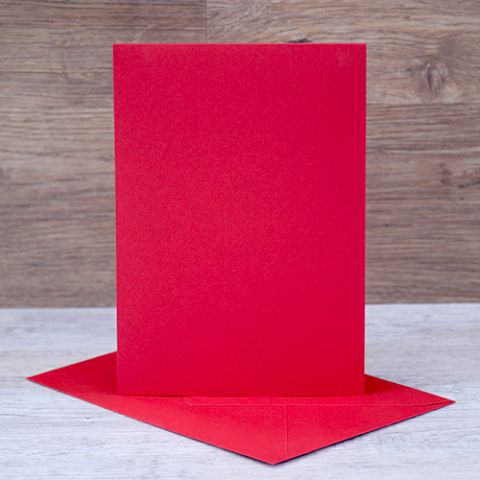
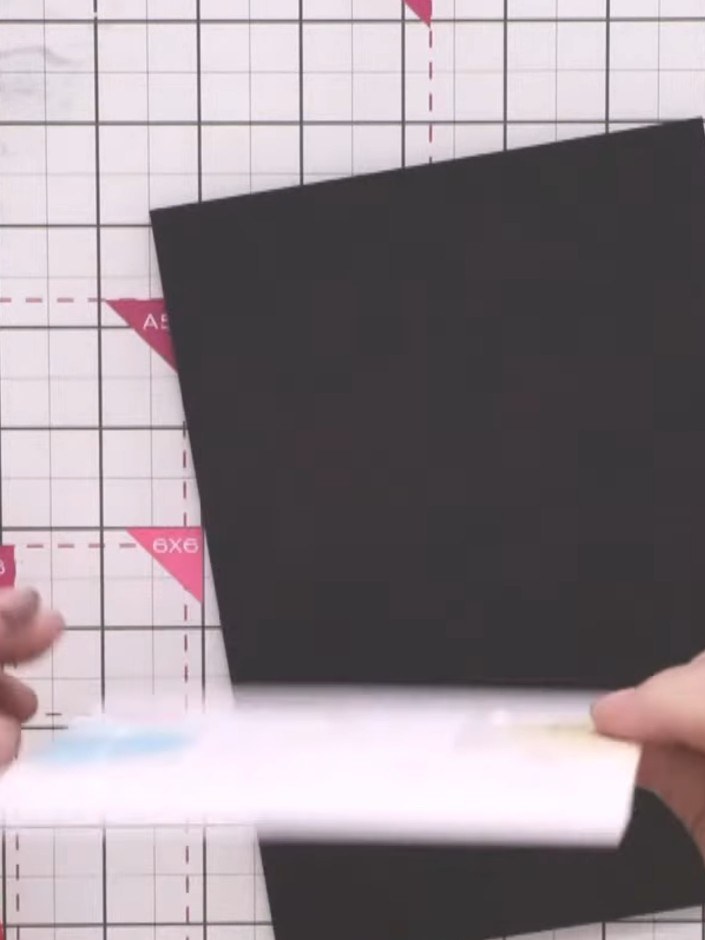
Mount the coloured circle background panel onto a black card mat layer using wet glue. Then attach this matted panel onto the front of a red top-folding card base.
 14
Adhere the vellum sentiment panel to the centre of the black card base using a tape runner.
Deel je project met de Stamps By Me community - en bewaar deze handleiding voor de volgende keer.
Rechtstreeks uit de show uitgeschreven. Bekijk alle handleidingen uit onze shows · gratis handleidingen · kijk live op My Telly · de vorige weergave