Geef je vrienden $ 10 korting op hun eerste bestelling!
Nodig een VRIEND uit








 The Thursday Dropdo 5 nov 13:00 uur
 The Friday Final Cutvr 6 nov 5:00 uur
 Community Showcasema 9 nov 5:00 uur
Prijzen worden meteen aangepast. Elke taal is onze eigen vertaling, niet Google.
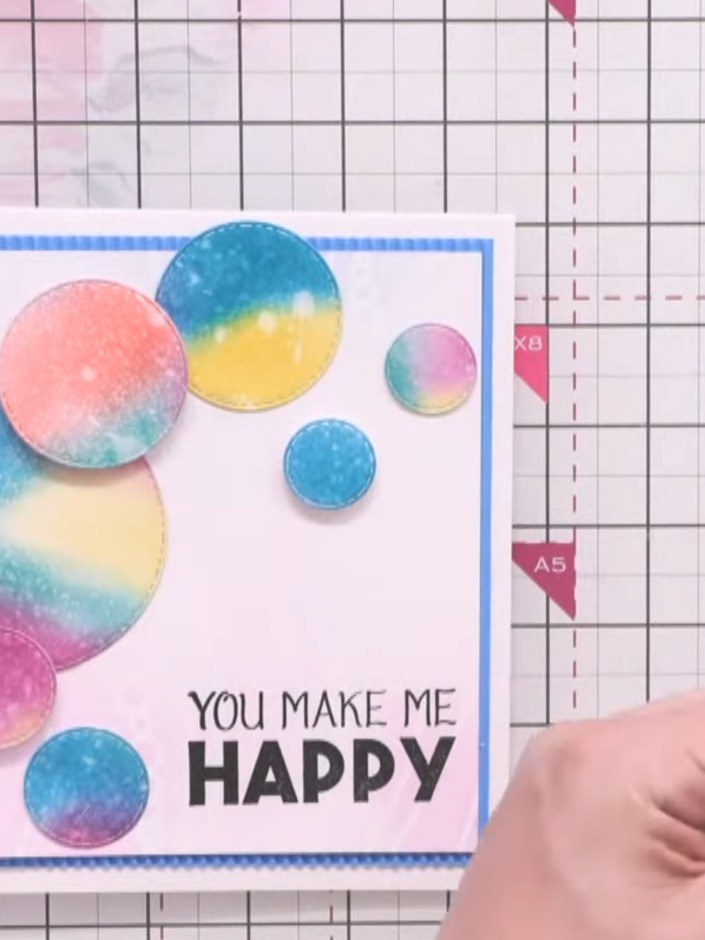
Een project uit onze liveshow MONDAY MADNESS - Kijk mee met Simon Williamson van AVAGO-INK voor zijn nieuwste producten en demo's - Uitgezonden op 16 mei 22 · 05/16/2022
Create a striking card featuring a cosmic galaxy background with vibrant blended ink colours in pink, blue, yellow and purple. Cut circles from the inked background and layer them dimensionally with foam pads for depth. Complete the design with a bold sentiment, decorative blue sequins, and a coordinating stitched border for a modern, eye-catching finish.
 1
Place a piece of white textured card on your craft mat as your base. Position your ink pads nearby ready for use.
 2
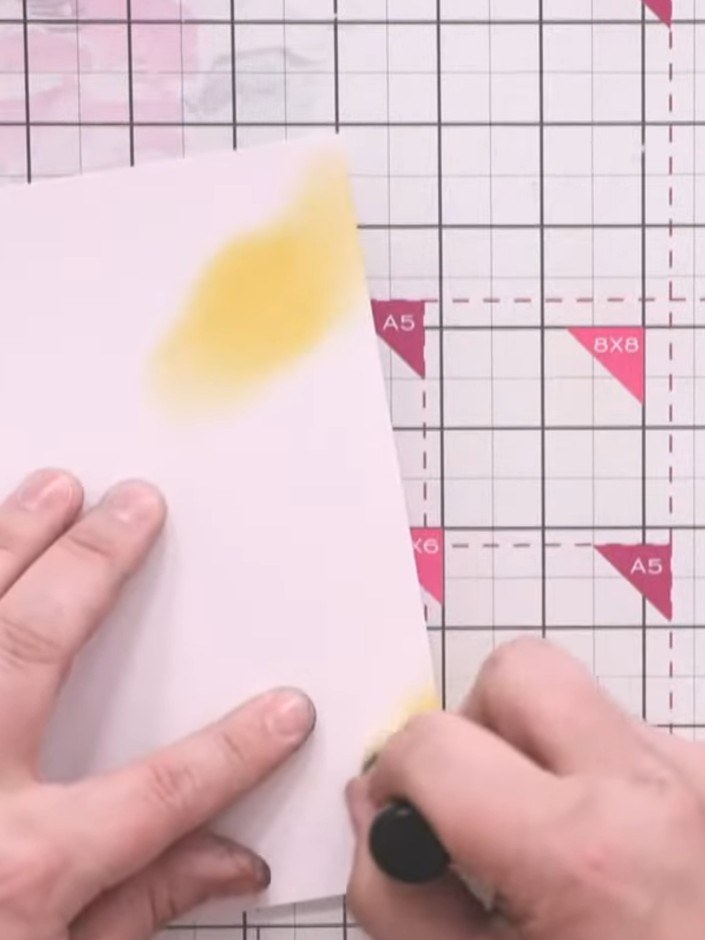
Using a blending tool with your lightest ink colour (yellow/orange), apply the ink in irregular, organic shapes across the white card. Keep the shapes imperfect and varied in size.
 3
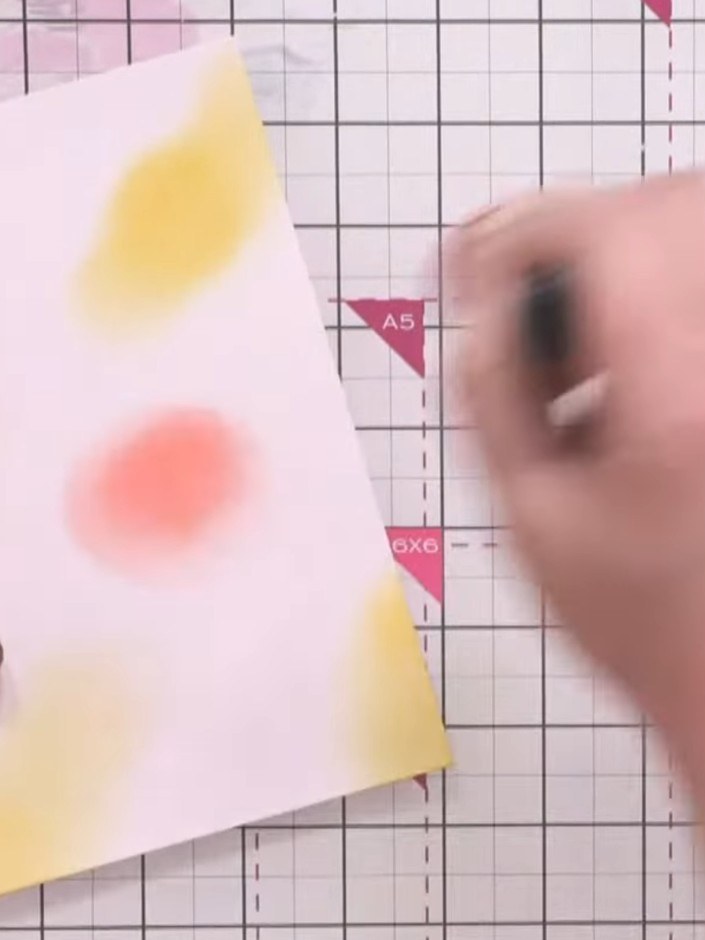
Add red ink in the centre and darker areas of the card, blending the colours together where they meet using a blending tool.
 4
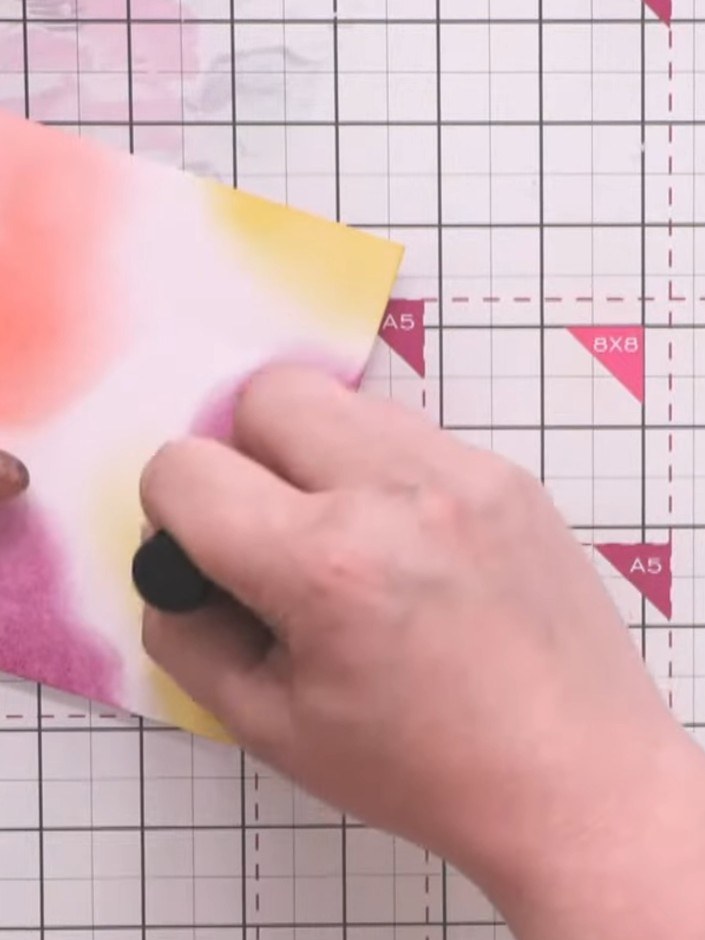
Apply purple ink (Cassis) to the card, blending it softly where it meets the other colours to create smooth gradient transitions between the yellow, coral and pink areas.
 5
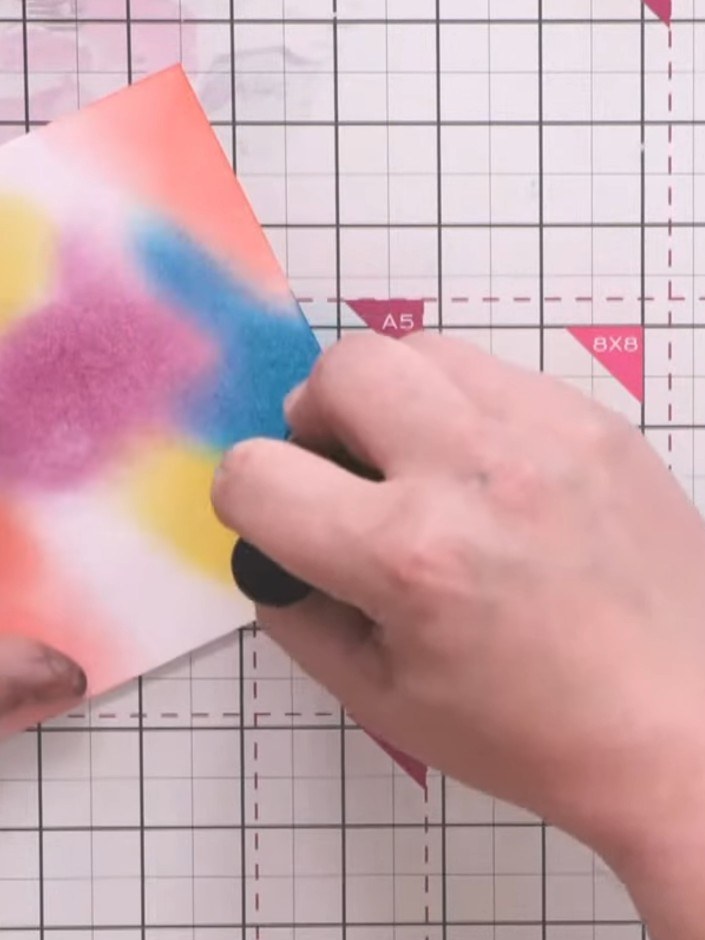
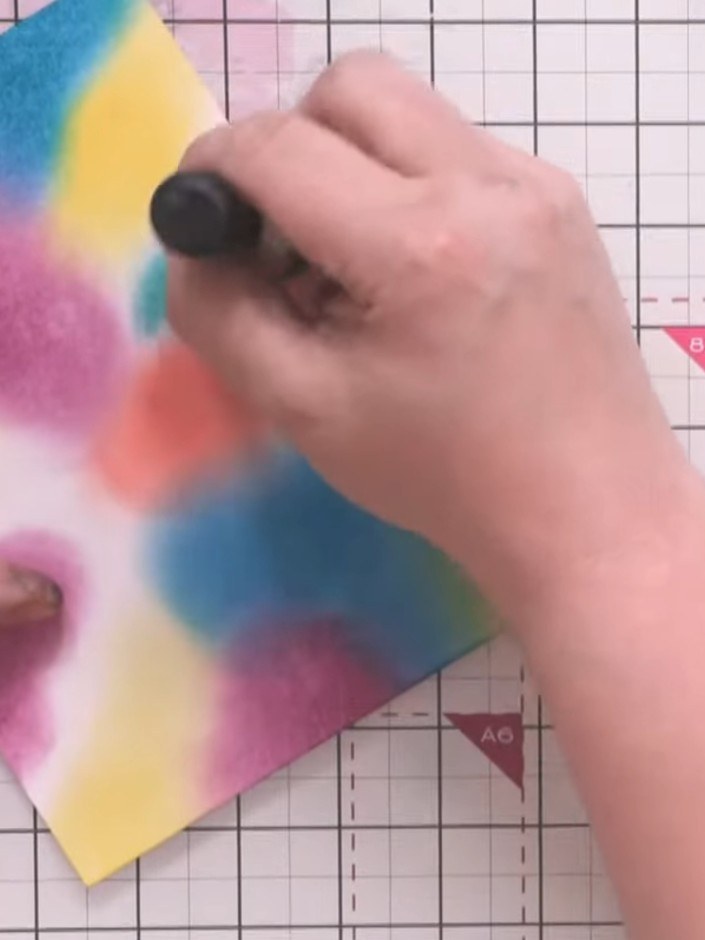
Add blue ink using a blending tool and continue blending all the colours together, creating a tie-dye effect across the white cardstock.
 6
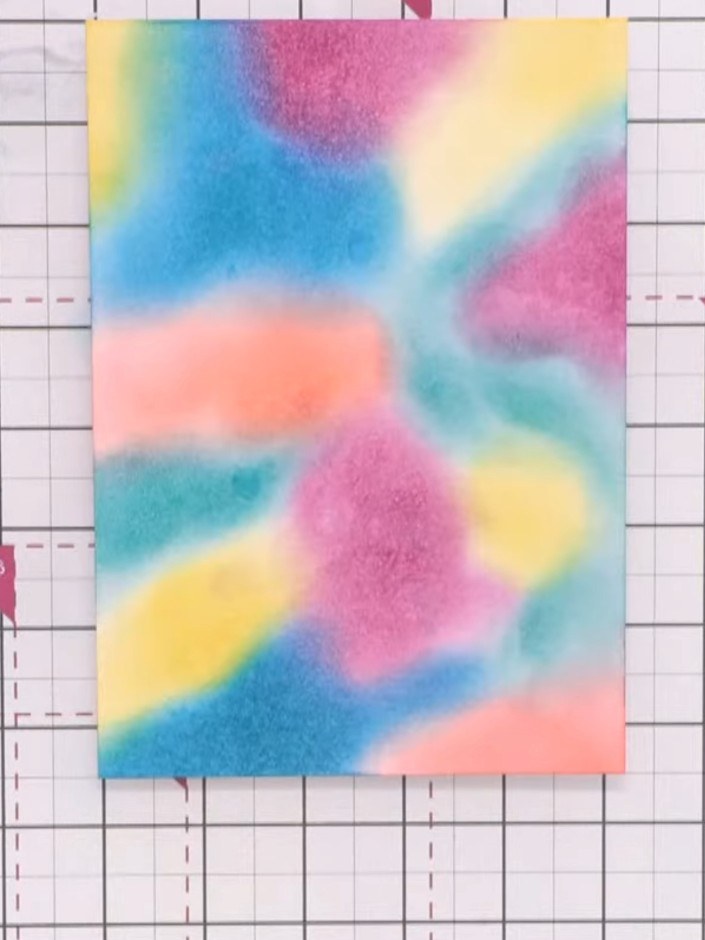
Apply the green (emeraude) ink pad to the blending tool and blend it into the remaining white areas of the card, creating a seamless galaxy background with all colours blended together.
 7
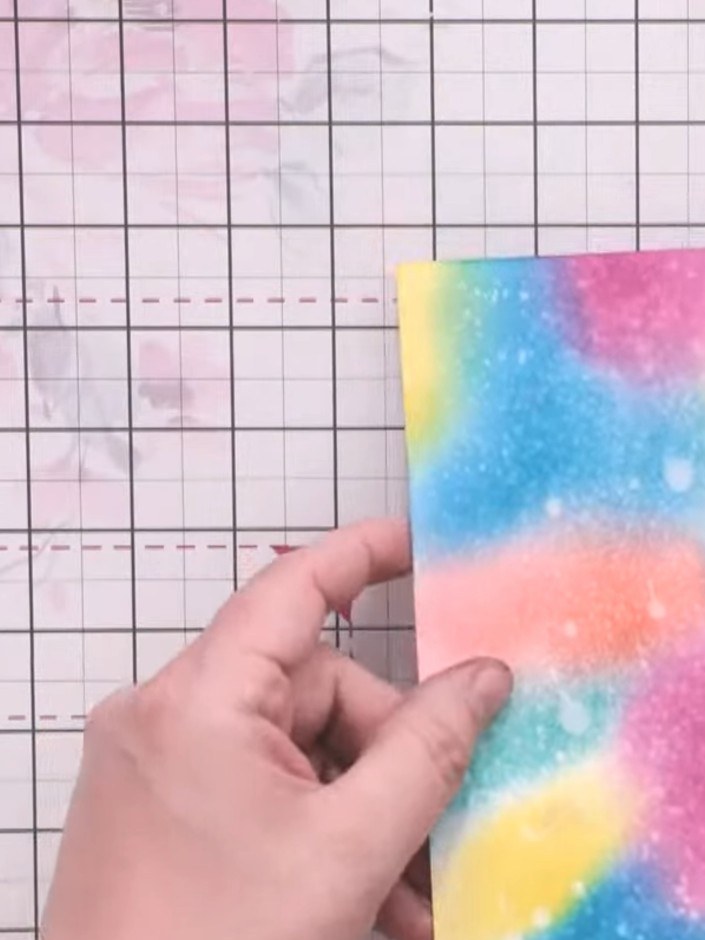
Lightly spritz the inked panel with water to activate the inks and create star-like effects in the galaxy background.
 8
Blot away excess water from the galaxy background panel using kitchen towel. Heat-set the panel thoroughly with a heat gun to prevent the card from cockling.
 9
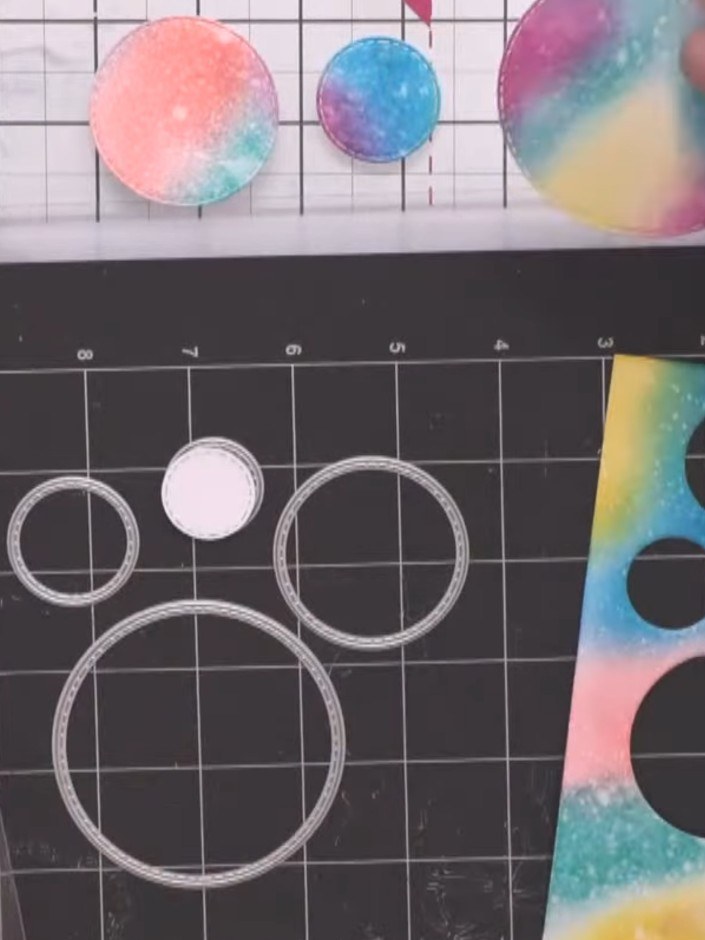
Use circle dies in various sizes to cut circles from the galaxy inked background panel. Position the dies on the panel and run through your die-cutting machine to create multiple circles in different sizes.
 10
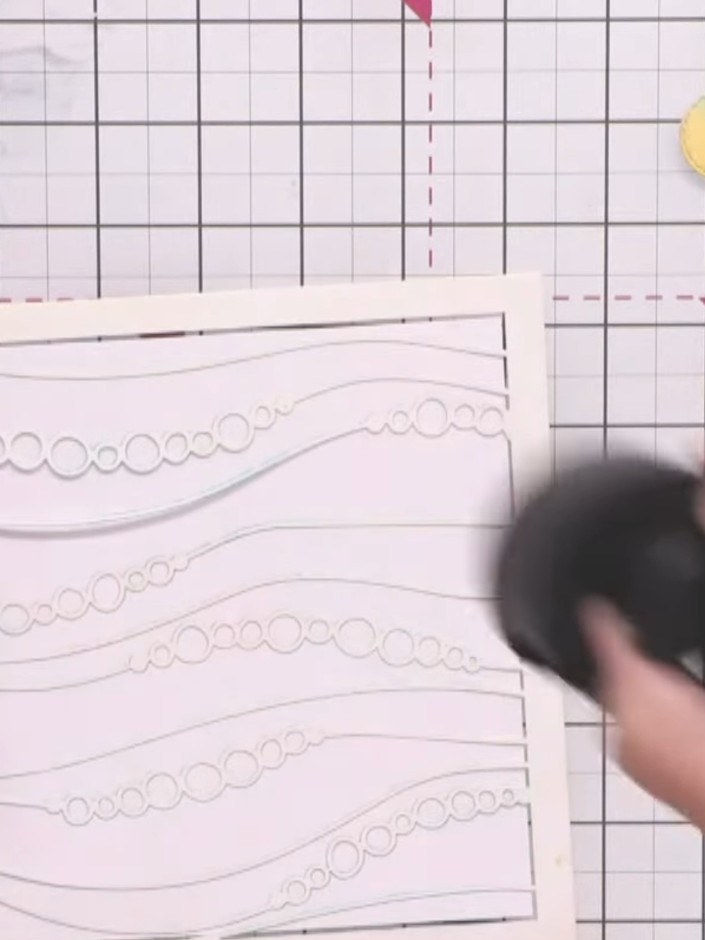
Prepare a 6x6 inch white card base. Using the bubble waves stencil, apply a subtle background pattern with cerise and outremer ink pads, blending the colours gently across the card.
 11
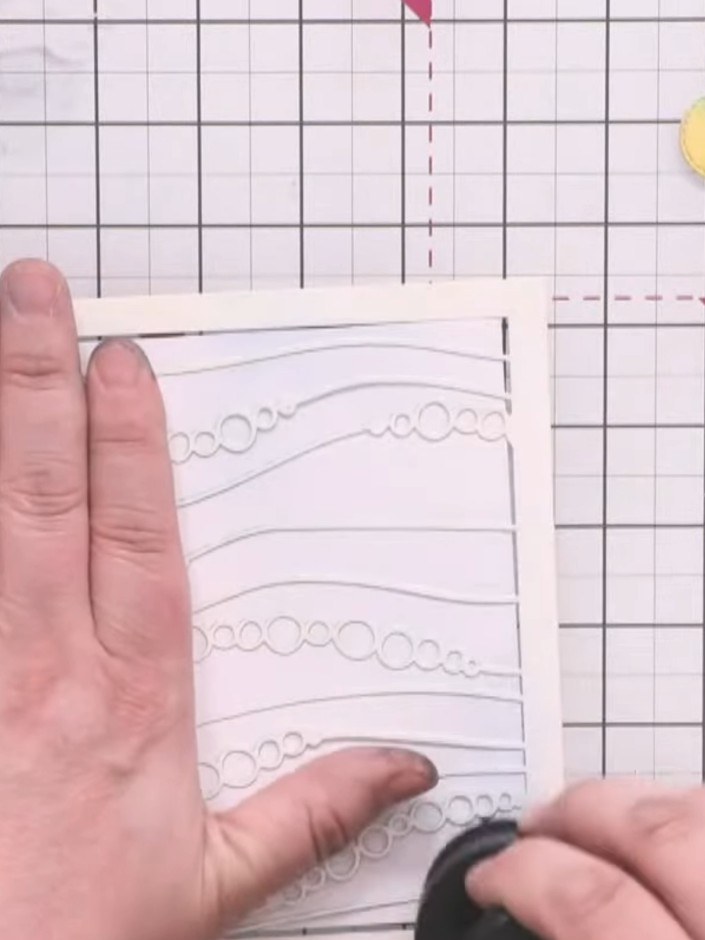
Using the ink blending tool, gently blend the stencil colours from the edges inward to create a soft pastel effect without hard lines. Work the colours gradually to build up the desired intensity.
 12
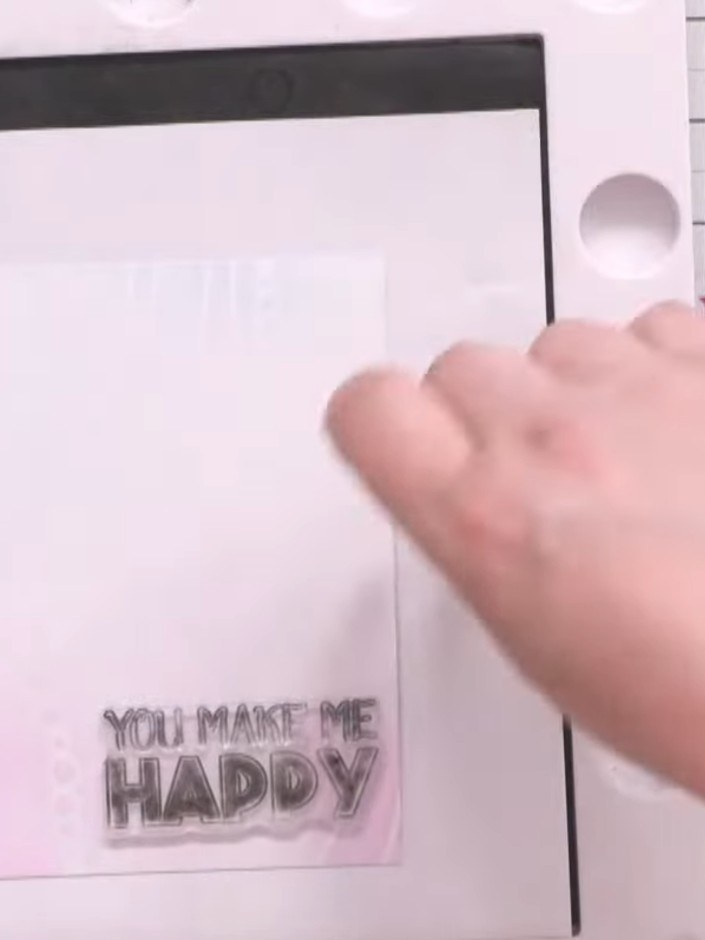
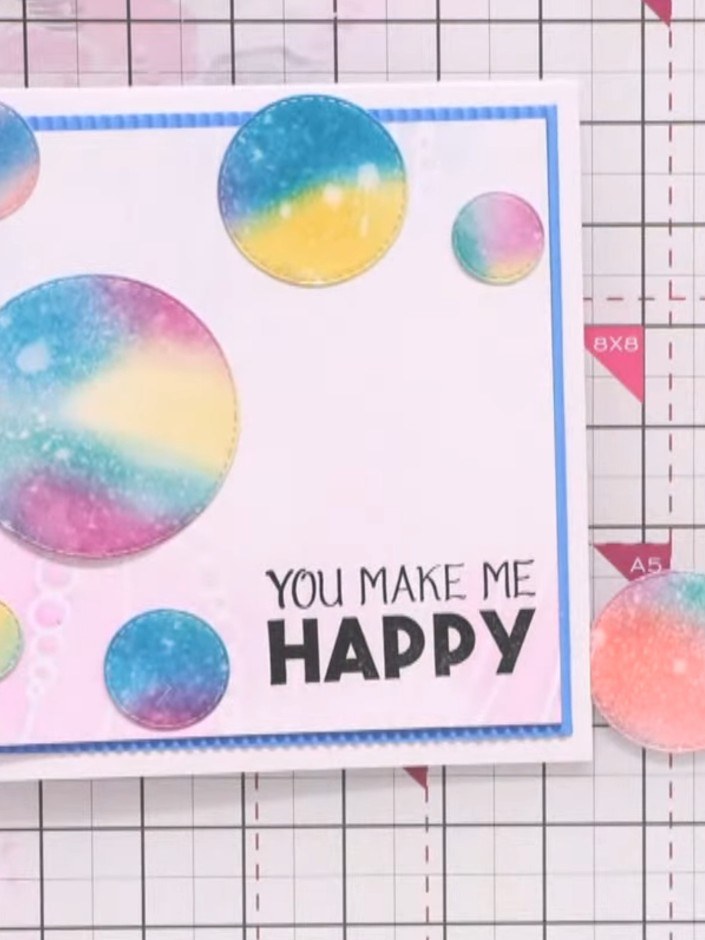
Stamp your chosen sentiment (such as 'You Make Me Happy') in the bottom corner of the stencilled card using Versafine black ink.
 13
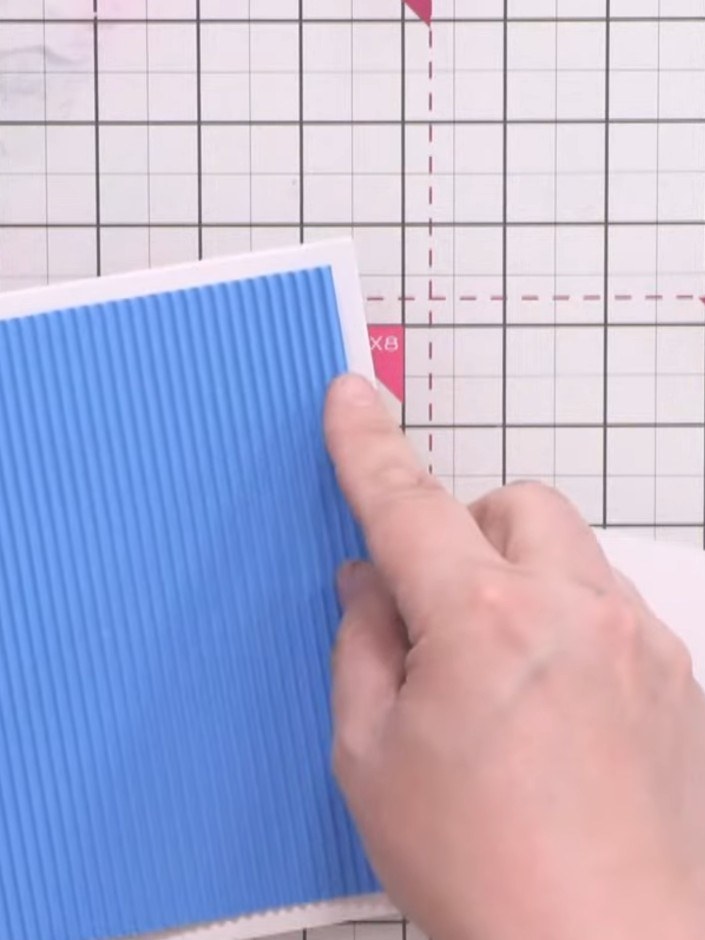
Adhere the blue textured cardstock to the white card base using adhesive. Layer the stencilled card panel on top of the textured layer.
 14
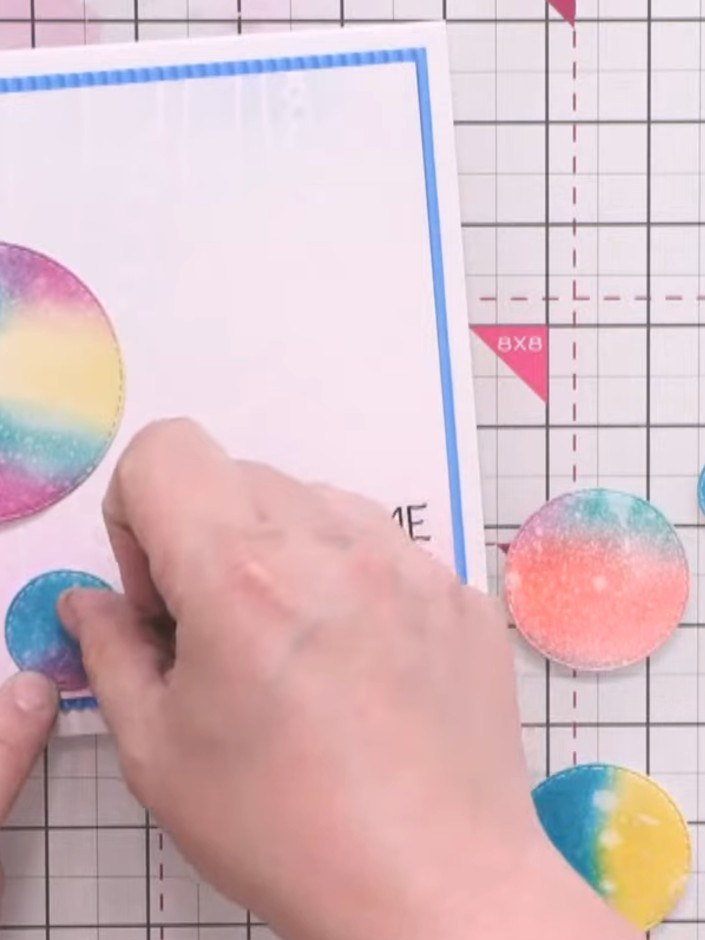
Adhere the largest cut circles flat to the card front. Use foam pads to attach the smaller circles at varying heights to create dimension.
 15
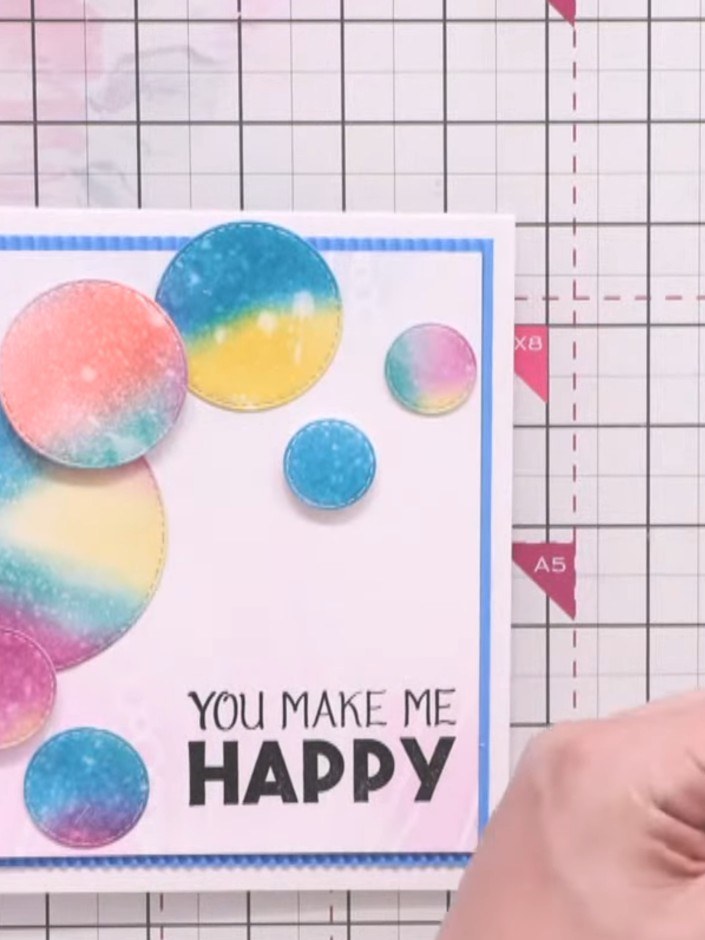
Position some of the coloured circles so they extend off the edge of the card front for added depth and visual interest. This creates a more dynamic composition.
 16
Scatter coordinating sequins across the circles and card surface using adhesive to add sparkle and finish the design. Use blue and pink sequins to match the galaxy colours on your card.
Deel je project met de Stamps By Me community - en bewaar deze handleiding voor de volgende keer.
Rechtstreeks uit de show uitgeschreven. Bekijk alle handleidingen uit onze shows · gratis handleidingen · kijk live op My Telly · de vorige weergave