Offrez à vos amis 10 $ de remise sur leur première commande !
Parrainez un AMI








 The Thursday Dropjeu. 5 nov. 13 h 00
 The Friday Final Cutven. 6 nov. 5 h 00
 Community Showcaselun. 9 nov. 5 h 00
Les prix sont mis à jour immédiatement. Chaque langue est notre propre traduction, pas Google.
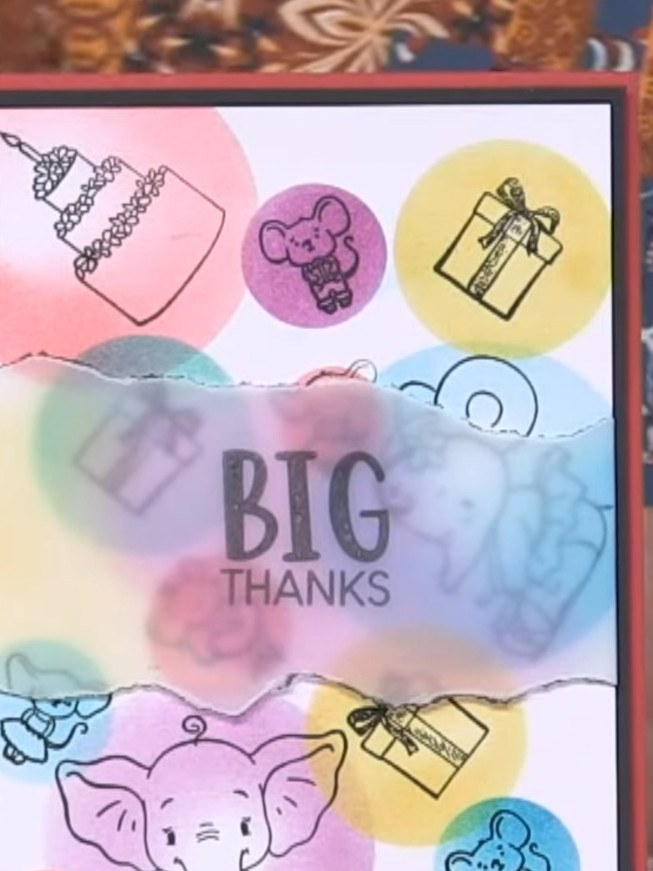
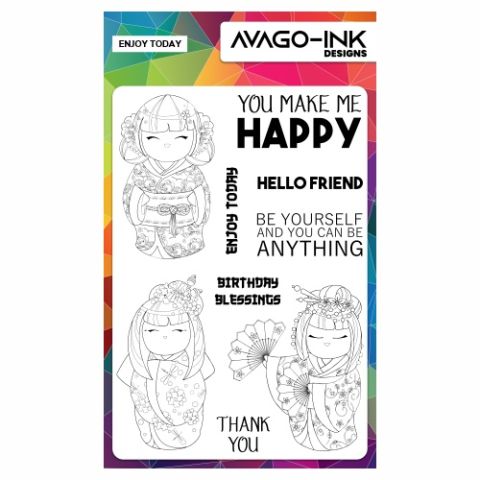
Une création de notre émission en direct MONDAY MADNESS - Retrouvez Simon Williamson d'AVAGO-INK pour ses dernières nouveautés et démonstrations - Diffusé le 16 mai 22 · 05/16/2022
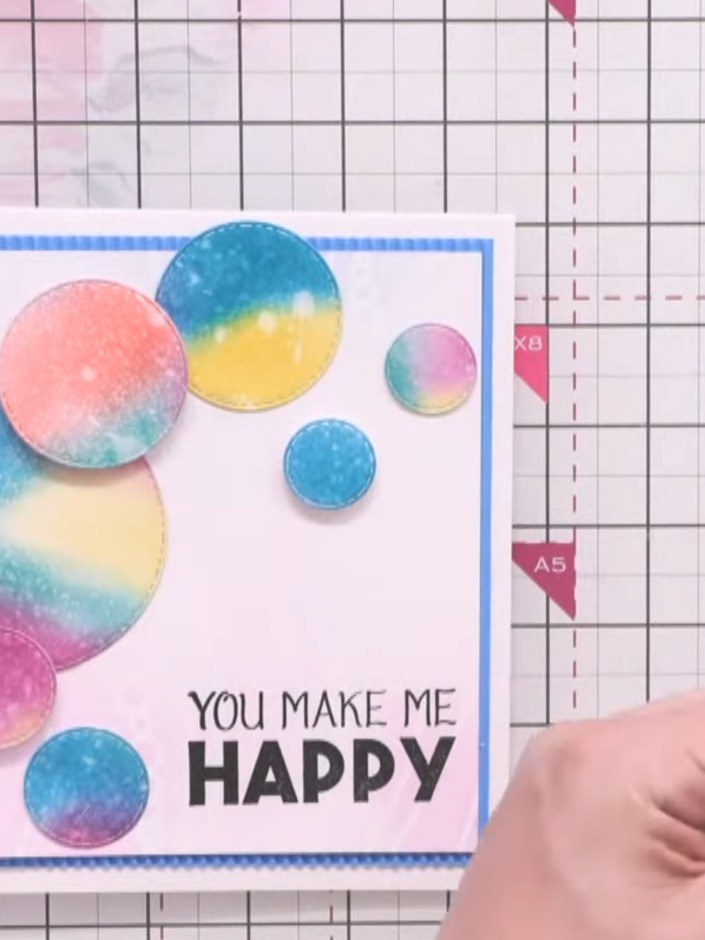
Create a cheerful card featuring adorable elephant characters surrounded by colourful circles. Using hand-made circle masks and layered ink blending, you'll build up a dreamy rainbow background in soft pastels. Stamp cute elephants and coordinating images within each circle, then add a vellum sentiment panel for a whimsical, dimensional finish.
 1
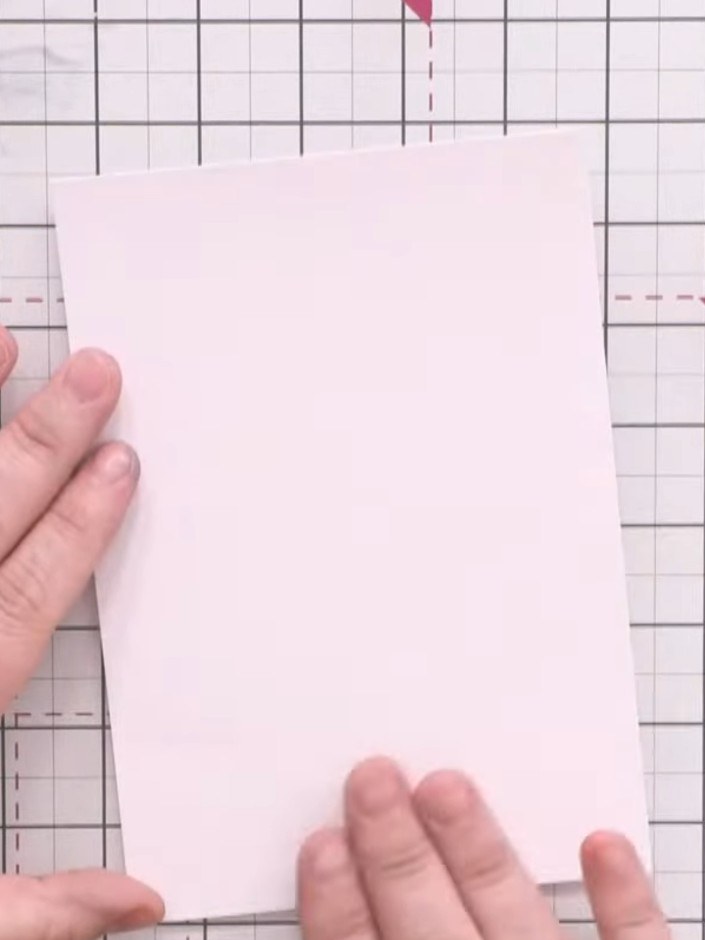
Commencez avec un morceau de papier cartonné texturé spécial tampons comme base. This will be used to create a stencil for the circular mask design.
 2
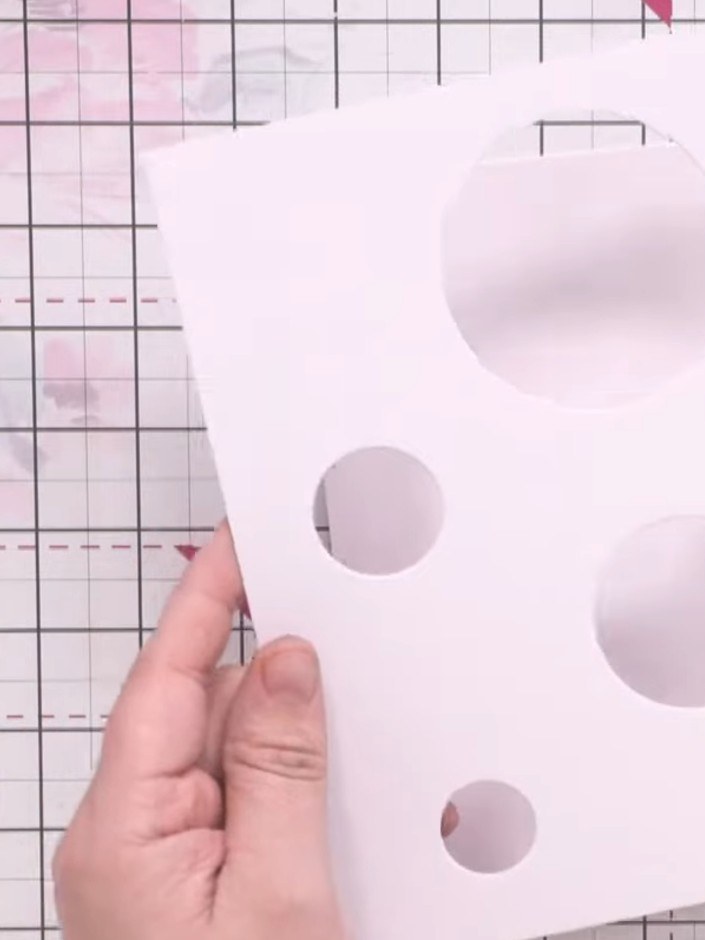
Create a stencil by cutting circles of various sizes from spare white card using circle dies from your stash. Trace the circles onto card to show the different sizes you'll be using.
 3
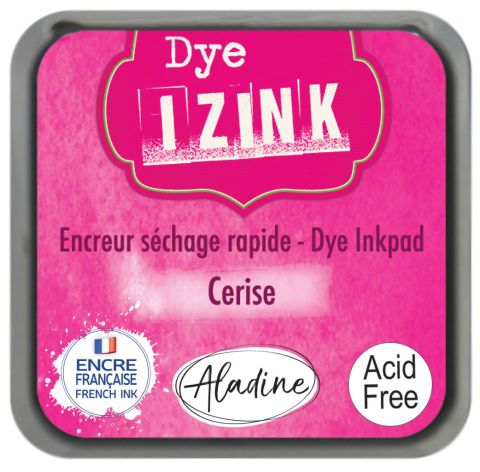
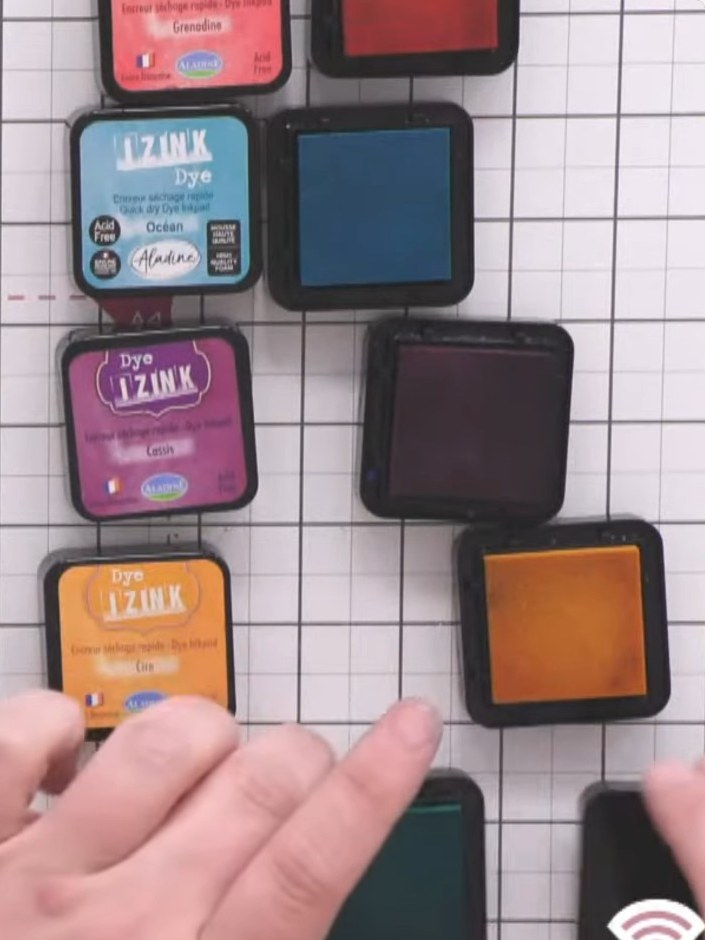
Select several coordinating Izink dye-based ink pads in colours such as ocean, cassis, orange and emerald. Arrange them on your work surface with their lids positioned nearby to use as holders for ink blenders.
 4
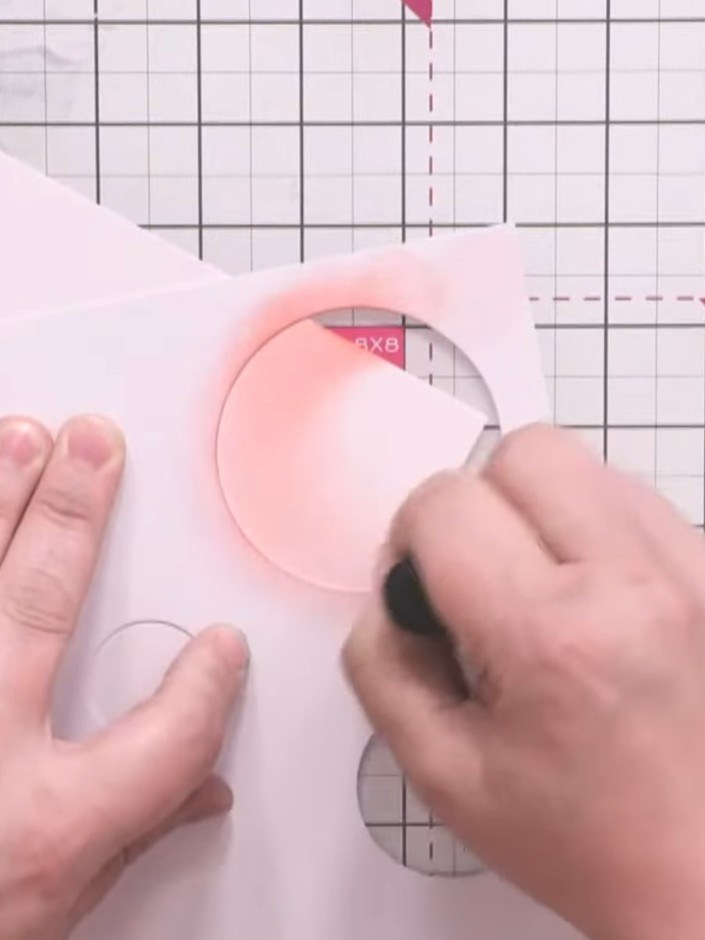
Using a blending tool with pink ink, work in circular motions from the outer edge of the largest circle towards the centre. Build up the colour gradually to create dimension and depth.
 5
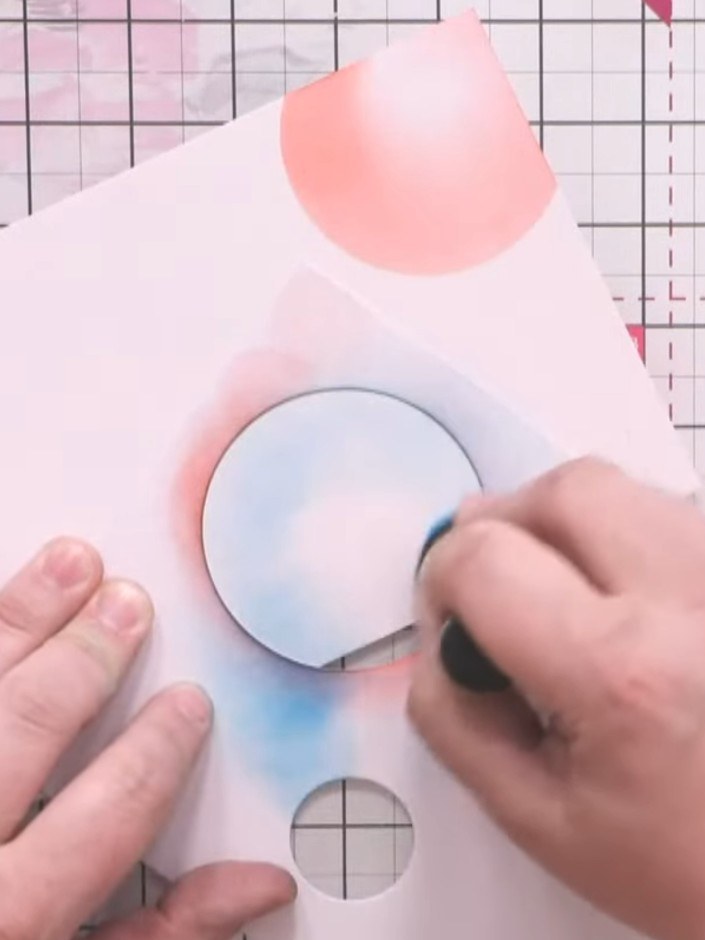
Leave the centre of each circle pale to create a dome effect. Blend a second colour around the edges of the circles, working the ink outwards from the centre.
 6
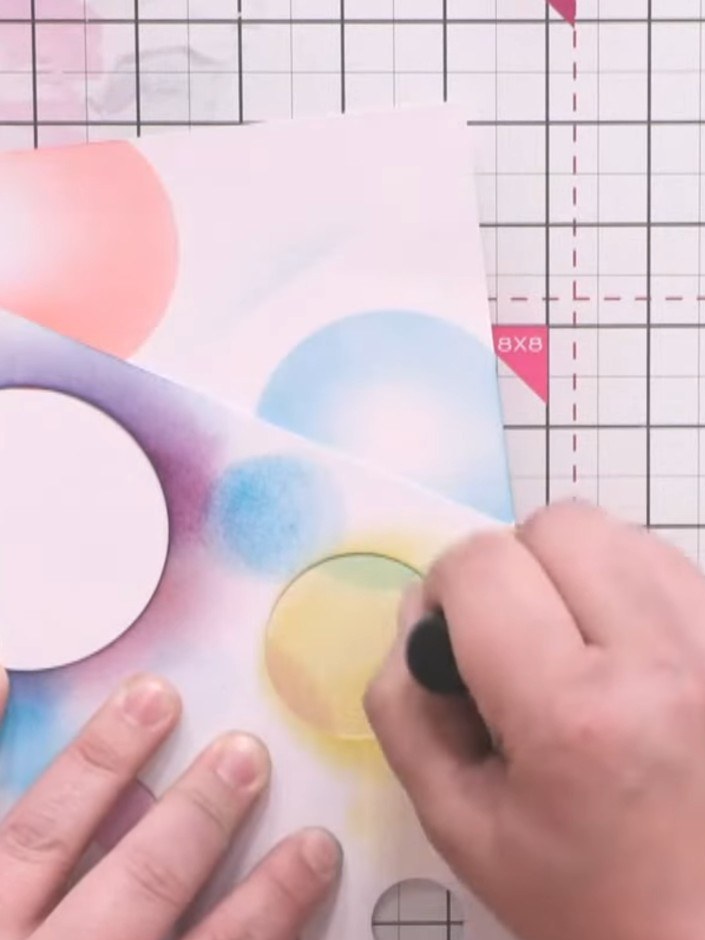
Continue adding smaller circles using different coloured ink pads, overlapping them slightly. Leave some white gaps between the circles for visual interest.
 7
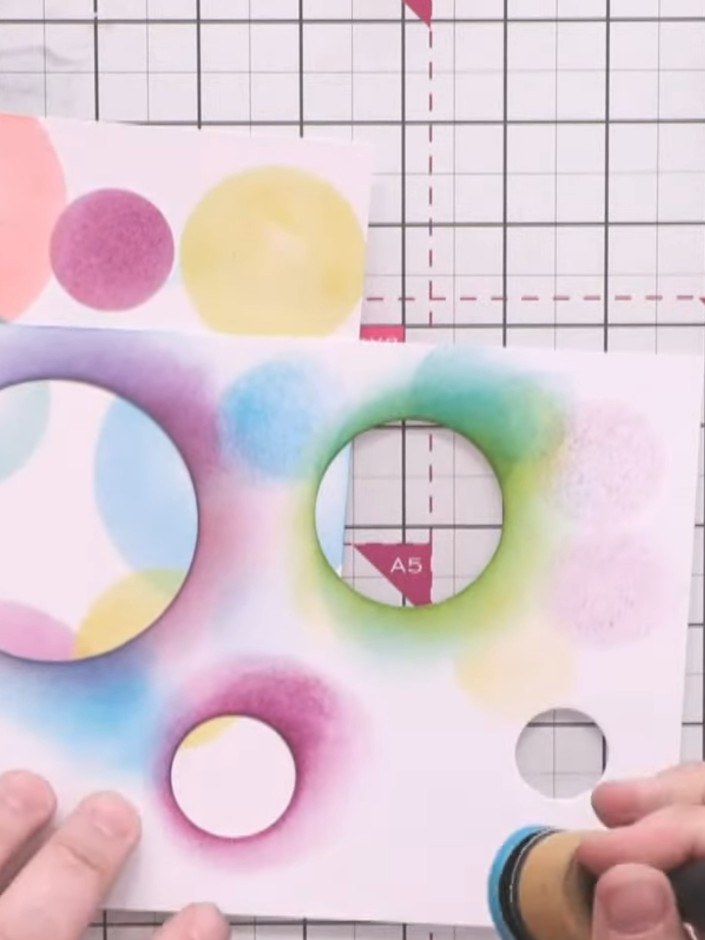
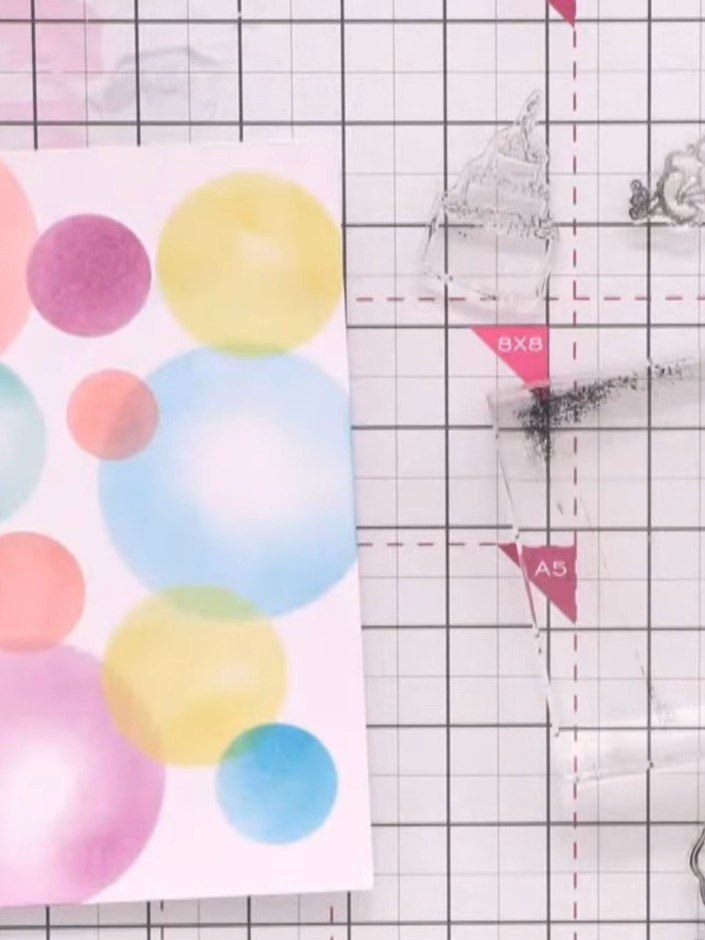
Continue adding circles in different sizes and colours across the card using the blending tool and various ink pads. Overlap some of the circles to create depth and build up a colourful composition.
 8
Using black ink, stamp the elephant characters and coordinating images (birthday cakes, mice, parcels, ballerinas) from the stamp sets within each circle on your card panel.
 9
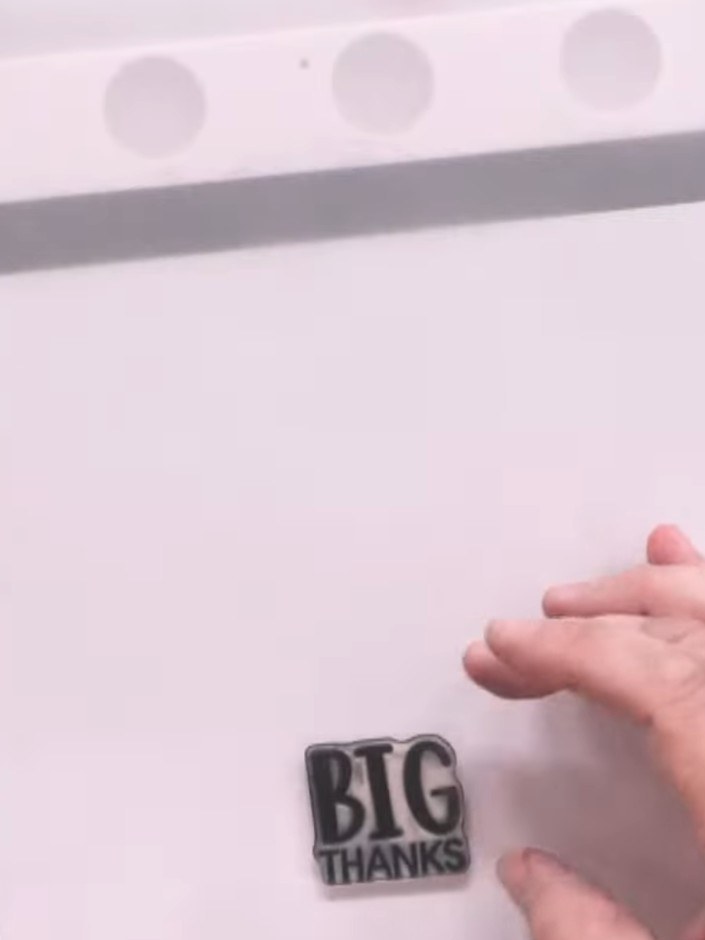
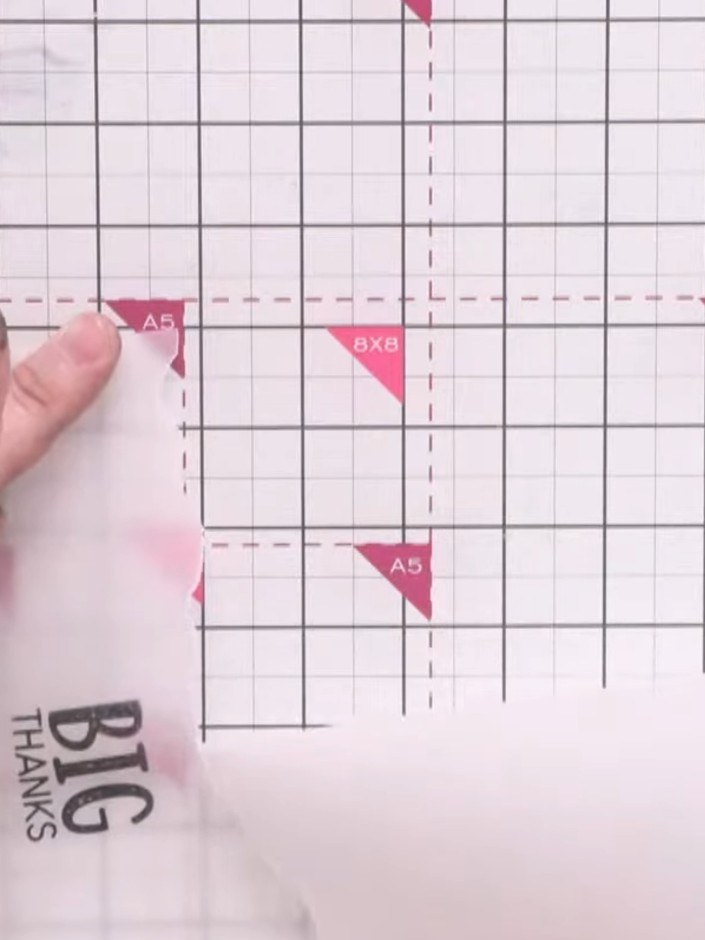
Cut a piece of plain vellum and stamp a sentiment such as 'Big Thanks' onto it using black Stazon ink. Position the stamp in the bottom corner of the vellum sheet.
 10
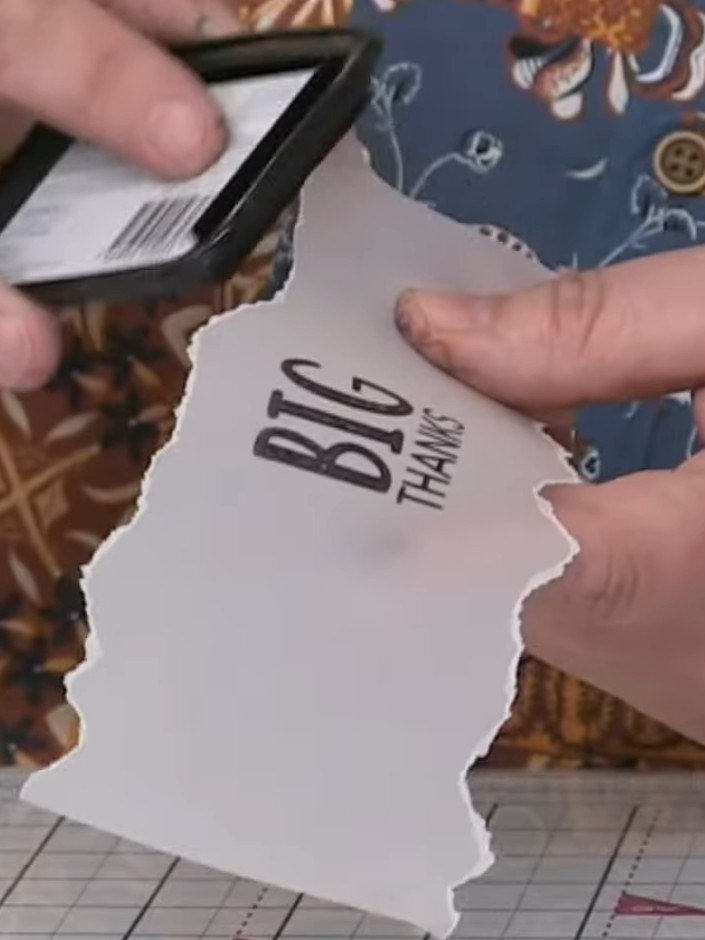
Tear the edges of the vellum piece by hand to create a quirky, jagged border all around.
 11
Brush the torn edges of the vellum panel with black Stazon ink to add definition and depth to the sentiment.
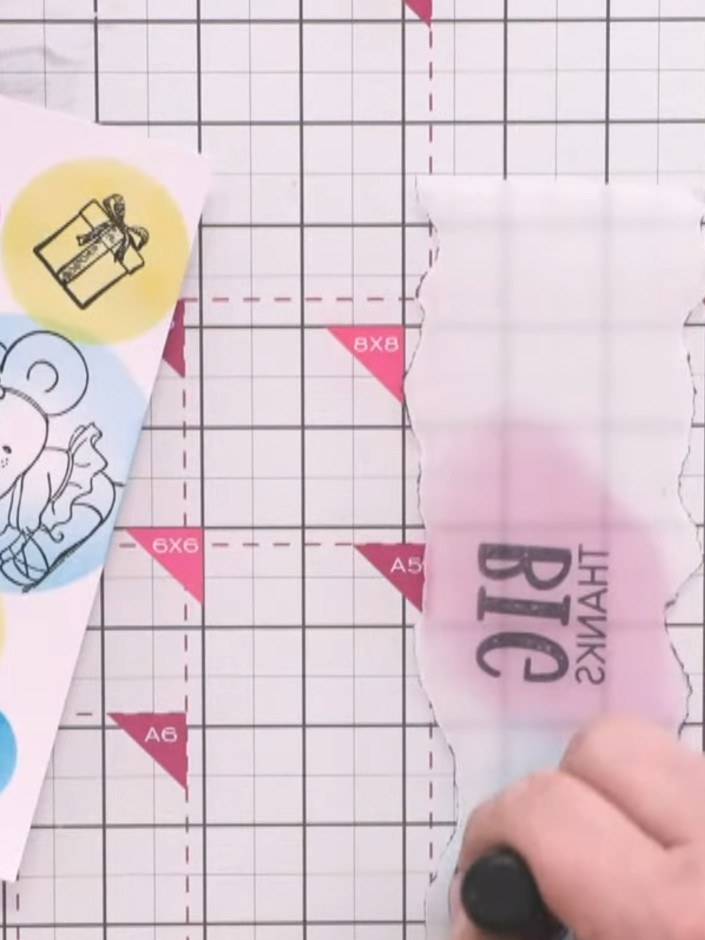 12
Turn the vellum piece over and colour the back with coordinating ink pads in purple, blue, and orange to add subtle colour that complements the stamped design.
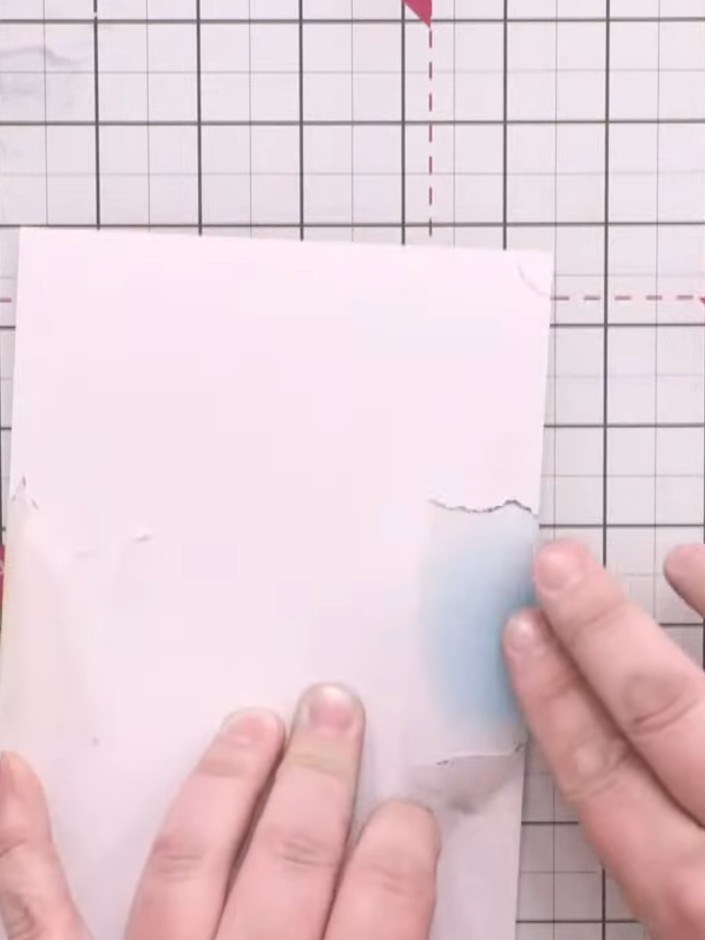 13
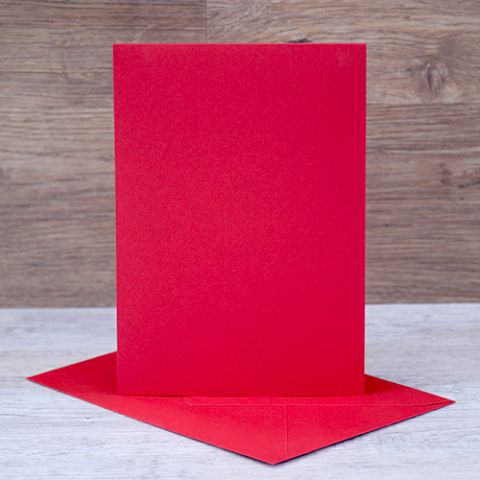
Mount the coloured circle background panel onto a black card mat layer using wet glue. Then attach this matted panel onto the front of a red top-folding card base.
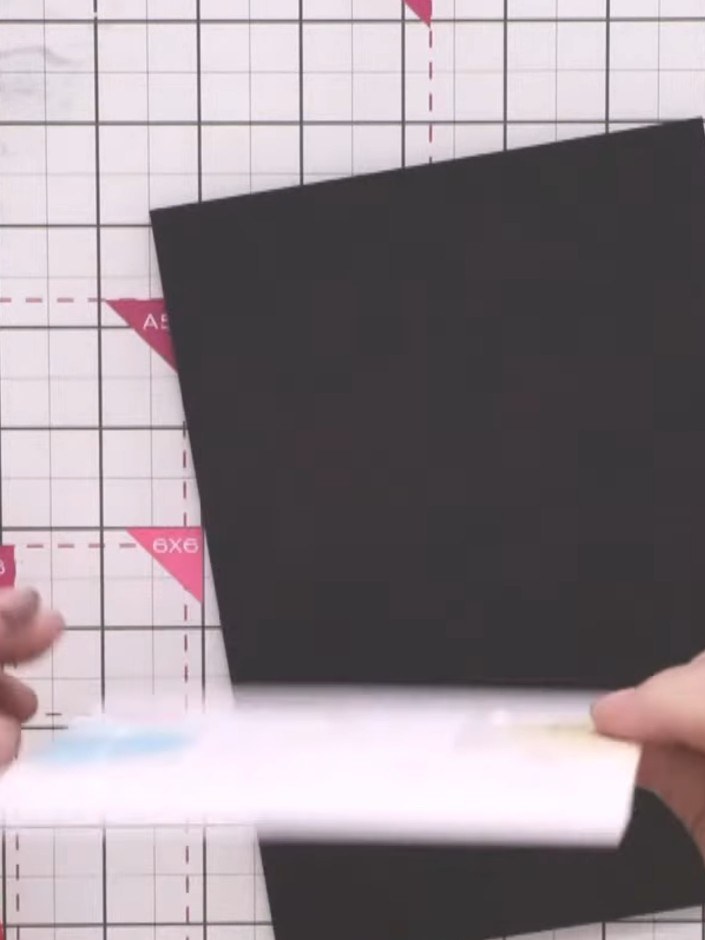 14
Adhere the vellum sentiment panel to the centre of the black card base using a tape runner.
Partagez votre création avec la communauté Stamps By Me - et gardez ce tutoriel pour la prochaine fois.
Rédigé à partir de l’émission elle-même. Tous les tutoriels de nos émissions · tutoriels gratuits · en direct sur My Telly · l’ancienne présentation