Offrez à vos amis 10 $ de remise sur leur première commande !
Parrainez un AMI








 The Friday Final Cutven. 6 nov. 5 h 00
 Community Showcaselun. 9 nov. 5 h 00
 Hobbymaker TVlun. 9 nov. 9 h 00
Les prix sont mis à jour immédiatement. Chaque langue est notre propre traduction, pas Google.
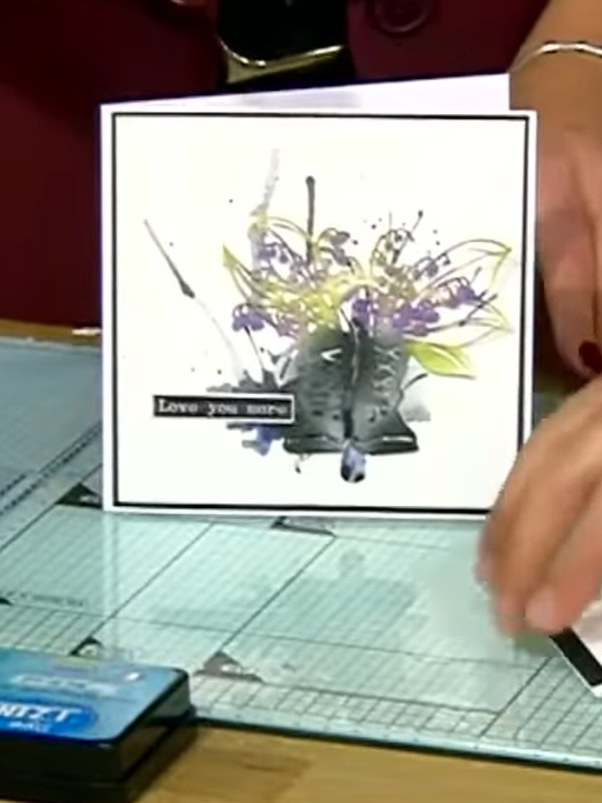
Une création de notre émission en direct CREATE AND CRAFT EXCLUSIVE - Retrouvez Toni EN DIRECT pour le lancement de sa nouvelle collection FLOWERS FOR YOU - diffusion du 31 mars 22 · 03/31/2022
Réalisez une superbe carte à l’aquarelle avec un délicat motif floral rehaussé de touches scintillantes. Grâce aux Gossip Glitter Sparkle Pens, vous allez superposer des couleurs éclatantes dans des tons violets, jaunes et verts qui scintillent magnifiquement en séchant. La technique consiste à activer les stylos avec de l’eau pour créer de doux effets d’aquarelle diluée, avec en prime une touche pailletée.
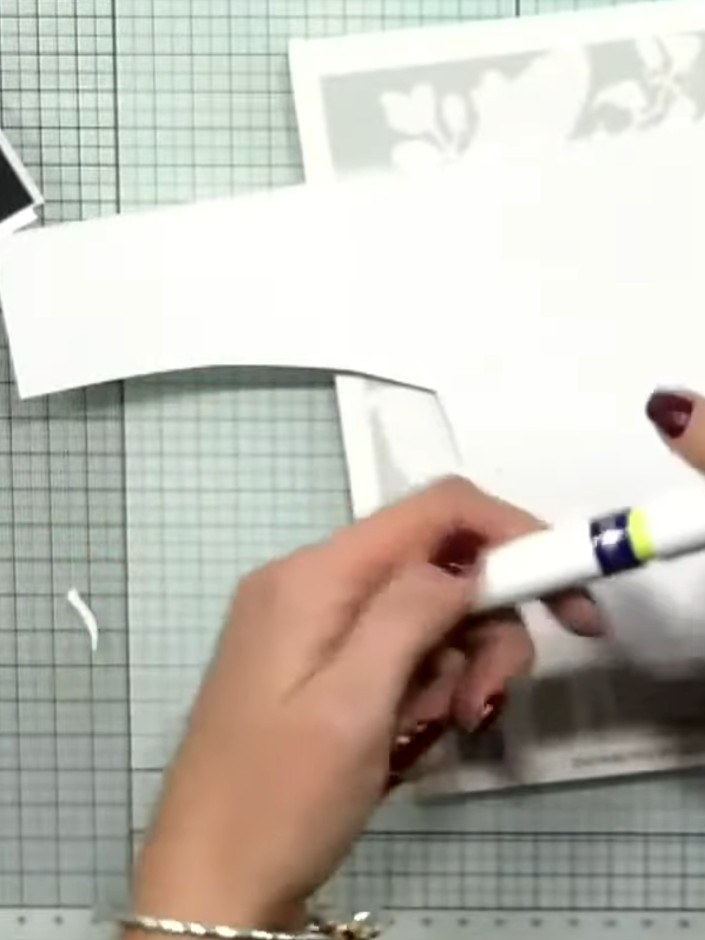 1
Tournez et tirez le capuchon du Gossip Glitter Sparkle Pen pour l'activer. The pen can be reactivated with water when needed.
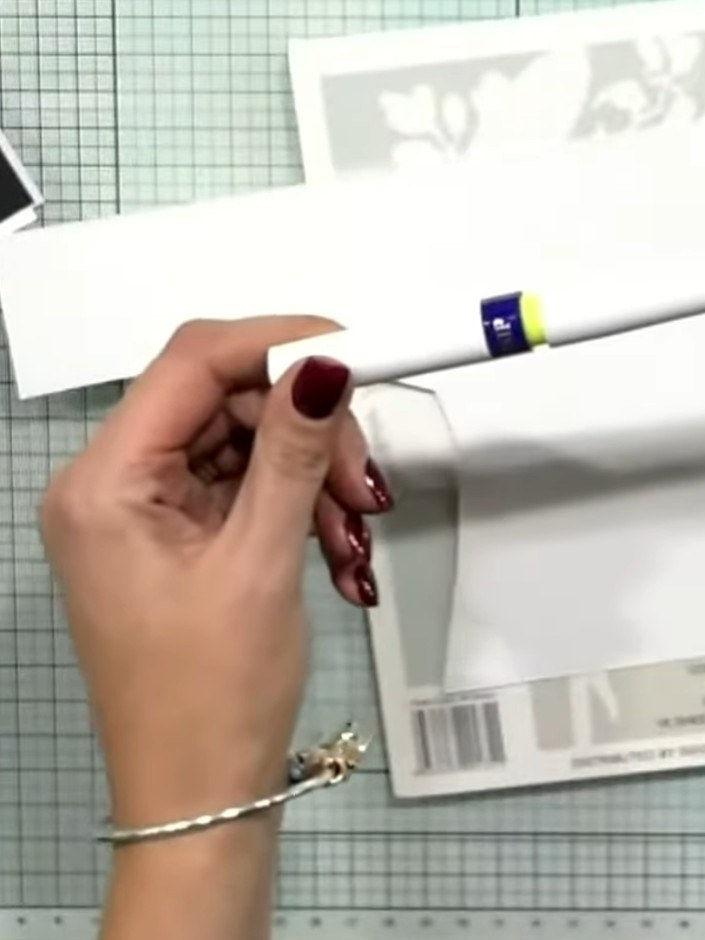 2
Remove the lime green ring from the pen barrel by gently sliding it off.
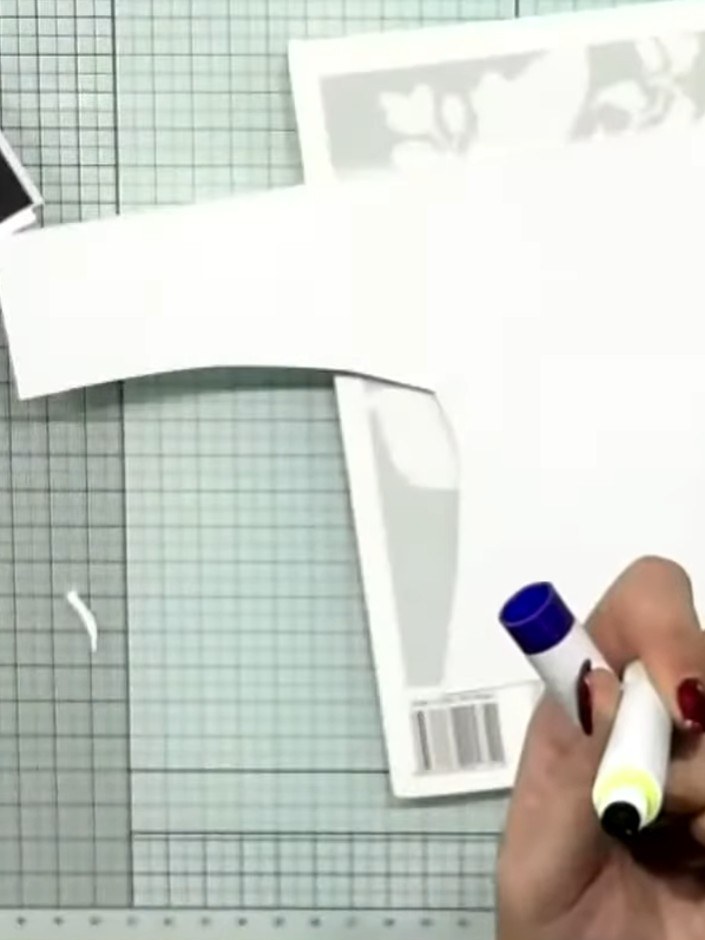 3
Push the colour cartridge through the pen barrel by pressing both ends together firmly until the cartridge clicks into place.
 4
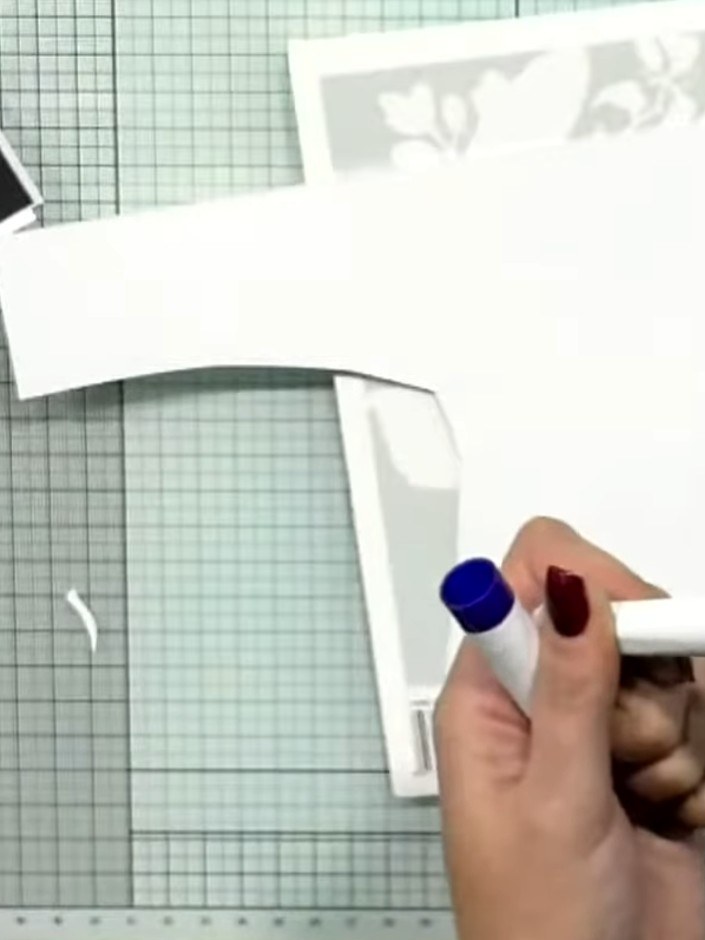
Shake the glitter sparkle pen well before use. Squeeze a small amount of colour onto a glass mat or palette by gently pressing the pen tip.
 5
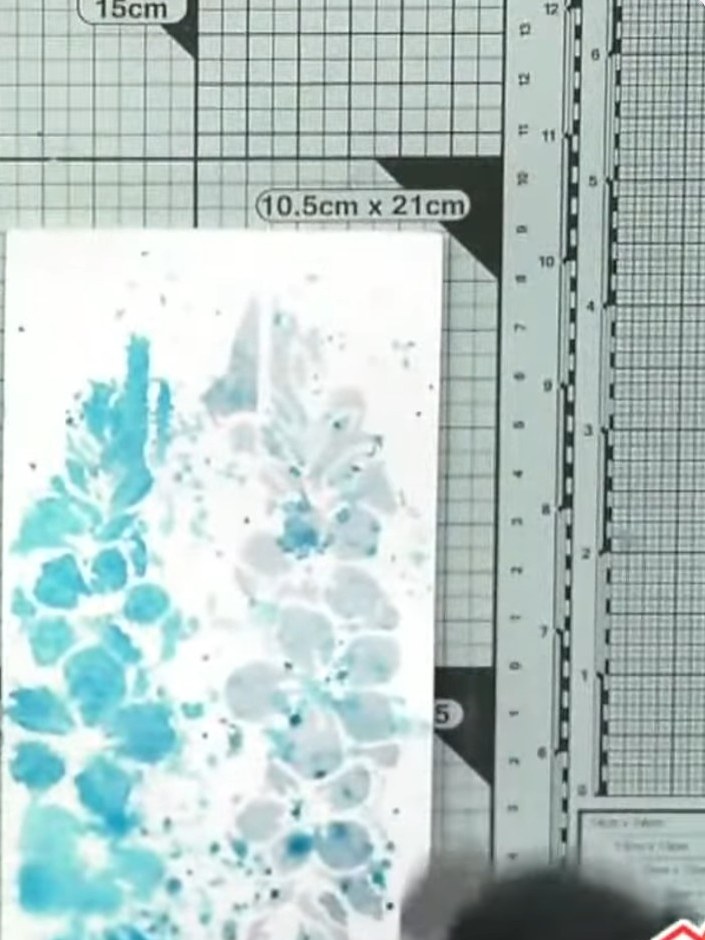
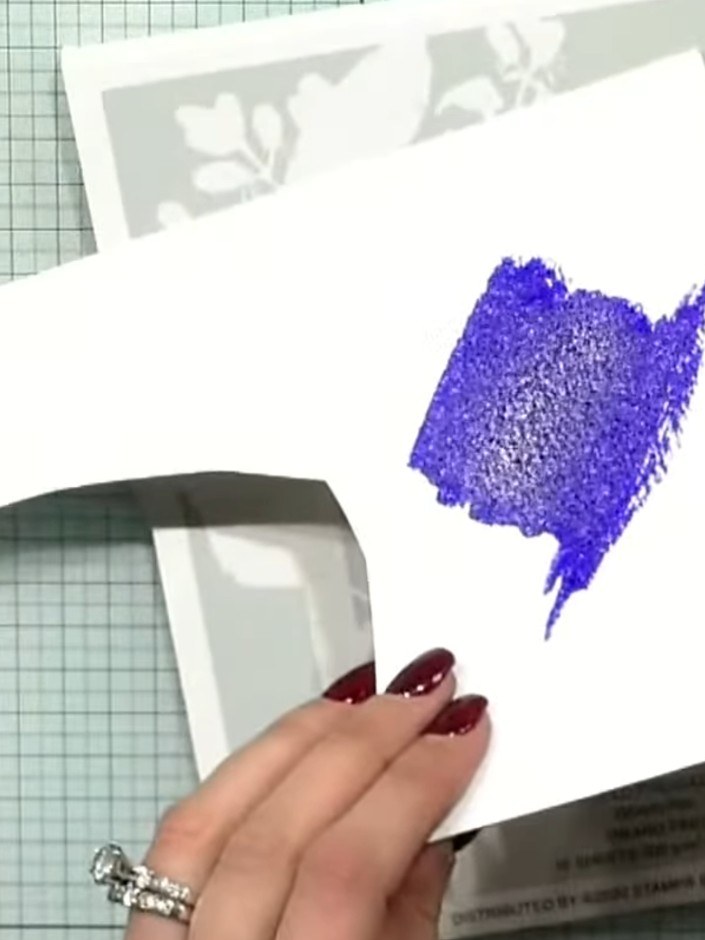
Add water to the purple glitter sparkle pen colour on your card. Use a brush to dilute and blend the colour, creating a watercolour effect.
 6
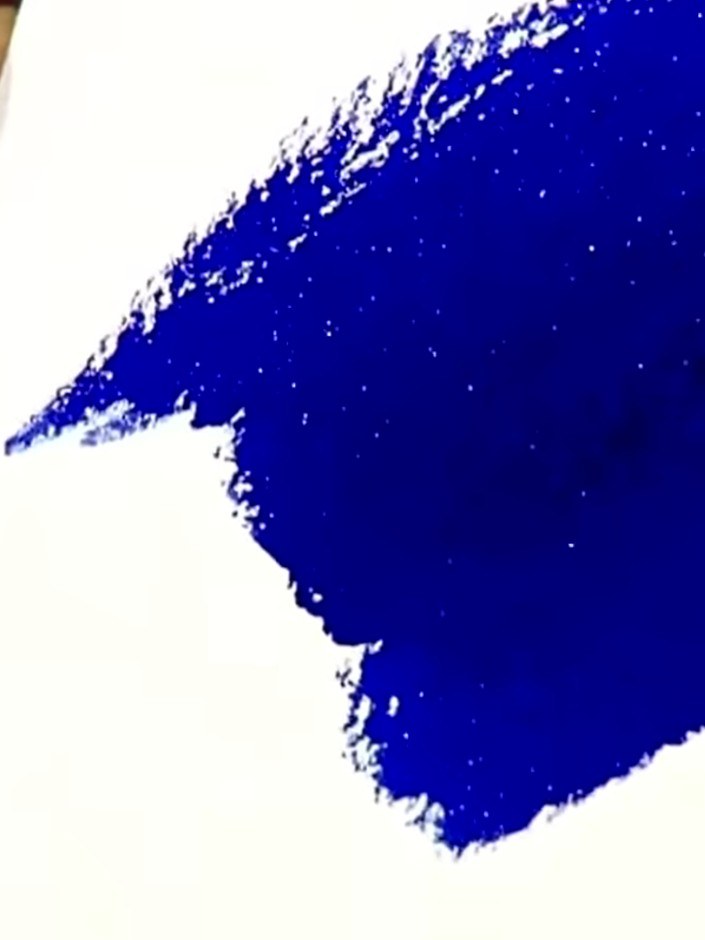
Appliquez la couleur scintillante diluée sur votre carte au pinceau. Build up the colour in layers, allowing it to dry between applications. The more it dries, the more sparkle will show through.
 7
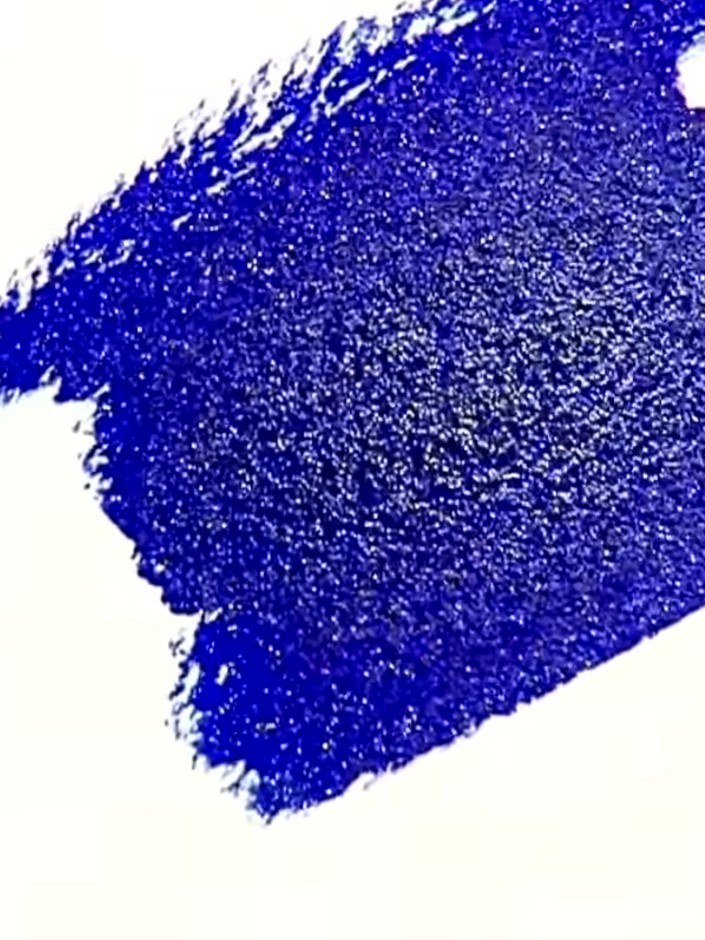
Use a heat gun to dry the blue glitter sparkle pen colour completely. The heat will reveal the full sparkle effect of the glitter.
Partagez votre création avec la communauté Stamps By Me - et gardez ce tutoriel pour la prochaine fois.
Rédigé à partir de l’émission elle-même. Tous les tutoriels de nos émissions · tutoriels gratuits · en direct sur My Telly · l’ancienne présentation