Offrez à vos amis 10 $ de remise sur leur première commande !
Parrainez un AMI








 The Friday Final Cutven. 6 nov. 5 h 00
 Community Showcaselun. 9 nov. 5 h 00
 Hobbymaker TVlun. 9 nov. 9 h 00
Les prix sont mis à jour immédiatement. Chaque langue est notre propre traduction, pas Google.
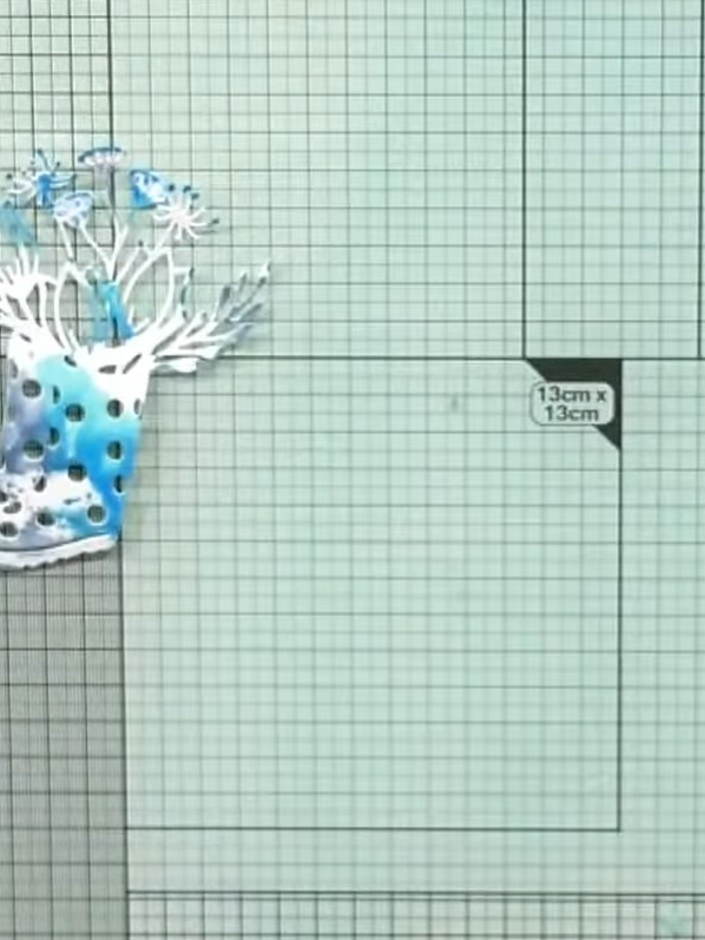
Une création de notre émission en direct CREATE AND CRAFT EXCLUSIVE - Retrouvez Toni EN DIRECT pour le lancement de sa nouvelle collection FLOWERS FOR YOU - diffusion du 31 mars 22 · 03/31/2022
Réalisez une carte à message qui ne passe pas inaperçue, avec des mots découpés superposés sur un fond rustique effet bois. Ce design élégant utilise le set de matrices de découpe Kind Friend, avec des expressions comme « just because », « KIND FRIEND » et « Good Vibes » dans des couleurs assorties vert menthe, violet et rose. La technique des lettres en creux crée un superbe relief grâce à une superposition soignée de papiers cartonnés coordonnés.
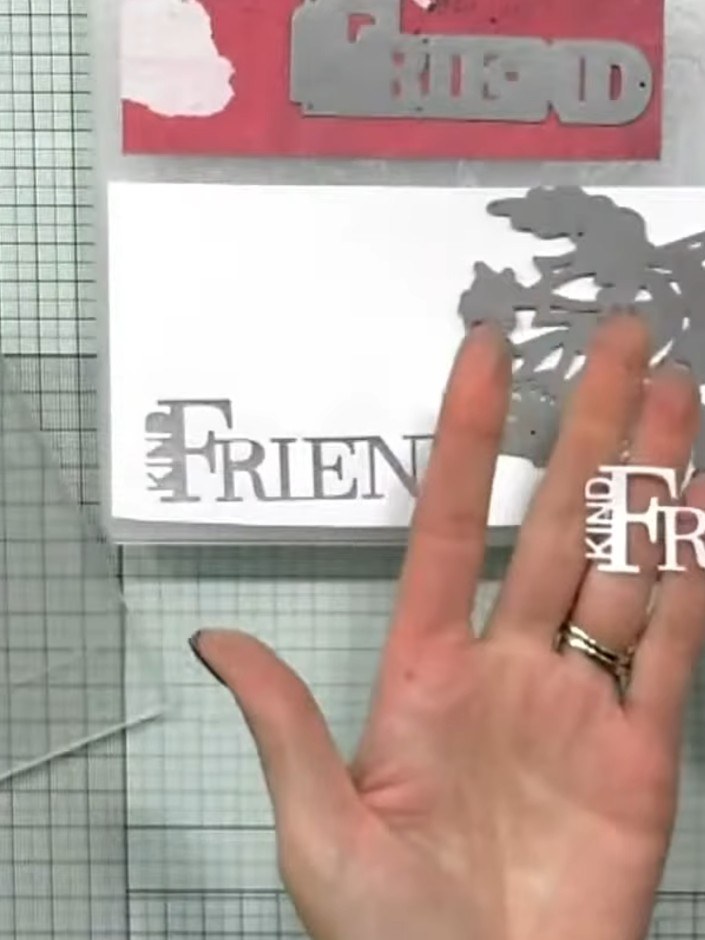 1
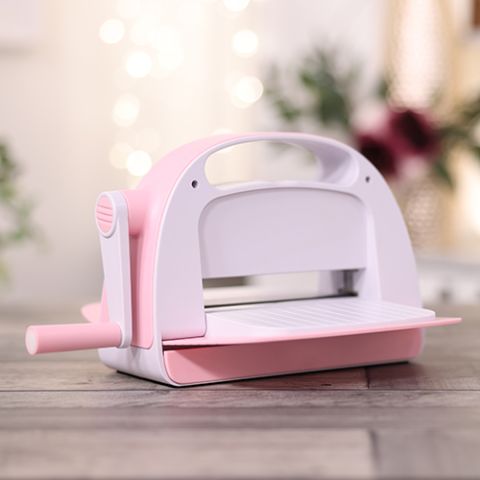
Découpez le texte Kind Friend dans du papier cartonné à motifs avec votre machine de découpe. The die creates both the decorative rabbit design and the sentiment text.
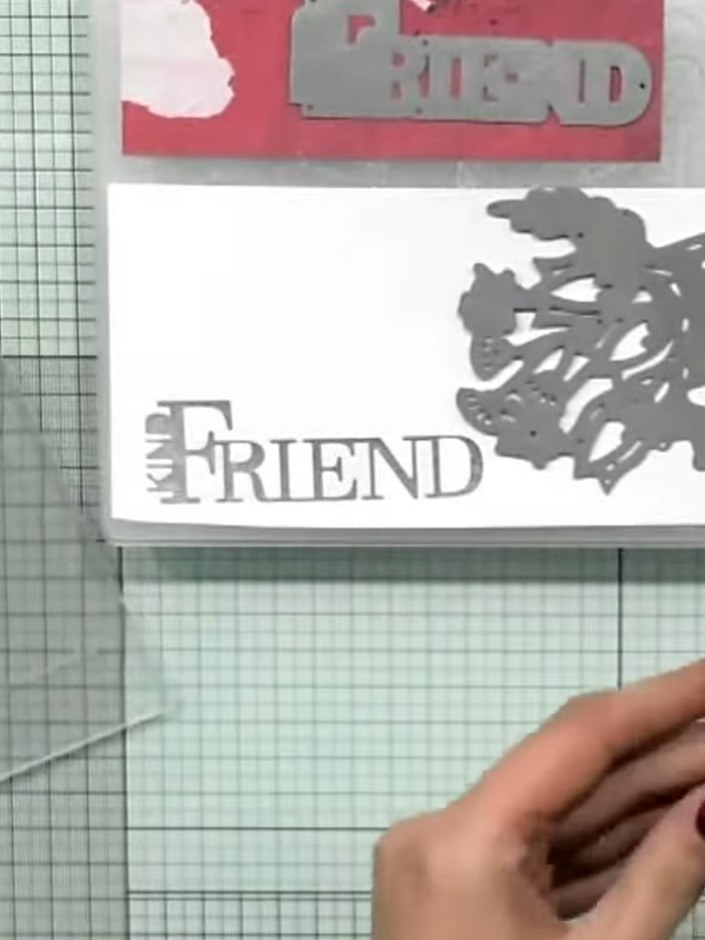 2
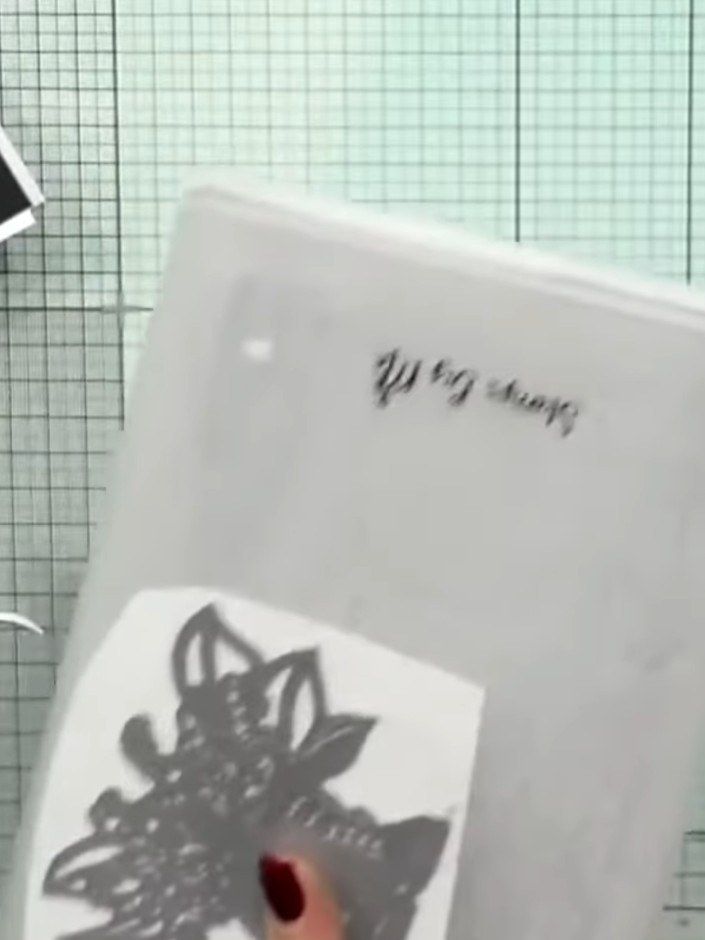
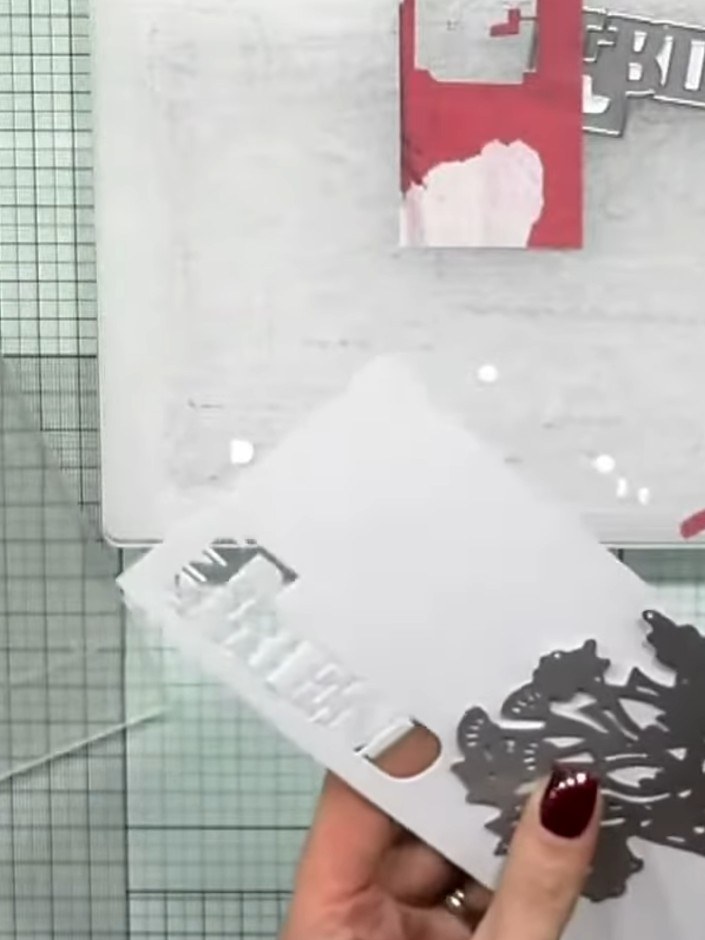
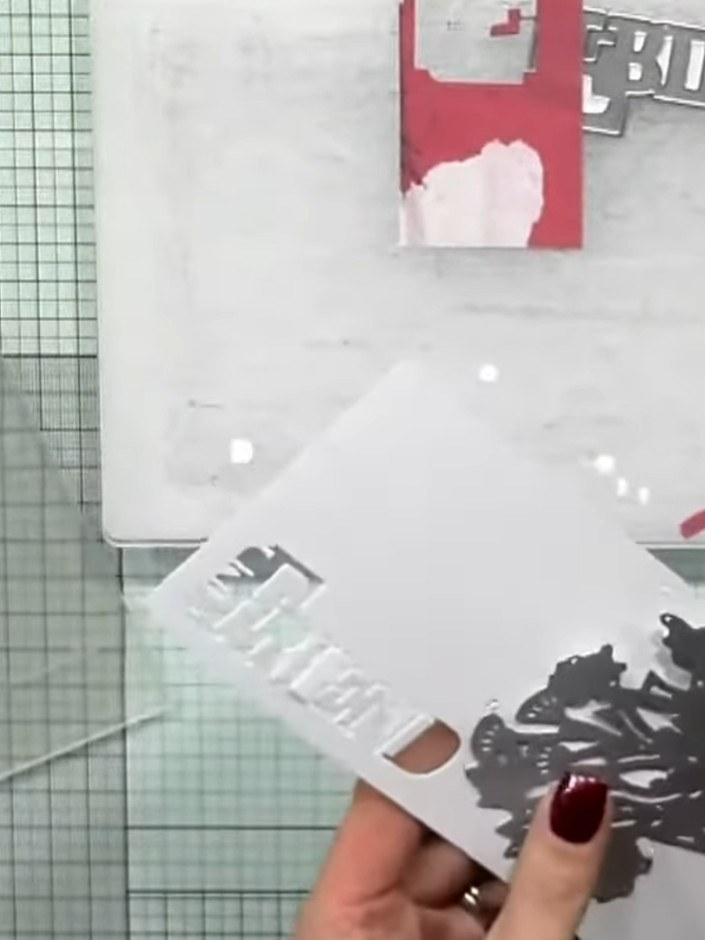
Carefully tap out all the die-cut pieces from the white card, including the 'FRIEND' sentiment and the decorative hedgehog design. Remove each piece gently to avoid tearing.
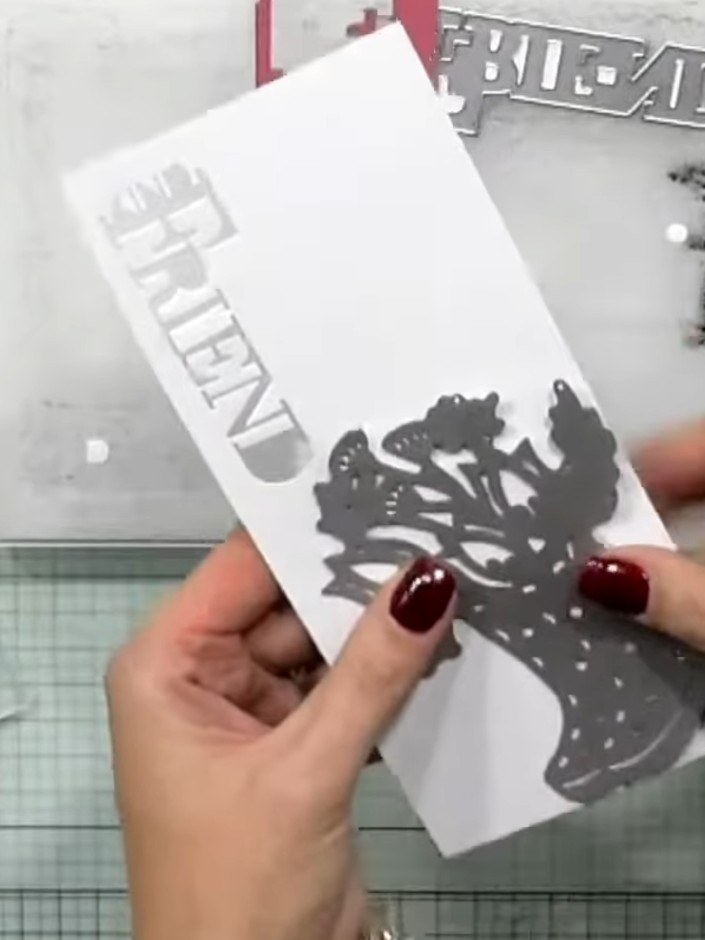 3
Cut layers of black card, white card, and patterned card stock to mat and layer your card front. Arrange them to create depth and visual interest.
 4
Adhere the patterned card layer to the black card base, ensuring it is centred and aligned properly.
 5
Position the white card layer on top of the pink patterned card base, aligning the edges carefully.
 6
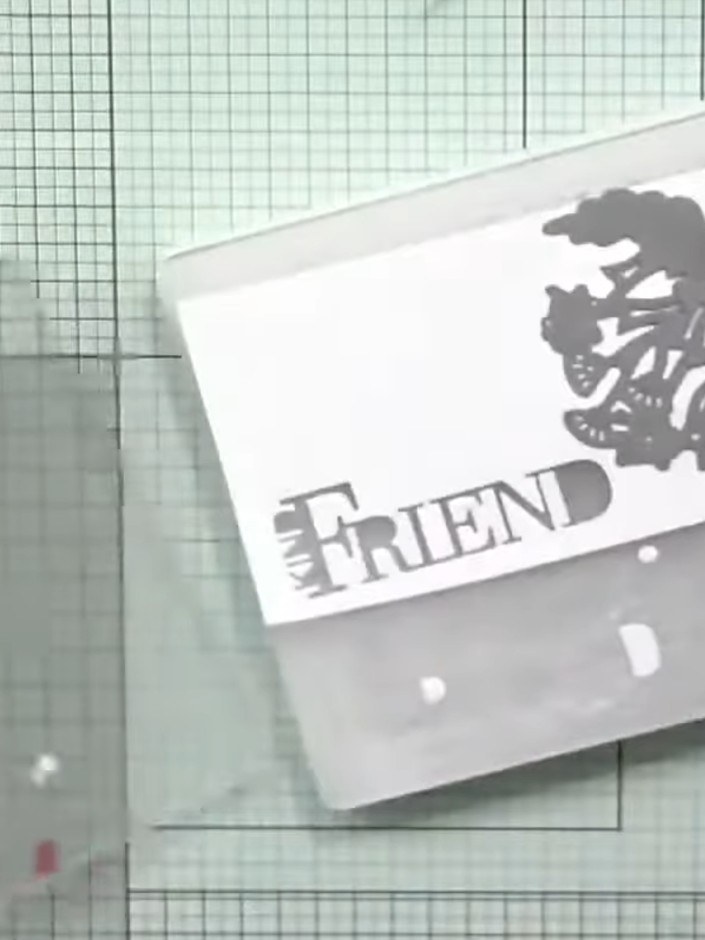
Glue the Kind Friend die-cut sentiment onto the white layer, ensuring it sits flat and is properly positioned.
 7
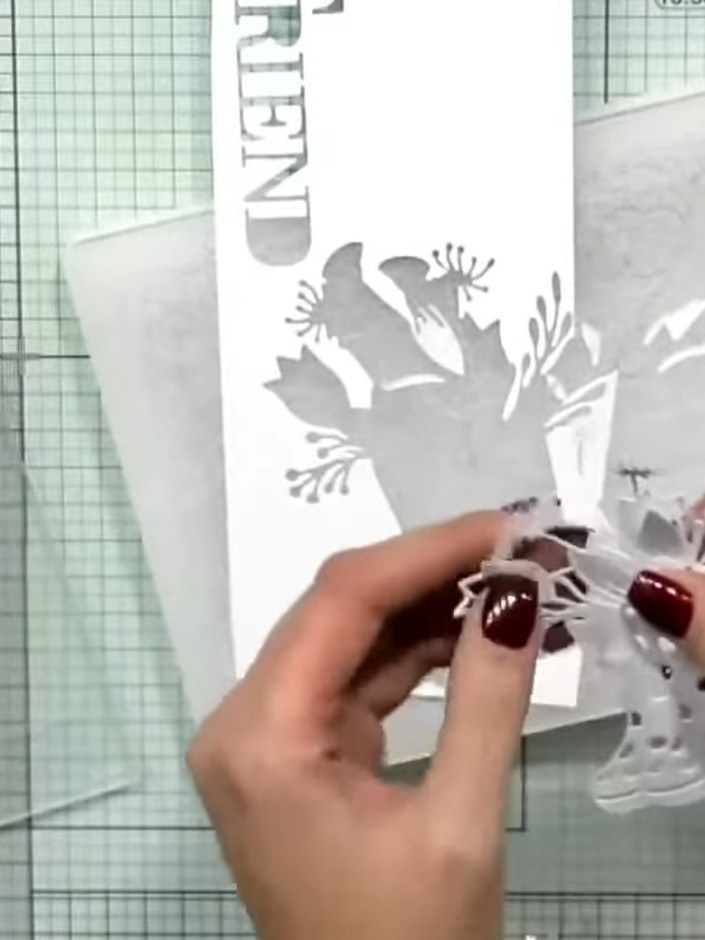
Dip the die-cut piece into an ink pad to add shading and definition to the recessed areas of the design.
 8
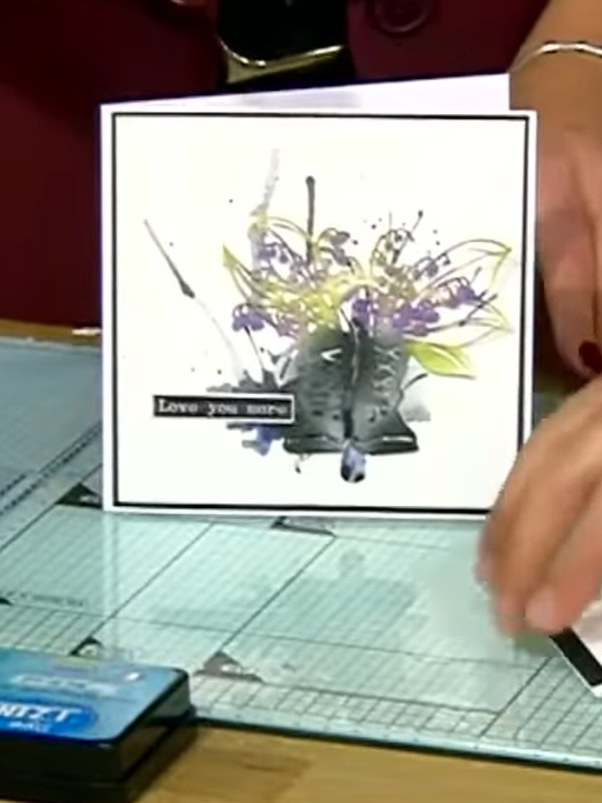
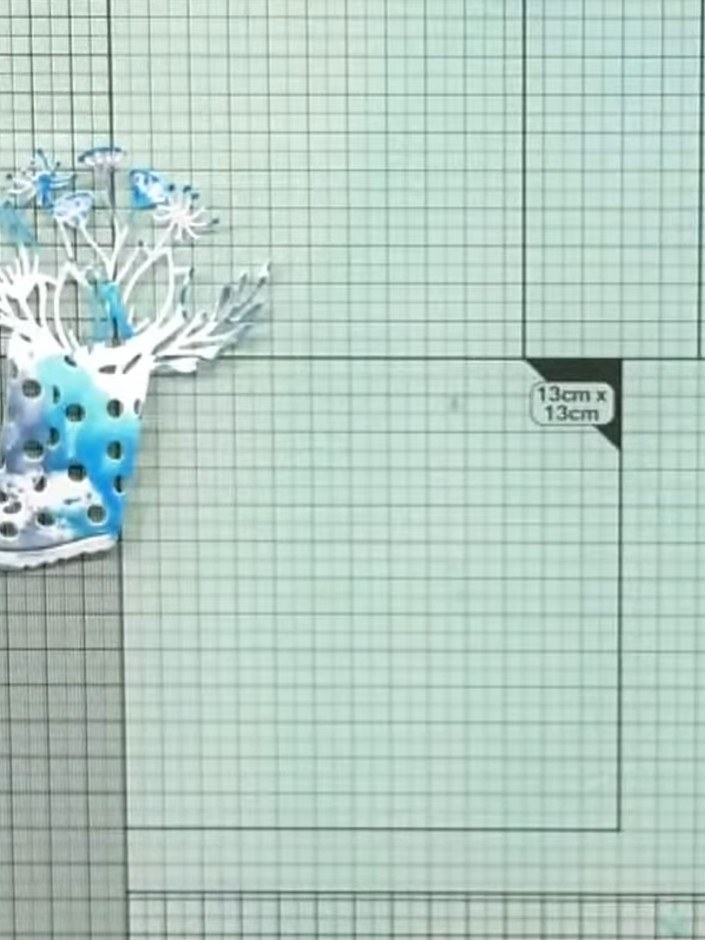
Mount the completed layered boot design with flowers onto your card base to finish your Kind Friends sentiment card.
Partagez votre création avec la communauté Stamps By Me - et gardez ce tutoriel pour la prochaine fois.
Rédigé à partir de l’émission elle-même. Tous les tutoriels de nos émissions · tutoriels gratuits · en direct sur My Telly · l’ancienne présentation