Offrez à vos amis 10 $ de remise sur leur première commande !
Parrainez un AMI








 The Friday Final Cutven. 6 nov. 5 h 00
 Community Showcaselun. 9 nov. 5 h 00
 Hobbymaker TVlun. 9 nov. 9 h 00
Les prix sont mis à jour immédiatement. Chaque langue est notre propre traduction, pas Google.
Une création de notre émission en direct CREATE AND CRAFT EXCLUSIVE - Retrouvez Toni EN DIRECT pour le lancement de sa nouvelle collection FLOWERS FOR YOU - diffusion du 31 mars 22 · 03/31/2022
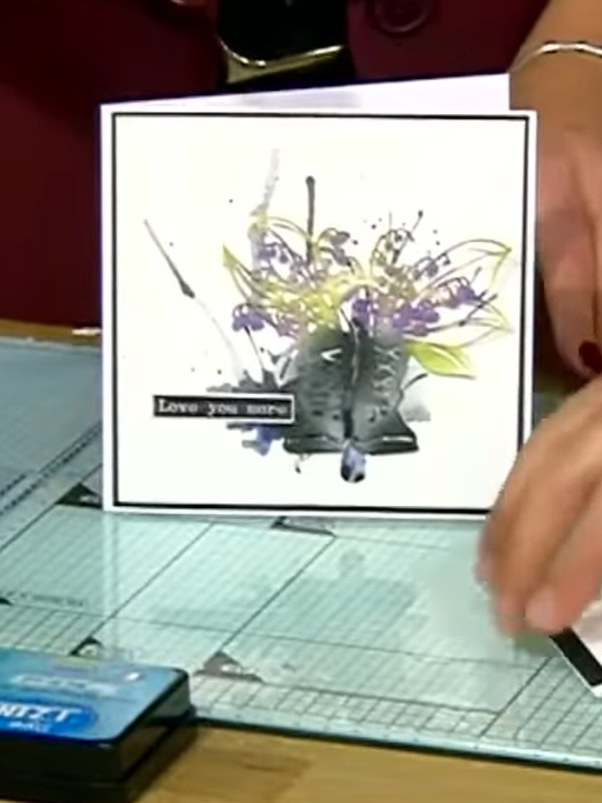
Réalisez une adorable carte printanière avec des bottes de pluie garnies d’un magnifique bouquet de fleurs. Ce projet associe une application sélective d’encre et des touches d’aquarelle pour donner relief et profondeur aux bottes découpées, avec un charmant effet peint à la main. Le résultat marie des violets doux, des verts et des gris, avec de délicates fleurs et un texte plein de tendresse.
 1
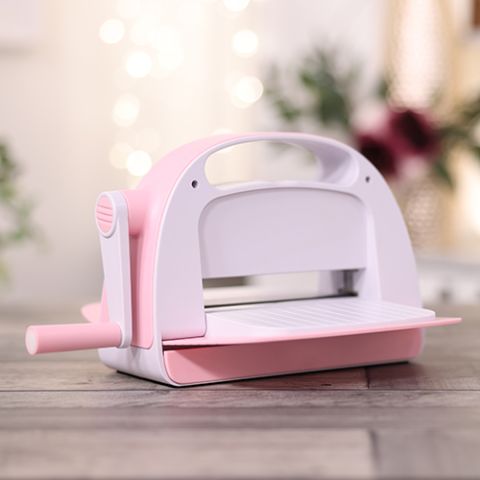
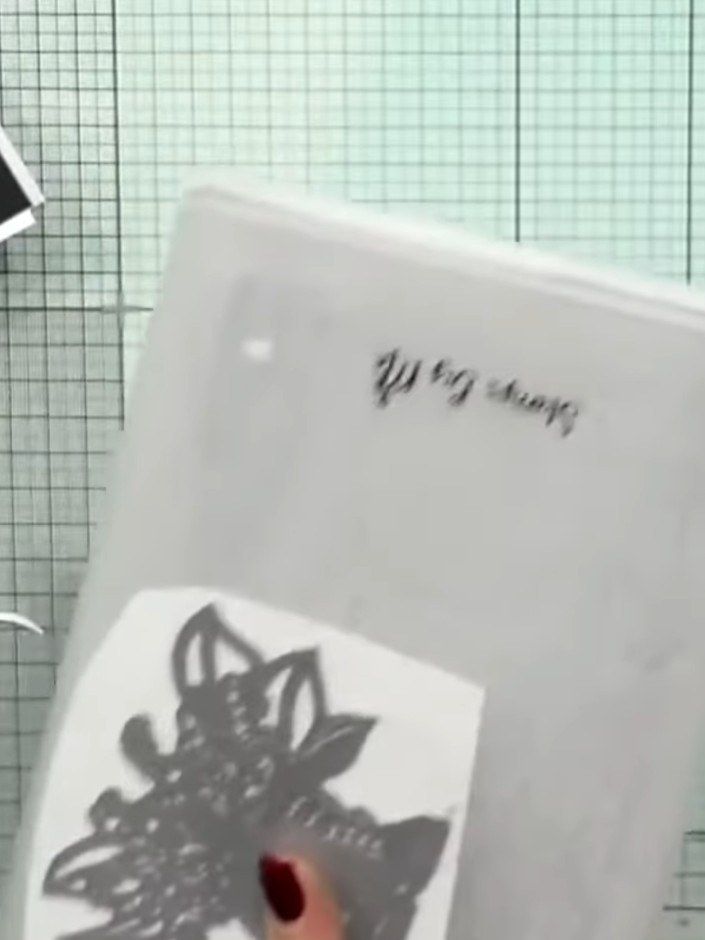
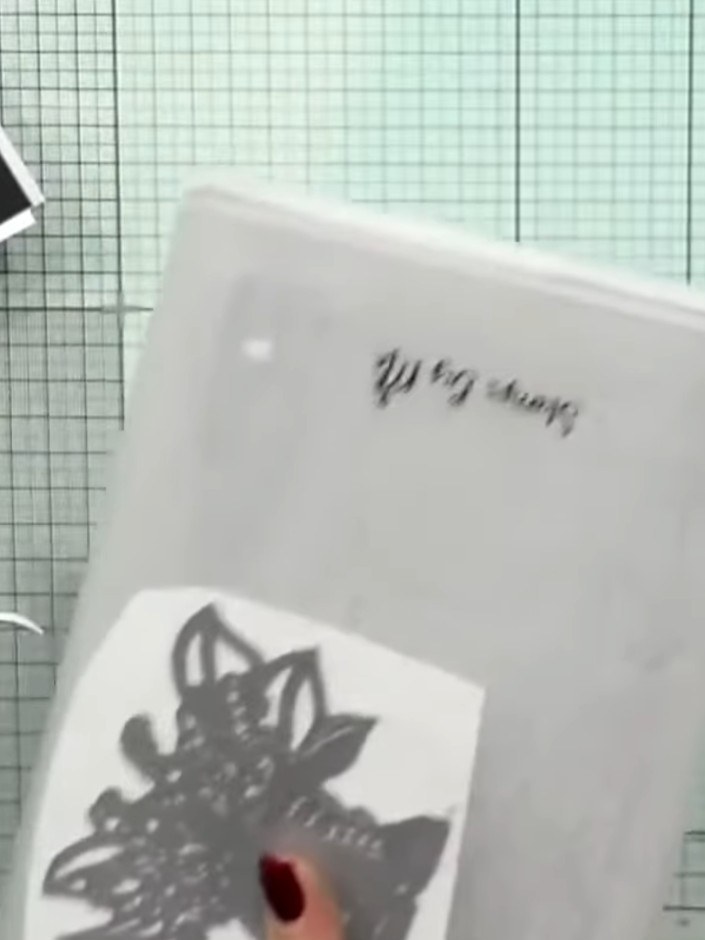
Place the die-cut floral wellington boot design face down on watercolour card. Run it through the die-cutting machine several times to ensure a clean cut and good embossing detail.
 2
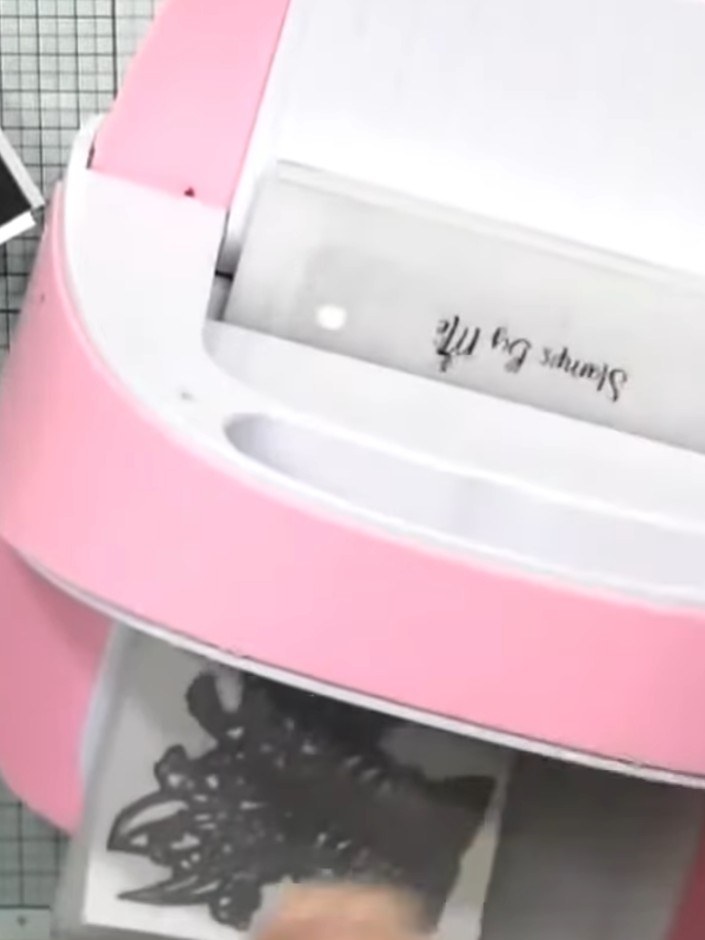
Die-cut the Spring Boots design from the watercolour card using your die-cutting machine. Remove the die-cut pieces from the card.
 3
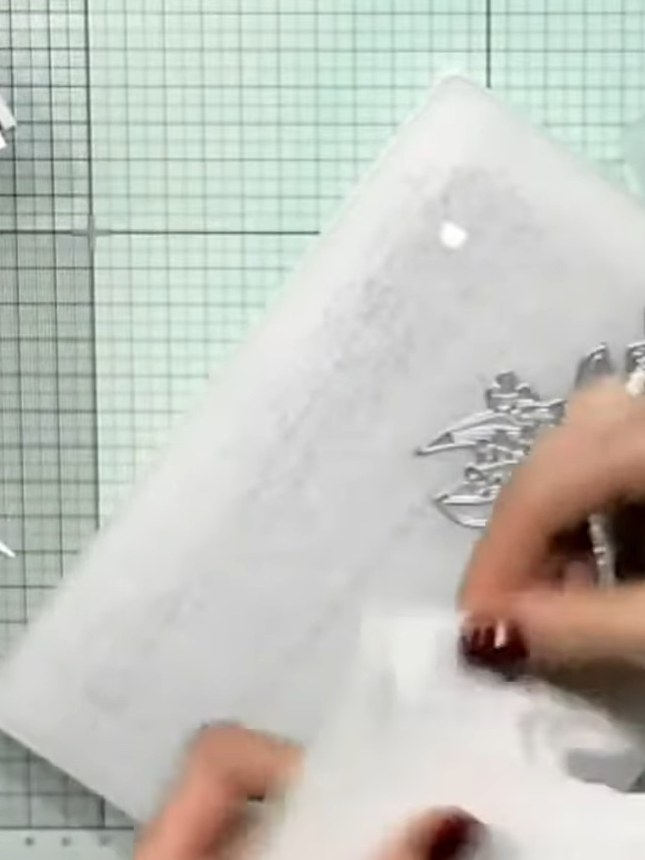
Carefully tap out all the die-cut pieces from the card. Set the pieces aside ready for assembly.
 4
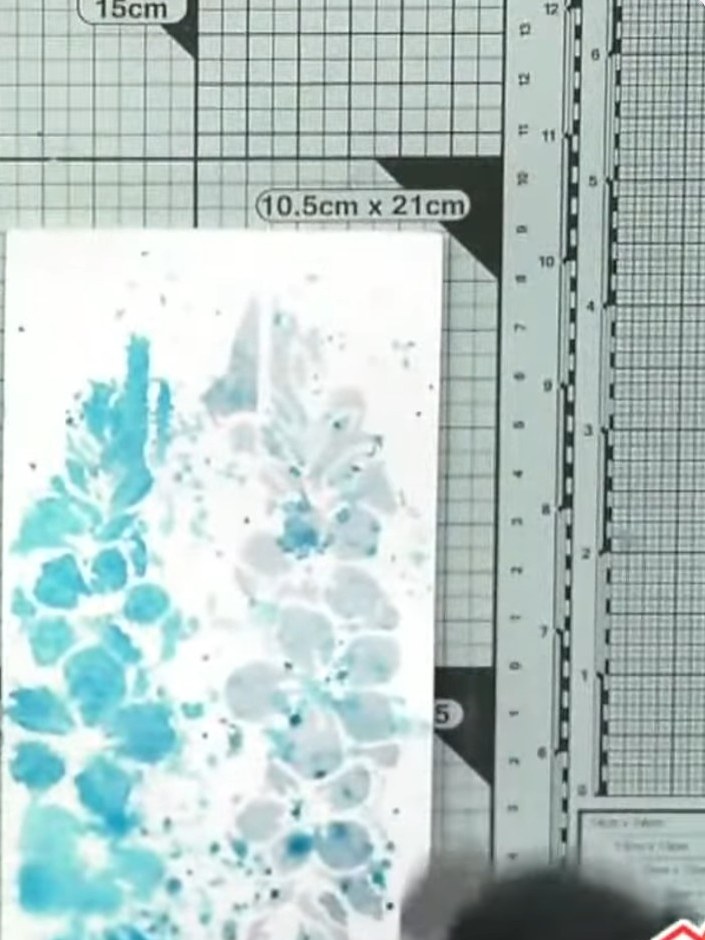
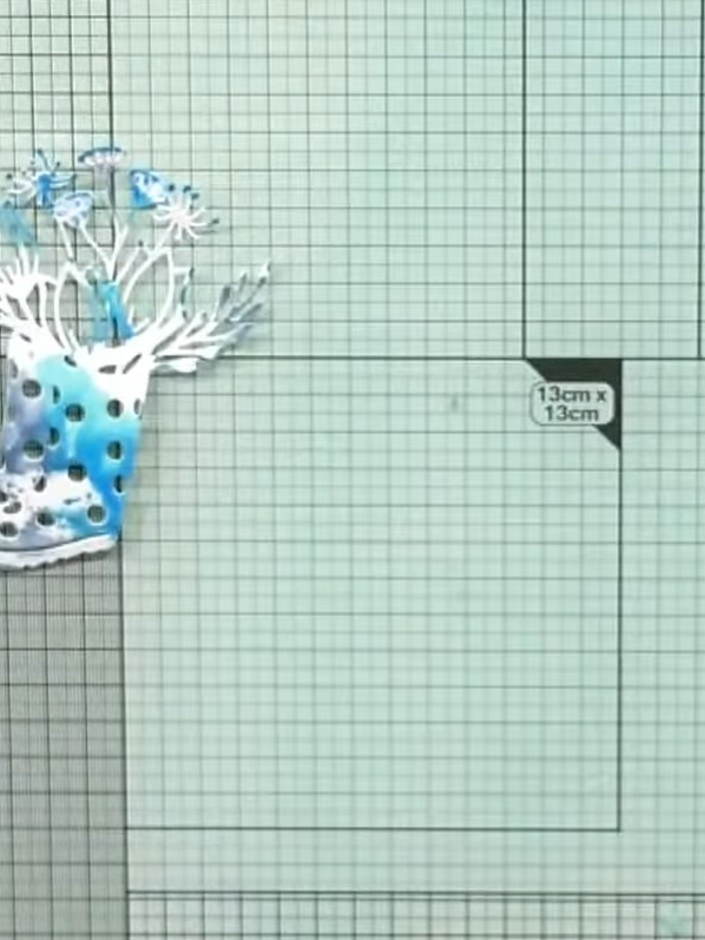
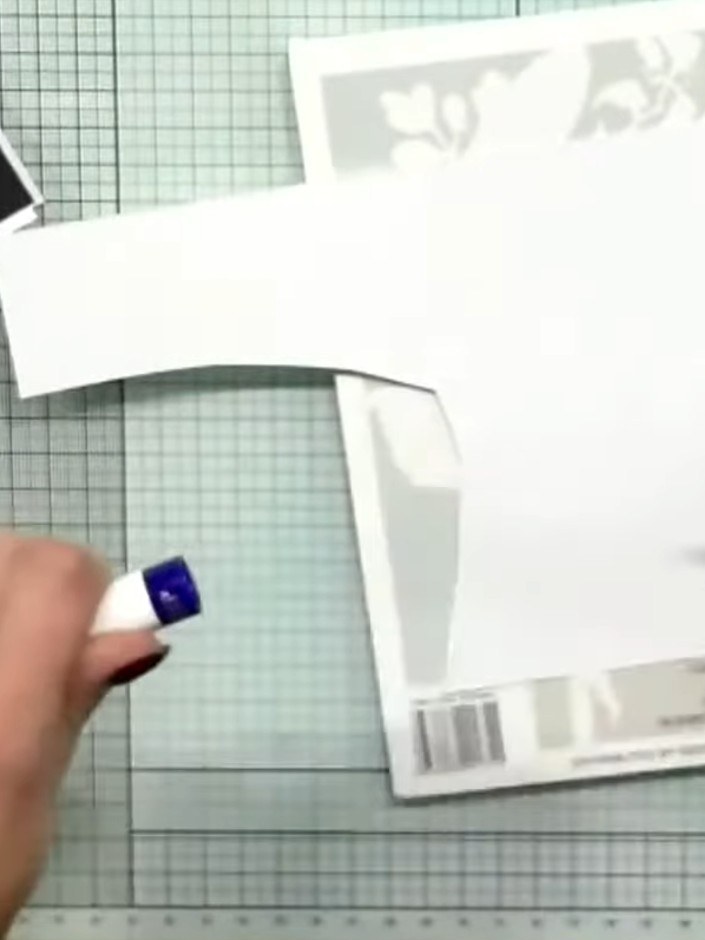
Dip the die-cut wellington boots into a blue ink pad to create selective colour coverage on the boots, applying the ink minimally for a subtle effect.
 5
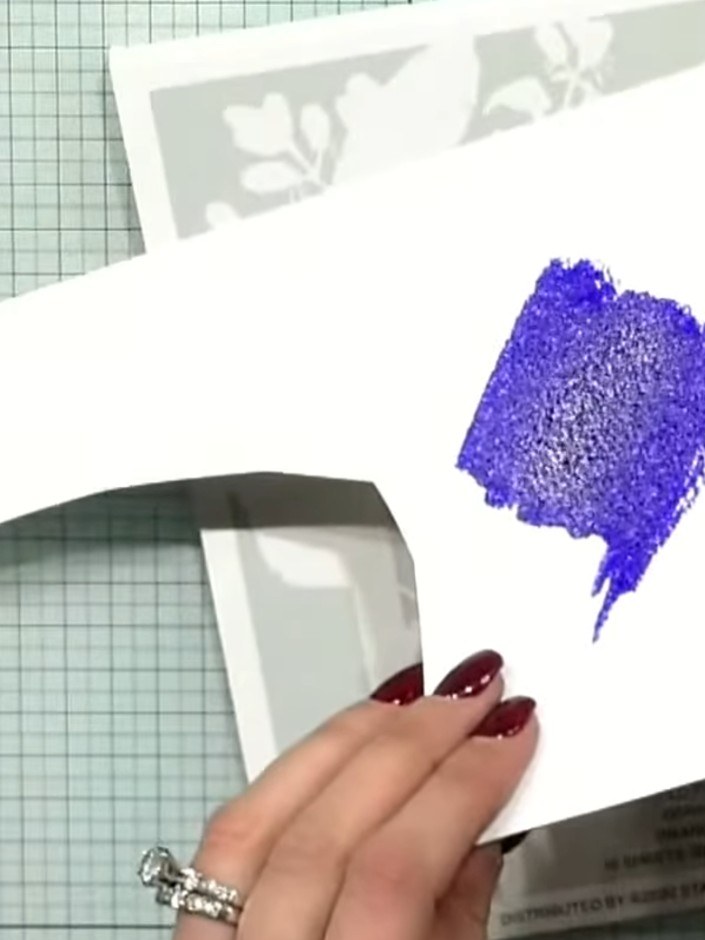
Allow the purple ink to dry slightly, leaving white areas visible on the boots for dimension and depth.
 6
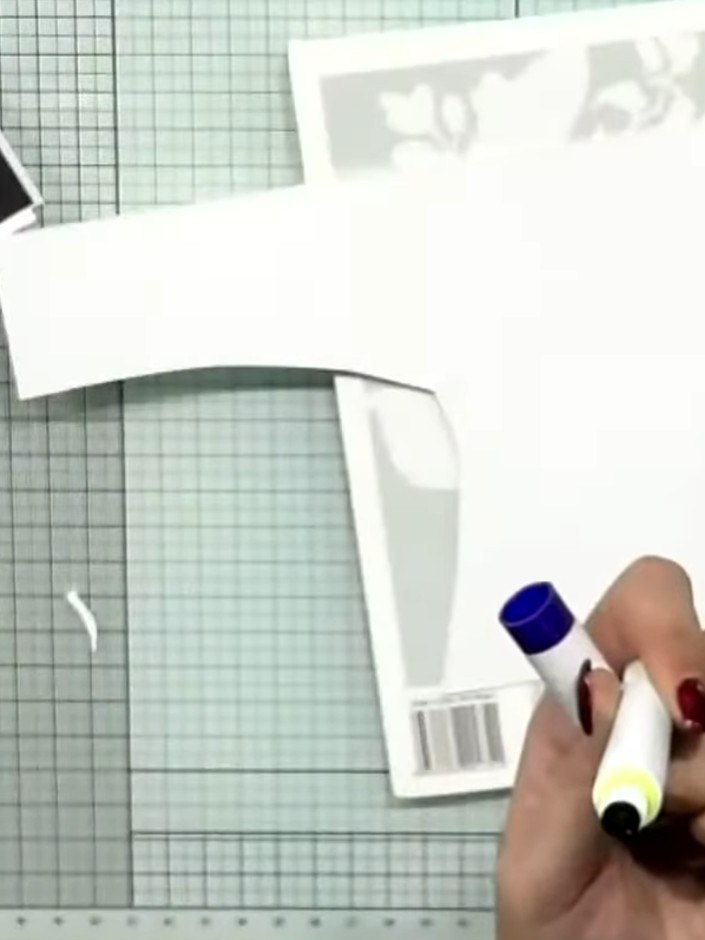
Using a brush, add a touch of blue watercolour to the top of the wellington boots.
 7
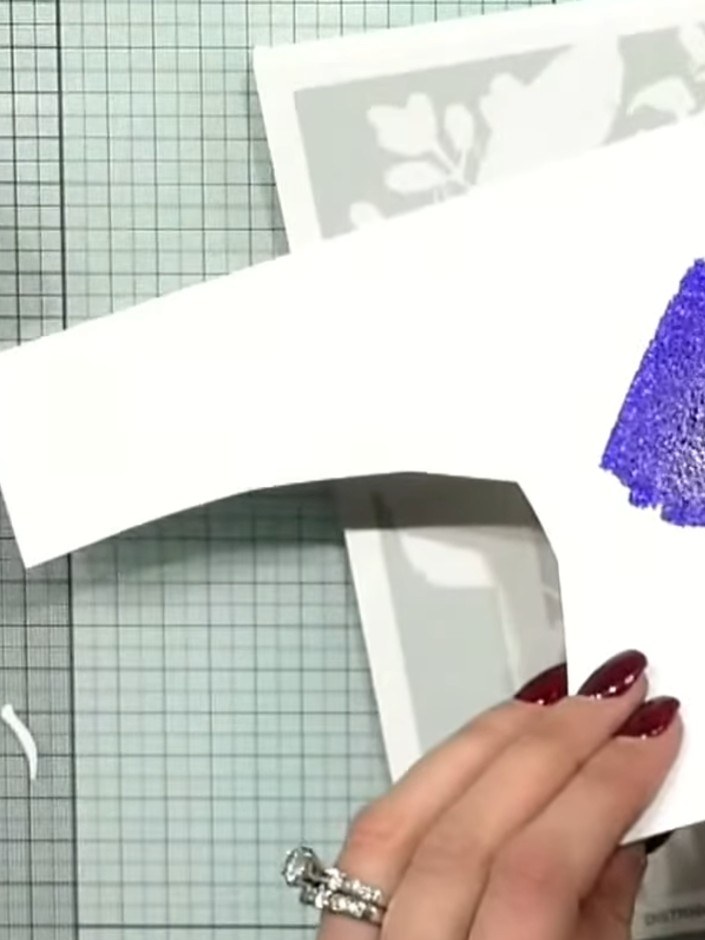
Apply purple sparkle pen colour to a corner of the card, creating a decorative patch of colour for added interest.
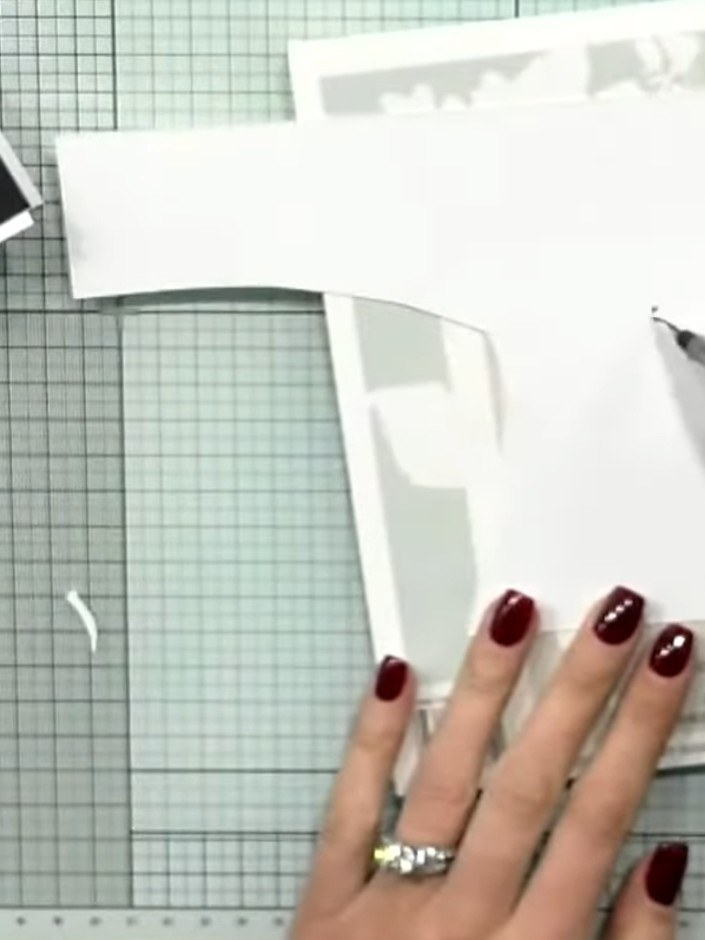 8
Layer the die-cut wellington boots onto black card to create a mat. Use the scoring tool to burnish the layers together firmly.
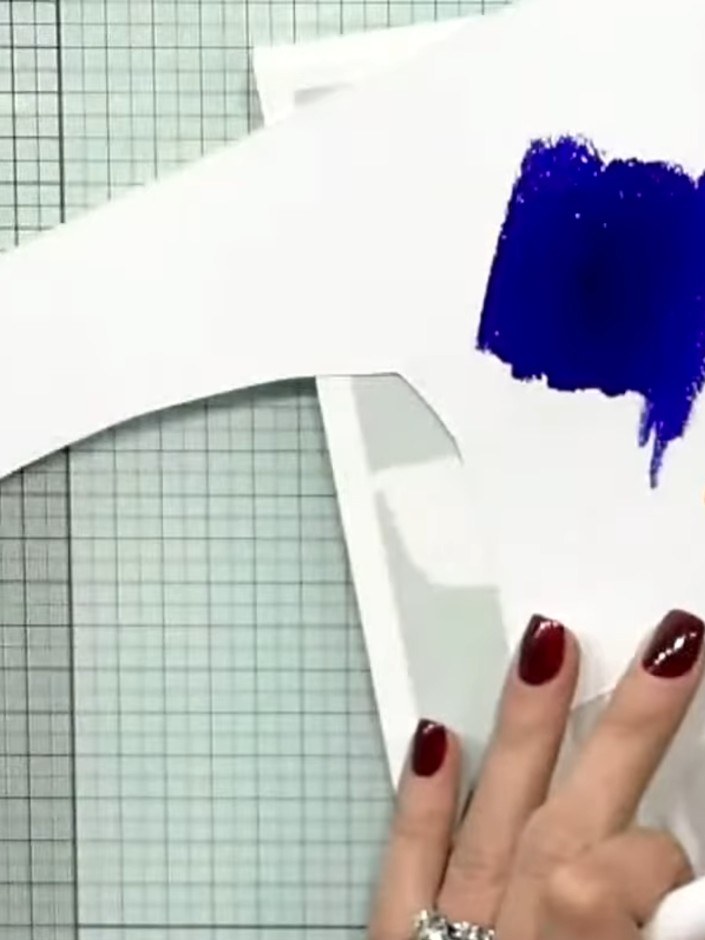 9
Add a white card layer on top of your coloured background for additional dimension.
Adhere the 'Kind Friend' sentiment die-cut to the card front using a coordinating colour from the Gossip Sparkle pen collection.
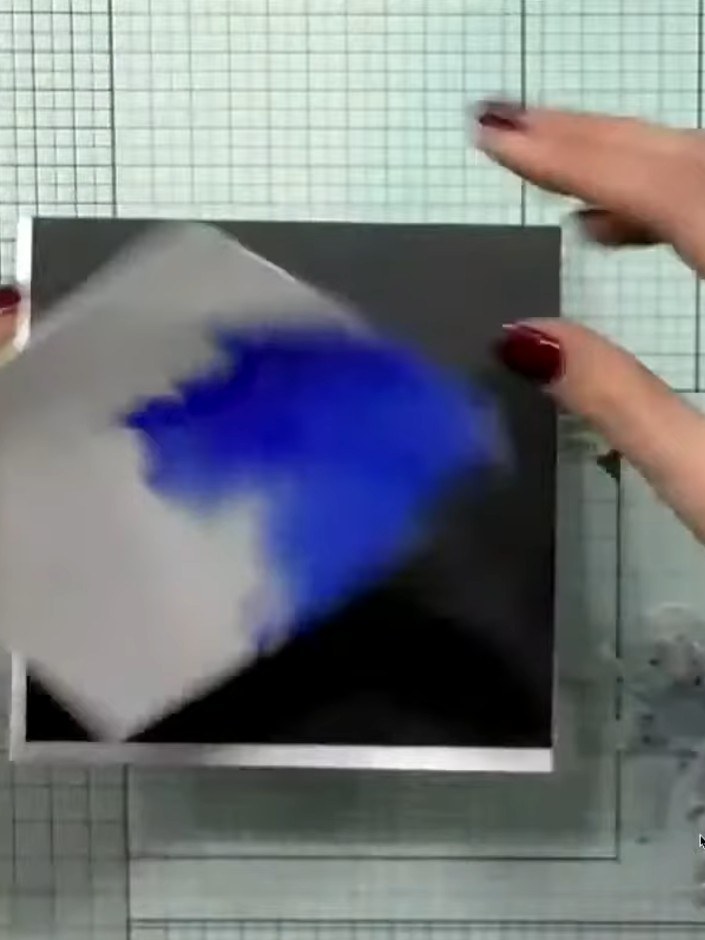 11
Mount the completed wellington boots design onto your card base using adhesive, ensuring it is centred and secure.
Partagez votre création avec la communauté Stamps By Me - et gardez ce tutoriel pour la prochaine fois.
Rédigé à partir de l’émission elle-même. Tous les tutoriels de nos émissions · tutoriels gratuits · en direct sur My Telly · l’ancienne présentation