Schenke deinen Freundinnen und Freunden 10 $ Rabatt auf ihre erste Bestellung!
Freunde WERBEN








 The Friday Final CutFr., 6. Nov. 5:00 Uhr
 Community ShowcaseMo., 9. Nov. 5:00 Uhr
 Hobbymaker TVMo., 9. Nov. 9:00 Uhr
Preise ändern sich sofort. Jede Sprache ist unsere eigene Übersetzung, nicht Google.
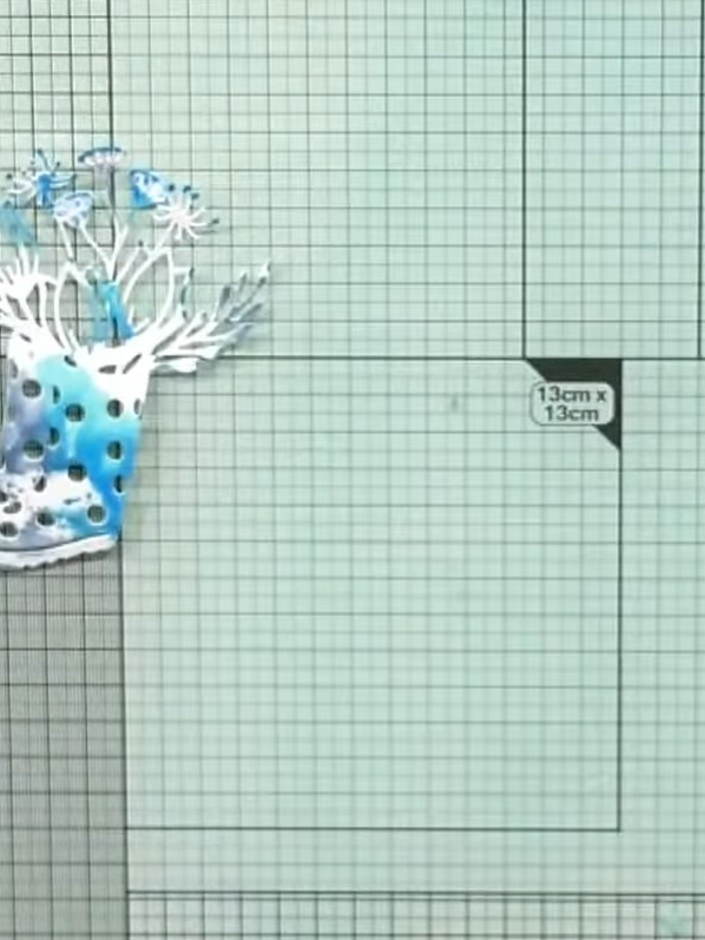
Ein Projekt aus unserer Live-Show CREATE AND CRAFT EXCLUSIVE - Sei LIVE dabei bei Tonis neuestem Launch FLOWERS FOR YOU - Sendung vom 31. März 22 · 03.31.2022
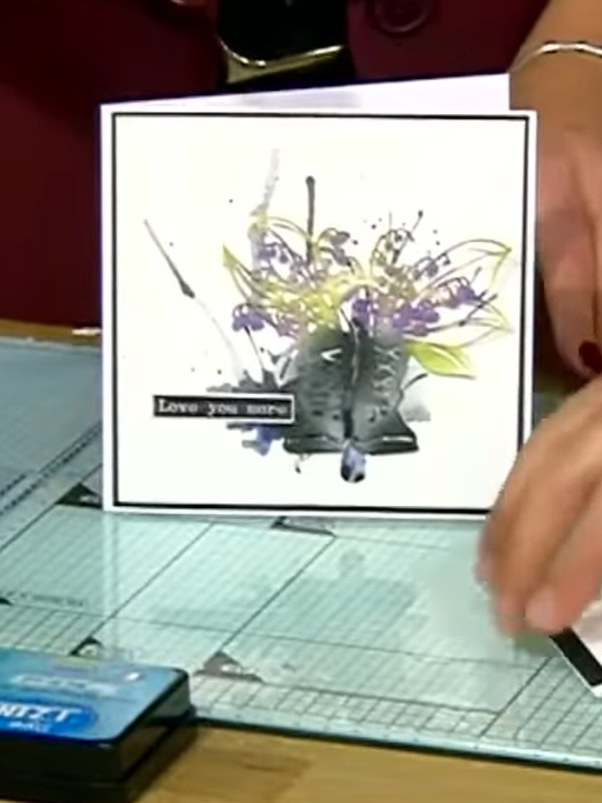
Create a striking sentiment card featuring layered die-cut words on a rustic wood-effect background. This elegant design uses the Kind Friend die set with phrases like 'just because', 'KIND FRIEND', and 'Good Vibes' in complementary colours of mint green, purple, and pink. The recessed lettering technique creates beautiful dimension through careful layering and matting of coordinating cardstock.
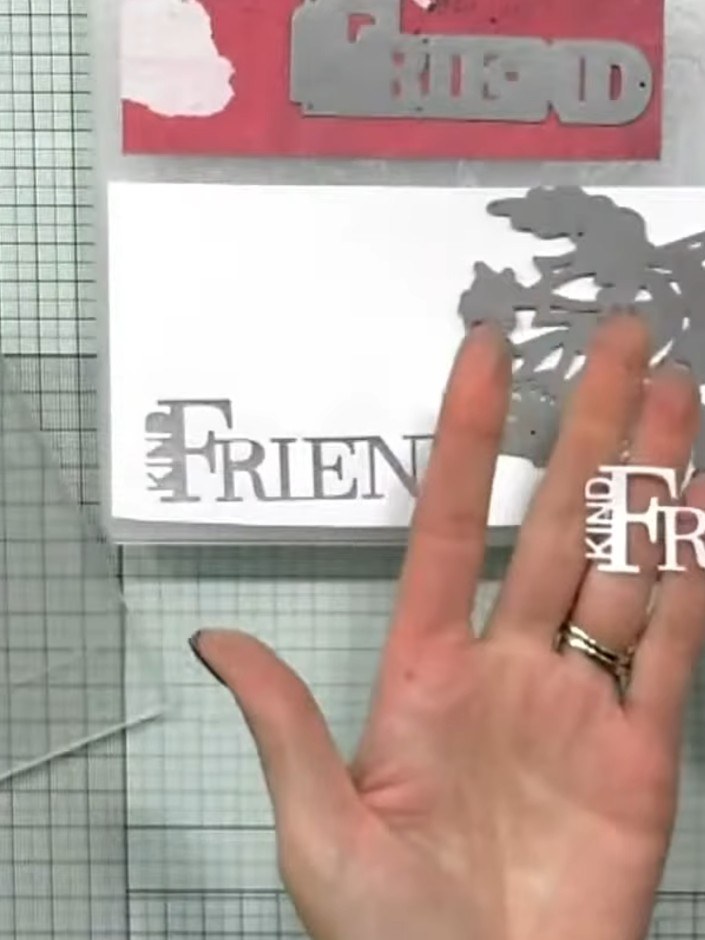 1
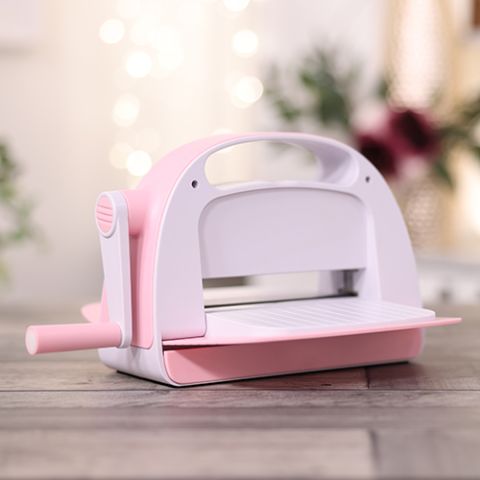
Stanze den Kind Friend Spruch mit deiner Stanzmaschine aus gemustertem Cardstock aus. The die creates both the decorative rabbit design and the sentiment text.
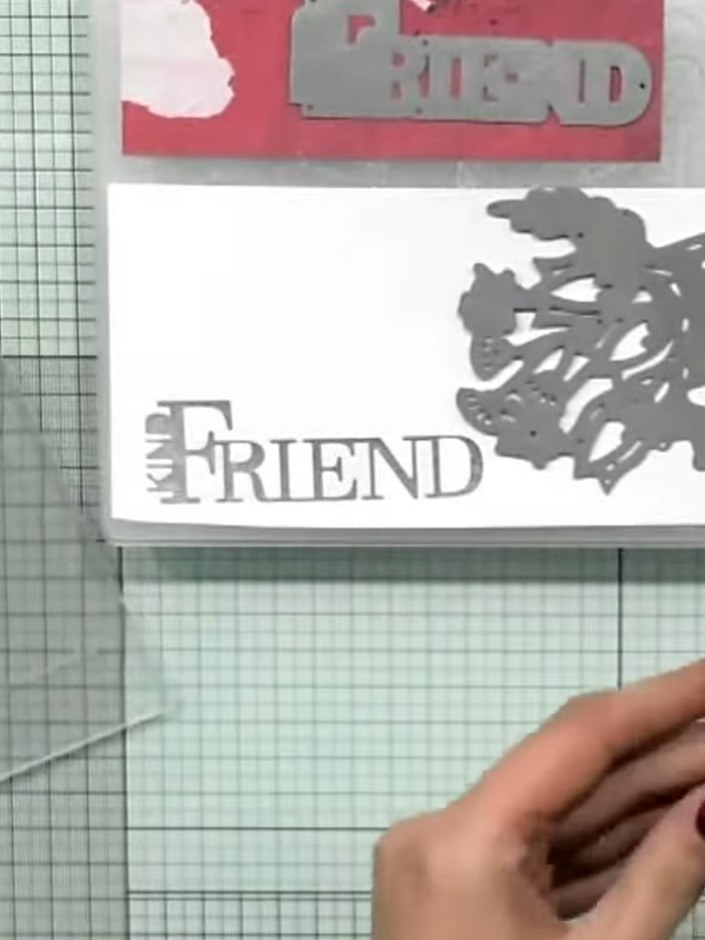 2
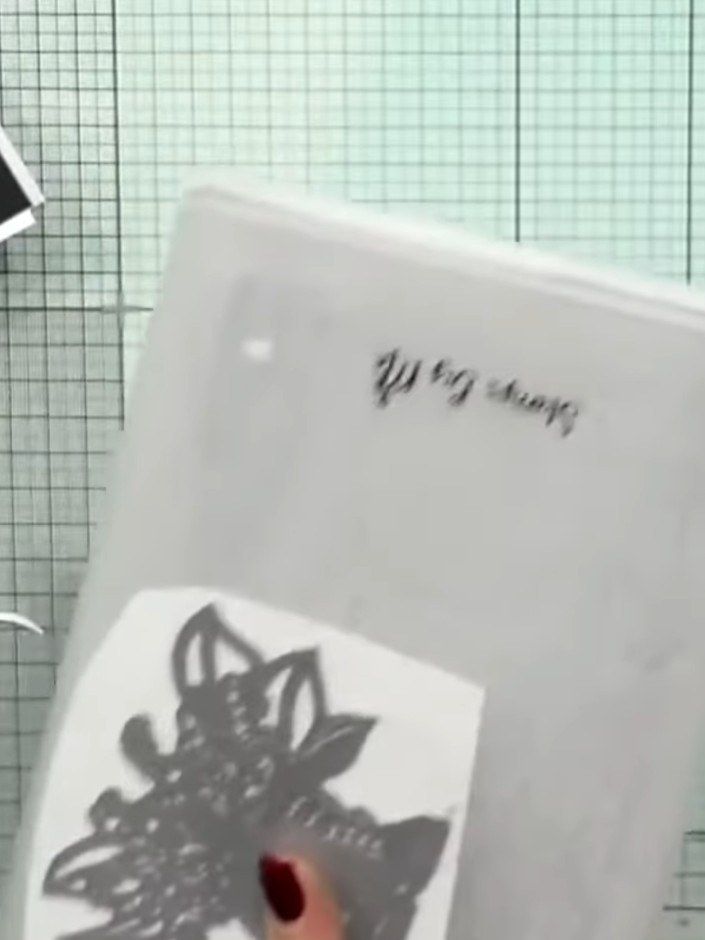
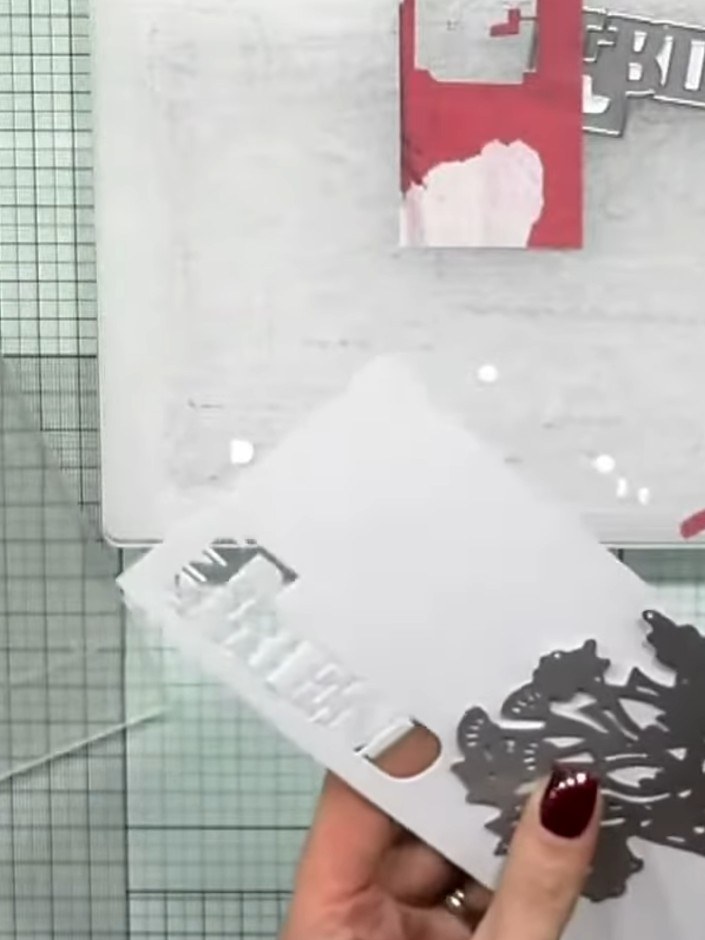
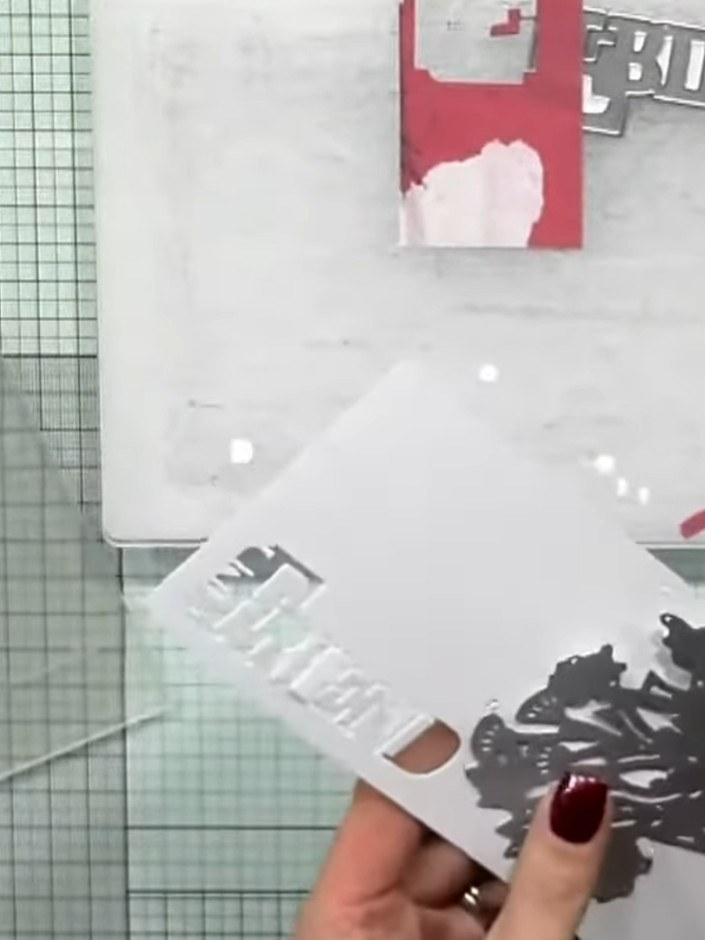
Carefully tap out all the die-cut pieces from the white card, including the 'FRIEND' sentiment and the decorative hedgehog design. Remove each piece gently to avoid tearing.
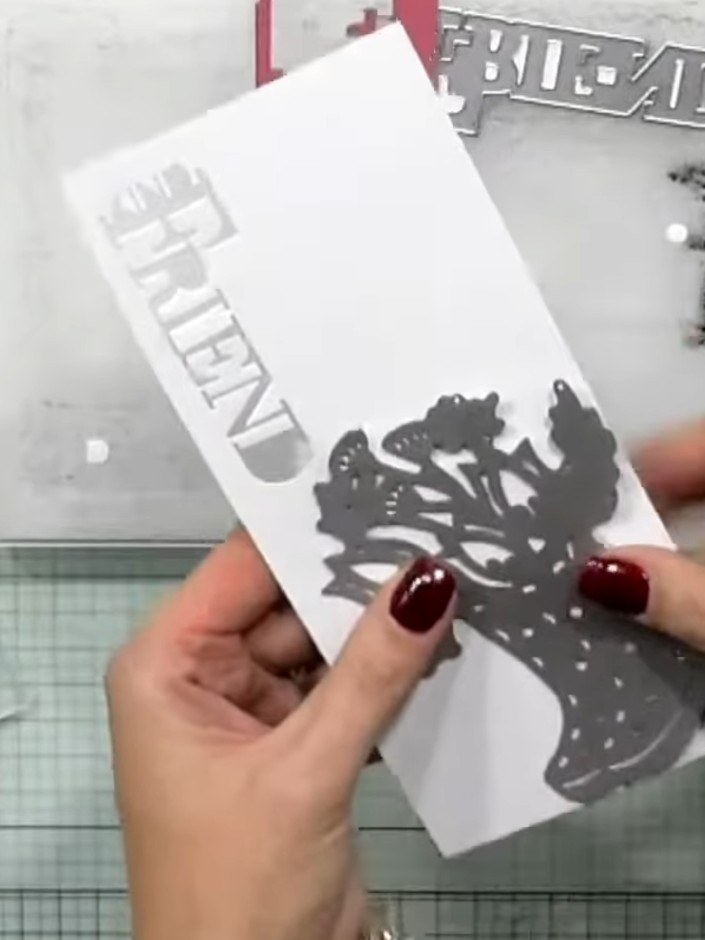 3
Cut layers of black card, white card, and patterned card stock to mat and layer your card front. Arrange them to create depth and visual interest.
 4
Adhere the patterned card layer to the black card base, ensuring it is centred and aligned properly.
 5
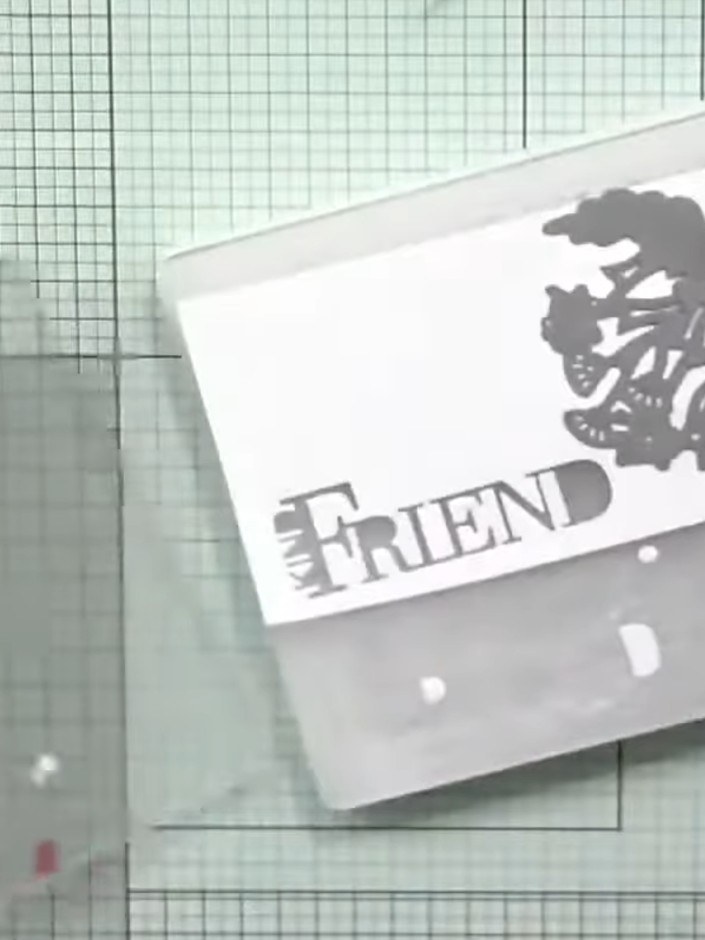
Position the white card layer on top of the pink patterned card base, aligning the edges carefully.
 6
Glue the Kind Friend die-cut sentiment onto the white layer, ensuring it sits flat and is properly positioned.
 7
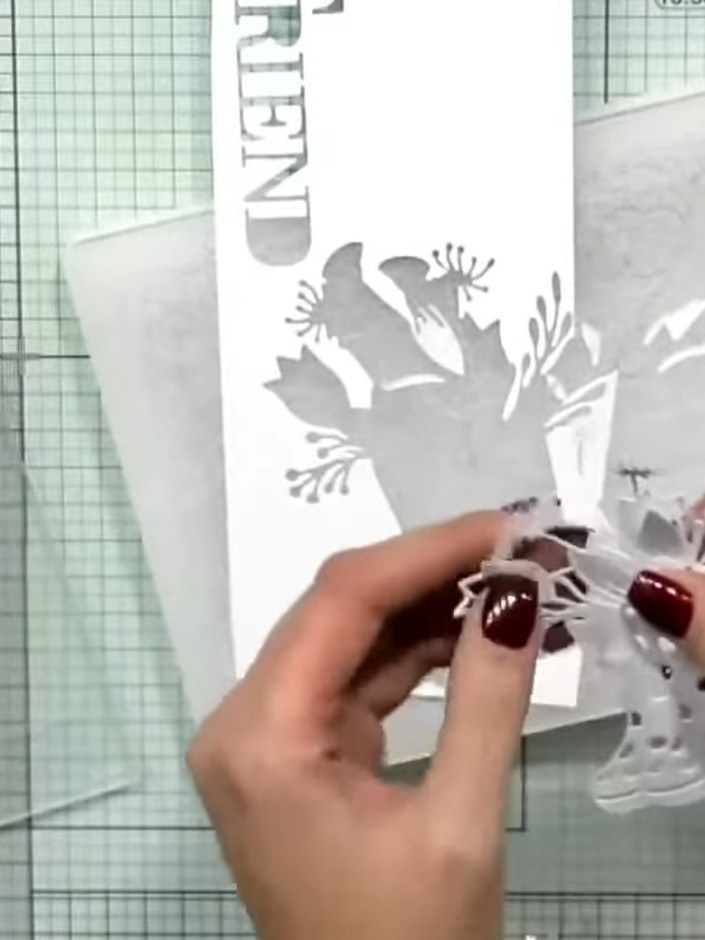
Dip the die-cut piece into an ink pad to add shading and definition to the recessed areas of the design.
 8
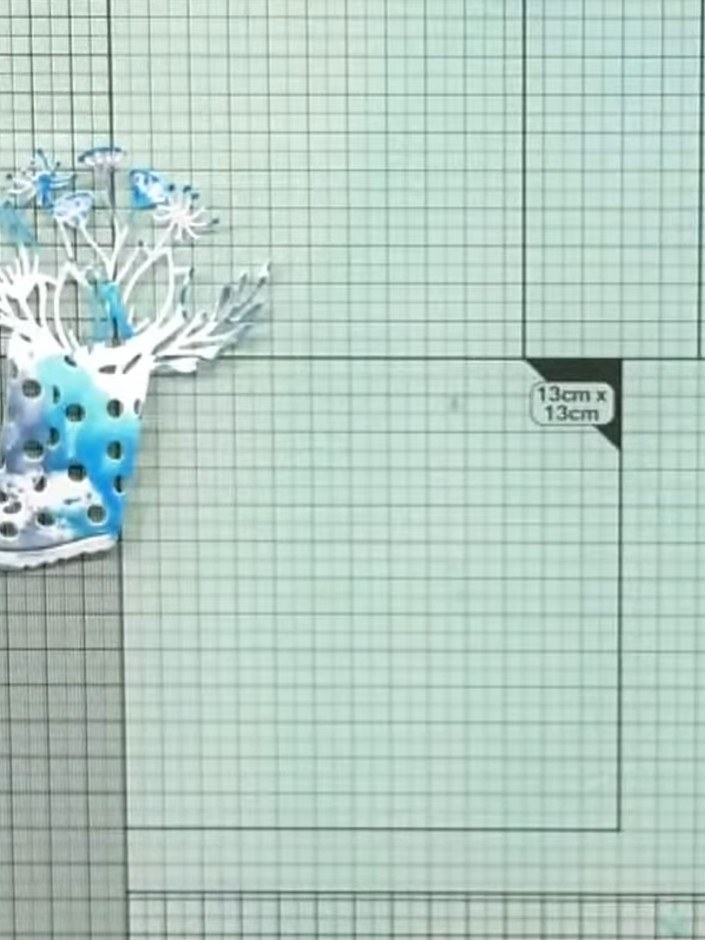
Mount the completed layered boot design with flowers onto your card base to finish your Kind Friends sentiment card.
Teile dein Projekt mit der Stamps By Me Community - und behalte diese Anleitung für das nächste Mal.
Direkt aus der Show aufgeschrieben. Alle Anleitungen aus unseren Shows · kostenlose Anleitungen · live auf My Telly ansehen · die bisherige Ansicht