Schenke deinen Freundinnen und Freunden 10 $ Rabatt auf ihre erste Bestellung!
Freunde WERBEN








 The Friday Final CutFr., 6. Nov. 5:00 Uhr
 Community ShowcaseMo., 9. Nov. 5:00 Uhr
 Hobbymaker TVMo., 9. Nov. 9:00 Uhr
Preise ändern sich sofort. Jede Sprache ist unsere eigene Übersetzung, nicht Google.
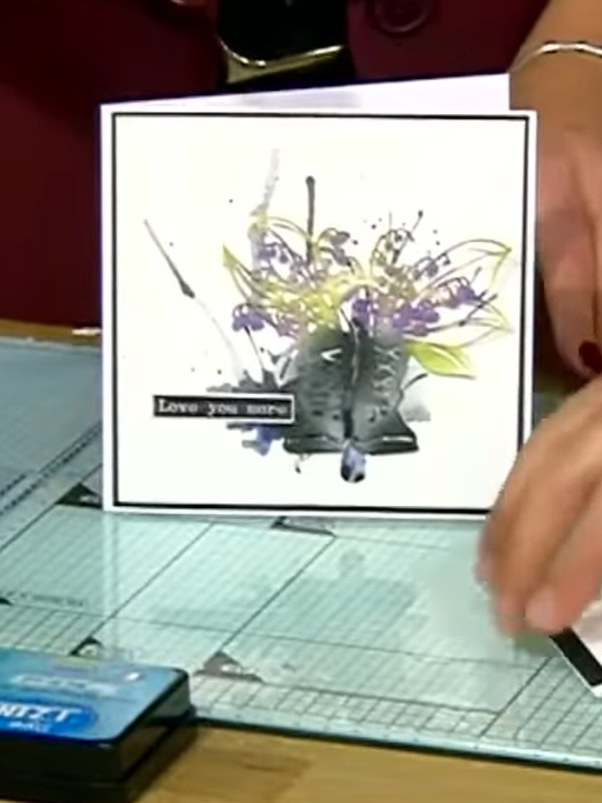
Ein Projekt aus unserer Live-Show CREATE AND CRAFT EXCLUSIVE - Sei LIVE dabei bei Tonis neuestem Launch FLOWERS FOR YOU - Sendung vom 31. März 22 · 03.31.2022
Create a stunning watercolour card featuring a delicate floral design with sparkling accents. Using Gossip Glitter Sparkle Pens, you'll build up vibrant colours in purple, yellow and green tones that shimmer beautifully as they dry. The technique involves activating the pens with water to create soft, diluted watercolour effects with an added sparkle dimension.
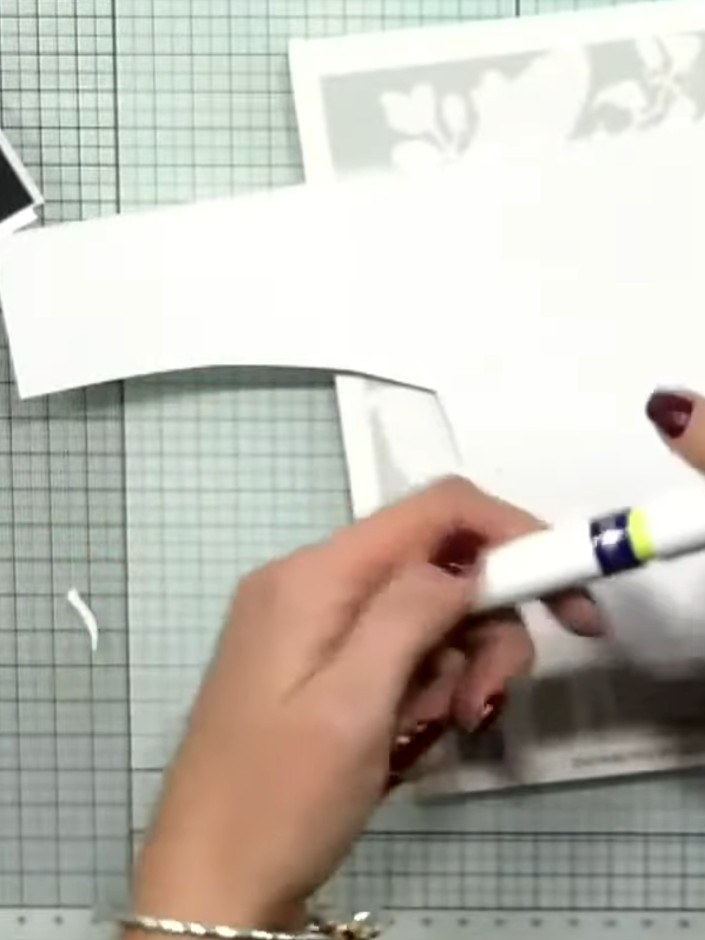 1
Dreh die Kappe des Gossip Glitter Sparkle Pens und zieh sie ab, um den Stift zu aktivieren. The pen can be reactivated with water when needed.
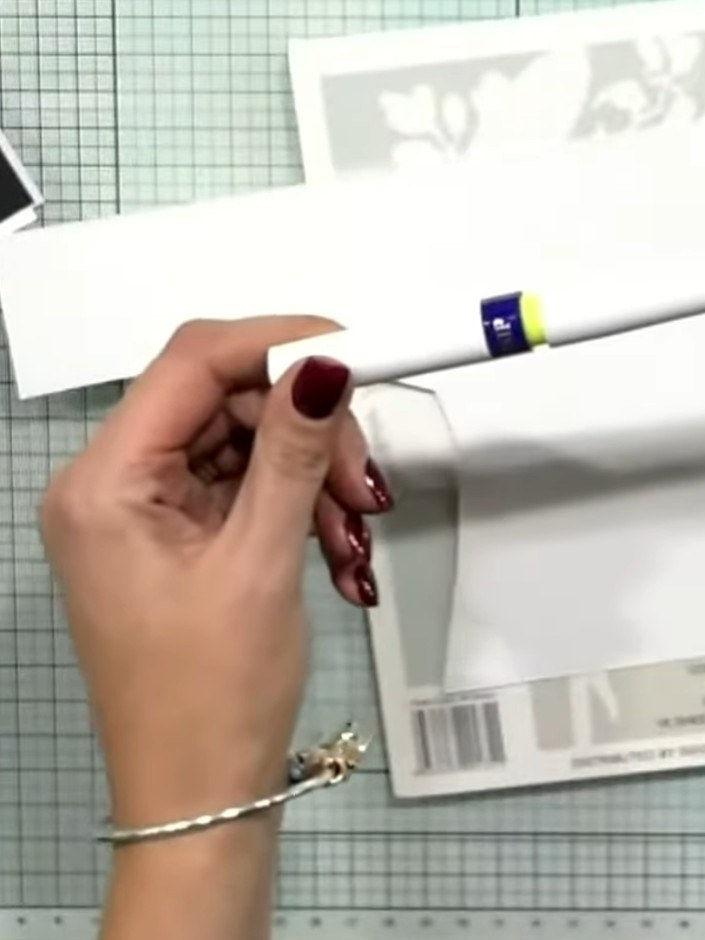 2
Remove the lime green ring from the pen barrel by gently sliding it off.
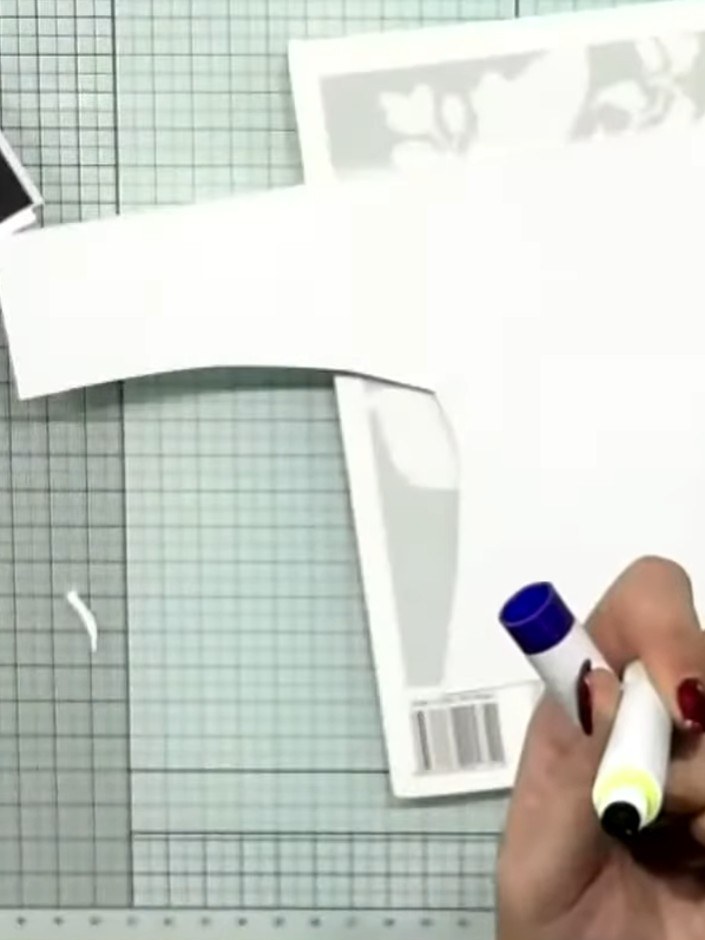 3
Push the colour cartridge through the pen barrel by pressing both ends together firmly until the cartridge clicks into place.
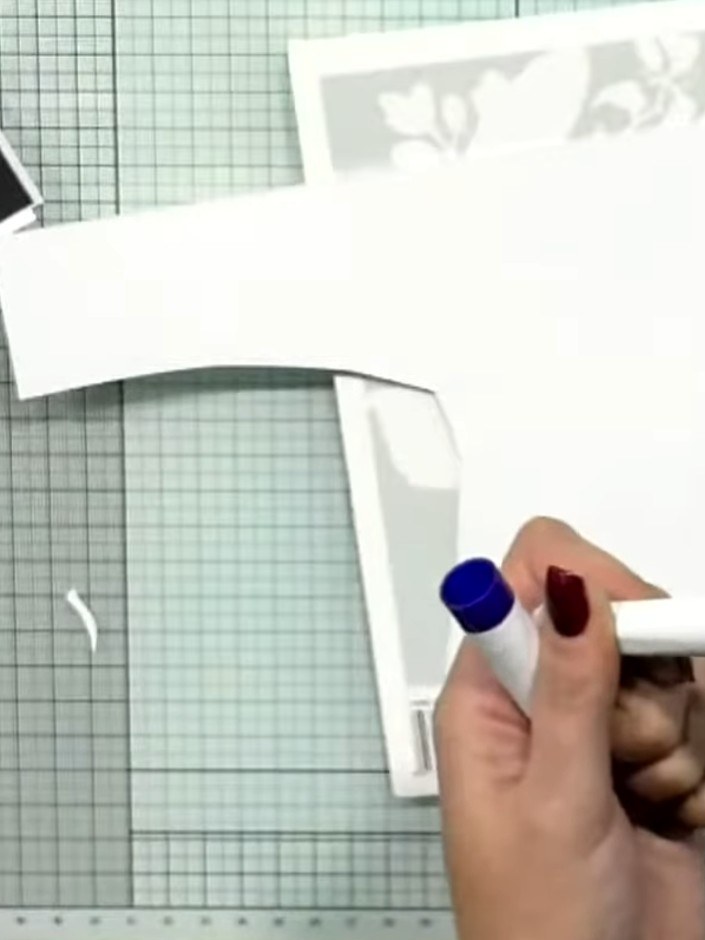 4
Shake the glitter sparkle pen well before use. Squeeze a small amount of colour onto a glass mat or palette by gently pressing the pen tip.
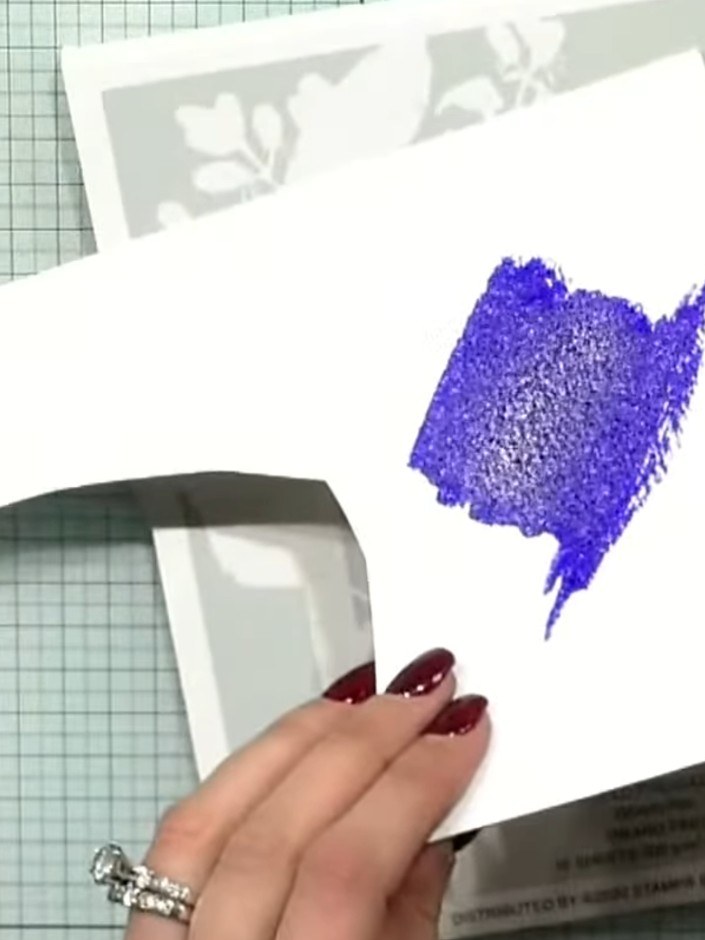 5
Add water to the purple glitter sparkle pen colour on your card. Use a brush to dilute and blend the colour, creating a watercolour effect.
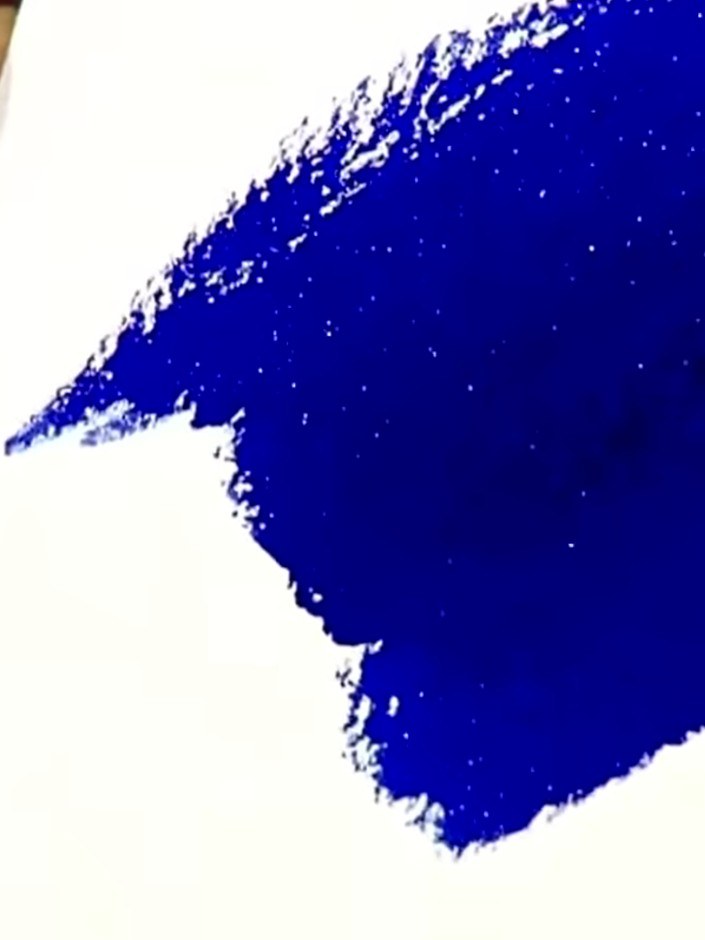 6
Trag die verdünnte Glitzerfarbe mit einem Pinsel auf dein Kartendesign auf. Build up the colour in layers, allowing it to dry between applications. The more it dries, the more sparkle will show through.
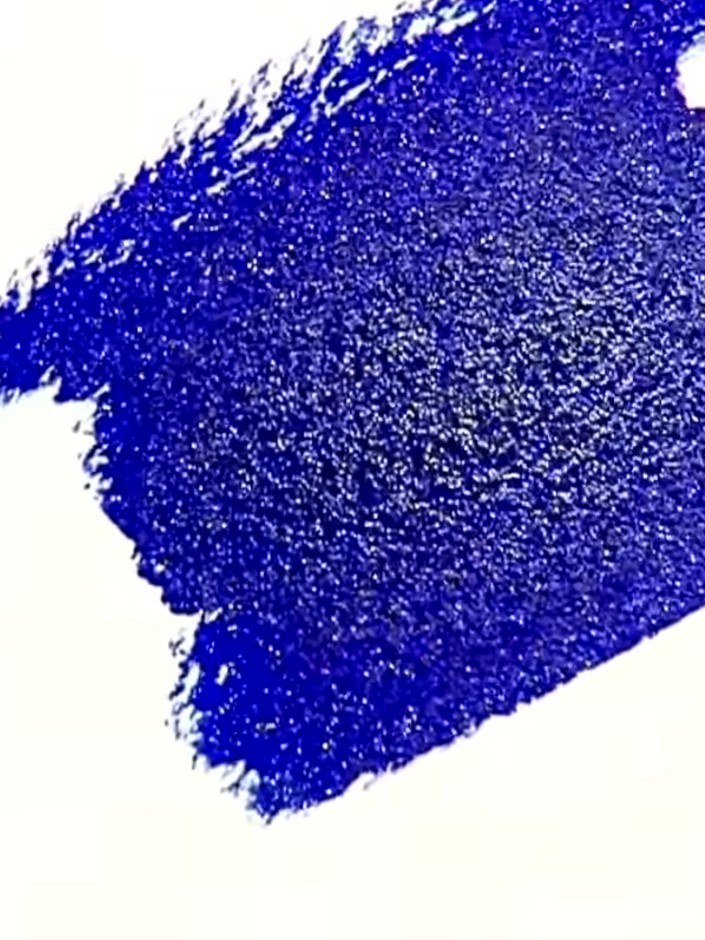 7
Use a heat gun to dry the blue glitter sparkle pen colour completely. The heat will reveal the full sparkle effect of the glitter.
Teile dein Projekt mit der Stamps By Me Community - und behalte diese Anleitung für das nächste Mal.
Direkt aus der Show aufgeschrieben. Alle Anleitungen aus unseren Shows · kostenlose Anleitungen · live auf My Telly ansehen · die bisherige Ansicht