¡Regálales a tus amigos $10 de descuento en su primer pedido!
Recomienda a un AMIGO








Un proyecto de nuestro programa en vivo CREATE AND CRAFT - NUEVO Y EXCLUSIVO - Acompaña a Toni con sus productos más nuevos e inspiración - Transmitido el 12 oct 22 · 10/12/2022 · velo desde 5:00
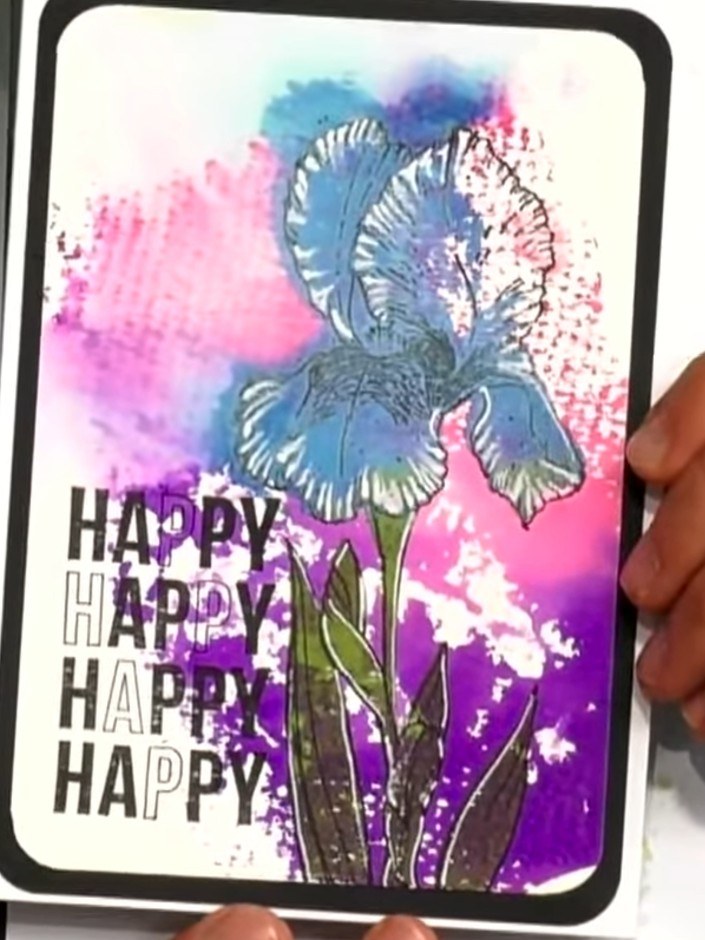
Create a quick and elegant slimline card using a single ink colour with lamination stamps. This project demonstrates how to achieve beautiful results with minimal colour variation, featuring delicate floral imagery with pink and purple tones, gold foil accents, and a 'Think Positive' sentiment. The technique showcases the versatility of stamping and how simple colour choices can create stunning, professional-looking cards.
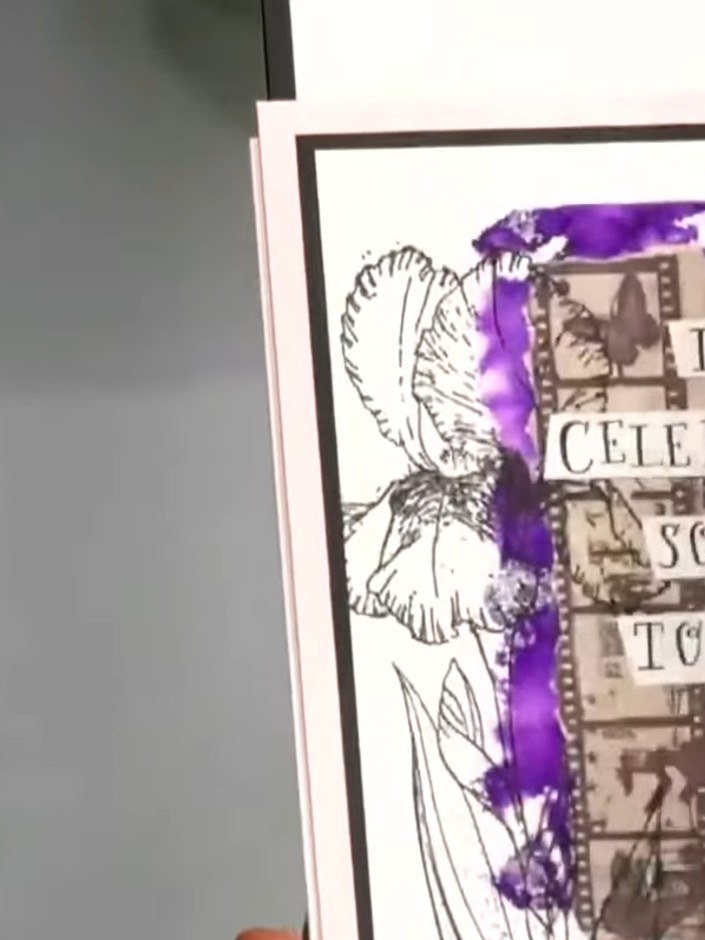
Stamp the solid portion of your chosen design onto slimline cardstock using a single purple ink pad. Position the stamp carefully to create the base image for your card.
▶ ver este paso (5:00)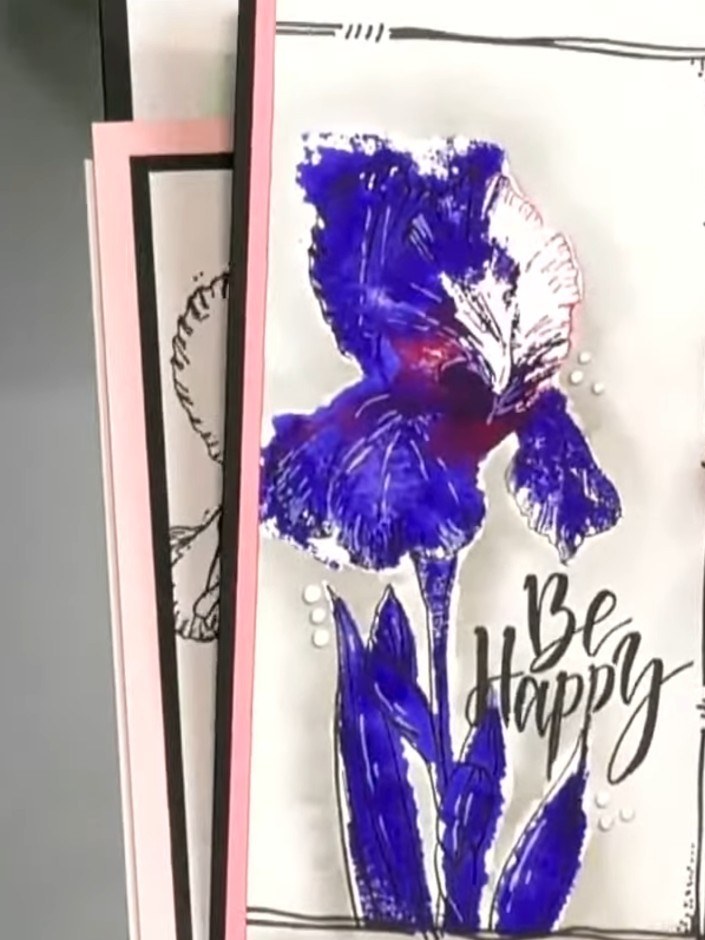
Line up and stamp the outline portion of the iris stamp over the previously stamped solid portion to complete the design. Ensure careful alignment to create the finished layered iris image.
▶ ver este paso (5:15)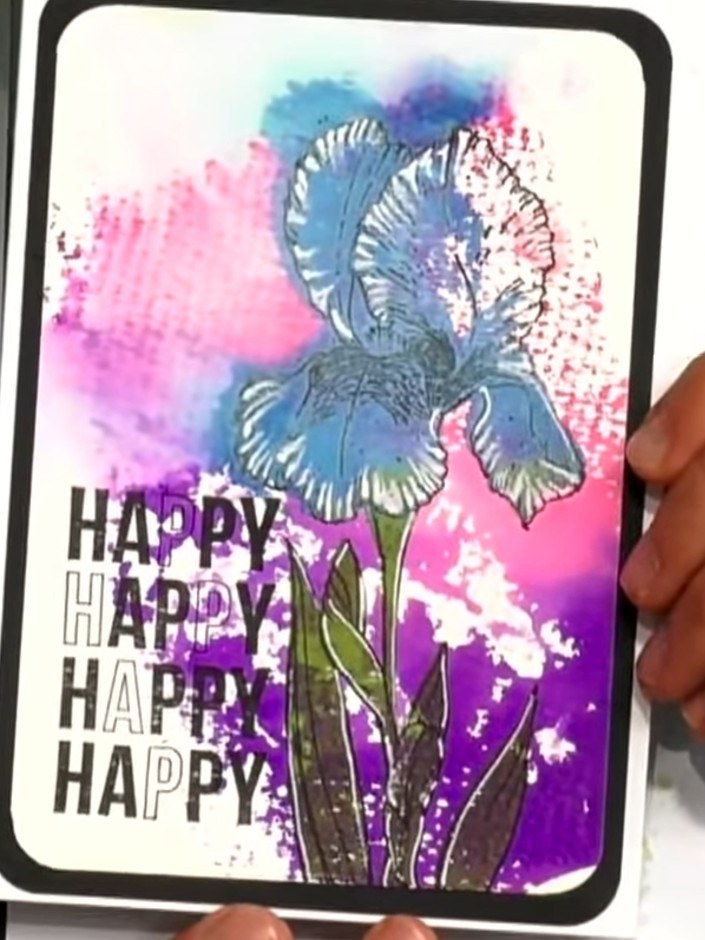
Stamp your chosen sentiment onto the card. Position the 'HAPPY' repeated text stamp to the right side of the iris flower. Use the same ink colour as the iris for a coordinated look.
▶ ver este paso (5:30)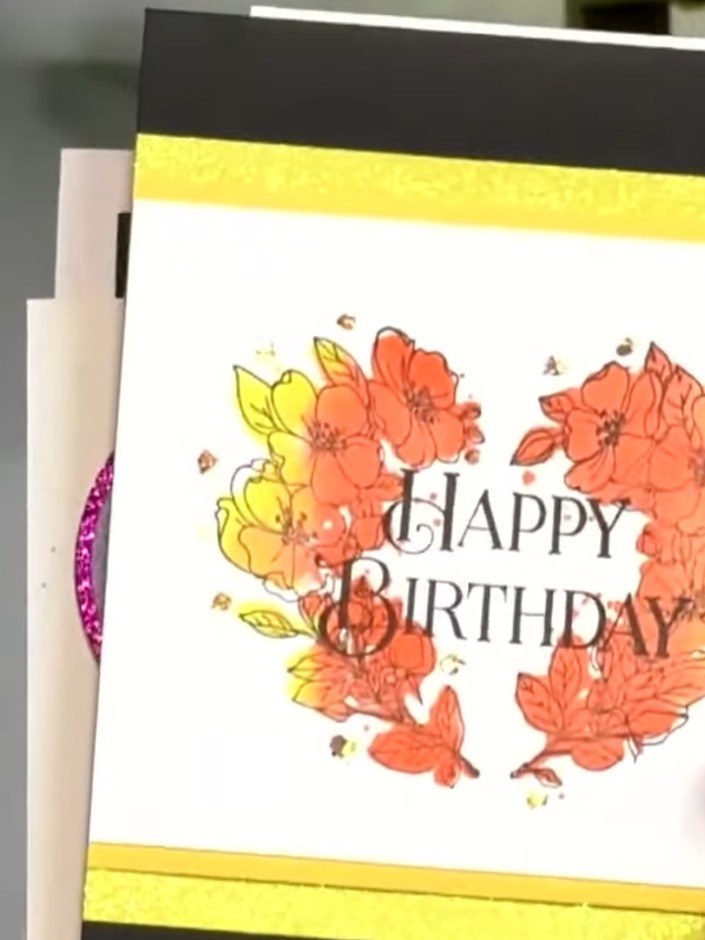
Mount the completed stamped panel onto your slimline card base using adhesive to finish the card.
▶ ver este paso (5:45)Redactado a partir del propio programa. Mira todas las guías de nuestros programas · guías paso a paso gratis · mira en vivo en My Telly