¡Regálales a tus amigos $10 de descuento en su primer pedido!
Recomienda a un AMIGO








Un proyecto de nuestro programa en vivo CREATE AND CRAFT - NUEVO Y EXCLUSIVO - Acompaña a Toni con sus productos más nuevos e inspiración - Transmitido el 12 oct 22 · 10/12/2022 · velo desde 20:45
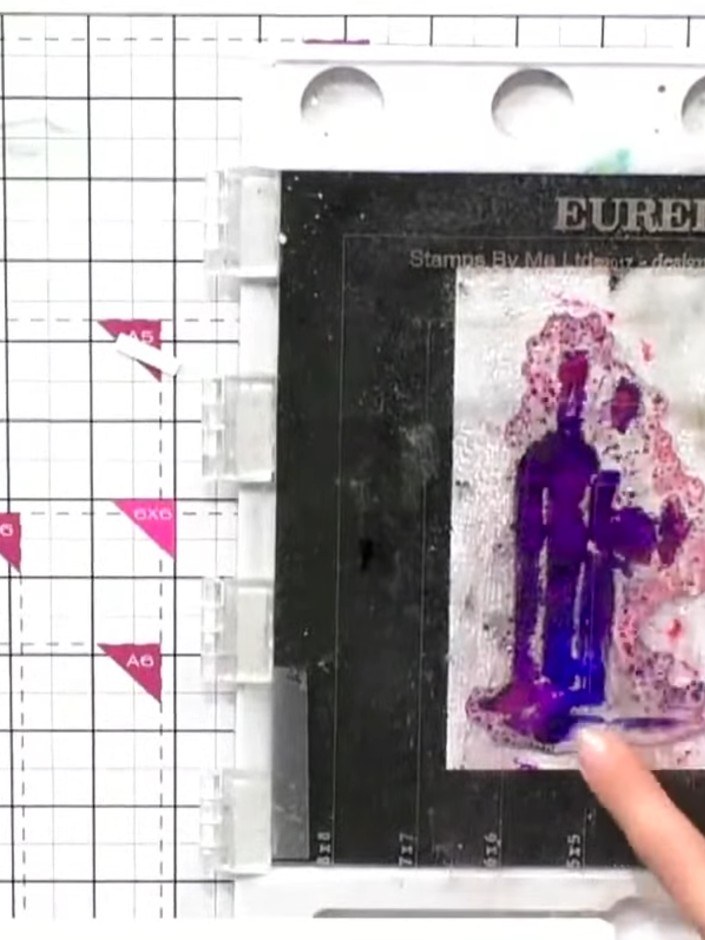
Create a beautiful watercolour-effect floral card using a two-part lamination stamp system. The solid portion adds vibrant colour splats in purple and pink tones whilst the outline stamp provides artistic detail, giving a hand-painted look without needing artistic skills. This elegant technique produces stunning cards with a professional watercolour finish.
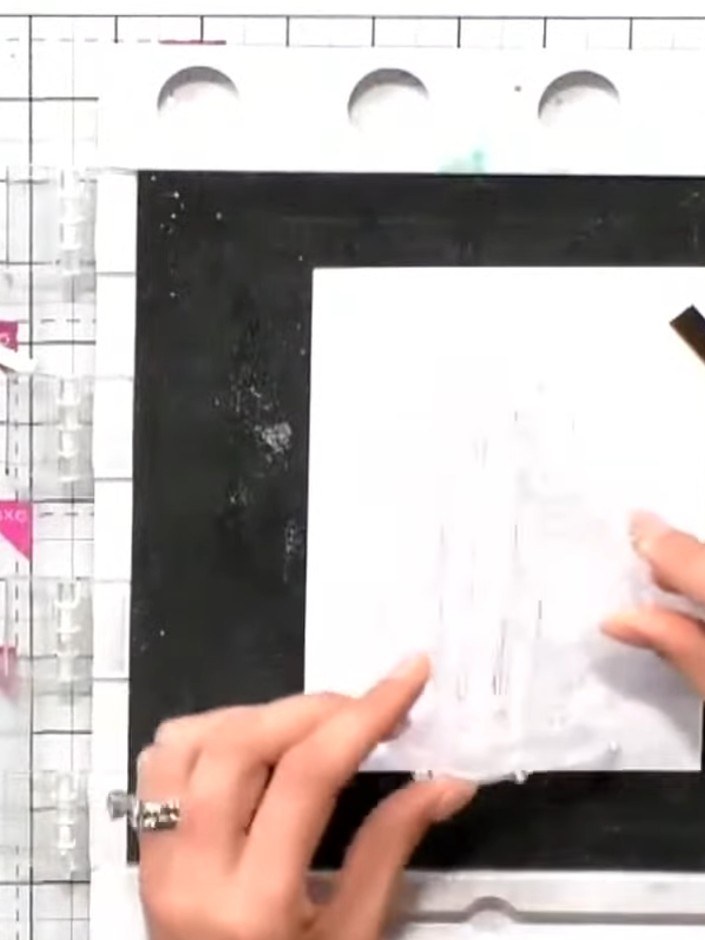
Stamp the solid portion of the floral design onto your white cardstock using your chosen ink pad. Position the stamp where you want the flower to appear on your card.
▶ ver este paso (20:45)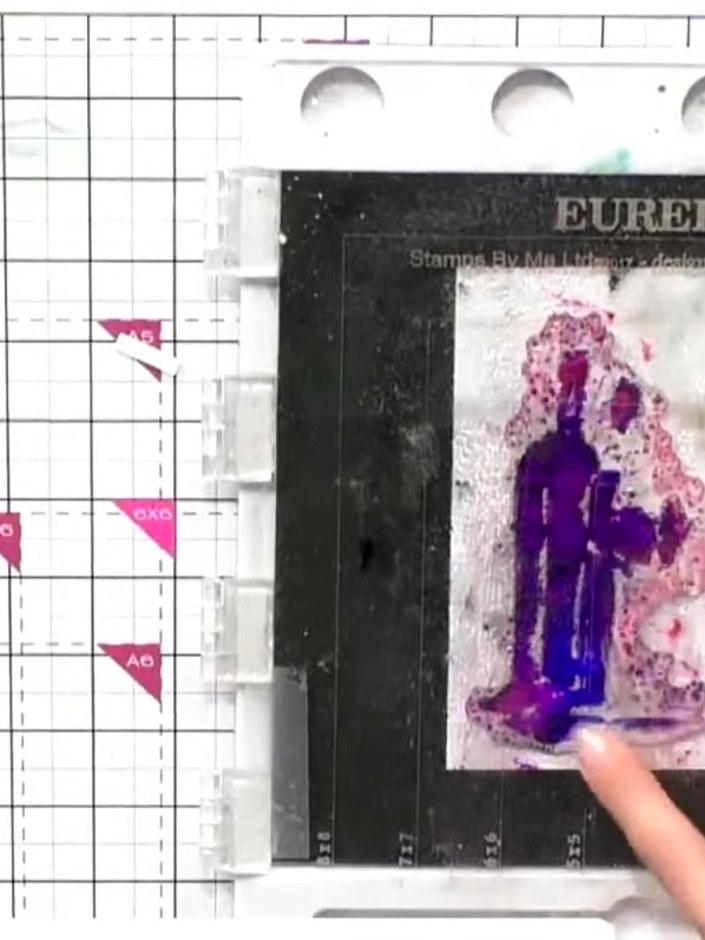
Add multiple ink pad colours sporadically across the stamped solid portion. Try purple, blue and pink for a watercolour effect, blending the colours together on the image.
▶ ver este paso (21:00)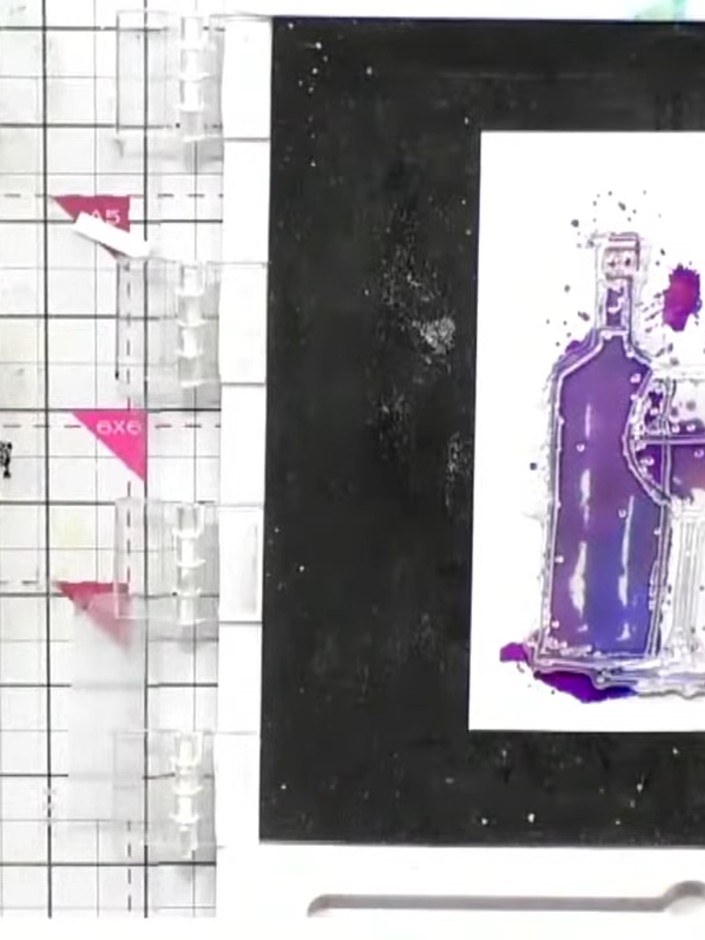
Spritz the inked stamp with water using a spray bottle to activate and blend the colours together on the stamp surface.
▶ ver este paso (21:15)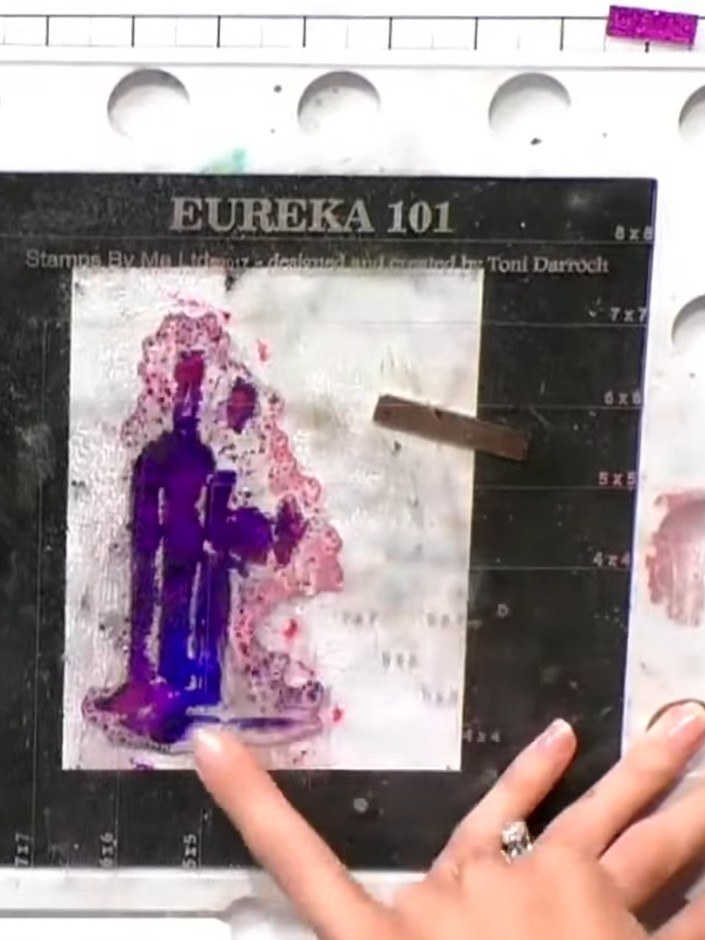
Press the stamp firmly onto the white cardstock and hold it down to transfer the blended watercolour effect. The purple and pink inks will create a beautiful watercolour floral impression.
▶ ver este paso (21:30)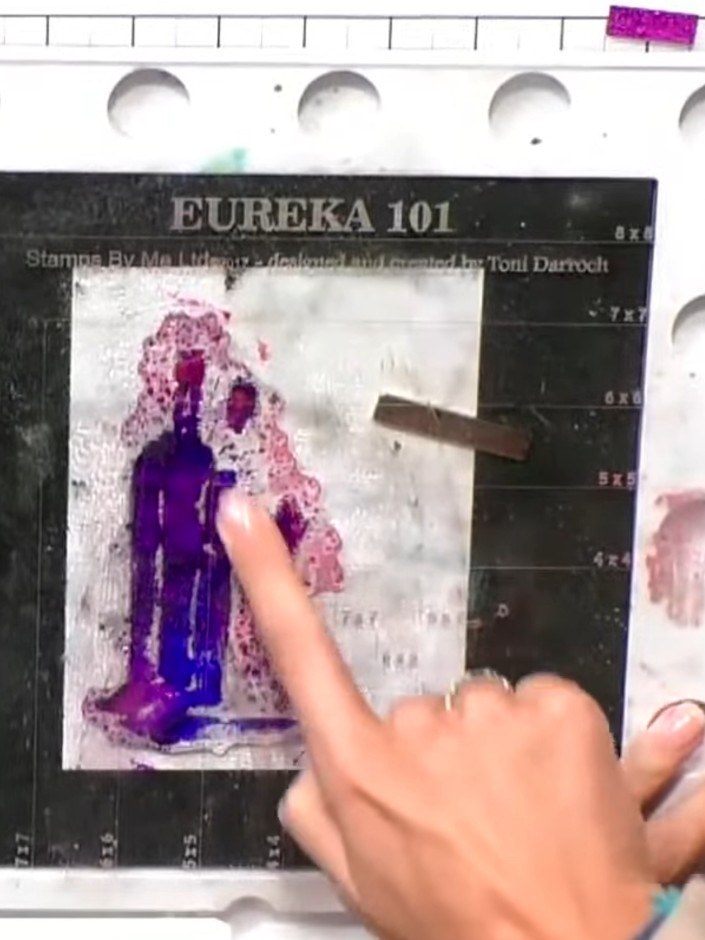
Once the watercolour is dry, line up the outline stamp from the Celebrate Bundle over the coloured image. Stamp the outline in black ink, allowing it to sit slightly loose over the design for an artistic, hand-painted effect.
▶ ver este paso (21:45)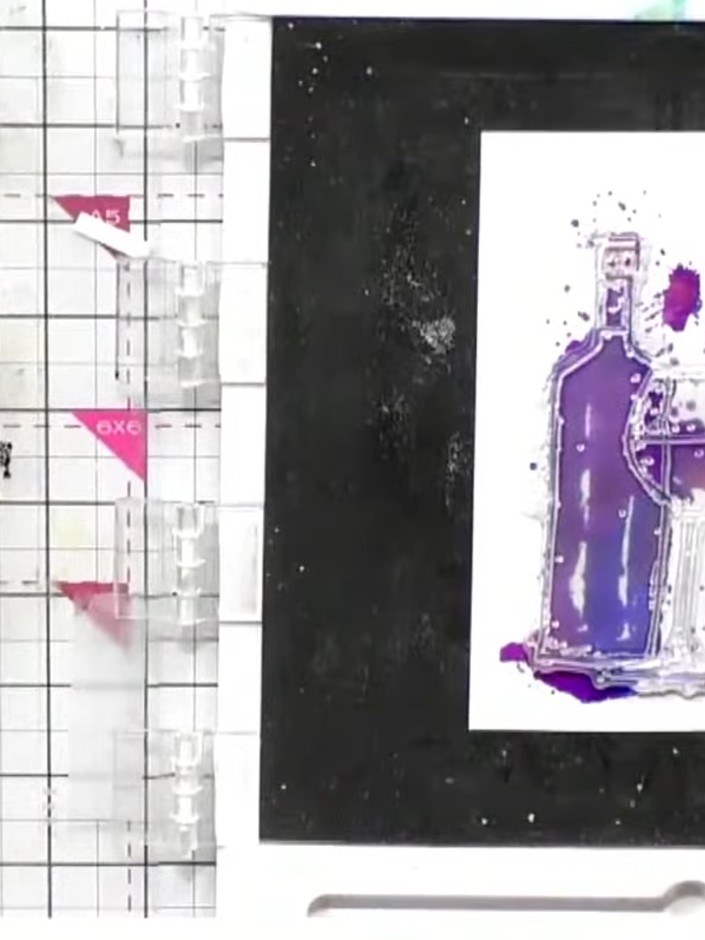
Stamp your chosen sentiment onto the white card panel to complete your design. Position the stamp carefully and press firmly for a clear impression.
▶ ver este paso (22:00)Redactado a partir del propio programa. Mira todas las guías de nuestros programas · guías paso a paso gratis · mira en vivo en My Telly