¡Regálales a tus amigos $10 de descuento en su primer pedido!
Recomienda a un AMIGO








Un proyecto de nuestro programa en vivo CREATE AND CRAFT - NUEVO Y EXCLUSIVO - Acompaña a Toni con sus productos más nuevos e inspiración - Transmitido el 12 oct 22 · 10/12/2022 · velo desde 50:00
Create a stunning floral card featuring a delicate watercolour rose design with layered colouring in soft pinks, corals and greens. This elegant card is perfect for sympathy messages or special occasions, using stamping, watercolour blending and spray techniques to achieve a beautiful artistic finish. The sentiment 'Bee Happy' is framed within a circular aperture surrounded by the gorgeous blooms.
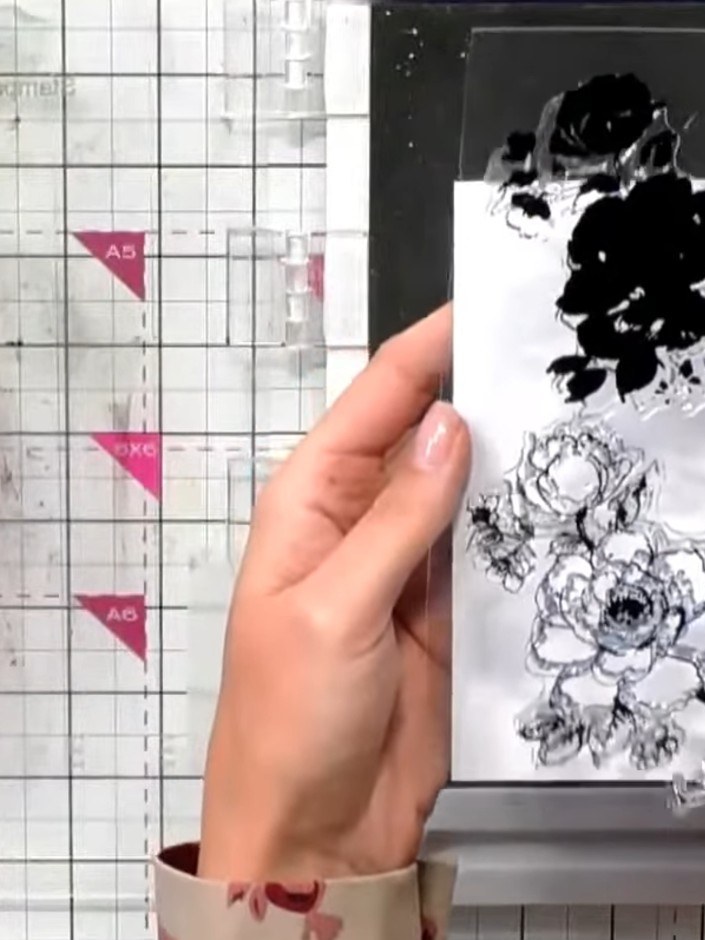
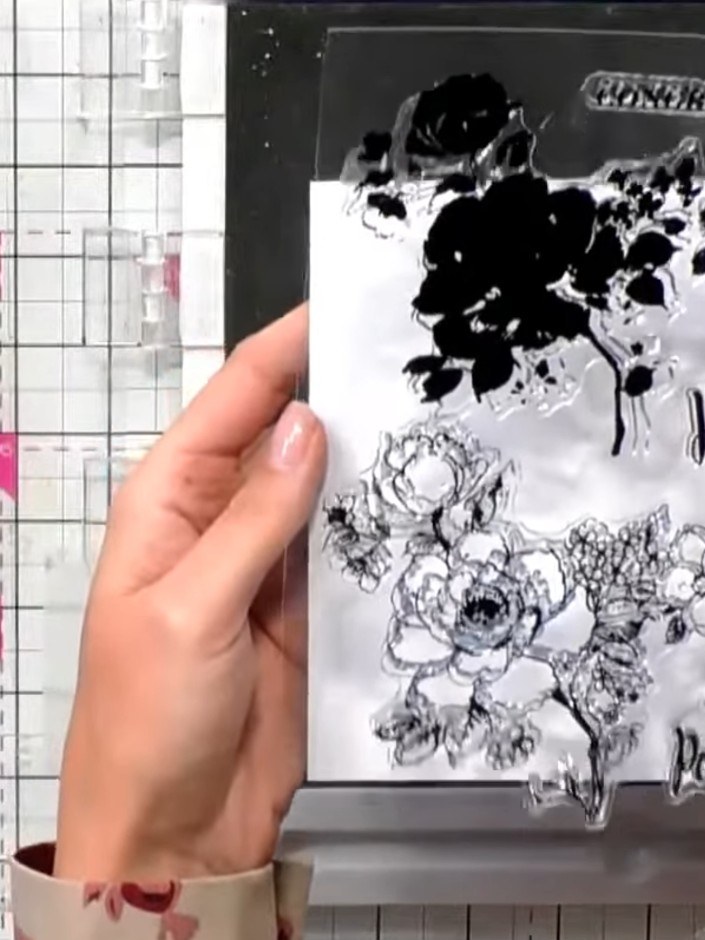
Stamp the solid portion of the rose design onto white cardstock using a black ink pad. Position the stamp carefully and press firmly to ensure a clear impression.
▶ ver este paso (50:00)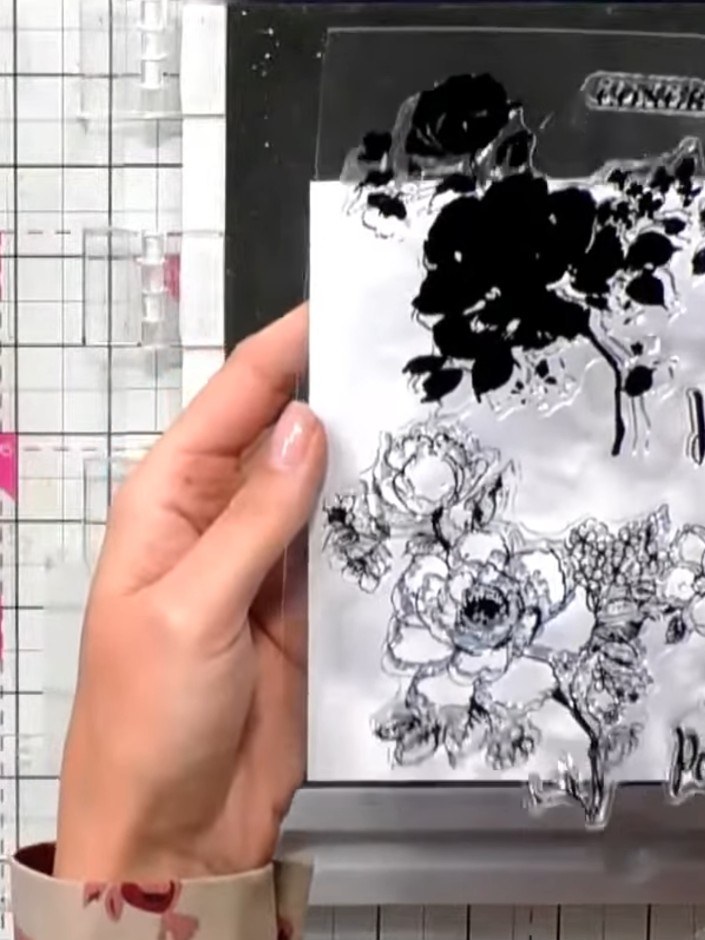
Apply multiple ink pad colours directly to the stamped floral design. Use pinks, oranges and greens to create a natural rose effect with layered colouring.
▶ ver este paso (50:15)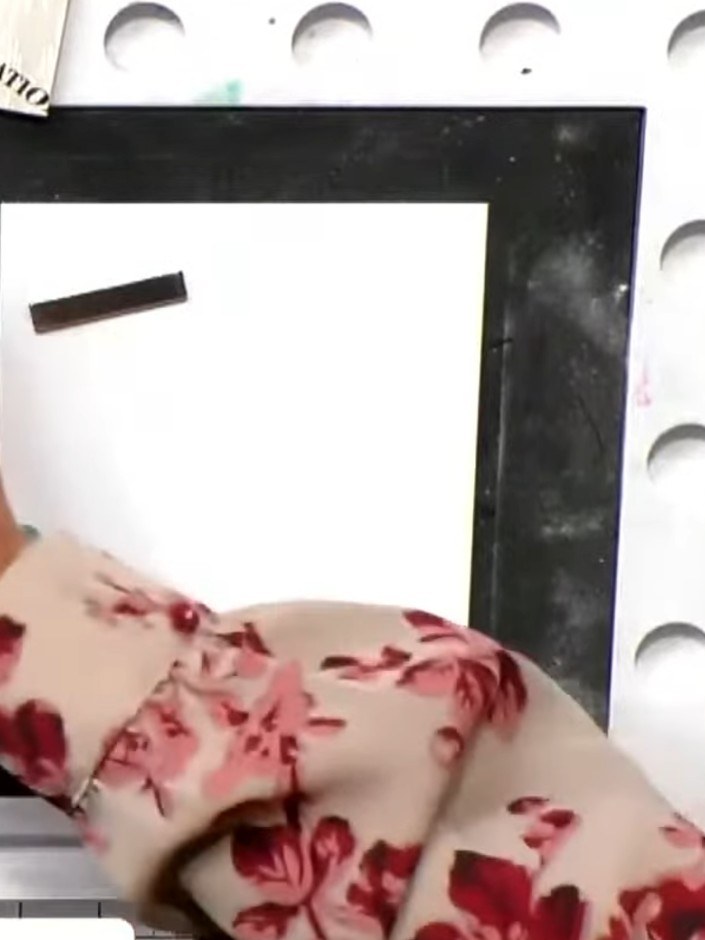
Apply the watercolour paints sporadically across different parts of the stamped flower image. Place pinks and oranges on the petals and green on the leaves, building up the colour gradually.
▶ ver este paso (50:30)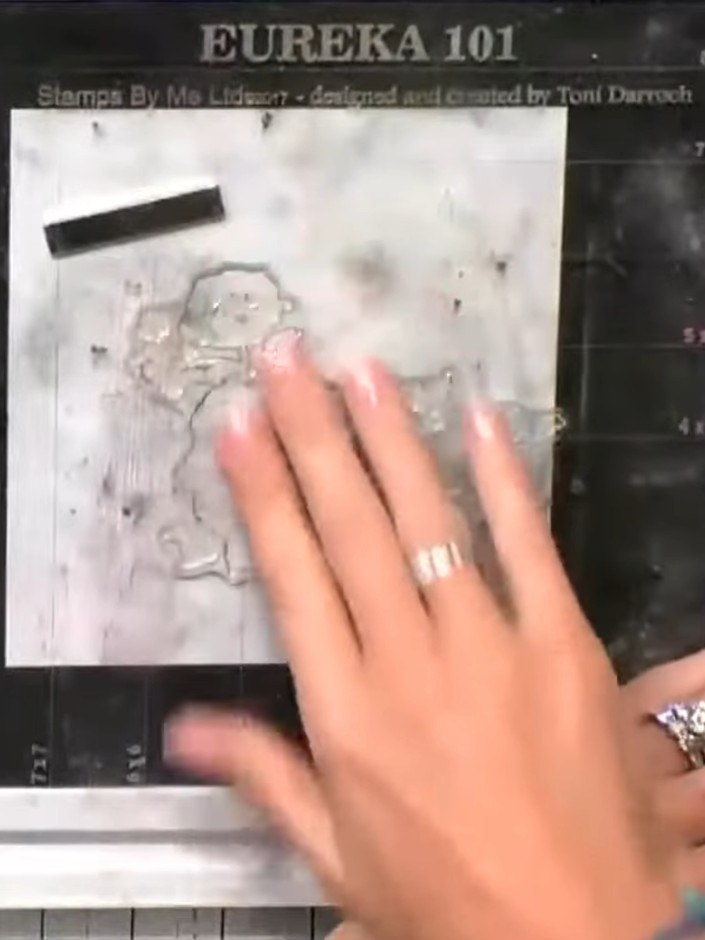
Spritz the inked stamp with water to activate the ink and blend all the colours together, creating a watercolour effect on the stamp surface.
▶ ver este paso (50:45)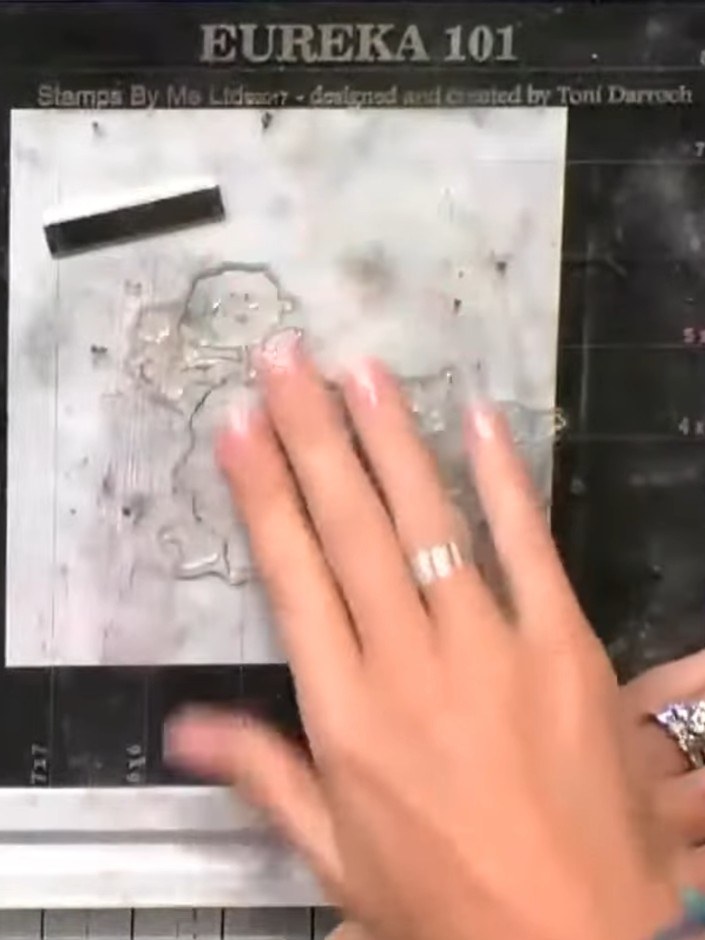
Press the stamp firmly onto the white cardstock to transfer the blended watercolour design. Apply even pressure across the entire stamp surface to ensure a complete impression.
▶ ver este paso (51:00)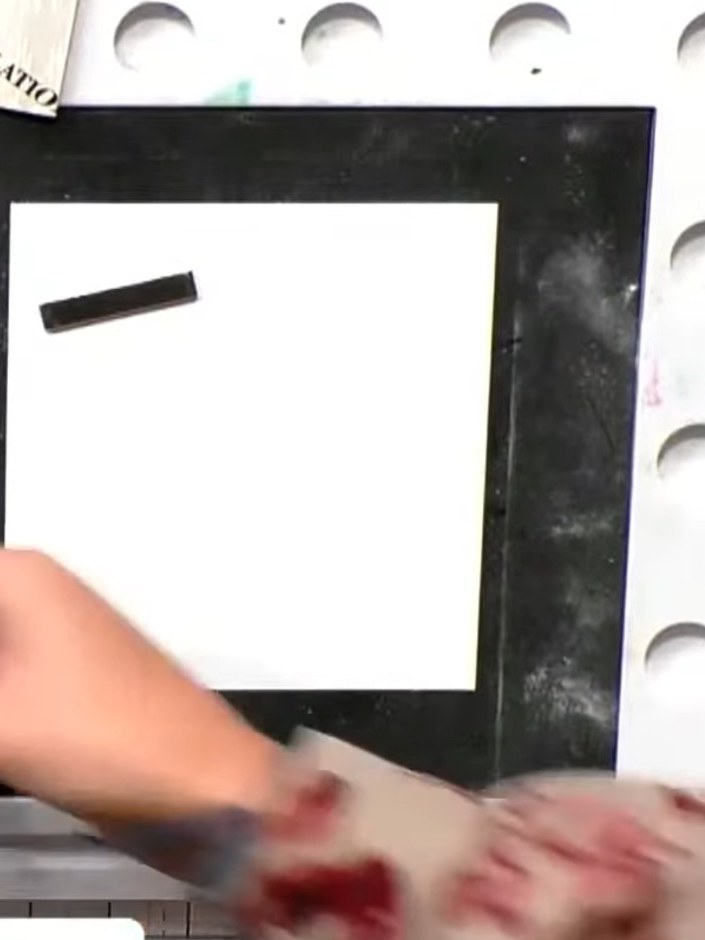
Once the watercoloured design is dry (use a heat tool if needed), carefully line up the black outline stamp over the coloured image and stamp to add definition to the rose design.
▶ ver este paso (51:15)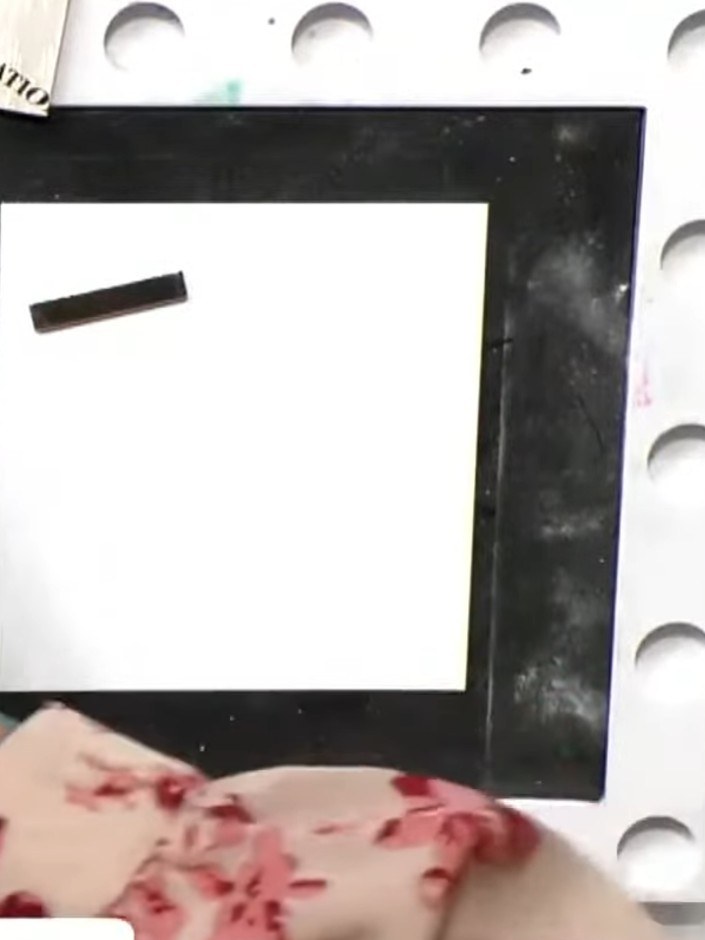
Mount your finished watercolour rose design onto the white cardstock base. Add your chosen sentiment to complete the card.
▶ ver este paso (51:45)Redactado a partir del propio programa. Mira todas las guías de nuestros programas · guías paso a paso gratis · mira en vivo en My Telly